Page 12 of 277
Ignition Key Removal
Place the shift lever in Park and make sure that the shift
knob push-button (vehicles with floor shift) is in the out
position.Turn the key to the Lock position and remove the key.
NOTE:If you try to remove the key before you place
the lever in Park, the key may become trapped tempo-
rarily in the key cylinder. If this occurs, turn the key
clockwise slightly, then remove the key as described.
Key-In-Ignition Reminder
Opening the driver’s door when the key is in the ignition
and is in the OFF, LOCK, or ACC position, sounds a
signal to remind you to remove the key.
12 THINGS TO KNOW BEFORE STARTING YOUR VEHICLE
Page 66 of 277
EXTERIOR LIGHTS
Headlights And Parking Lights
When the headlight switch is turned clockwise
from Off to the first position, the parking lights,
taillights, side marker lights, license plate light and
instrument panel lights are all turned on. The headlights
turn on when the switch is turned to the second position.
Lights-On Reminder
If the headlights or parking lights are left on after the
ignition is turned Off, a chime will sound when the
driver’s door is opened.
Automatic Headlights
This system automatically turns your headlights on at a
preset level of outdoor lighting. To turn the system on,
turn the headlight switch to the extreme left. When the
system is on, the headlight delay feature is also on. This
means that your headlights will stay on for about 90
seconds after you turn the ignition switch off. To turn the
66 UNDERSTANDING THE FEATURES OF YOUR VEHICLE
Page 67 of 277

Automatic system off, turn the headlight switch clock-
wise, to the off position.
The engine must be running before the headlights will
come on in the automatic mode.
NOTE:The Automatic Headlight System will turn on
the headlights if it detects that the windshield wipers
have been in operation for more than 10 seconds.
NOTE:Your 300M Special vehicle may be equipped
with high intensity headlights (HID). When first turned
on these lights take on a blue hue for about 15 seconds
after which they brighten to a clear light.
Headlight Time Delay
This feature provides the safety of headlight illumination
for about 90 seconds when leaving your vehicle in an
unlighted area. For vehicles equipped with Electronic
Vehicle Information Center (EVIC), this is customer pro-
grammable to Off, 30, 60, or 90 seconds. (See the Elec-
tronic Vehicle Information Center (EVIC) section of this
manual.)To activate the delay, turn off the ignition while the
headlights are still on. Then turn off the headlights within
45 seconds. The delay interval begins when the ignition is
turned off.
If the headlights are turned off before the ignition, they
will go off in the normal manner.
Battery Saver Feature
If an exterior light is left on when the ignition switch is
moved to the Off position, it will automatically turn off
after 10 minutes. Normal operation will resume when the
ignition is turned On or when the headlight switch is
turned to another position.
Fog Lights
Turn the headlight switch to any ON position,
then pull out the headlight switch knob to turn on
the fog lights. A light near the switch will illumi-
nate to show that the Fog Lights are On.
NOTE:Turning on the high beam headlights will turn
off the fog lights. Fog light operation will resume when
the high beams are turned off and the lights return to the
low beam, parking light, or automatic positions.
UNDERSTANDING THE FEATURES OF YOUR VEHICLE 67
3
Page 97 of 277
7. Repeat step 6 working clockwise around the vehicle
(Left Front, Right Front, Right Rear, Left Rear, Spare) until
all five TPM sensor positions are trained.
8. Return magnet to storage location.
If the display reads TRAINING COMPLETE, pressing
either the STEP, C/T, RESET, or MENU buttons will exit
the training mode.
If the display reads TRAINING ABORTED, move the
vehicle ahead at least 1 foot (30 cm) and complete steps
1–8 again.
For further assistance, questions, or comments about the
tire pressure monitor system, please call1–877–774–8473.
UNDERSTANDING THE FEATURES OF YOUR VEHICLE 97
3
Page 107 of 277

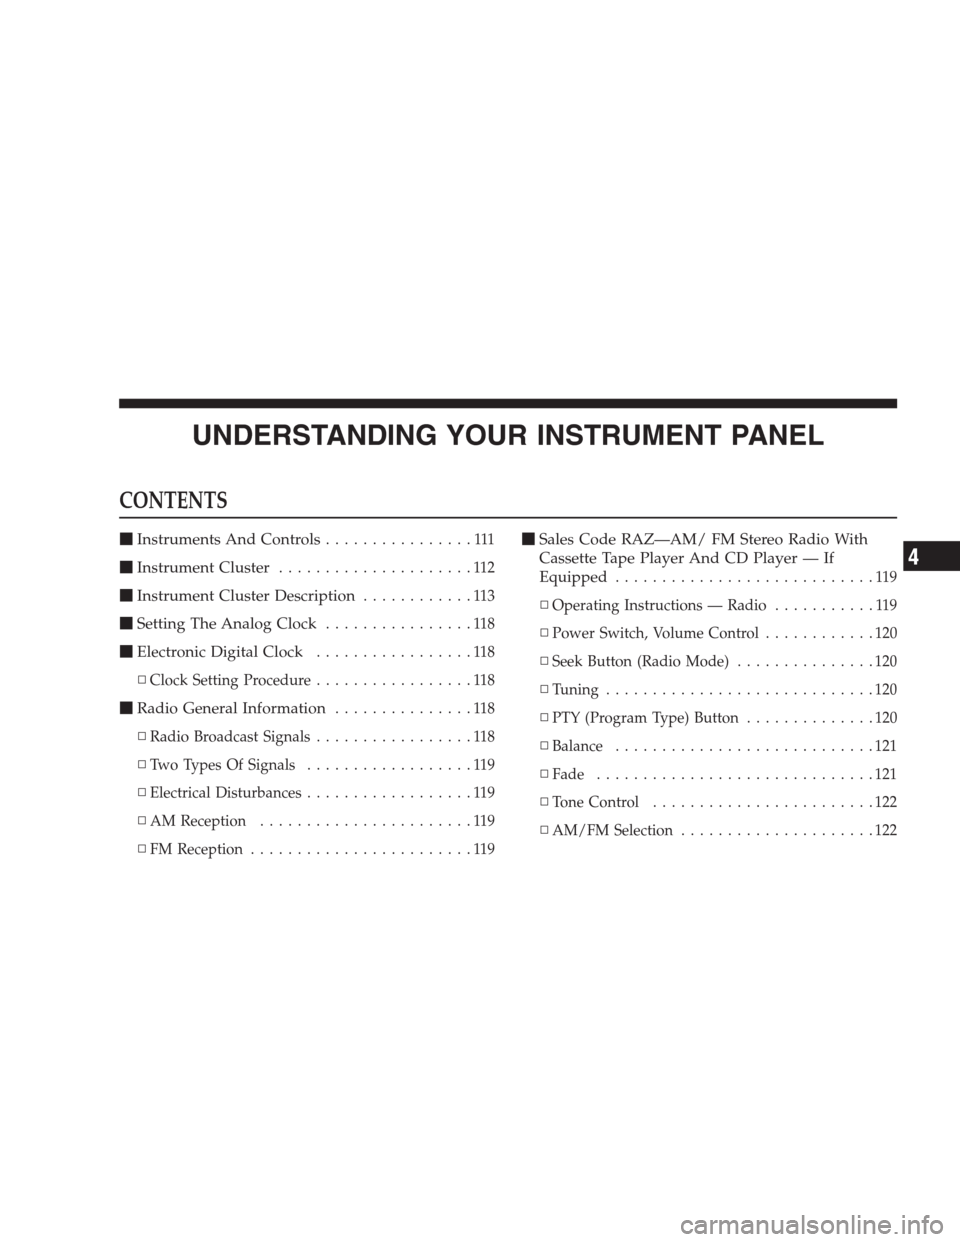
UNDERSTANDING YOUR INSTRUMENT PANEL
CONTENTS
�Instruments And Controls................111
�Instrument Cluster.....................112
�Instrument Cluster Description............113
�Setting The Analog Clock................118
�Electronic Digital Clock.................118
▫Clock Setting Procedure.................118
�Radio General Information...............118
▫Radio Broadcast Signals.................118
▫Two Types Of Signals..................119
▫Electrical Disturbances..................119
▫AM Reception.......................119
▫FM Reception........................119
�Sales Code RAZ—AM/ FM Stereo Radio With
Cassette Tape Player And CD Player — If
Equipped
............................119
▫Operating Instructions — Radio...........119
▫Power Switch, Volume Control............120
▫Seek Button (Radio Mode)...............120
▫Tuning.............................120
▫PTY (Program Type) Button..............120
▫Balance............................121
▫Fade..............................121
▫Tone Control........................122
▫AM/FM Selection.....................122
4
Page 108 of 277

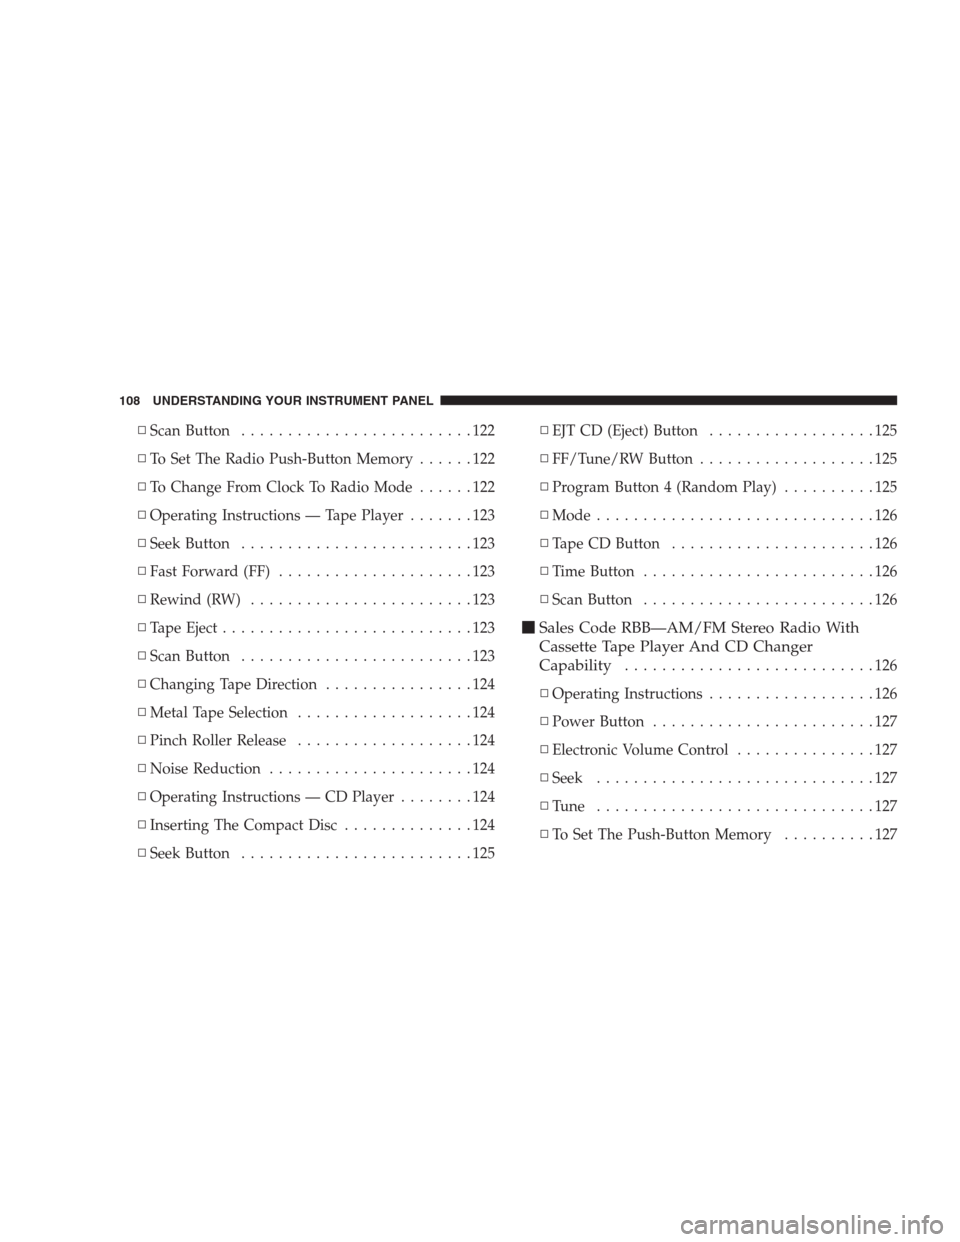
▫Scan Button.........................122
▫To Set The Radio Push-Button Memory......122
▫To Change From Clock To Radio Mode......122
▫Operating Instructions — Tape Player.......123
▫Seek Button.........................123
▫Fast Forward (FF).....................123
▫Rewind (RW)........................123
▫Tape Eject...........................123
▫Scan Button.........................123
▫Changing Tape Direction................124
▫Metal Tape Selection...................124
▫Pinch Roller Release...................124
▫Noise Reduction......................124
▫Operating Instructions — CD Player........124
▫Inserting The Compact Disc..............124
▫Seek Button.........................125▫EJT CD (Eject) Button..................125
▫FF/Tune/RW Button...................125
▫Program Button 4 (Random Play)..........125
▫Mode..............................126
▫Tape CD Button......................126
▫Time Button.........................126
▫Scan Button.........................126
�Sales Code RBB—AM/FM Stereo Radio With
Cassette Tape Player And CD Changer
Capability
...........................126
▫Operating Instructions..................126
▫Power Button........................127
▫Electronic Volume Control...............127
▫Seek..............................127
▫Tune ..............................127
▫To Set The Push-Button Memory..........127
108 UNDERSTANDING YOUR INSTRUMENT PANEL
Page 118 of 277

SETTING THE ANALOG CLOCK
To set the analog clock at the top center of the instrument
panel, press and hold the plus (+) or minus (-) buttons
until the setting is correct.
ELECTRONIC DIGITAL CLOCK
When the radio is on, pressing the TIME button will
allow you to select between displaying actual time con-
tinuously or information related to the mode which the
radio is in (i.e. in Radio mode, the radio frequency is
displayed.)
When the radio is off, time will not be displayed unless
the TIME button is pressed, and then the time will only
be displayed for 5 seconds. This function will operate
with the ignition switch in either the on or off positions.
You can ask your dealer to enable the digital clock to be
displayed continuously when the radio is off and the
ignition switch is on.
Clock Setting Procedure
1. Turn the ignition switch to the ON or ACC position.
Using the point of a ballpoint pen or similar object, press
either the hour (H) or minute (M) buttons on the radio.
The display will show TIME.
2. Press the H button to set hours or the M button to set
minutes. The time setting will increase each time you
press a button.
RADIO GENERAL INFORMATION
Radio Broadcast Signals
Your new radio will provide excellent reception under
most operating conditions. Like any system, however, car
radios have performance limitations, due to mobile op-
eration and natural phenomena, which might lead you to
believe your sound system is malfunctioning. To help
you understand and save you concern about these “ap-
parent” malfunctions, you must understand a point or
two about the transmission and reception of radio sig-
nals.
118 UNDERSTANDING YOUR INSTRUMENT PANEL
Page 120 of 277

Power Switch, Volume Control
Press the ON/VOL control to turn the radio on. Turn the
volume control clockwise to increase the volume. The
volume will be displayed and continuously updated
while the button is pressed.
Seek Button (Radio Mode)
Press and release the Seek button to search for the next
station in either the AM or FM mode. Press the top of the
button to seek up and the bottom to seek down. Holding
the button will by pass stations until you release the
button.
Tuning
Press the TUNE control up or down to increase or
decrease the frequency. If you press and hold the button,
the radio will continue to tune until you release the
button. The frequency will be displayed and continu-
ously updated while the button is pressed.
PTY (Program Type) Button
Pressing this button once will turn on the PTY mode for
5 seconds. If no action is taken during the 5 second time
out the PTY icon will turn off. Pressing the PTY button
within 5 seconds will allow the program format type tobe selected. Many radio stations do not currently broad-
cast PTY information.
Toggle the PTY button to select the following format
types:
Program Type Radio Display
Adult Hits Adlt Hit
Classical Classicl
Classic Rock Cls Rock
College College
Country Country
Information Inform
Jazz Jazz
Foreign Language Language
News News
Nostalgia Nostalga
Oldies Oldies
Personality Persnlty
Public Public
Rhythm and Blues R & B
Religious Music Rel Musc
120 UNDERSTANDING YOUR INSTRUMENT PANEL