2004 CHEVROLET VENTURE maintenance schedule
[x] Cancel search: maintenance schedulePage 1 of 516

Seats and Restraint Systems........................... 1-1
Front Seats
............................................... 1-3
Rear Seats
............................................... 1-6
Safety Belts
.............................................1-27
Child Restraints
.......................................1-53
Air Bag Systems
......................................1-92
Restraint System Check
..........................1-102
Features and Controls..................................... 2-1
Keys
........................................................ 2-3
Doors and Locks
....................................... 2-9
Windows
.................................................2-24
Theft-Deterrent Systems
............................2-27
Starting and Operating Your Vehicle
...........2-31
Mirrors
....................................................2-45
OnStar
®System
......................................2-47
HomeLink®Transmitter
.............................2-48
Storage Areas
.........................................2-52
Vehicle Personalization
.............................2-62
Instrument Panel............................................. 3-1
Instrument Panel Overview
.......................... 3-4
Climate Controls
......................................3-26
Warning Lights, Gages, and Indicators
........3-36
Message Center
.......................................3-50
Driver Information Center (DIC)
..................3-58Audio System(s)
.......................................3-61
Driving Your Vehicle....................................... 4-1
Your Driving, the Road, and Your Vehicle
..... 4-1
Towing
...................................................4-33
Service and Appearance Care.......................... 5-1
Service
..................................................... 5-3
Fuel
......................................................... 5-4
Checking Things Under
the Hood
.............................................5-10
All-Wheel Drive
........................................5-48
Bulb Replacement
....................................5-50
Windshield Wiper Blade Replacement
.........5-56
Tires
......................................................5-58
Appearance Care
.....................................5-97
Vehicle Identi�cation
...............................5-104
Electrical System
....................................5-105
Capacities and Speci�cations
...................5-113
Maintenance Schedule..................................... 6-1
Maintenance Schedule
................................ 6-2
Customer Assistance and Information.............. 7-1
Customer Assistance and Information
........... 7-2
Reporting Safety Defects
...........................7-12
Index................................................................ 1
2004 Chevrolet Venture Owner ManualM
Page 216 of 516
Passenger Compartment Air Filter
Passenger compartment air, both outside and
recirculated air, is routed through a passenger
compartment �lter. The �lter removes certain
contaminants from the air, including pollen and dust
particles. Reductions in air�ow, which may occur more
quickly in dusty areas, indicate that the �lter needs to be
replaced early. For how often to change the air �lter, see
Scheduled Maintenance on page 6-4.The access panel for the passenger compartment air
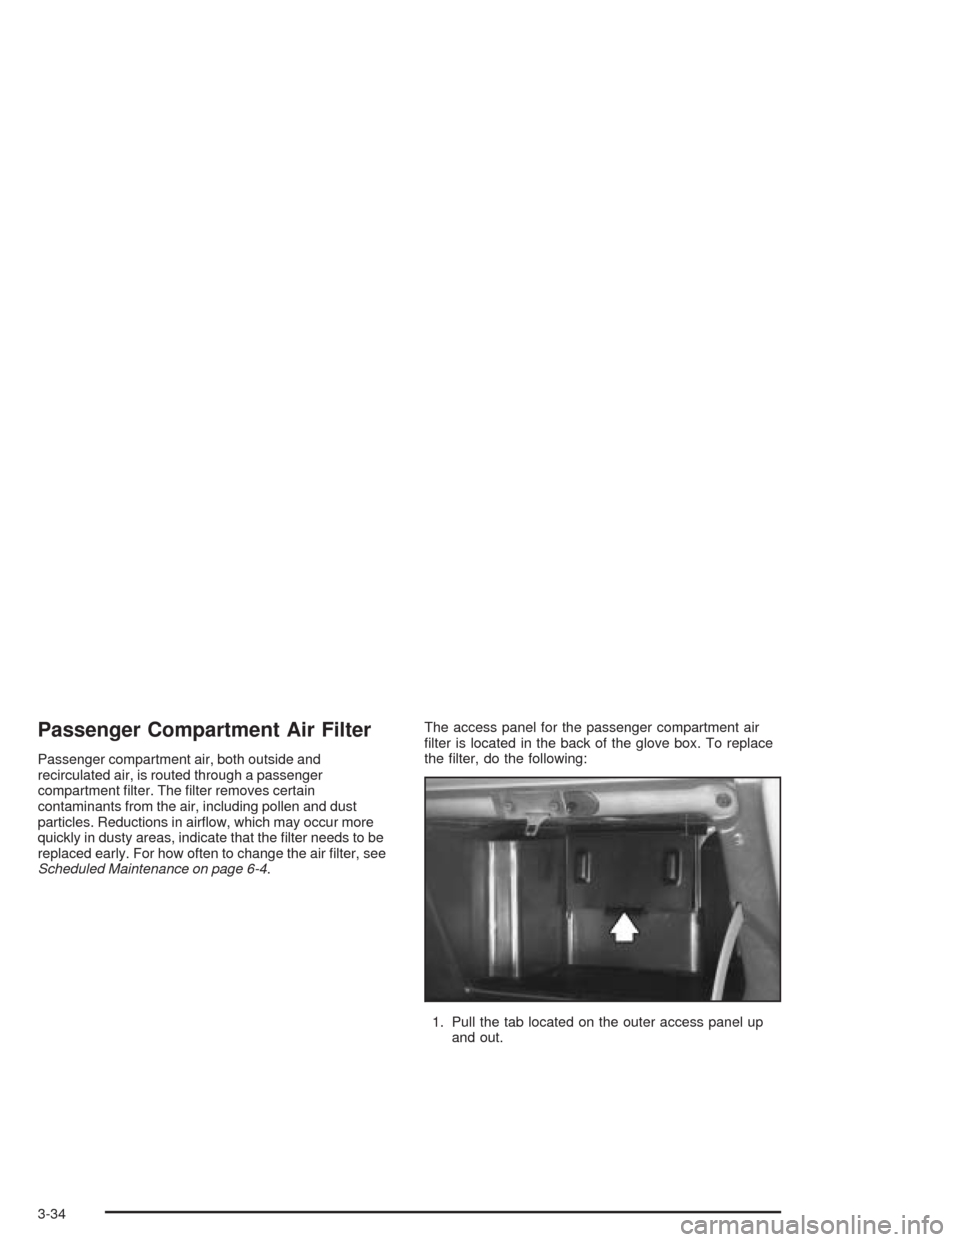
�lter is located in the back of the glove box. To replace
the �lter, do the following:
1. Pull the tab located on the outer access panel up
and out.
3-34
Page 235 of 516
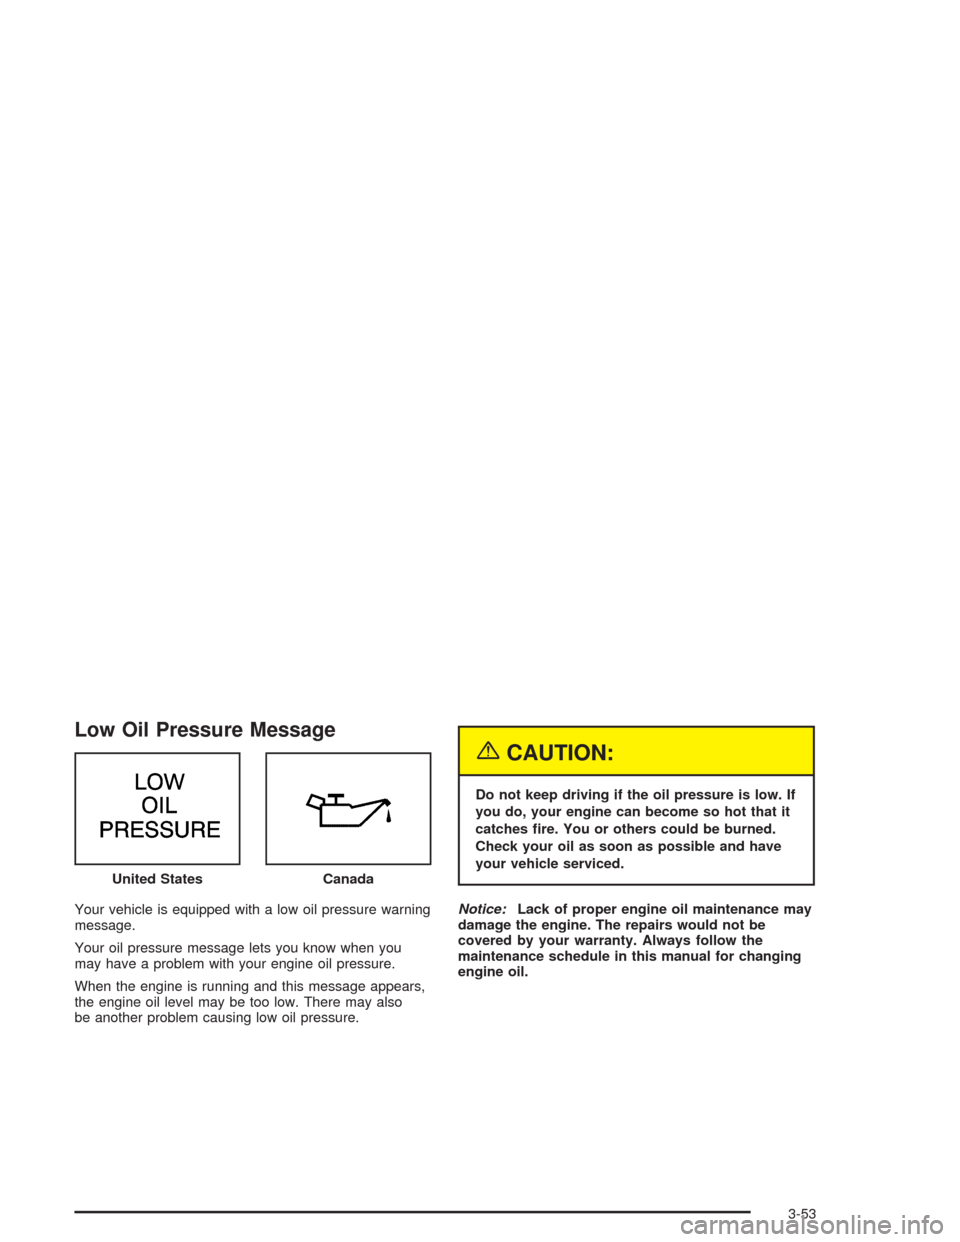
Low Oil Pressure Message
Your vehicle is equipped with a low oil pressure warning
message.
Your oil pressure message lets you know when you
may have a problem with your engine oil pressure.
When the engine is running and this message appears,
the engine oil level may be too low. There may also
be another problem causing low oil pressure.
{CAUTION:
Do not keep driving if the oil pressure is low. If
you do, your engine can become so hot that it
catches �re. You or others could be burned.
Check your oil as soon as possible and have
your vehicle serviced.
Notice:Lack of proper engine oil maintenance may
damage the engine. The repairs would not be
covered by your warranty. Always follow the
maintenance schedule in this manual for changing
engine oil. United States
Canada
3-53
Page 236 of 516
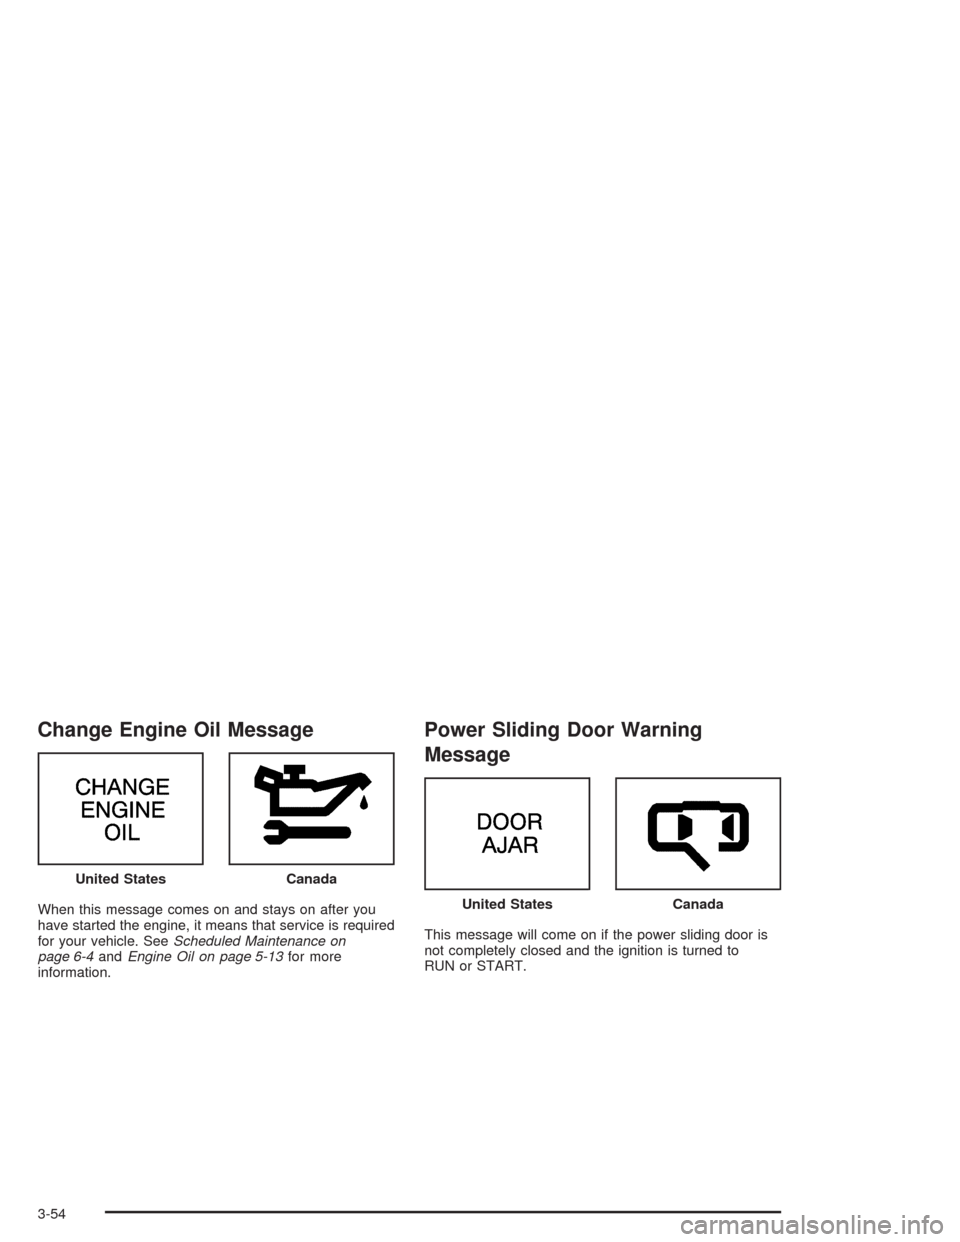
Change Engine Oil Message
When this message comes on and stays on after you
have started the engine, it means that service is required
for your vehicle. SeeScheduled Maintenance on
page 6-4andEngine Oil on page 5-13for more
information.
Power Sliding Door Warning
Message
This message will come on if the power sliding door is
not completely closed and the ignition is turned to
RUN or START. United States
Canada
United StatesCanada
3-54
Page 352 of 516
When You Are Ready to Leave After
Parking on a Hill
1. Apply your regular brakes and hold the pedal down
while you do the following:
Start your engine.
Shift into a gear.
Release the parking brake.
2. Let up on the brake pedal.
3. Drive slowly until the trailer is clear of the chocks.
4. Stop and have someone pick up and store
the chocks.
Maintenance When Trailer Towing
Your vehicle will need service more often when you are
pulling a trailer. See the Maintenance Schedule for more
on this. Things that are especially important in trailer
operation are automatic transaxle �uid, engine oil, belts,
cooling system, and brake system. Each of these is
covered in this manual, and the Index will help you �nd
them quickly. If you are trailering, it is a good idea to
review these sections before you start your trip.
Check periodically to see that all hitch nuts and bolts
are tight.
Trailer Wiring Harness
Your vehicle has a trailer wiring harness located at the
rear of your vehicle. To use the trailer wiring harness,
you need a converter kit. Contact your dealer for more
information.
4-48
Page 370 of 516
What to Do with Used Oil
Used engine oil contains certain elements that may be
unhealthy for your skin and could even cause cancer.
Do not let used oil stay on your skin for very long. Clean
your skin and nails with soap and water, or a good
hand cleaner. Wash or properly dispose of clothing or
rags containing used engine oil. See the manufacturer’s
warnings about the use and disposal of oil products.
Used oil can be a threat to the environment. If you
change your own oil, be sure to drain all the oil from the
�lter before disposal. Never dispose of oil by putting it
in the trash, pouring it on the ground, into sewers, or into
streams or bodies of water. Instead, recycle it by
taking it to a place that collects used oil. If you have a
problem properly disposing of your used oil, ask
your dealer, a service station or a local recycling center
for help.
Engine Air Cleaner/Filter
SeeEngine Compartment Overview on page 5-12for
the location of the engine air cleaner/�lter.
When to Inspect the Engine Air
Cleaner/Filter
Inspect the air cleaner/�lter at every oil change
and replace it at the �rst oil change after
25,000 miles (40 000 km). SeeScheduled
Maintenance on page 6-4for more information.
How to Inspect the Engine Air
Cleaner/Filter
To inspect the air cleaner/�lter, remove the �lter from
the vehicle and lightly shake the �lter to release
loose dust and dirt. If the �lter remains caked with dirt,
a new �lter is required.
5-18
Page 372 of 516
Automatic Transaxle Fluid
When to Check and Change Automatic
Transaxle Fluid
A good time to check your automatic transaxle �uid
level is when the engine oil is changed.
Change both the �uid and �lter every 50,000 miles
(83 000 km) if the vehicle is mainly driven under one or
more of these conditions:
In heavy city traffic where the outside temperature
regularly reaches 90°F (32°C) or higher
In hilly or mountainous terrain
When doing frequent trailer towing
Uses such as found in taxi, police or delivery
service
If you do not use your vehicle under any of
these conditions, change the �uid and �lter at
100,000 miles (166 000 km).
SeeScheduled Maintenance on page 6-4for more
information.
How to Check Automatic Transaxle
Fluid
Because this operation can be a little difficult, you may
choose to have this done at the dealership service
department.
If you do it yourself, be sure to follow all the instructions
here, or you could get a false reading on the dipstick.
Notice:Too much or too little �uid can damage the
transaxle. Too much can mean that some of the
�uid could come out and fall on hot engine or
exhaust system parts, starting a �re. Too little �uid
could cause the transaxle to overheat. Be sure
to get an accurate reading if you check the transaxle
�uid.
Wait at least 30 minutes before checking the transaxle
�uid level if you have been driving:
When outside temperatures are above 90°F (32°C)
At high speed for quite a while
In heavy traffic – especially in hot weather
While pulling a trailer
5-20
Page 374 of 516
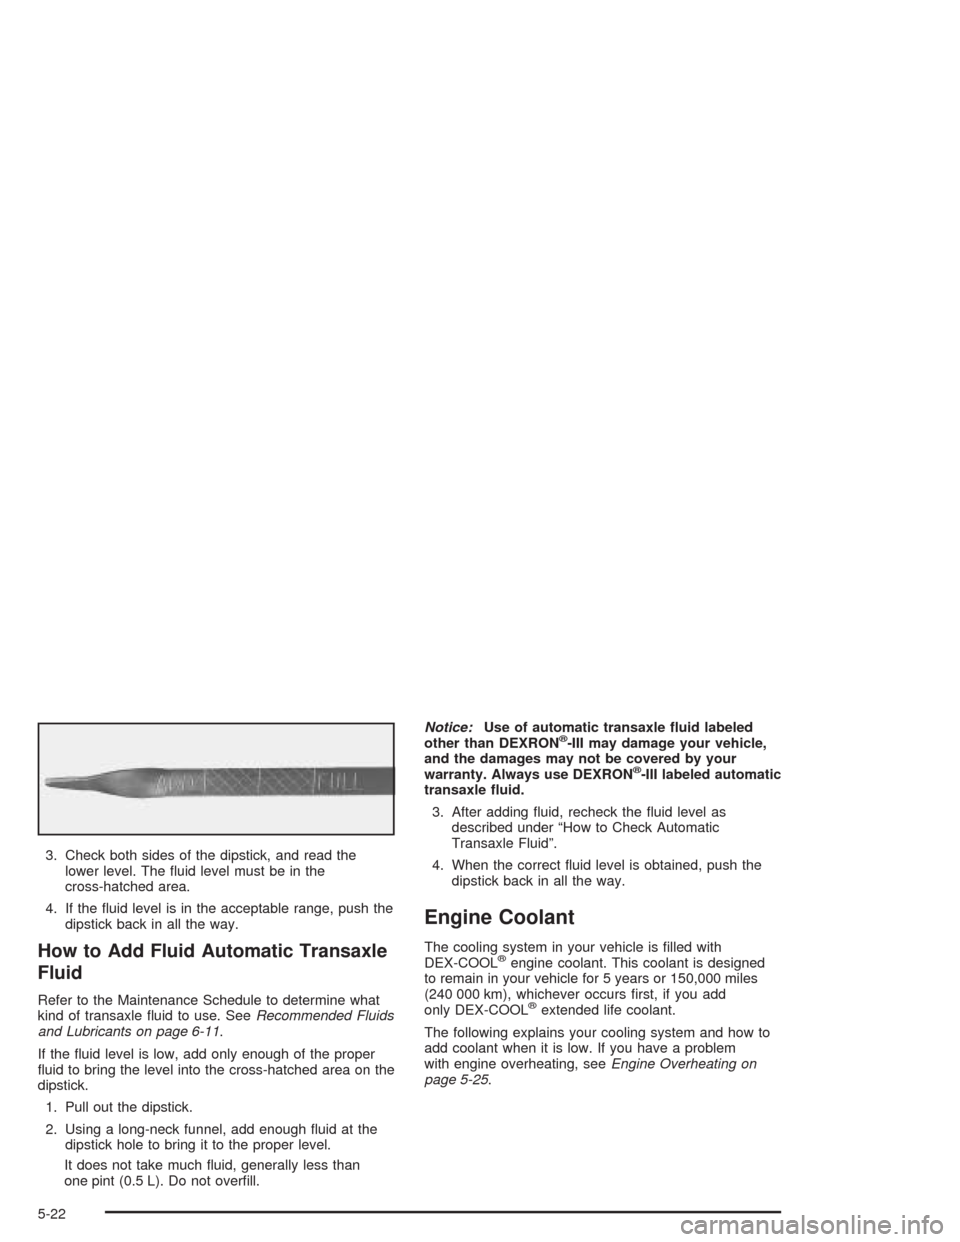
3. Check both sides of the dipstick, and read the
lower level. The �uid level must be in the
cross-hatched area.
4. If the �uid level is in the acceptable range, push the
dipstick back in all the way.
How to Add Fluid Automatic Transaxle
Fluid
Refer to the Maintenance Schedule to determine what
kind of transaxle �uid to use. SeeRecommended Fluids
and Lubricants on page 6-11.
If the �uid level is low, add only enough of the proper
�uid to bring the level into the cross-hatched area on the
dipstick.
1. Pull out the dipstick.
2. Using a long-neck funnel, add enough �uid at the
dipstick hole to bring it to the proper level.
It does not take much �uid, generally less than
one pint (0.5 L). Do not over�ll.Notice:Use of automatic transaxle �uid labeled
other than DEXRON
®-III may damage your vehicle,
and the damages may not be covered by your
warranty. Always use DEXRON
®-III labeled automatic
transaxle �uid.
3. After adding �uid, recheck the �uid level as
described under “How to Check Automatic
Transaxle Fluid”.
4. When the correct �uid level is obtained, push the
dipstick back in all the way.
Engine Coolant
The cooling system in your vehicle is �lled with
DEX-COOL®engine coolant. This coolant is designed
to remain in your vehicle for 5 years or 150,000 miles
(240 000 km), whichever occurs �rst, if you add
only DEX-COOL
®extended life coolant.
The following explains your cooling system and how to
add coolant when it is low. If you have a problem
with engine overheating, seeEngine Overheating on
page 5-25.
5-22