2004 CHEVROLET VENTURE phone
[x] Cancel search: phonePage 158 of 516
Luxury and Leisure Plan
All Directions and Connections Plan services
Personal Concierge
OnStar®Personal Calling
With OnStar®Personal Calling, you have a safer way to
stay connected while driving. It’s a hands-free wireless
phone that’s integrated into your vehicle. You can place
calls nationwide using voice-activated dialing with no
contracts and no additional roaming charges. To �nd out
more about OnStar
®Personal Calling, refer to the
OnStar®user’s guide in your vehicle’s glove box, or call
OnStar®at 1-888-4-ONSTAR (1-888-466-7827).
OnStar®Virtual Advisor
With OnStar®Virtual Advisor you can listen to the news,
entertainment and informative topics, such as traffic
and weather reports. You are able to listen and reply to
your e-mail through your vehicle’s speakers.
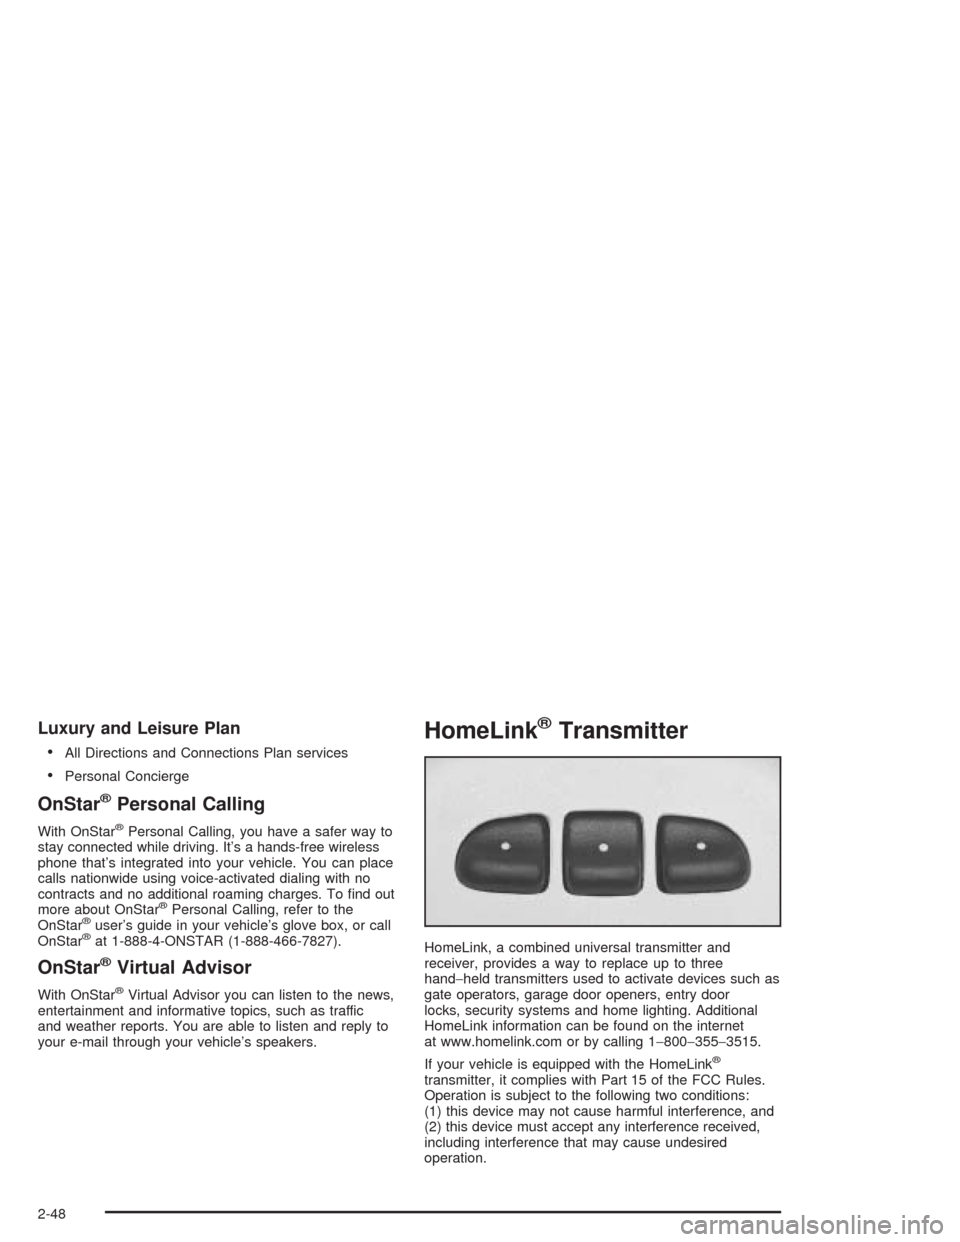
HomeLink®Transmitter
HomeLink, a combined universal transmitter and
receiver, provides a way to replace up to three
hand−held transmitters used to activate devices such as
gate operators, garage door openers, entry door
locks, security systems and home lighting. Additional
HomeLink information can be found on the internet
at www.homelink.com or by calling 1−800−355−3515.
If your vehicle is equipped with the HomeLink
®
transmitter, it complies with Part 15 of the FCC Rules.
Operation is subject to the following two conditions:
(1) this device may not cause harmful interference, and
(2) this device must accept any interference received,
including interference that may cause undesired
operation.
2-48
Page 207 of 516
Accessory Power Outlets
With accessory power outlets you can plug in electrical
equipment such as a cellular telephone or CB radio.
The front accessory power outlet is located below
the cupholder drawer.
Pull the cover down to use the accessory power outlet.
When not in use, keep the cover on.
The rear accessory power outlet is located in the rear
compartment on the driver’s side next to the air
in�ator system.
To remove the cover, pull the tab on the cover and pull
it off. To put the cover back on, line up the tabs at
the back of the cover and put the cover in place. Push
down the tab to secure the cover. When not in use,
always cover the rear accessory power outlet with the
protective cap.
Notice:Leaving electrical equipment on for
extended periods will drain the battery. Always turn
off electrical equipment when not in use and do
not plug in equipment that exceeds the maximum
amperage rating.Certain electrical accessories may not be compatible
with the accessory power outlet and could result
in blown vehicle or adapter fuses. If you experience a
problem see your dealer for additional information
on accessory power outlets.
Notice:Adding any electrical equipment to your
vehicle may damage it or keep other components
from working as they should. The repairs would not
be covered by your warranty. Check with your
dealer before adding electrical equipment.
When adding electrical equipment, be sure to follow the
proper installation instructions included with the
equipment.
Notice:Improper use of the power outlet can cause
damage not covered by your warranty. Do not
hang any type of accessory or accessory bracket
from the plug because the power outlets are
designed for accessory power plugs only.
3-25
Page 243 of 516

Audio System(s)
Notice:Before adding any sound equipment to
your vehicle, like a tape player, CB radio, mobile
telephone, or two-way radio, make sure that it can
be added by checking with your dealer. Also,
check federal rules covering mobile radio and
telephone units. If sound equipment can be added,
it is very important to do it properly. Added
sound equipment may interfere with the operation
of your vehicle’s engine, radio, or other systems,
and even damage them. Your vehicle’s systems may
interfere with the operation of sound equipment
that has been added improperly.
Figure out which audio system is in your vehicle, �nd
out what your audio system can do, and how to operate
all of its controls.
Your vehicle has a feature called Retained Accessory
Power (RAP). With RAP, the audio system can be
played even after the ignition is turned off. See
“Retained Accessory Power (RAP)” underIgnition
Positions on page 2-32.
Setting the Time for Radios without
Radio Data Systems (RDS)
Press and hold the HR or MIN arrow for two seconds.
Then press HR until the correct hour appears on the
display. Press and hold MIN until the correct minute
appears on the display. The time can be set with the
ignition on or off.
Setting the Time for Radios with
Radio Data Systems (RDS)
The radio may have a button marked with an H or HR to
represent hours and an M or MN to represent minutes.
Press and hold the hour button until the correct hour
appears on the display. AM will appear on the display for
morning hours. Press and hold the minute button until
the correct minute appears on the display. The time can
be set with the ignition on or off.
To synchronize the time with an FM station broadcasting
Radio Data System (RDS) information, press and hold
the hour and minute buttons at the same time until
UPDATED appears on the display. If the time is not
available from the station, NO UPDAT will appear on the
display.
RDS time is broadcast once a minute. After tuning to an
RDS broadcast station, it may take a few minutes for the
time to update.
3-61
Page 252 of 516
RDS Messages
ALERT!:Alert warns of local or national emergencies.
When an alert announcement comes on the current
radio station, ALERT! will appear on the display. You will
hear the announcement, even if the volume is muted
or a CD is playing. If a CD is playing, play will stop
during the announcement. You will not be able to turn
off alert announcements.
ALERT! will not be affected by tests of the emergency
broadcast system. This feature is not supported by
all RDS stations.
INFO (Information):If the current station has a
message, the information symbol will appear on the
display. Press this button to see the message. The
message may display the artist, song title, call in phone
numbers, etc.
If the whole message is not displayed, parts of the
message will appear every three seconds. To scroll
through the message at your own speed, press
the INFO button repeatedly. A new group of words will
appear on the display with each press. Once the
complete message has been displayed, the information
symbol will disappear from the display until another
new message is received. The old message can
be displayed by pressing the INFO button. You can
view an old message until a new message is received
or a different station is tuned to.When a message is not available from a station,
NO INFO will appear on the display.
TRAF (Traffic):If TRAF appears on the display, the
tuned station broadcasts traffic announcements
and when a traffic announcement comes on the tuned
radio station you will hear it.
If the current tuned station does not broadcast traffic
announcements, press the TRAF button and the
radio will seek to a station that does. When the radio
�nds a station that broadcasts traffic announcements,
the radio will stop and TRAF will be displayed. When a
traffic announcement comes on the tuned radio
station you will hear it. If no station is found, NO TRAF
will appear on the display.
If TRAF is on the display you can press the TRAF
button to turn off the traffic announcements.
Your radio will play the traffic announcement even if the
volume is low. Your radio will interrupt the play of a
CD if the last tuned station broadcasts traffic
announcements.
This function does not apply to XM™ Satellite Radio
Service.
3-70
Page 264 of 516
RDS Messages
ALERT!:Alert warns of local or national emergencies.
When an alert announcement comes on the current
radio station, ALERT! will appear on the display. You will
hear the announcement, even if the volume is muted
or a CD is playing. If a CD is playing, play will stop
during the announcement. You will not be able to turn
off alert announcements.
ALERT! will not be affected by tests of the emergency
broadcast system. This feature is not supported by
all RDS stations.
INFO (Information):If the current station has a
message, the information symbol will appear on the
display. Press this button to see the message. The
message may display the artist, song title, call in phone
numbers, etc.
If the whole message is not displayed, parts of the
message will appear every three seconds. To scroll
through the message at your own speed, press
the INFO button repeatedly. A new group of words will
appear on the display with each press. Once the
complete message has been displayed, the information
symbol will disappear from the display until another
new message is received. The old message can
be displayed by pressing the INFO button. You can
view an old message until a new message is received
or a different station is tuned to.When a message is not available from a station,
NO INFO will appear on the display.
TRAF (Traffic):If TRAF appears on the display, the
tuned station broadcasts traffic announcements
and when a traffic announcement comes on the tuned
radio station you will hear it.
If the current tuned station does not broadcast traffic
announcements, press the TRAF button and the
radio will seek to a station that does. When the radio
�nds a station that broadcasts traffic announcements,
the radio will stop and TRAF will be displayed. When a
traffic announcement comes on the tuned radio
station you will hear it. If no station is found, NO TRAF
will appear on the display.
If TRAF is on the display you can press the TRAF
button to turn of the traffic announcements.
Your radio will play the traffic announcement if the
volume is low. Your radio will interrupt the play of a
CD if the last tuned station broadcasts traffic
announcements.
This function does not apply to XM™ Satellite Radio
Service.
3-82
Page 281 of 516
INFO (Information):If the current station has a
message, INFO will appear on the display. Press this
button to see the message. The message may display
the artist, song title, call in phone numbers, etc.
If the whole message is not displayed, parts of the
message will appear every three seconds. To scroll
through the message at your own speed, press
the INFO button repeatedly. A new group of words will
appear on the display with each press. Once the
complete message has been displayed, INFO will
disappear from the display until another new message
is received. The old message can be displayed by
pressing the INFO button. You can view an old message
until a new message is received or a different station
is tuned to.
TRAF (Traffic):If TRAF appears on the display, the
tuned station broadcasts traffic announcements.
To receive the traffic announcement from the tuned
station, press this button. Brackets will be displayed
around TRAF and when a traffic announcement comes
on the tuned radio station you will hear it.If the current tuned station does not broadcast traffic
announcements, press the TRAF button and the
radio will seek to a station that does. When the radio
�nds a station that broadcasts traffic announcements,
the radio will stop and brackets will be displayed around
TRAF. When a traffic announcement comes on the
tuned radio station you will hear it. If no station is found,
NO TRAFFIC will appear on the display.
If the brackets are on the display and TRAF is not, you
can then press the TRAF button to remove the
brackets or use the TUNE knob or the SEEK arrows to
go to a station that supports traffic announcements.
If no station is found, NO TRAFFIC will appear on the
display.
Your radio will play the traffic announcements if the
volume is low. Your radio will interrupt the play of a
CD if the last tuned station broadcasts traffic
announcements and the brackets are displayed.
This function does not apply to XM™ Satellite Radio
Service.
3-99
Page 290 of 516

CD Messages
CHECK CD:If this message appears on the radio
display, it could be for one of the following reasons:
It is very hot. When the temperature returns to
normal, the CD should play.
You are driving on a very rough road. When the
road becomes smoother, the CD should play.
The CD is dirty, scratched, wet, or upside down.
The air is very humid. If so, wait about an hour and
try again.
There may have been a problem while burning
the CD.
The label may be caught in the CD player.
If the CD is not playing correctly, for any other reason,
try a known good CD.
If any error occurs repeatedly or if an error cannot be
corrected, contact your dealer. If your radio displays an
error message, write it down and provide it to your
dealer when reporting the problem.
Entertainment System
Your vehicle may have a DVD entertainment system.
The entertainment system works with the vehicle’s audio
system and includes a DVD player, a video display
screen, headphones, and a remote control. The
entertainment system also integrates the rear climate
control and rear seat audio functions.
Before You Drive
The entertainment system is for passengers in the
second and third row seats only. The driver cannot
safely view the video screen while driving and should not
try to do so.
In severe or extreme weather conditions the
entertainment system will shut down until the temperature
is within the operating range. This protection feature will
keep the video components from being damaged while
the temperature is below−4°F (−20°C) or above
140°F (60°C). To resume operation, shut off the
entertainment system, pull down the video screen, and
then heat or cool the vehicle until the temperature is
within the operating range.
3-108
Page 291 of 516
Headphones
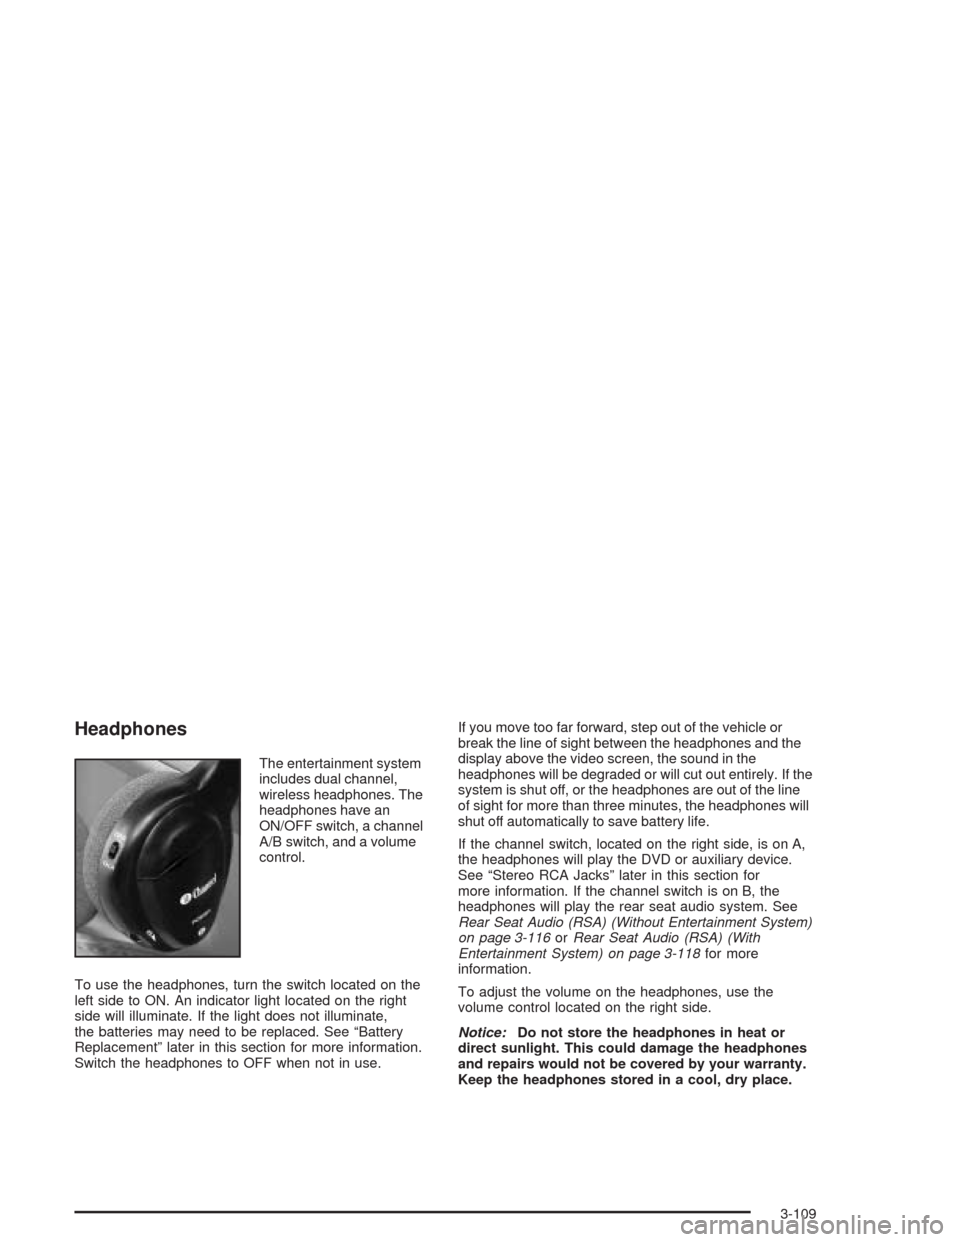
The entertainment system
includes dual channel,
wireless headphones. The
headphones have an
ON/OFF switch, a channel
A/B switch, and a volume
control.
To use the headphones, turn the switch located on the
left side to ON. An indicator light located on the right
side will illuminate. If the light does not illuminate,
the batteries may need to be replaced. See “Battery
Replacement” later in this section for more information.
Switch the headphones to OFF when not in use.If you move too far forward, step out of the vehicle or
break the line of sight between the headphones and the
display above the video screen, the sound in the
headphones will be degraded or will cut out entirely. If the
system is shut off, or the headphones are out of the line
of sight for more than three minutes, the headphones will
shut off automatically to save battery life.
If the channel switch, located on the right side, is on A,
the headphones will play the DVD or auxiliary device.
See “Stereo RCA Jacks” later in this section for
more information. If the channel switch is on B, the
headphones will play the rear seat audio system. See
Rear Seat Audio (RSA) (Without Entertainment System)
on page 3-116orRear Seat Audio (RSA) (With
Entertainment System) on page 3-118for more
information.
To adjust the volume on the headphones, use the
volume control located on the right side.
Notice:Do not store the headphones in heat or
direct sunlight. This could damage the headphones
and repairs would not be covered by your warranty.
Keep the headphones stored in a cool, dry place.
3-109