Page 390 of 584
Heavy-DutyTrailer Wiring
Harness Package
Your pickup may be equipped with the eight-wire trailer
towing harness. This harness with a seven-pin
universal trailer connector is attached to a bracket on
the hitch platform.
* The Center High-Mounted Stoplamp (CHMSL) wire is
tied next to the trailer wiring harness for use with a
trailer, slide-in camper or cap.The eight-wire harness contains the following
trailer circuits:
Yellow: Left Stop/Turn Signal
Dark Green: Right Stop/Turn Signal
Brown: Taillamps
White: Ground
Light Green: Back-up Lamps
Light Blue: CHMSL
Red: Battery Feed
Dark Blue: Trailer Brake
If your trailer is equipped with electric brakes, you can
get a jumper harness (electric trailer brake control)
with a trailer battery feed fuse from your dealer.
If you need to tow a light-duty trailer with a standard
four-way round pin connector you can also get an
adapter from your dealer.
4-96
Page 391 of 584
Camper/Fifth-Wheel Trailer Wiring Package
The eight-wire camper harness is located under the
front edge of the pickup box on the driver’s side of the
vehicle, attached to the frame bracket. A connector
will have to be added to the wiring harness which
connects to the camper.
The eight-wire harness contains the following
camper/trailer circuits:
Yellow: Left Stop/Turn Signal
Dark Green: Right Stop/Turn Signal
Brown: Taillamps
White: Ground
Light Green: Back-up Lamps
Light Blue: Center High-Mounted
Stoplamp (CHMSL)
Red: Battery Feed
Dark Blue: Trailer BrakeIf your vehicle is equipped with the “Heavy-Duty
Trailering” option, please refer to “Heavy-Duty Trailer
Wiring Package” earlier in this section.
When the camper-wiring harness is ordered without the
heavy-duty trailering package, an eight-wire harness
with a seven-pin connector and separate CHMSL
connector are located at the rear of the vehicle and are
tied to the vehicle’s frame.
4-97
Page 395 of 584
6. Release the clutch and regular brakes as you
normally would. When the clutch is released,
the PTO will start.
7. Turn the PTO rotary switch to ON.
To engage a PTO on a vehicle with an automatic
transmission do the following:
1. For stationary use shift the transmission into
PARK (P).
2. Turn the PTO rotary switch ON.
3. If the engine speed is below the PTO engage
speed limit, the PTO will start. The blinking LED
on the PTO control switch indicates PTO engage is
requested. When PTO engages the LED will
switch from blinking to a steady light.
To use PTO speed control in Preset Mode (Factory
Setting) do the following:
1. Engage the PTO
2. Select PARK (P) or NEUTRAL (N) range. Apply the
parking brake if NEUTRAL (N) is selected. Torque
Converter Clutch (TCC) is not available in
NEUTRAL (N) and is available only in PARK (P)
when engine speed is above 1,100 rpm.
3. Make sure your foot is off the brake pedal (and off
the clutch on vehicles equipped with a manual
transmission).4. Select the desired engine speed for PTO operation.
Read the following preset mode information
regarding operation.
Preset Mode:PTO speed control mode is used for
stationary applications. (PTO will remain engaged while
mobile in the preset mode, however PTO set and
resume speed controls will be inoperative). This mode
provides a default standby speed of 800 or 850 rpm
(depending on the engine/transmission combination) and
two default PTO control speeds which follow:
1. PTO Set Speed of 1,250 rpm, or
2. PTO Resume Speed of 1,700 rpm.
Please note that the standby speed (800/850 rpm) is
not to be used as a PTO control speed. Vehicles
not equipped with cruise control will not have the resume
speed capability.
To use PTO speed control in variable mode (while
mobile) do the following:
1. Engage the PTO.
2. Vehicle speed must be greater than 5 mph.
3. Make sure your foot is off the brake pedal (and
off the clutch for vehicles equipped with a
manual transmission).
4. Select the desired engine speed by using the foot
pedal, and select SET on the PTO switch or the
cruise control.
4-101
Page 401 of 584
Adding Equipment to the Outside of
Your Vehicle
Things you might add to the outside of your vehicle can
affect the air�ow around it. This may cause wind
noise and affect windshield washer performance. Check
with your dealer before adding equipment to the
outside of your vehicle.
Fuel
If your vehicle has a diesel engine, see “Diesel
Fuel Requirements and Fuel System” in the Diesel
Engine Supplement.
For vehicles with gasoline engines, please read this.
Gasoline Octane
For all except the Silverado SS model, use regular
unleaded gasoline with a posted octane of 87 or higher.
If the octane is less than 87, you may get a heavy
knocking noise when you drive. If this occurs, use a
gasoline rated at 87 octane or higher as soon as
possible. Otherwise, you might damage your engine.
A little pinging noise when you accelerate or drive uphill
is considered normal. This does not indicate a problem
exists or that a higher-octane fuel is necessary.
If you are using 87 octane or higher-octane fuel and
hear heavy knocking, your engine needs service.
If you have the Silverado SS model, use premium
unleaded gasoline with a posted octane of 91 or higher
for best performance. You may also use middle
grade or regular unleaded gasoline rated at 87 octane
or higher, but your vehicle’s acceleration may be slightly
reduced. If the octane is less than 87, you may get a
heavy knocking noise when you drive. If this occurs, use
gasoline rated at 87 octane or higher as soon as
possible. Otherwise, you might damage your engine.
5-5
Page 407 of 584
Be careful not to spill fuel. Do not top off or over�ll your
tank and wait a few seconds after you have �nished
pumping before you remove the nozzle. Clean any
spilled fuel from painted surfaces as soon as possible.
SeeCleaning the Outside of Your Vehicle on
page 5-117.
When you put the fuel cap back on, turn it to the right
(clockwise) until you hear a clicking sound. It will require
more effort to turn the fuel cap on the last turn as you
tighten it. Make sure you fully install the cap. The
diagnostic system can determine if the fuel cap has
been left off or improperly installed. This would allow fuel
to evaporate into the atmosphere. SeeMalfunction
Indicator Lamp on page 3-48.
Notice:If you need a new fuel cap, be sure to get
the right type. Your dealer can get one for you.
If you get the wrong type, it may not �t properly.
This may cause your malfunction indicator lamp to
light and may damage your fuel tank and emissions
system. SeeMalfunction Indicator Lamp on
page 3-48.Filling a Portable Fuel Container
{CAUTION:
Never �ll a portable fuel container while it is in
your vehicle. Static electricity discharge from
the container can ignite the gasoline vapor.
You can be badly burned and your vehicle
damaged if this occurs. To help avoid injury to
you and others:
Dispense gasoline only into approved
containers.
Do not �ll a container while it is inside a
vehicle, in a vehicle’s trunk, pickup bed or
on any surface other than the ground.
Bring the �ll nozzle in contact with the
inside of the �ll opening before operating
the nozzle. Contact should be maintained
until the �lling is complete.
Do not smoke while pumping gasoline.
5-11
Page 416 of 584
Engine Oil
If your vehicle has a diesel engine, see “Engine Oil” in
the Diesel Engine Supplement.
If the CHECK OIL LEVEL light appears on the
instrument cluster (except vehicles equipped with the
4.3L engine), it means you need to check your engine oil
level right away.
For more information, seeDriver Information
Center (DIC) on page 3-53.
You should check your engine oil level regularly; this is
an added reminder.
Checking Engine Oil
It is a good idea to check your engine oil every time you
get fuel. In order to get an accurate reading, the oil
must be warm and the vehicle must be on level ground.
The engine oil dipstick handle is a yellow loop. See
Engine Compartment Overview on page 5-14for
the location of the engine oil dipstick.
Turn off the engine and give the oil several minutes to
drain back into the oil pan. If you don’t, the oil
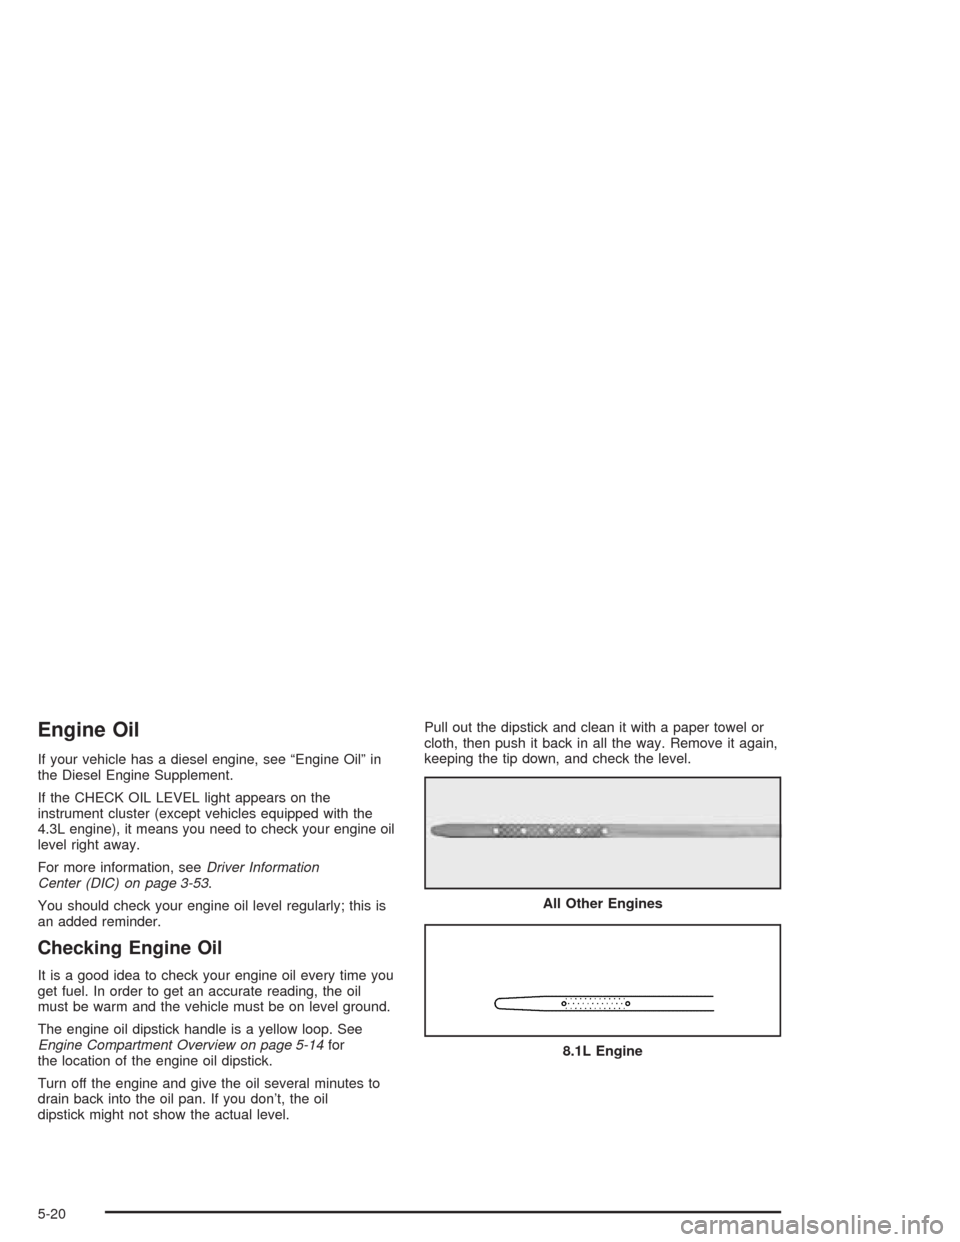
dipstick might not show the actual level.Pull out the dipstick and clean it with a paper towel or
cloth, then push it back in all the way. Remove it again,
keeping the tip down, and check the level.
All Other Engines
8.1L Engine
5-20
Page 422 of 584
How to Inspect
Locate the �lter change indicator. When the change
indicator turns black or is in the red/orange “change”
zone, replace the �lter and reset the indicator. To
inspect the air cleaner/�lter, remove the �lter from the
vehicle and lightly shake �lter to release loose dust and
dirt. If the �lter remains “caked” with dirt, a new �lter
is required.
To inspect and replace the �lter and reset the indicator
(if equipped), do the following:
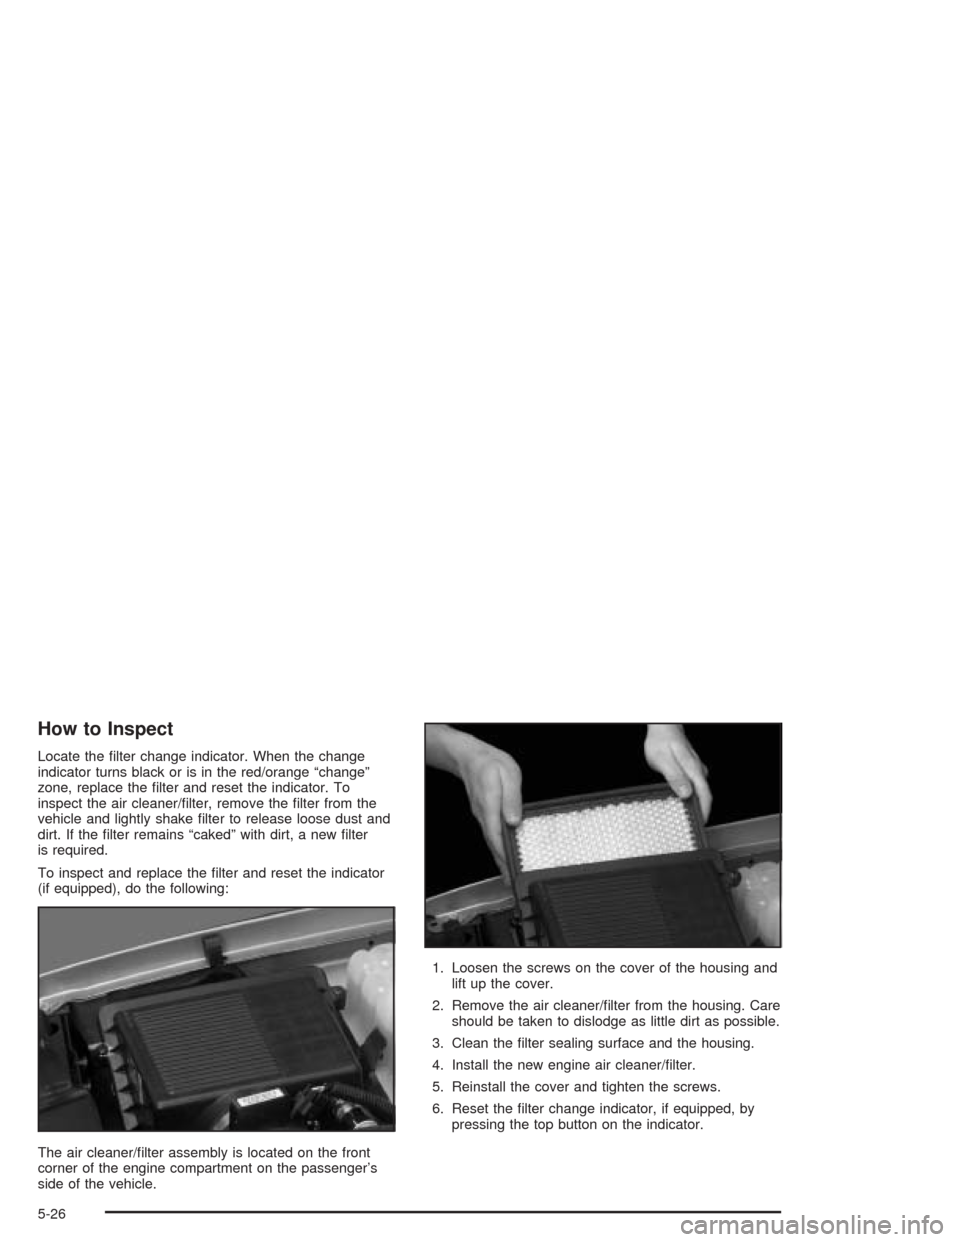
The air cleaner/�lter assembly is located on the front
corner of the engine compartment on the passenger’s
side of the vehicle.1. Loosen the screws on the cover of the housing and
lift up the cover.
2. Remove the air cleaner/�lter from the housing. Care
should be taken to dislodge as little dirt as possible.
3. Clean the �lter sealing surface and the housing.
4. Install the new engine air cleaner/�lter.
5. Reinstall the cover and tighten the screws.
6. Reset the �lter change indicator, if equipped, by
pressing the top button on the indicator.
5-26
Page 431 of 584
When to Check and What to Use
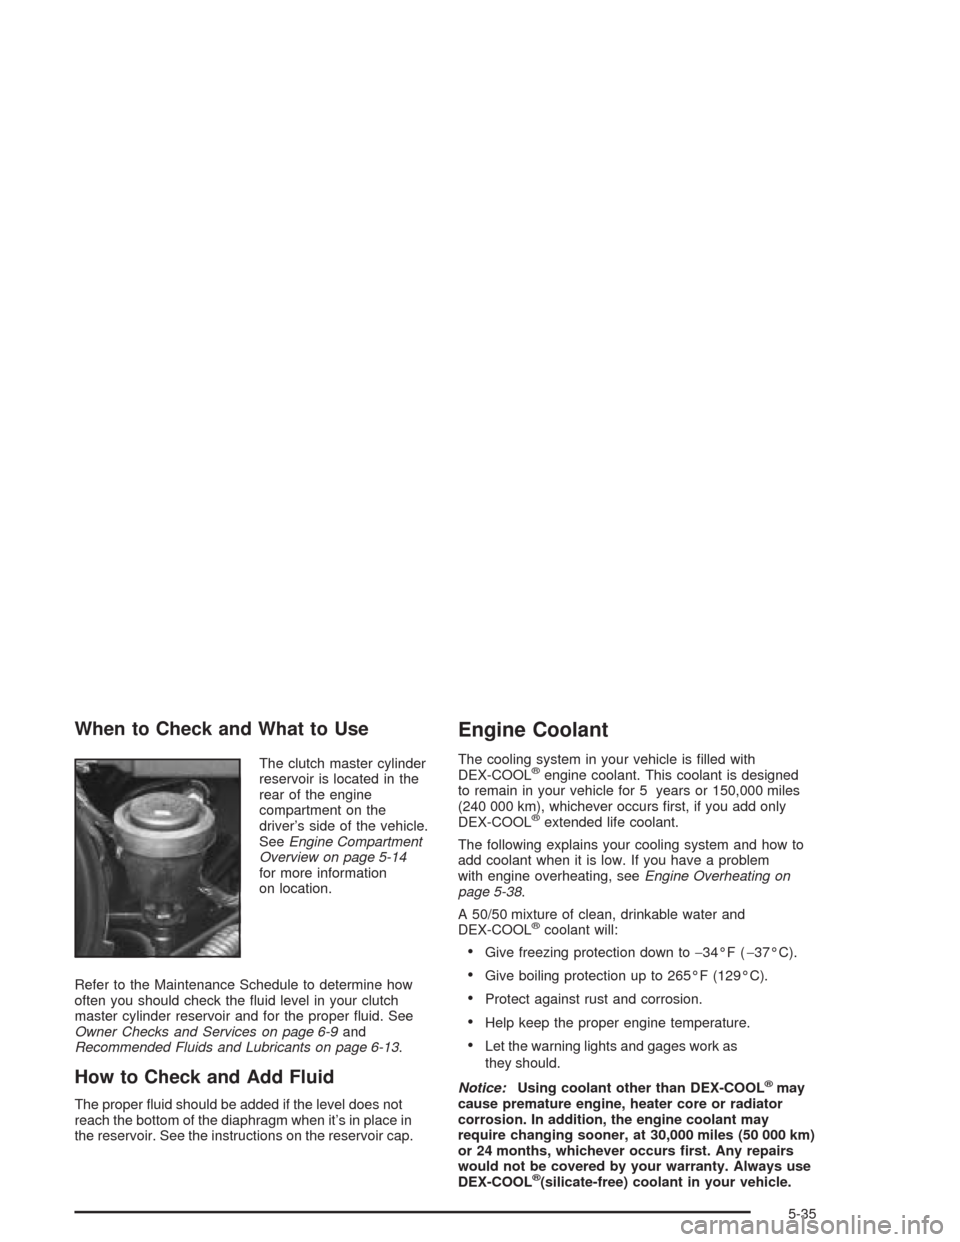
The clutch master cylinder
reservoir is located in the
rear of the engine
compartment on the
driver’s side of the vehicle.
SeeEngine Compartment
Overview on page 5-14
for more information
on location.
Refer to the Maintenance Schedule to determine how
often you should check the �uid level in your clutch
master cylinder reservoir and for the proper �uid. See
Owner Checks and Services on page 6-9and
Recommended Fluids and Lubricants on page 6-13.
How to Check and Add Fluid
The proper �uid should be added if the level does not
reach the bottom of the diaphragm when it’s in place in
the reservoir. See the instructions on the reservoir cap.
Engine Coolant
The cooling system in your vehicle is �lled with
DEX-COOL®engine coolant. This coolant is designed
to remain in your vehicle for 5 years or 150,000 miles
(240 000 km), whichever occurs �rst, if you add only
DEX-COOL
®extended life coolant.
The following explains your cooling system and how to
add coolant when it is low. If you have a problem
with engine overheating, seeEngine Overheating on
page 5-38.
A 50/50 mixture of clean, drinkable water and
DEX-COOL
®coolant will:
Give freezing protection down to−34°F (−37°C).
Give boiling protection up to 265°F (129°C).
Protect against rust and corrosion.
Help keep the proper engine temperature.
Let the warning lights and gages work as
they should.
Notice:Using coolant other than DEX-COOL
®may
cause premature engine, heater core or radiator
corrosion. In addition, the engine coolant may
require changing sooner, at 30,000 miles (50 000 km)
or 24 months, whichever occurs �rst. Any repairs
would not be covered by your warranty. Always use
DEX-COOL
®(silicate-free) coolant in your vehicle.
5-35