2004 CHEVROLET SILVERADO ignition
[x] Cancel search: ignitionPage 294 of 584
Care of Your CDs and DVDs
Handle discs carefully. Store them in their original cases
or other protective cases and away from direct sunlight
and dust. If the surface of a disc is soiled, dampen
a clean, soft cloth in a mild, neutral detergent solution
and clean it, wiping from the center to the edge.
Be sure never to touch the side without writing when
handling discs. Pick up discs by grasping the outer
edges or the edge of the hole and the outer edge.
Care of Your CD and DVD Player
The use of CD lens cleaners for CDs is not advised, due
to the risk of contaminating the lens of the CD optics
with lubricants internal to the CD mechanism.
Fixed Mast Antenna
The �xed mast antenna can withstand most car washes
without being damaged. If the mast should ever
become slightly bent, straighten it out by hand. If the
mast is badly bent, replace it.
Check occasionally to make sure the mast is still
tightened to the cowl. If tightening is required, tighten by
hand, then with a wrench one quarter turn.
XM™ Satellite Radio
Antenna System
The XM™ Satellite Radio antenna is located on the roof
of your vehicle. Keep this antenna clear of snow and
ice build up for clear radio reception.
Chime Level Adjustment
The radio is the vehicle chime producer. To change the
volume level, press and hold pushbutton 6 with the
ignition on and the radio power off. The chime volume
level will change from the normal level to loud, and
LOUD will appear on the radio display. To change back
to the default or normal setting, press and hold
pushbutton 6 again. The chime level will change from
the loud level to normal, and NORMAL will appear
on the radio display. Each time the chime volume is
changed, three chimes will sound as an example of the
new volume selected. Removing the radio and not
replacing it with a factory radio or chime module will
disable vehicle chimes.
3-130
Page 301 of 584
If there is a problem with
the anti-lock brake system,
this warning light will
stay on. SeeAnti-Lock
Brake System Warning
Light on page 3-44.
Along with ABS, your vehicle has a Dynamic Rear
Proportioning (DRP) system. If there is a DRP problem,
both the brake and ABS warning lights will come on
accompanied by a 10-second chime. The lights
and chime will come on each time the ignition is
turned on until the problem is repaired. See your
dealer for service.
Let us say the road is wet and you are driving safely.
Suddenly, an animal jumps out in front of you. You slam
on the brakes and continue braking. Here’s what
happens with ABS:
A computer senses that wheels are slowing down. If
one of the wheels is about to stop rolling, the computer
will separately work the brakes at each front wheel
and at both rear wheels.
4-7
Page 305 of 584
To turn the system on or
off press the TAS on/off
button located on the
instrument panel.
If you used the button to turn the system off, the traction
off light will come on and stay on. You can turn the
system back on at any time by pressing the button
again. The traction off light should go off.
If desired, you can change the TAS automatic
engagement feature so that the system will not come on
automatically when the engine is started. To do so:
1. Park the vehicle with the ignition off and the
transmission in PARK (P).
2. Turn the ignition to RUN; do not start the engine.
3. Apply the brake pedal, shift into NEUTRAL (N),
press the accelerator pedal to the �oor, then
press the TAS on/off button and hold it down for at
least six seconds.
4. Release the TAS button and both pedals.
5. Turn off the ignition and wait a few seconds.The next time you start your vehicle, the TAS will not
automatically come on. You can restore the automatic
feature by repeating the same procedure. Whether
the TAS is set to come on automatically or not, you can
always turn the system on or off by pressing the TAS
on/off button.
Manual Selectable Ride
The main function of this system is to provide superior
ride comfort while trailering or fully loaded, as well
as for unloaded driving. This system also helps
to provide:
Improved trailering stability
Improved handling response when trailering or
fully loaded
This button is located
on the center of the
instrument panel near
the radio.
Press it to activate the selectable ride setting as
desired. An indicator light near the button will illuminate
whenever the system is active.
4-11
Page 329 of 584
If the water is not too deep, drive slowly through it. At
faster speeds, water splashes on your ignition
system and your vehicle can stall. Stalling can also
occur if you get your tailpipe under water. And, as long
as your tailpipe is under water, you will never be
able to start your engine. When you go through water,
remember that when your brakes get wet, it may
take you longer to stop.
{CAUTION:
Driving through rushing water can be
dangerous. Deep water can sweep your
vehicle downstream and you and your
passengers could drown. If it is only shallow
water, it can still wash away the ground from
under your tires, and you could lose traction
and roll the vehicle over. Do not drive through
rushing water.
SeeDriving in Rain and on Wet Roads on page 4-37for
more information on driving through water.
After Off-Road Driving
Remove any brush or debris that has collected on the
underbody, chassis or under the hood. These
accumulations can be a �re hazard.
After operation in mud or sand, have the brake linings
cleaned and checked. These substances can cause
glazing and uneven braking. Check the body structure,
steering, suspension, wheels, tires and exhaust
system for damage. Also, check the fuel lines and
cooling system for any leakage.
Your vehicle will require more frequent service due to
off-road use. Refer to the Maintenance Schedule
for additional information.
4-35
Page 339 of 584
{CAUTION:
Coasting downhill in NEUTRAL (N) or with the
ignition off is dangerous. Your brakes will have
to do all the work of slowing down. They could
get so hot that they would not work well. You
would then have poor braking or even none
going down a hill. You could crash. Always
have your engine running and your vehicle in
gear when you go downhill.
Know how to go uphill. You may want to shift down
to a lower gear. The lower gears help cool your
engine and transmission, and you can climb the
hill better.
Stay in your own lane when driving on two-lane
roads in hills or mountains. Do not swing wide
or cut across the center of the road. Drive at speeds
that let you stay in your own lane.
As you go over the top of a hill, be alert. There
could be something in your lane, like a stalled car or
an accident.
You may see highway signs on mountains that
warn of special problems. Examples are long
grades, passing or no-passing zones, a falling rocks
area or winding roads. Be alert to these and take
appropriate action.
4-45
Page 348 of 584
Four-Wheel-Drive Vehicles Equipped with
Transfer Case (NP1, NP2 and NP8) and
All-Wheel-Drive Vehicles
Notice:Towing an all-wheel-drive vehicle with all
four wheels on the ground, or even with only two of
its wheels on the ground, will damage drivetrain
components. Do not tow an all-wheel-drive vehicle if
any of its wheels will be on the ground.
If your vehicle is equipped with all-wheel-drive, and the
Silverado SS package, your vehicle was not designed
to be towed with any of its wheels on the ground. If your
vehicle must be towed, seeTowing Your Vehicle on
page 4-52.
For four-wheel-drive vehicles, use the following
procedure to tow your vehicle:
1. Shift an automatic transmission to PARK (P), or a
manual transmission to FIRST (1).
2. Turn the engine off, but leave the ignition on.
3. Firmly set the parking brake.
4. Securely attach the vehicle being towed to the
tow vehicle.
{CAUTION:
Shifting a four-wheel-drive vehicle’s transfer
case into NEUTRAL can cause your vehicle to
roll even if the transmission is in Park (P) for
an automatic transmission, or if your vehicle is
in gear, for a manual transmission. You or
others could be injured. Make sure the parking
brake is �rmly set before you shift the transfer
case to NEUTRAL.
5. Shift the transfer case to NEUTRAL. See
Four-Wheel Drive on page 2-36for the proper
procedure to select the neutral position for
your vehicle.
6. Release the parking brake only after the
vehicle being towed is �rmly attached to the
towing vehicle.
7. Turn the ignition off and leave the steering
column unlocked.
4-54
Page 349 of 584
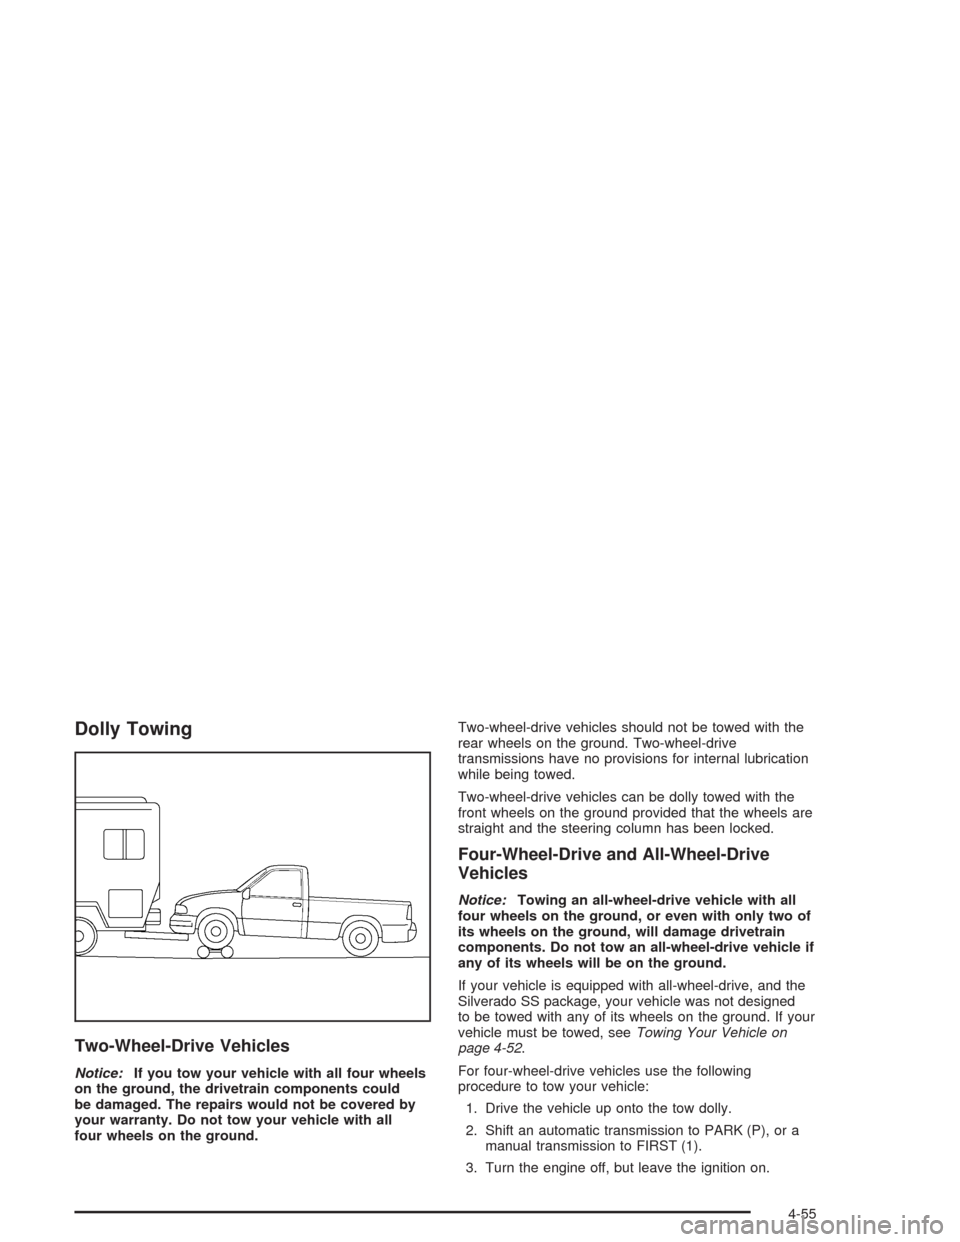
Dolly Towing
Two-Wheel-Drive Vehicles
Notice:If you tow your vehicle with all four wheels
on the ground, the drivetrain components could
be damaged. The repairs would not be covered by
your warranty. Do not tow your vehicle with all
four wheels on the ground.Two-wheel-drive vehicles should not be towed with the
rear wheels on the ground. Two-wheel-drive
transmissions have no provisions for internal lubrication
while being towed.
Two-wheel-drive vehicles can be dolly towed with the
front wheels on the ground provided that the wheels are
straight and the steering column has been locked.
Four-Wheel-Drive and All-Wheel-Drive
Vehicles
Notice:Towing an all-wheel-drive vehicle with all
four wheels on the ground, or even with only two of
its wheels on the ground, will damage drivetrain
components. Do not tow an all-wheel-drive vehicle if
any of its wheels will be on the ground.
If your vehicle is equipped with all-wheel-drive, and the
Silverado SS package, your vehicle was not designed
to be towed with any of its wheels on the ground. If your
vehicle must be towed, seeTowing Your Vehicle on
page 4-52.
For four-wheel-drive vehicles use the following
procedure to tow your vehicle:
1. Drive the vehicle up onto the tow dolly.
2. Shift an automatic transmission to PARK (P), or a
manual transmission to FIRST (1).
3. Turn the engine off, but leave the ignition on.
4-55
Page 350 of 584

4. Firmly set the parking brake.
5. Securely attach the vehicle being towed to the
tow dolly.
{CAUTION:
Shifting a four-wheel-drive vehicle’s transfer
case into NEUTRAL can cause your vehicle to
roll even if the transmission is in Park (P) for
an automatic transmission, or if your vehicle is
in gear, for a manual transmission. You or
others could be injured. Make sure the parking
brake is �rmly set before you shift the transfer
case to NEUTRAL.
6. Shift the transfer case to NEUTRAL. See
Four-Wheel Drive on page 2-36for the proper
procedure to select the neutral position for
your vehicle.
7. Release the parking brake only after the
vehicle being towed is �rmly attached to the
towing vehicle.
8. Turn the ignition off and lock the steering column.
Loading Your Vehicle
It is very important to know how much weight your
vehicle can carry. This weight is called the vehicle
capacity weight and includes the weight of all occupants,
cargo and all nonfactory-installed options. Two labels
on your vehicle show how much weight it may properly
carry, the Tire and Loading Information label and the
Certi�cation/Tire label.
{CAUTION:
Do not load your vehicle any heavier than the
GVWR, or either the maximum front or rear
GAWR. If you do, parts on your vehicle can
break, and it can change the way your vehicle
handles. These could cause you to lose
control and crash. Also, overloading can
shorten the life of your vehicle.
4-56