2004 CHEVROLET MALIBU trunk release
[x] Cancel search: trunk releasePage 75 of 426
V(Remote Trunk Release):The trunk or liftgate
will open when this button on the transmitter is pressed
and held. You can open the trunk with the transmitter
when the vehicle is in PARK (P) or NEUTRAL (N). The
interior lamps will come on for 10 seconds or until
the ignition switch is turned to ON.
7(Vehicle Locator/Panic Alarm):Press this button
to locate your vehicle. The horn will chirp three times
and the headlamps and parking lamps will �ash
three times. Press and hold the button for three seconds
to sound the panic alarm. The horn will chirp and the
headlamps and parking lamps will �ash for two minutes.
Press the button again to cancel the panic alarm.
Programmable Horn Chirp
Through the DIC, you may choose whether or not to
have a horn chirp when you use the remote keyless
entry transmitter to lock or unlock the doors.
SeeDIC Operation and Displays on page 3-46for more
information.
Matching Transmitter(s) to Your
Vehicle
Each remote keyless entry transmitter is coded to
prevent another transmitter from unlocking your vehicle.
If a transmitter is lost or stolen, a replacement can
be purchased through your dealer. Remember to bring
any remaining transmitters with you when you go to
your dealer. When the dealer matches the replacement
transmitter to your vehicle, any remaining transmitters
must also be matched. Once your dealer has coded the
new transmitter, the lost transmitter will not unlock
your vehicle. Each vehicle can have a maximum of four
transmitters matched to it.
2-7
Page 82 of 426
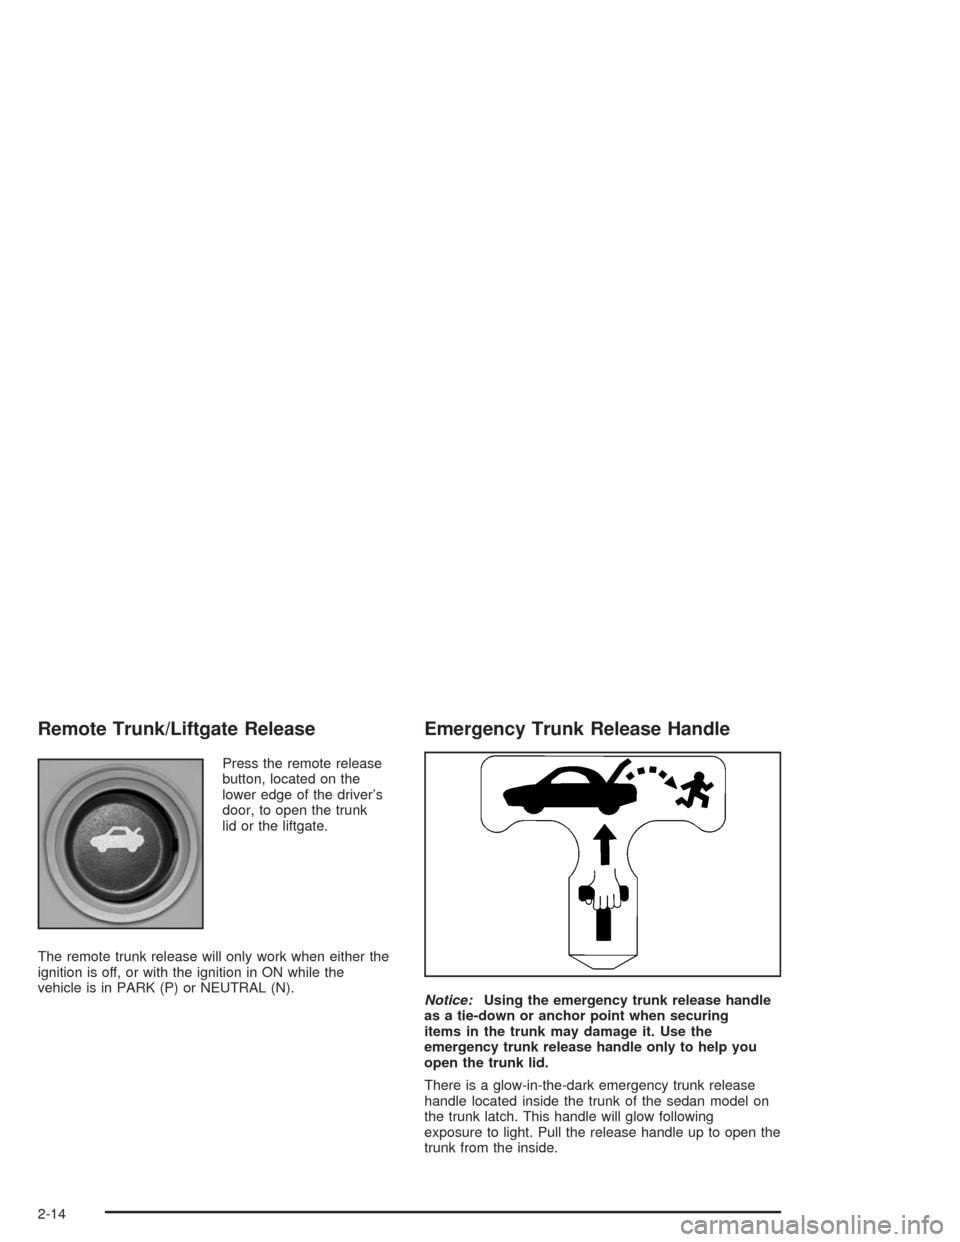
Remote Trunk/Liftgate Release
Press the remote release
button, located on the
lower edge of the driver’s
door, to open the trunk
lid or the liftgate.
The remote trunk release will only work when either the
ignition is off, or with the ignition in ON while the
vehicle is in PARK (P) or NEUTRAL (N).
Emergency Trunk Release Handle
Notice:Using the emergency trunk release handle
as a tie-down or anchor point when securing
items in the trunk may damage it. Use the
emergency trunk release handle only to help you
open the trunk lid.
There is a glow-in-the-dark emergency trunk release
handle located inside the trunk of the sedan model on
the trunk latch. This handle will glow following
exposure to light. Pull the release handle up to open the
trunk from the inside.
2-14
Page 83 of 426
Liftgate
To open the liftgate on the MAXX from the outside, use
the trunk button on the remote keyless entry transmitter
or the remote trunk release button, located on the
lower edge of the driver’s door.
Unlocking all doors using the power door unlock switch
or the remote keyless entry transmitter unlock button
will also unlock the liftgate. Locking all doors with
the power door lock switch or the remote keyless entry
transmitter lock button will also lock the liftgate.
You can also use the key in the driver’s door lock cylinder
to unlock and open the liftgate. Turn the driver’s door lock
cylinder toward the rear of the vehicle and back to the
center twice to unlock the liftgate. Turn the driver’s door
lock cylinder toward the rear of the vehicle and back to
the center three times to open the liftgate.
If the liftgate is unlocked, you can manually open it by
pushing on the touch pad switch located on the underside
of the liftgate trim panel, slightly to the right of center.
If none of these ways of opening the liftgate works, there
is a pull cable located under the body trim panel in
the liftgate area which will open it. This should be used
in case of emergency only, not for daily use.{CAUTION:
It can be dangerous to drive with the liftgate
open because carbon monoxide (CO) gas can
come into your vehicle. You can’t see or smell
CO. It can cause unconsciousness and even
death. If you must drive with the liftgate open
or if electrical wiring or other cable
connections must pass through the seal
between the body and the liftgate:
Make sure all other windows are shut.
Turn the fan on your heating or cooling
system to its highest speed and select the
control setting that will force outside air
into your vehicle. SeeClimate Control
System on page 3-21.
If you have air outlets on or under the
instrument panel, open them all the way.
SeeEngine Exhaust on page 2-33.
To close the liftgate, pull down on the openings, then
�rmly shut the liftgate. Don’t drive with the liftgate open,
even slightly. SeeEngine Exhaust on page 2-33.
2-15
Page 135 of 426
Interior Lamps
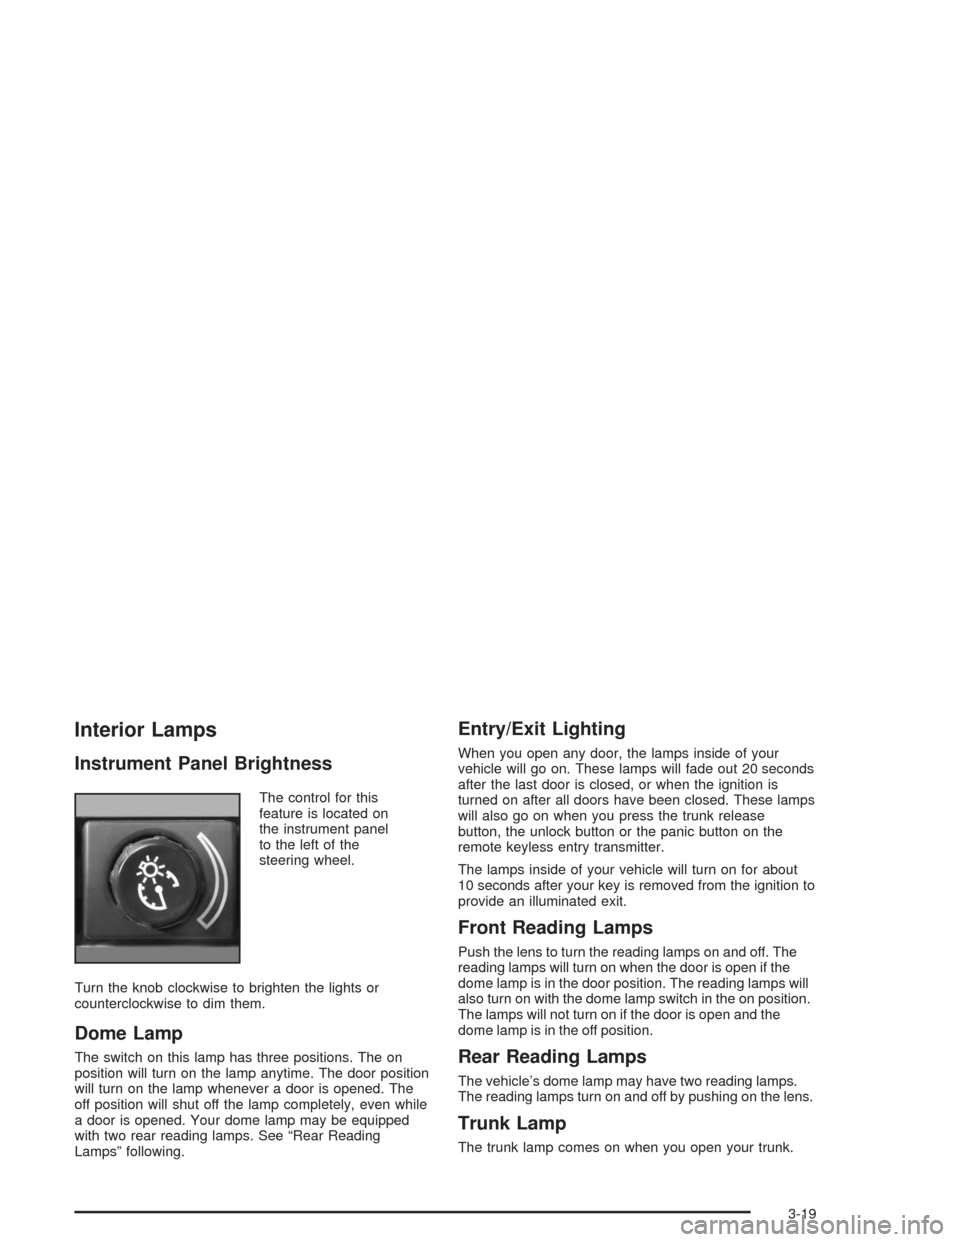
Instrument Panel Brightness
The control for this
feature is located on
the instrument panel
to the left of the
steering wheel.
Turn the knob clockwise to brighten the lights or
counterclockwise to dim them.
Dome Lamp
The switch on this lamp has three positions. The on
position will turn on the lamp anytime. The door position
will turn on the lamp whenever a door is opened. The
off position will shut off the lamp completely, even while
a door is opened. Your dome lamp may be equipped
with two rear reading lamps. See “Rear Reading
Lamps” following.
Entry/Exit Lighting
When you open any door, the lamps inside of your
vehicle will go on. These lamps will fade out 20 seconds
after the last door is closed, or when the ignition is
turned on after all doors have been closed. These lamps
will also go on when you press the trunk release
button, the unlock button or the panic button on the
remote keyless entry transmitter.
The lamps inside of your vehicle will turn on for about
10 seconds after your key is removed from the ignition to
provide an illuminated exit.
Front Reading Lamps
Push the lens to turn the reading lamps on and off. The
reading lamps will turn on when the door is open if the
dome lamp is in the door position. The reading lamps will
also turn on with the dome lamp switch in the on position.
The lamps will not turn on if the door is open and the
dome lamp is in the off position.
Rear Reading Lamps
The vehicle’s dome lamp may have two reading lamps.
The reading lamps turn on and off by pushing on the lens.
Trunk Lamp
The trunk lamp comes on when you open your trunk.
3-19
Page 136 of 426
Cargo Lamp
If your vehicle is the MAXX model, it has a cargo lamp.
The cargo lamp comes on when the liftgate is opened.
If you want to leave the liftgate open you can turn off the
cargo lamp by pushing on the lens.
Battery Run-Down Protection
Your vehicle has a battery run-down protection feature
designed to protect your vehicle’s battery.
When any interior lamp (trunk, reading, or visor vanity)
is left on while the ignition is turned off, the battery
run-down protection system will automatically shut the
lamp(s) off after 20 minutes. This will avoid draining
the battery.
To reactivate the interior lamps, do one of the following:
Turn on the ignition.
Turn the exterior lamp control off and then on.
Open a door.
Press any remote keyless entry transmitter button
(if equipped).
Press the remote trunk release button.
Press the power door lock switch.The battery run-down feature will also be activated
when any door on the vehicle is left open and the
ignition is in OFF.
Accessory Power Outlets
With accessory power outlets you can plug in auxiliary
electrical equipment such as a cellular telephone.
For vehicles with anti-lock brake system (ABS), the
accessory power outlets are located on the front of the
center console storage area and also inside the
console storage compartment. Vehicles without ABS,
both outlets are located on the front of the center
console storage area. The compartment has notches
that allow power cords to be routed outside of the
console while the lid is closed. There is also an outlet in
the rear cargo area of the MAXX.
Notice:Leaving electrical equipment on for
extended periods will drain the battery. Always turn
off electrical equipment when not in use and do
not plug in equipment that exceeds the maximum
amperage rating.
3-20
Page 349 of 426
The following steps will tell you how to use the jack and
change a tire.
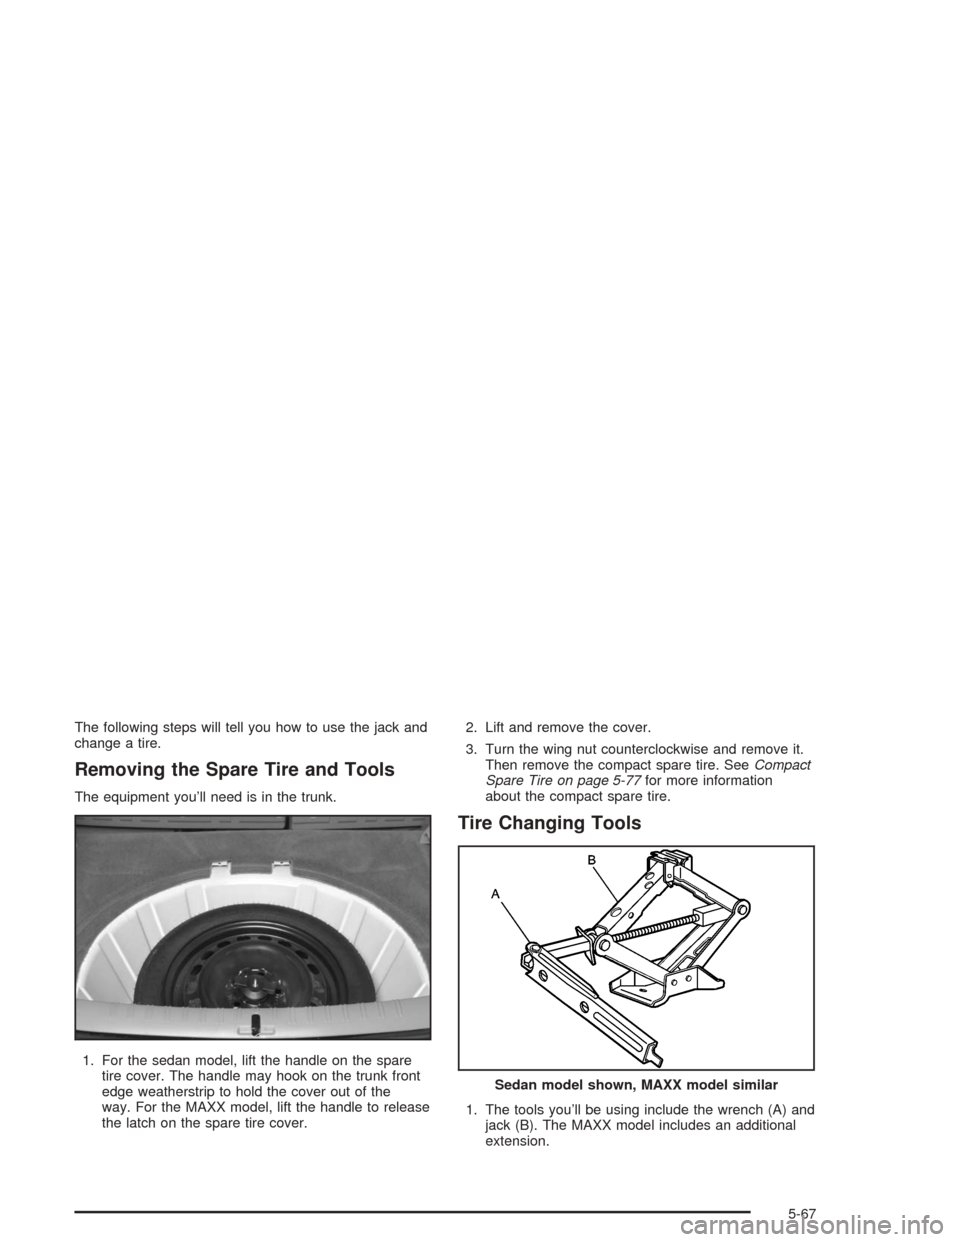
Removing the Spare Tire and Tools
The equipment you’ll need is in the trunk.
1. For the sedan model, lift the handle on the spare
tire cover. The handle may hook on the trunk front
edge weatherstrip to hold the cover out of the
way. For the MAXX model, lift the handle to release
the latch on the spare tire cover.2. Lift and remove the cover.
3. Turn the wing nut counterclockwise and remove it.
Then remove the compact spare tire. SeeCompact
Spare Tire on page 5-77for more information
about the compact spare tire.
Tire Changing Tools
1. The tools you’ll be using include the wrench (A) and
jack (B). The MAXX model includes an additional
extension.
Sedan model shown, MAXX model similar
5-67
Page 415 of 426
Driving
At Night.....................................................4-16
City...........................................................4-21
Defensive..................................................... 4-2
Drunken....................................................... 4-2
Freeway.....................................................4-22
Hill and Mountain Roads..............................4-24
In Rain and on Wet Roads...........................4-18
Winter........................................................4-26
Driving On Grades..........................................4-45
Driving on Snow or Ice....................................4-27
Driving Through Deep Standing Water...............4-20
Driving Through Flowing Water.........................4-20
Driving with a Trailer.......................................4-44
DVD
Cleaning the Video Screen..........................3-118
Cleaning Your DVD Player..........................3-118
Distortion..................................................3-116
Rear Seat Entertainment System...................3-96
DVD Messages.............................................3-102
DVD Player..................................................3-100
E
Electrical System
Add-On Equipment......................................5-87
Fuses........................................................5-88
Headlamp Wiring.........................................5-87Electrical System (cont.)
Power Windows and Other Power Options......5-87
Windshield Wiper Fuses...............................5-87
Electronic Range Select Mode..........................2-29
Emergency Trunk Release Handle.....................2-14
Emissions Inspection and Maintenance
Programs...................................................3-41
Engine
Air Cleaner/Filter.........................................5-22
Battery.......................................................5-38
Check and Service Engine Soon Light............3-39
Coolant......................................................5-24
Coolant Heater............................................2-25
Coolant Temperature Gage...........................3-39
Coolant Temperature Warning Light................3-38
Drive Belt Routing.......................................6-14
Engine Compartment Overview......................5-14
Exhaust.....................................................2-33
Oil .............................................................5-17
Overheating................................................5-27
Starting......................................................2-23
Engine Compartment Fuse Block......................5-91
Engine Cooling When Trailer Towing..................4-46
Engine Oil Additives........................................5-20
Enhanced Traction System (ETS)........................ 4-9
Active Light................................................3-38
Warning Light.............................................3-37
5
Page 421 of 426
Q
Questions and Answers About Safety Belts.........1-14
R
Radio Data System (RDS)...............3-58, 3-69, 3-82
Radio Messages.....................3-56, 3-64, 3-75, 3-88
Radios..........................................................3-52
Care of Your Cassette Tape Player...............3-117
Care of Your CD and DVD Player................3-118
Care of Your CDs and DVDs.......................3-118
Radio with Cassette and CD.........................3-69
Radio with CD....................................3-53, 3-58
Radio with Six-Disc CD................................3-82
Rear Seat Audio..............................3-111, 3-113
Setting the Time for Radios with Radio Data
Systems (RDS)........................................3-53
Setting the Time for Radios without Radio
Data Systems (RDS)................................3-52
Theft-Deterrent..........................................3-115
Understanding Reception............................3-116
RDS Messages..............................3-63, 3-74, 3-87
Rear Compartment Fuse Block.........................5-93
Rear Reading Lamps......................................3-19
Rear Safety Belt Comfort Guides......................1-28
Rear Seat Audio Controls...............................3-114Rear Seat Audio (RSA)........................3-111, 3-113
Rear Seat Entertainment System.......................3-96
Rear Seat Operation......................................... 1-7
Rear Seat Passengers, Safety Belts..................1-24
Rear Seat Radio Controls...............................3-112
Rear Sliding Seat (MAXX Only).......................... 1-9
Rear Window Defogger............................3-25, 3-29
Rearview Mirror, Automatic Dimming..................2-35
Rearview Mirror, Automatic Dimming with
OnStar
®.....................................................2-36
Rearview Mirror with OnStar®...........................2-35
Rearview Mirrors.............................................2-35
Reclining Seatbacks.......................................... 1-4
Recommended Fluids and Lubricants.................6-12
Recreational Vehicle Towing.............................4-31
Remote Control.............................................3-103
Remote Keyless Entry System............................ 2-5
Remote Keyless Entry System, Operation............ 2-6
Remote Trunk/Liftgate Release.........................2-14
Remote Vehicle Start........................................ 2-9
Removing the Flat Tire and Installing the
Spare Tire..................................................5-69
Removing the Spare Tire and Tools...................5-67
Replacement Bulbs.........................................5-49
Replacing Brake System Parts..........................5-38
Replacing Restraint System Parts After
a Crash.....................................................1-61
11