2004 CHEVROLET MALIBU brake light
[x] Cancel search: brake lightPage 97 of 426
Notice:Driving your vehicle if you notice that it is
moving slowly or not shifting gears as you
increase speed may damage the transaxle. Have
your vehicle serviced right away. You can drive in
LOW (L2) when you are driving less than 35 mph
(55 km/h) and AUTOMATIC OVERDRIVE (D) for
higher speeds until then.
LOW (L):This position gives you access to THIRD,
SECOND and FIRST gears for more power but
lower fuel economy than AUTOMATIC OVERDRIVE
(D). You can use it on very steep hills, or in deep snow
or mud. If the electronic range select is put in LOW
(L1), the transaxle won’t shift into lower gears until the
vehicle is going slow enough.
Electronic Range Select Mode
This feature allows you to select lower driving gears.
The button for this mode is located on the left side of the
shift lever knob.
The electronic range select mode only changes gear
when the shift lever is in LOW (L).
When the shift lever is �rst moved into the LOW (L)
position, the display in the instrument panel shows L3.
Press the (−) end of the button on the shift lever
once for L2 and once more for L1. Press the (+) end of
the button to return to L2 and L3. The shift lever
must be moved back to DRIVE (D) to turn off the
electronic range select mode.
Parking Brake
To set the parking brake, push down the parking brake
pedal with your left foot. If the ignition is on, the
brake system warning light will come on. SeeBrake
System Warning Light on page 3-36.
To release the parking brake, hold the regular brake
pedal down with your right foot. Push down momentarily
on the parking brake pedal with your left foot until you
feel the pedal release. If the parking brake is not
released when you begin to drive, the brake system
warning light will be on and a chime will sound warning
you that the parking brake is still on.
A message will also appear in the Driver Information
Center (DIC) to remind you to release the parking brake.
SeeDIC Warnings and Messages on page 3-50.
Notice:Driving with the parking brake on can
overheat the brake system and cause premature
wear or damage to brake system parts. Verify that
the parking brake is fully released and the brake
warning light is off before driving.
If you are towing a trailer and are parking on a hill, see
Towing a Trailer on page 4-40.
2-29
Page 117 of 426
Instrument Panel Overview...............................3-4
Hazard Warning Flashers................................3-6
Other Warning Devices...................................3-7
Horn.............................................................3-7
Tilt Wheel.....................................................3-7
Turn Signal/Multifunction Lever.........................3-8
Exterior Lamps.............................................3-14
Interior Lamps..............................................3-19
Accessory Power Outlets...............................3-20
Climate Controls............................................3-21
Climate Control System.................................3-21
Automatic Climate Control System...................3-25
Outlet Adjustment.........................................3-30
Warning Lights, Gages, and Indicators............3-31
Instrument Panel Cluster................................3-32
Speedometer and Odometer...........................3-33
Tachometer.................................................3-33
Safety Belt Reminder Light.............................3-34
Air Bag Readiness Light................................3-34
Charging System Light..................................3-35
Brake System Warning Light..........................3-36
Anti-Lock Brake System
Warning Light...........................................3-37
Enhanced Traction System
Warning Light...........................................3-37
Enhanced Traction System Active Light............3-38Engine Coolant Temperature Warning Light......3-38
Engine Coolant Temperature Gage..................3-39
Malfunction Indicator Lamp.............................3-39
Oil Pressure Light.........................................3-42
Security Light...............................................3-43
Cruise Control Light......................................3-43
Service Vehicle Soon Light............................3-44
Fuel Gage...................................................3-44
Driver Information Center (DIC).......................3-45
DIC Operation and Displays...........................3-46
DIC Warnings and Messages.........................3-50
Audio System(s).............................................3-52
Setting the Time for Radios without Radio
Data Systems (RDS)..................................3-52
Setting the Time for Radios with Radio Data
Systems (RDS).........................................3-53
Radio with CD (Base Level)...........................3-53
Radio with CD (Up Level)..............................3-58
Radio with Cassette and CD..........................3-69
Radio with Six-Disc CD.................................3-82
Rear Seat Entertainment System....................3-96
Rear Seat Audio (RSA)
(Without Entertainment System).................3-111
Rear Seat Audio (RSA)
(With Entertainment System).....................3-113
Theft-Deterrent Feature................................3-115
Section 3 Instrument Panel
3-1
Page 128 of 426
To set a speed do the following:
1. Press the On/Off button to turn cruise control on.
The indicator light on the button will come on.
2. Get to the speed you want.
3. Press the−SET part of the control button and release
it. The cruise symbol will display in the instrument
panel cluster to show the system is engaged.
4. Take your foot off the accelerator pedal.
Resuming a Set Speed
Suppose you set your cruise control at a desired
speed and then you apply the brake. This, of course,
disengages the cruise control. The cruise symbol in the
instrument panel cluster will also go out indicating cruise
is no longer engaged. To return to your previously set
speed, you do not need to go through the set process
again. Once you’re going about 25 mph (40 km/h) or
more, you can press the +RES button brie�y.
This will take you back up to your previously chosen
speed and stay there.
Increasing Speed While Using Cruise
Control
There are two ways to go to a higher speed.
Disengage the cruise control but do not turn it off.
If the cruise control system is already engaged,
press the +RES button. Hold it there until you
get up to the speed you want, and then release
the button. To increase your speed in very
small amounts, press the +RES button brie�y
and then release it. Each time you do this, your
vehicle will go about 1 mph (1.6 km/h) faster.
Reducing Speed While Using Cruise
Control
If the cruise control system is already engaged,
Push and hold the−SET button until you reach
the lower speed you want, then release it.
To slow down in very small amounts, push the
−SET button brie�y. Each time you do this, you’ll
go about 1 mph (1.6 km/h) slower.
3-12
Page 129 of 426
Passing Another Vehicle While Using
Cruise Control
Use the accelerator pedal to increase your speed.
When you take your foot off the pedal, your vehicle will
slow down to the cruise control speed you set earlier.
Using Cruise Control on Hills
How well your cruise control will work on hills
depends upon your speed, load and the steepness of
the hills. When going up steep hills, you may have
to step on the accelerator pedal to maintain your speed.
When going downhill, you may have to brake or shift
to a lower gear to keep your speed down. Of course,
applying the brake takes you out of cruise control.
Many drivers �nd this to be too much trouble and
don’t use cruise control on steep hills.
Ending Cruise Control
There are two ways to disengage the cruise control:
Step lightly on the brake pedal; when cruise control
disengages, the cruise symbol in the instrument
panel cluster will go out.
Press the on/off button, this will turn off the cruise
control system.
Erasing Speed Memory
When you turn off the cruise control or the ignition,
your cruise control set speed memory is erased.
3-13
Page 152 of 426
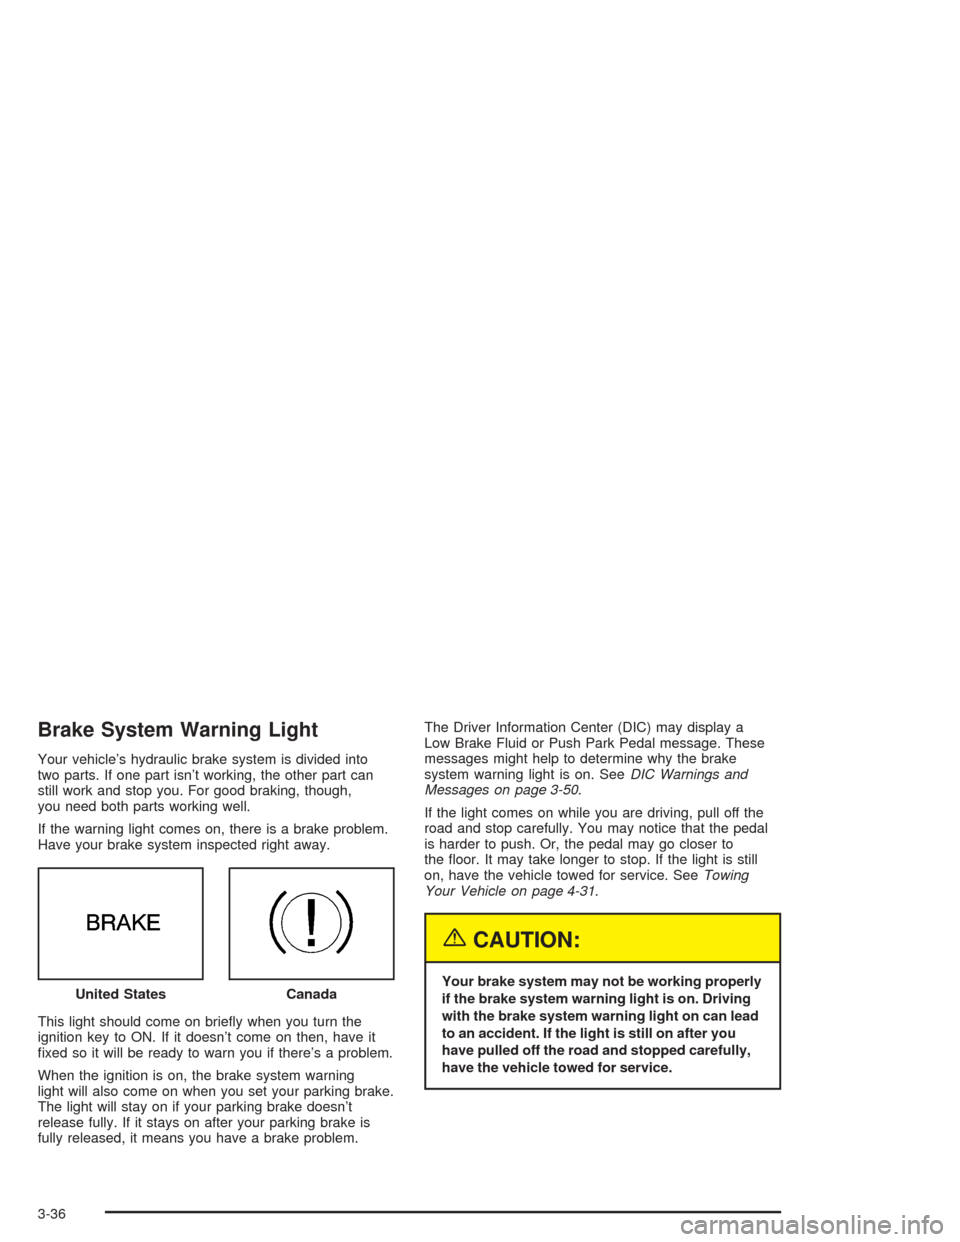
Brake System Warning Light
Your vehicle’s hydraulic brake system is divided into
two parts. If one part isn’t working, the other part can
still work and stop you. For good braking, though,
you need both parts working well.
If the warning light comes on, there is a brake problem.
Have your brake system inspected right away.
This light should come on brie�y when you turn the
ignition key to ON. If it doesn’t come on then, have it
�xed so it will be ready to warn you if there’s a problem.
When the ignition is on, the brake system warning
light will also come on when you set your parking brake.
The light will stay on if your parking brake doesn’t
release fully. If it stays on after your parking brake is
fully released, it means you have a brake problem.The Driver Information Center (DIC) may display a
Low Brake Fluid or Push Park Pedal message. These
messages might help to determine why the brake
system warning light is on. SeeDIC Warnings and
Messages on page 3-50.
If the light comes on while you are driving, pull off the
road and stop carefully. You may notice that the pedal
is harder to push. Or, the pedal may go closer to
the �oor. It may take longer to stop. If the light is still
on, have the vehicle towed for service. SeeTowing
Your Vehicle on page 4-31.
{CAUTION:
Your brake system may not be working properly
if the brake system warning light is on. Driving
with the brake system warning light on can lead
to an accident. If the light is still on after you
have pulled off the road and stopped carefully,
have the vehicle towed for service. United StatesCanada
3-36
Page 153 of 426
Anti-Lock Brake System
Warning Light
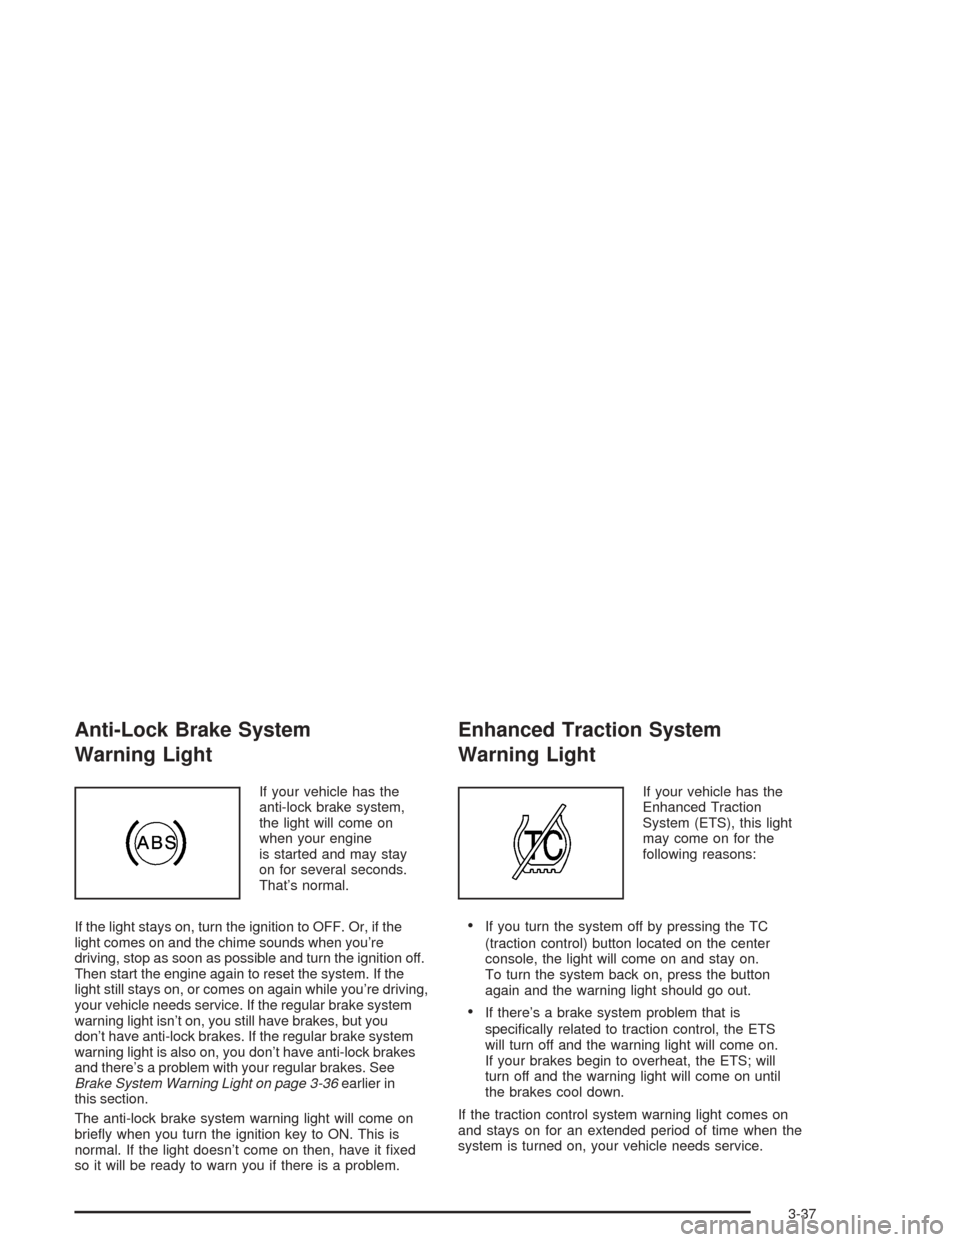
If your vehicle has the
anti-lock brake system,
the light will come on
when your engine
is started and may stay
on for several seconds.
That’s normal.
If the light stays on, turn the ignition to OFF. Or, if the
light comes on and the chime sounds when you’re
driving, stop as soon as possible and turn the ignition off.
Then start the engine again to reset the system. If the
light still stays on, or comes on again while you’re driving,
your vehicle needs service. If the regular brake system
warning light isn’t on, you still have brakes, but you
don’t have anti-lock brakes. If the regular brake system
warning light is also on, you don’t have anti-lock brakes
and there’s a problem with your regular brakes. See
Brake System Warning Light on page 3-36earlier in
this section.
The anti-lock brake system warning light will come on
brie�y when you turn the ignition key to ON. This is
normal. If the light doesn’t come on then, have it �xed
so it will be ready to warn you if there is a problem.
Enhanced Traction System
Warning Light
If your vehicle has the
Enhanced Traction
System (ETS), this light
may come on for the
following reasons:
If you turn the system off by pressing the TC
(traction control) button located on the center
console, the light will come on and stay on.
To turn the system back on, press the button
again and the warning light should go out.
If there’s a brake system problem that is
speci�cally related to traction control, the ETS
will turn off and the warning light will come on.
If your brakes begin to overheat, the ETS; will
turn off and the warning light will come on until
the brakes cool down.
If the traction control system warning light comes on
and stays on for an extended period of time when the
system is turned on, your vehicle needs service.
3-37
Page 166 of 426
LANGUAGE:To select your choice of language,
use the ENTER button to move between the optional
languages.
The languages are English, French, German and
Spanish.
Choosing a language will display all of the information
on the DIC in the desired language.
When you have made your choice, press the MENU
button for at least one second to record your selection.
The initial setting from the factory is ENGLISH.
ENTER:The ENTER button is used to reset certain
functions and turn off or acknowledge messages on the
DIC display. The ENTER button also toggles through
the options available in each personalization menu.
DIC Warnings and Messages
These messages will appear if there is a problem
sensed in one of your vehicle’s systems.
Any message will clear when the vehicle’s condition is no
longer present. The warning message will come back on
the next time the vehicle is turned off and back on if the
condition is still present. With most messages, a warning
chime will sound when the message is displayed.
Your vehicle may have other warning messages.AUTO LIGHTS OFF:This message is displayed if
the automatic headlamp system is disabled with
the headlamp switch.
AUTO LIGHTS ON:This message is displayed if
the automatic headlamp system is enabled with the
headlamp switch.
BRAKE FLUID:This message will display if the ignition
is in ON to inform the driver that the brake �uid level
is low. Have the brake system serviced by a technician
as soon as possible.
CHANGE OIL SOON:This message is displayed when
the life of the engine oil has expired and it should be
changed within 200 miles.
When you acknowledge the Change Engine Oil message
by clearing it from the display, you still must reset the
engine oil life monitor separately. SeeEngine Oil on
page 5-17andScheduled Maintenance on page 6-4
for more information.
CHECK GAS CAP:This message will appear if the
gas cap has not been fully tightened. You should
recheck your gas cap to ensure that it’s on properly.
A few driving trips with the cap properly installed should
turn the display off.
3-50
Page 167 of 426
DOOR AJAR:This message is displayed if one or
more of the vehicle’s doors are not closed properly.
When this message appears, you should make sure
that the door is closed completely.
ENGINE DISABLED:This message is displayed if the
starting of the engine is disabled. Have y our vehicle
serviced by your dealership immediately.
ENG PWR REDUCED:This message informs you that
the vehicle has reduced engine power to avoid
damaging the engine.
ICE POSSIBLE:This message appears when the
outside air temperature is cold enough to create icy
road conditions.
KEY FOB BATT LOW:This message is displayed if
the remote keyless entry transmitter battery is low.
LOW COOLANT:This message is displayed when
there is a low level of engine coolant. Have the cooling
system serviced by a technician as soon as possible.
LOW FUEL:This message is displayed when your
vehicle is low on fuel. You should re�ll the tank as soon
as possible. You will also see a low fuel warning light
on the instrument panel cluster.LOW WASHER FLUID:This message is displayed
when your vehicle is low on windshield washer �uid.
You should re�ll the tank as soon as possible.
POWER STEERING:This message is displayed if a
problem has been detected with the electric power
steering. Have your vehicle serviced immediately.
PUSH PARK PEDAL:This message is displayed if
the parking brake is left engaged and you try to
drive away.
SERVICE AIR BAG:There is a problem with the air
bag system when this message appears. Let only
a quali�ed technician work on your vehicle. Have your
vehicle serviced by your dealership immediately.
TRUNK OR GATE AJAR:This message is displayed
when the trunk lid or liftgate of your vehicle is not closed
completely. You should make sure that the trunk lid or
liftgate is closed completely.
3-51