2004 CHEVROLET KODIAK automatic transmission
[x] Cancel search: automatic transmissionPage 93 of 366

Diesel Engine Exhaust Brake
The exhaust brake is available on vehicles equipped
with a diesel engine. It is located in the exhaust system.
The exhaust brake is used to help slow the vehicle
and may assist the vehicle’s foundation brakes. The use
of the exhaust brake will assist the braking of the
vehicle and prolong the life of the foundation brake
lining material.
The exhaust brake switch
is located in the instrument
panel switchbank.
Push the bottom of the switch to turn the exhaust brake
on. When you push the top of the switch, the exhaust
brake will turn off.There is an indicator light on the instrument panel
similar to the symbol on the switch, that will come on
when the exhaust brake is active. SeeExhaust
Brake Indicator Light on page 3-40for more information.
When using the exhaust brake, the proper gear range
selection is important. The exhaust brake will be
most effective if the gear range selected is the lowest
possible range that does not allow the engine rpm to go
more than 200 rpm above rated (full load) rpm. If you
have a Caterpillar
®diesel engine, do not exceed
2900 rpm. If you have a DURAMAX™ (LG4) diesel
engine, do not exceed 2400 rpm. If you have a
DURAMAX™ (LB7) diesel engine, do not exceed
3600 rpm.
If you have an automatic transmission and press this
button, the transmission will downshift to a factory
default setting of fourth gear. To change the default
setting, or for more information on factory default
settings, contact your dealer for assistance.
The accelerator and clutch pedals must be released in
order for the exhaust brake to engage. The exhaust
brake will not function when the cruise control feature is
active, and will automatically shut off when the
anti-lock brake system is active.
2-25
Page 95 of 366

Air Shift Control (Automatic
Transmission)
The rear axle shift control
switch for an automatic
transmission is located in
the instrument panel
switchbank.
Press the bottom of the switch to get to the low range.
The switch indicator light will come on when the
vehicle is in low range. Press the top of the switch to
return to the high range.
The two-speed axle should be in low range when you
park the vehicle. You’ll need to engage the transmission,
even moving the vehicle a little, to be sure the axle is
in low range. Then shift into PARK (P), apply the parking
brake and shut off the engine.To shift up from low to high, press the top of the rear
axle shift control switch and press down on the
accelerator. When you shift the axle from high to low,
press the bottom of the switch, release the accelerator
and then quickly press it down again.
To operate off-road or under a heavy load, shift into low
range when the vehicle is standing still and then
operate the transmission normally.
On the highway, with the axle in low range and the
transmission in top gear, you may shift the axle to high
range by raising the switch and releasing the
accelerator momentarily. Reapply the accelerator after
you shift.
Under light load conditions, first shift the axle into the
high range with the vehicle at a standstill and then
operate the transmission normally.
Air Suspension
Your vehicle may be equipped with the Hendrickson
HAS Series single-axle air suspension which is designed
for single-axle on-highway use. The feature is available
in 19,000 lb. (8 618.3 kg), 21,000 lb. (9 525.4 kg)
and 23,000 lb. (10 432.6 kg) capacities for operations
which require extra cubic capacity and a reduced
deck height.
2-27
Page 96 of 366

Rear Air Suspension Dump Control
If your vehicle is equipped with the Hendrickson HAS
Series single-axle air suspension, you have this control.
The air suspension dump control allows the operator
to lower the deck height approximately 4.5 inches
(11.5 cm) from the normal frame height.
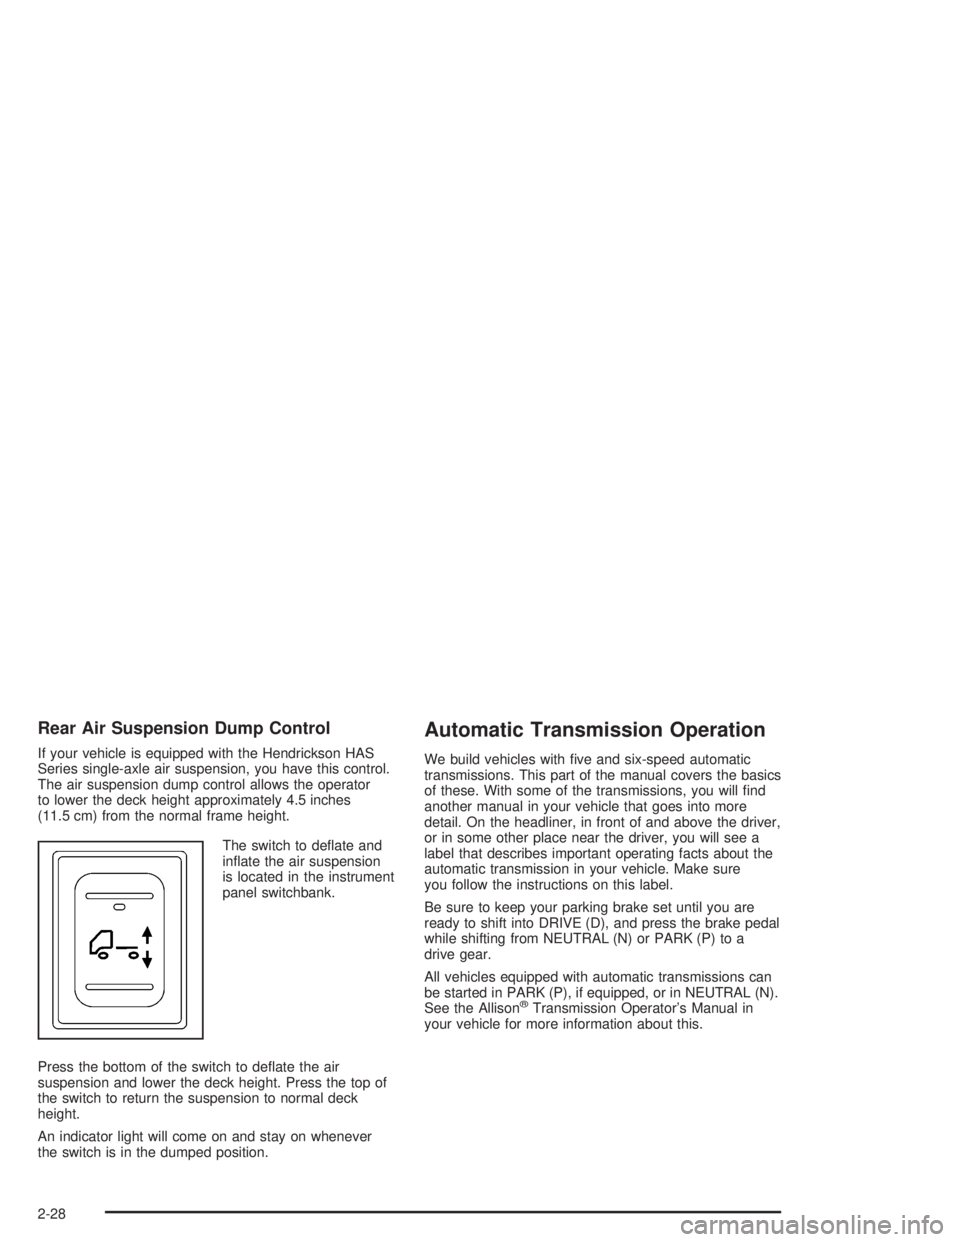
The switch to deflate and
inflate the air suspension
is located in the instrument
panel switchbank.
Press the bottom of the switch to deflate the air
suspension and lower the deck height. Press the top of
the switch to return the suspension to normal deck
height.
An indicator light will come on and stay on whenever
the switch is in the dumped position.
Automatic Transmission Operation
We build vehicles with five and six-speed automatic
transmissions. This part of the manual covers the basics
of these. With some of the transmissions, you will find
another manual in your vehicle that goes into more
detail. On the headliner, in front of and above the driver,
or in some other place near the driver, you will see a
label that describes important operating facts about the
automatic transmission in your vehicle. Make sure
you follow the instructions on this label.
Be sure to keep your parking brake set until you are
ready to shift into DRIVE (D), and press the brake pedal
while shifting from NEUTRAL (N) or PARK (P) to a
drive gear.
All vehicles equipped with automatic transmissions can
be started in PARK (P), if equipped, or in NEUTRAL (N).
See the Allison
®Transmission Operator’s Manual in
your vehicle for more information about this.
2-28
Page 98 of 366

Manual Transmission Operation
Using the Clutch
When you are starting to move the vehicle, it is
important to begin with the engine speed at idle. Then
start to engage the clutch and listen for an engine speed
drop of about 100 rpm. At this point, the clutch is
engaging, so you should increase the engine speed and
fully engage the clutch. It is important not to increase
the engine speed sooner or before the clutch begins it’s
engagement. If you do, you can cause damage to
your vehicle.
Double-Clutching
You must use the double-clutching method when you
shift an unsynchronized gear set. Disengage the clutch,
shift to neutral and engage the clutch. When upshifting,
slow the engine until the engine rpm and road speed
match. When downshifting, accelerate the engine
until the engine rpm and road speed match. Then
quickly disengage the clutch and move the shift lever to
the next gear position and engage the clutch.
Eaton®Fuller®Five and Six-Speed
Transmissions and TTC Spicer
Seven-Speed Transmissions
These transmissions have gears that automatically
synchronize when you shift up or down (except
FIRST (1) gear on the five-speed and seven-speed
transmission which is unsynchronized). Choose the gear
that will maintain the road speed you want while
keeping the engine above two-thirds of the governed
speed. When the engine speed drops below two-thirds
of the governed speed, shift into the next lower gear
before your engine begins to lug. When you shift down,
be sure to double-clutch if required.
2-30
Page 104 of 366

After a few minutes, the trailer system should be fully
charged. When it is, the air pressure gage will show
about 125 to 135 psi (862 to 931 kPa).
For driving with a trailer, the yellow and red (if equipped)
knobs must be pushed in. It’s the same when you’re
not pulling a trailer except that the red trailer air supply
knob must be pulled out.
{CAUTION:
If you apply any one of the air brake parking
controls while the vehicle is moving, your rig
will stop suddenly. If you are not ready for
this, you or others could be injured. Don’t
apply any one of these controls while you’re
driving, unless you have to make an
emergency stop.
If the air pressure drops below 60 to 70 psi
(413 to 482 kPa), the primary brake light and warning
buzzer will come on. If the air pressure drops to
35 to 45 psi (241 to 310 kPa), the red trailer air supply
knob will automatically pop out and apply the spring
brakes on the trailer.If the air pressure drops to 35 to 45 psi (241 to 310 kPa),
the yellow park brake knob will automatically pop out
and apply the spring brakes on the truck or tractor.
If you ever have a complete loss of air so that your air
brakes automatically apply, there is a way that the
tow operator can release the parking brakes to tow the
vehicle. SeeTowing Your Vehicle on page 4-31.
{CAUTION:
If your vehicle is left in gear, the engine can
start if the vehicle starts to roll. This can easily
happen if you have the diesel engine. Shift the
transmission into NEUTRAL (N) before you
leave the vehicle.
2-36
Page 120 of 366

Cruise Control
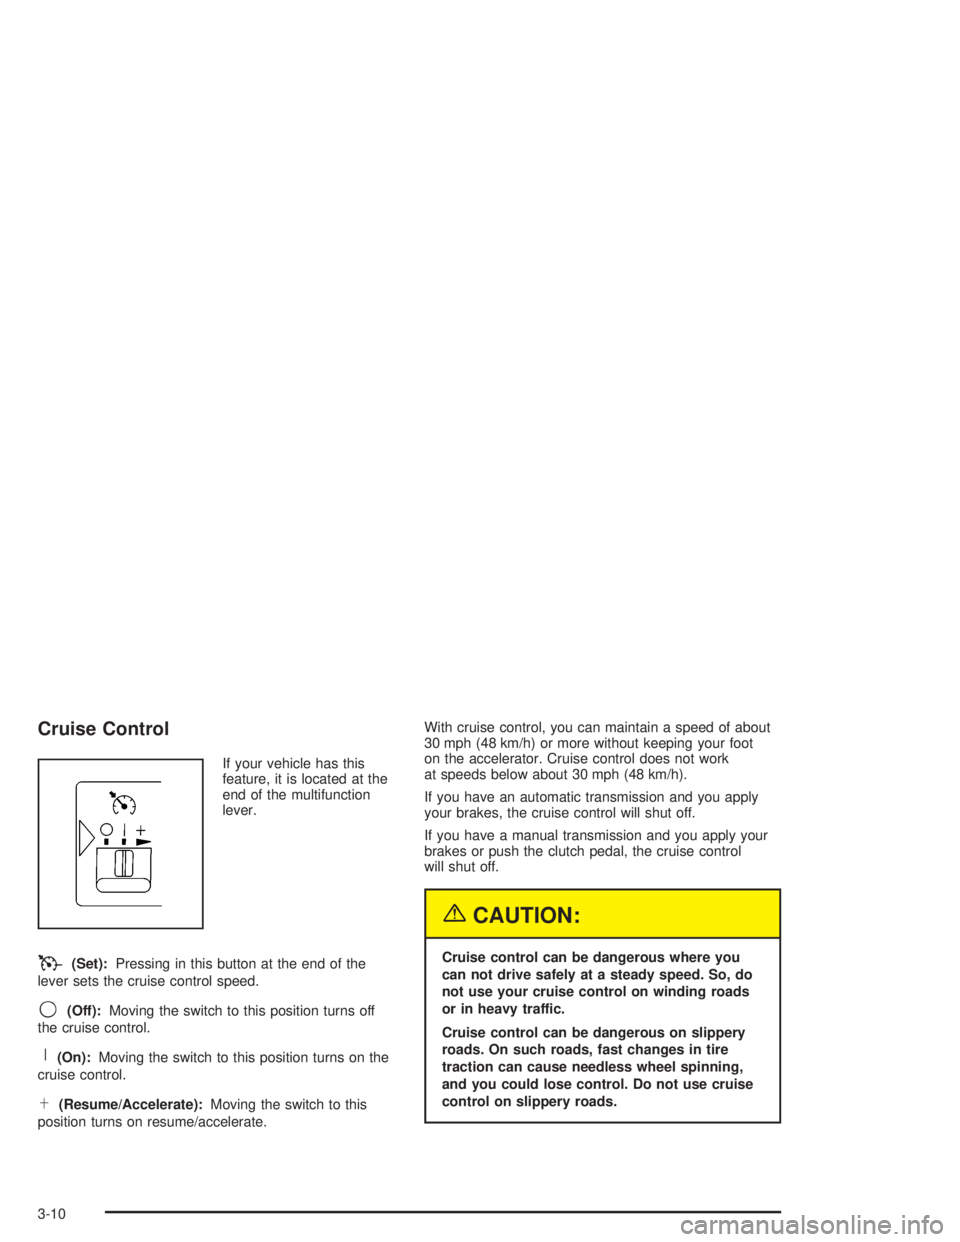
If your vehicle has this
feature, it is located at the
end of the multifunction
lever.
T(Set):Pressing in this button at the end of the
lever sets the cruise control speed.
9(Off):Moving the switch to this position turns off
the cruise control.
R(On):Moving the switch to this position turns on the
cruise control.
S(Resume/Accelerate):Moving the switch to this
position turns on resume/accelerate.With cruise control, you can maintain a speed of about
30 mph (48 km/h) or more without keeping your foot
on the accelerator. Cruise control does not work
at speeds below about 30 mph (48 km/h).
If you have an automatic transmission and you apply
your brakes, the cruise control will shut off.
If you have a manual transmission and you apply your
brakes or push the clutch pedal, the cruise control
will shut off.
{CAUTION:
Cruise control can be dangerous where you
can not drive safely at a steady speed. So, do
not use your cruise control on winding roads
or in heavy traffic.
Cruise control can be dangerous on slippery
roads. On such roads, fast changes in tire
traction can cause needless wheel spinning,
and you could lose control. Do not use cruise
control on slippery roads.
3-10
Page 122 of 366

Reducing Speed While Using Cruise
Control
Press in the button at the end of the lever until you
reach the lower speed you want, then release it.
To slow down in very small amounts, tap the button
briefly. Each time you do this, you’ll go 1 mph (1.6 km/h)
slower.
Passing Another Vehicle While Using
Cruise Control
Use the accelerator pedal to increase your speed.
When you take your foot off the pedal, your vehicle will
slow down to the cruise control speed you set earlier.
Using Cruise Control on Hills
How well your cruise control will work on hills depends
upon your speed, load and the steepness of the
hills. When going up steep hills, you may want to step
on the accelerator pedal to maintain your speed.
When going downhill, you may have to brake or shift to
a lower gear to keep your speed down. Of course,
applying the brake or clutch takes you out of cruise
control. Many drivers find this to be too much trouble
and don’t use cruise control on steep hills.
Ending Cruise Control
There are four different ways to turn off the cruise
control:
•Step lightly on the brake pedal (manual and
automatic transmissions).
•Press the clutch pedal to the floor (manual
transmissions).
•Move the cruise switch to off, or
•Shift the transmission to NEUTRAL (N).
Erasing Speed Memory
When you turn off the ignition, your cruise control set
speed memory is erased.
3-12
Page 125 of 366

Interior Lamps
Instrument Panel Brightness Control
This feature controls the brightness of the instrument
panel lights.
The thumbwheel for this feature is located to the right of
the exterior lamp control.
Turn the thumbwheel up to brighten the lights. When
the thumbwheel is moved to the first position, the radio
display and transmission selection display will go to
full intensity. The instrument panel cluster will also be
dimly lit. Moving the thumbwheel up to the next position
will activate the interior dome lamps.
Dome Lamps
The dome lamps will come on when you open a door.
You can also turn the dome lamps on by moving
the thumbwheel, located to the right of the exterior lamp
control, all the way up to the second position. In this
position, the dome lamps will remain on whether a door
is open or closed.
You can use the dome override button to set the dome
lamps to automatically come on when a door is
open, or to remain off.The dome override button is located below the exterior
lamp control.
If the dome override button is pushed in, the dome
lamps will not come on. Use this feature when you want
to leave your door(s) open for an extended period of
time and do not want to run the battery down.
If the dome override button is in the out position, the
interior lamps will work as usual.
3-15