2004 CHEVROLET CORVETTE trunk release
[x] Cancel search: trunk releasePage 62 of 384
Remote Keyless Entry System
Operation
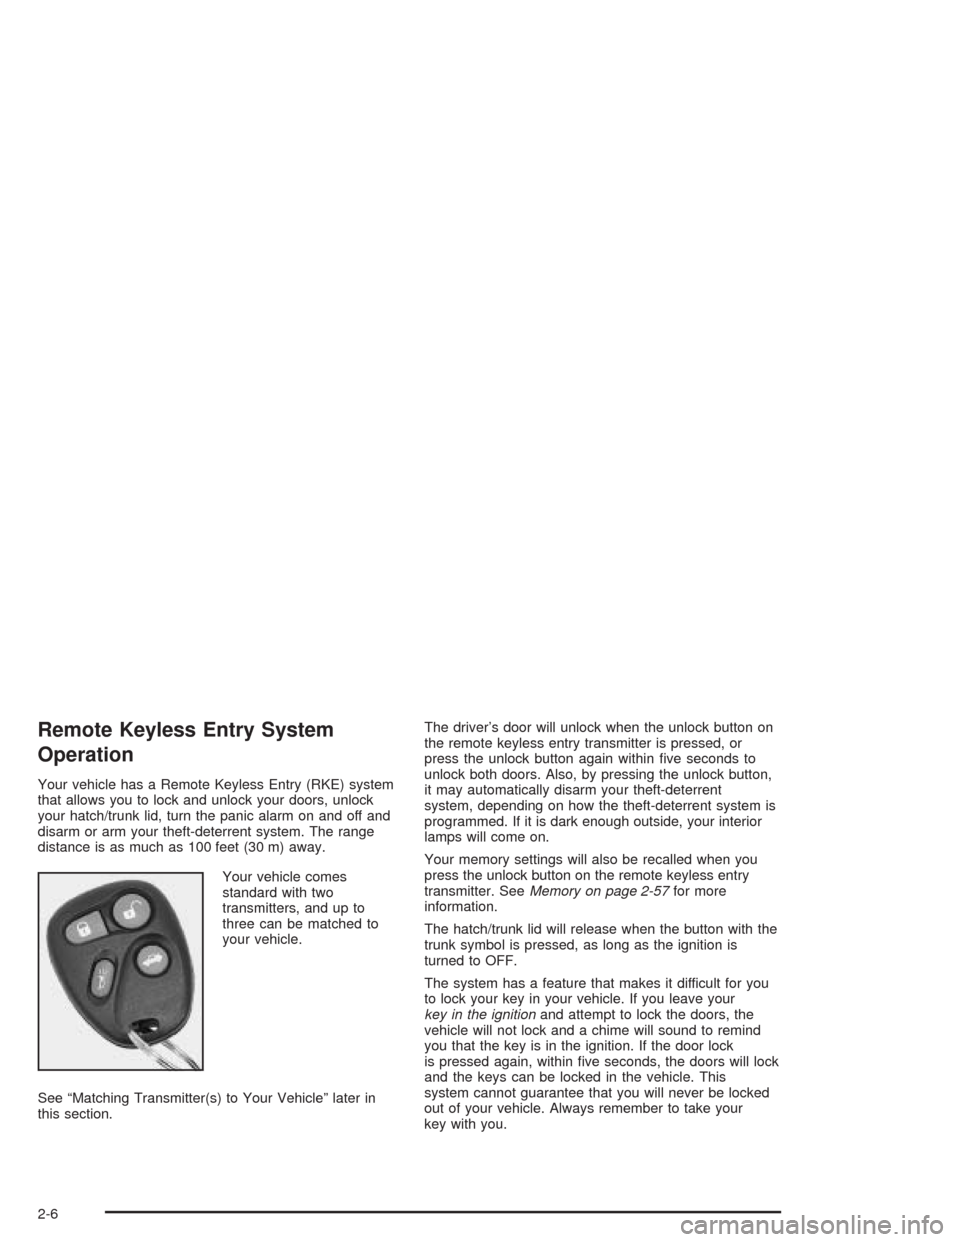
Your vehicle has a Remote Keyless Entry (RKE) system
that allows you to lock and unlock your doors, unlock
your hatch/trunk lid, turn the panic alarm on and off and
disarm or arm your theft-deterrent system. The range
distance is as much as 100 feet (30 m) away.
Your vehicle comes
standard with two
transmitters, and up to
three can be matched to
your vehicle.
See “Matching Transmitter(s) to Your Vehicle” later in
this section.The driver’s door will unlock when the unlock button on
the remote keyless entry transmitter is pressed, or
press the unlock button again within five seconds to
unlock both doors. Also, by pressing the unlock button,
it may automatically disarm your theft-deterrent
system, depending on how the theft-deterrent system is
programmed. If it is dark enough outside, your interior
lamps will come on.
Your memory settings will also be recalled when you
press the unlock button on the remote keyless entry
transmitter. SeeMemory on page 2-57for more
information.
The hatch/trunk lid will release when the button with the
trunk symbol is pressed, as long as the ignition is
turned to OFF.
The system has a feature that makes it difficult for you
to lock your key in your vehicle. If you leave your
key in the ignitionand attempt to lock the doors, the
vehicle will not lock and a chime will sound to remind
you that the key is in the ignition. If the door lock
is pressed again, within five seconds, the doors will lock
and the keys can be locked in the vehicle. This
system cannot guarantee that you will never be locked
out of your vehicle. Always remember to take your
key with you.
2-6
Page 68 of 384
Hatch/Trunk Lid Release
To use the hatch/trunk lid release on vehicles with an
automatic transmission, your vehicle must be in
PARK (P) or NEUTRAL (N). For manual transmissions,
set the parking brake. SeeParking Brake on page 2-31.
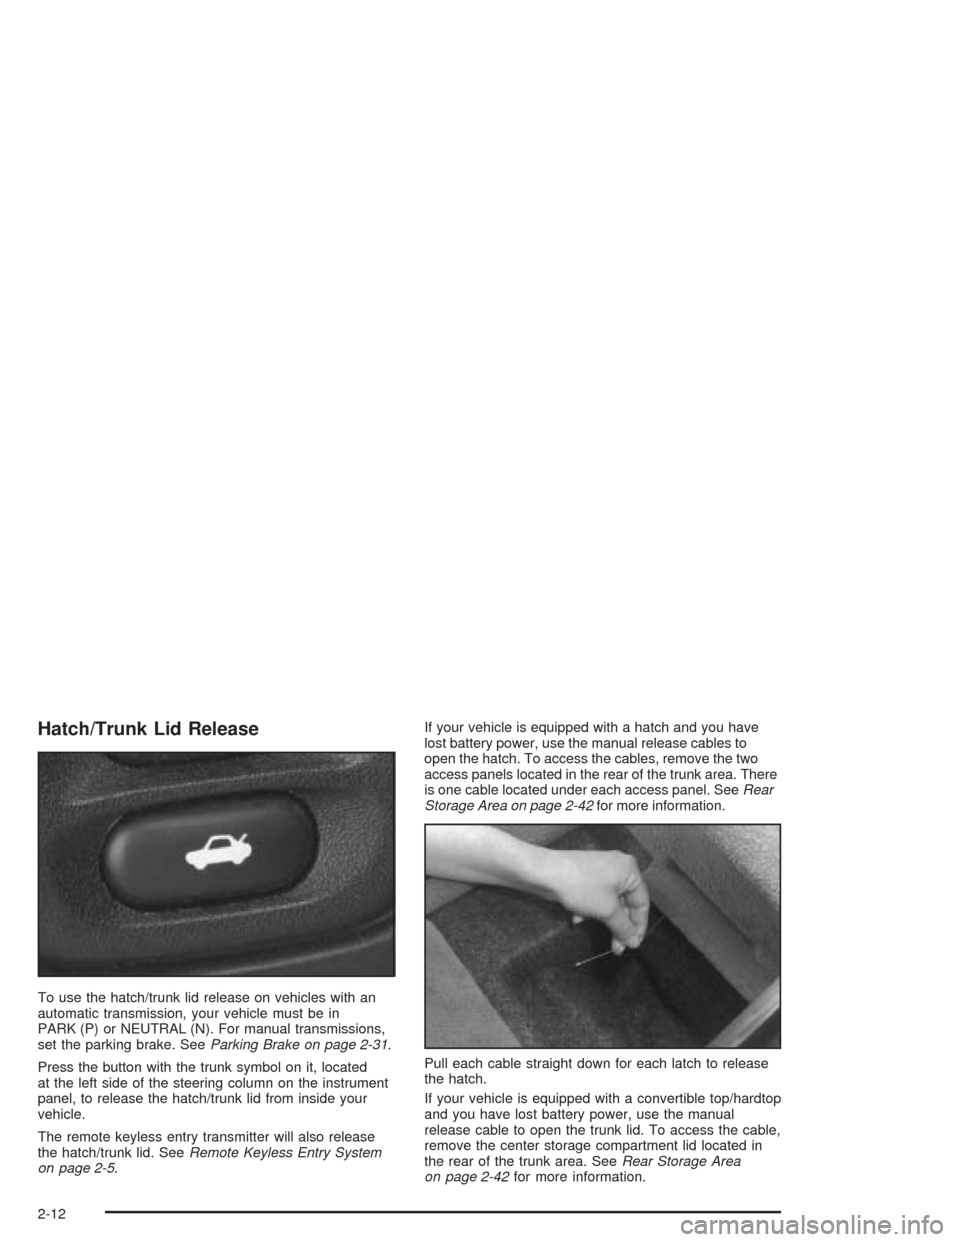
Press the button with the trunk symbol on it, located
at the left side of the steering column on the instrument
panel, to release the hatch/trunk lid from inside your
vehicle.
The remote keyless entry transmitter will also release
the hatch/trunk lid. SeeRemote Keyless Entry System
on page 2-5.If your vehicle is equipped with a hatch and you have
lost battery power, use the manual release cables to
open the hatch. To access the cables, remove the two
access panels located in the rear of the trunk area. There
is one cable located under each access panel. SeeRear
Storage Area on page 2-42for more information.
Pull each cable straight down for each latch to release
the hatch.
If your vehicle is equipped with a convertible top/hardtop
and you have lost battery power, use the manual
release cable to open the trunk lid. To access the cable,
remove the center storage compartment lid located in
the rear of the trunk area. SeeRear Storage Area
on page 2-42for more information.
2-12
Page 69 of 384
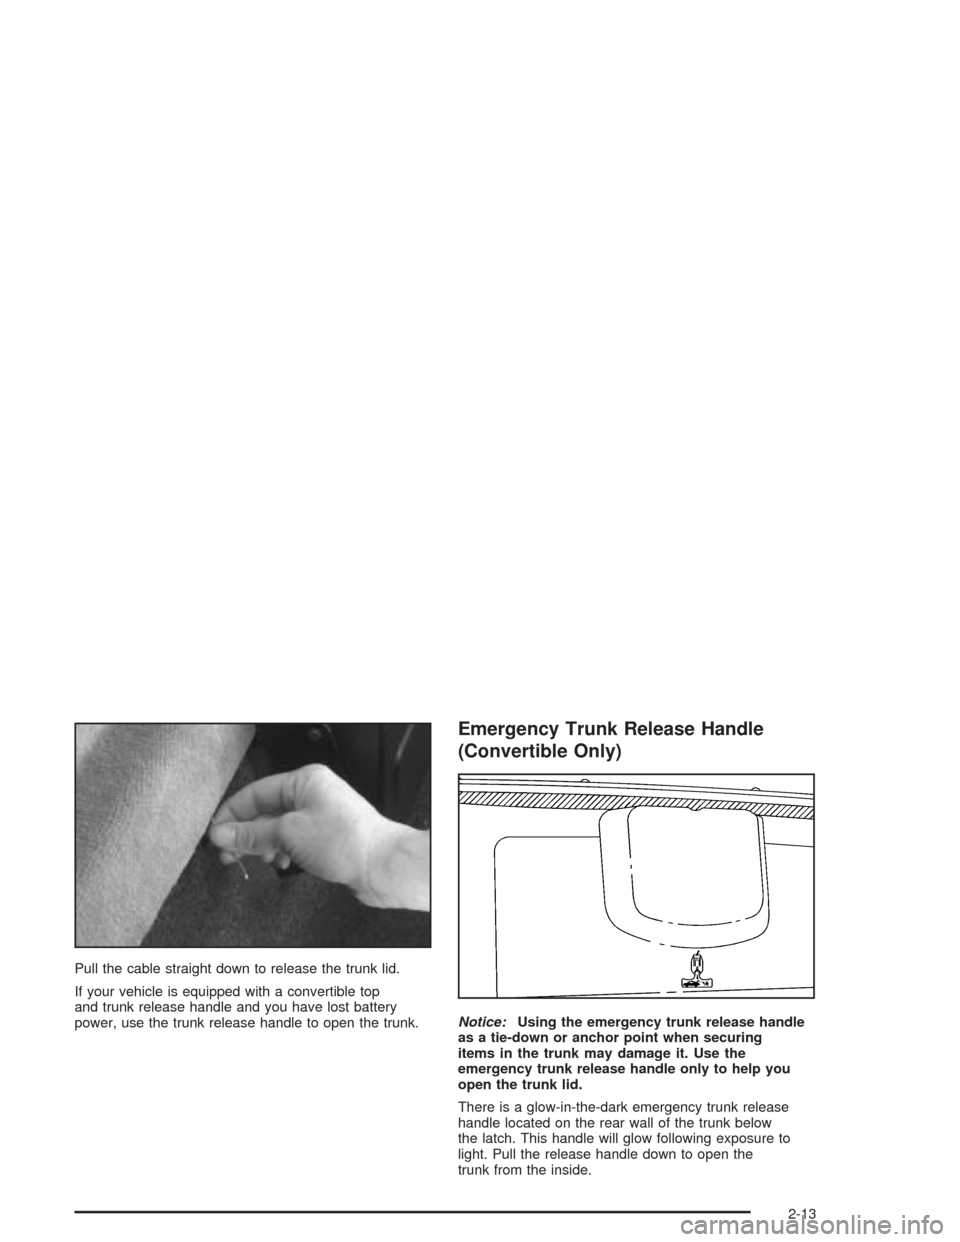
Pull the cable straight down to release the trunk lid.
If your vehicle is equipped with a convertible top
and trunk release handle and you have lost battery
power, use the trunk release handle to open the trunk.
Emergency Trunk Release Handle
(Convertible Only)
Notice:Using the emergency trunk release handle
as a tie-down or anchor point when securing
items in the trunk may damage it. Use the
emergency trunk release handle only to help you
open the trunk lid.
There is a glow-in-the-dark emergency trunk release
handle located on the rear wall of the trunk below
the latch. This handle will glow following exposure to
light. Pull the release handle down to open the
trunk from the inside.
2-13
Page 98 of 384
Rear Storage Area
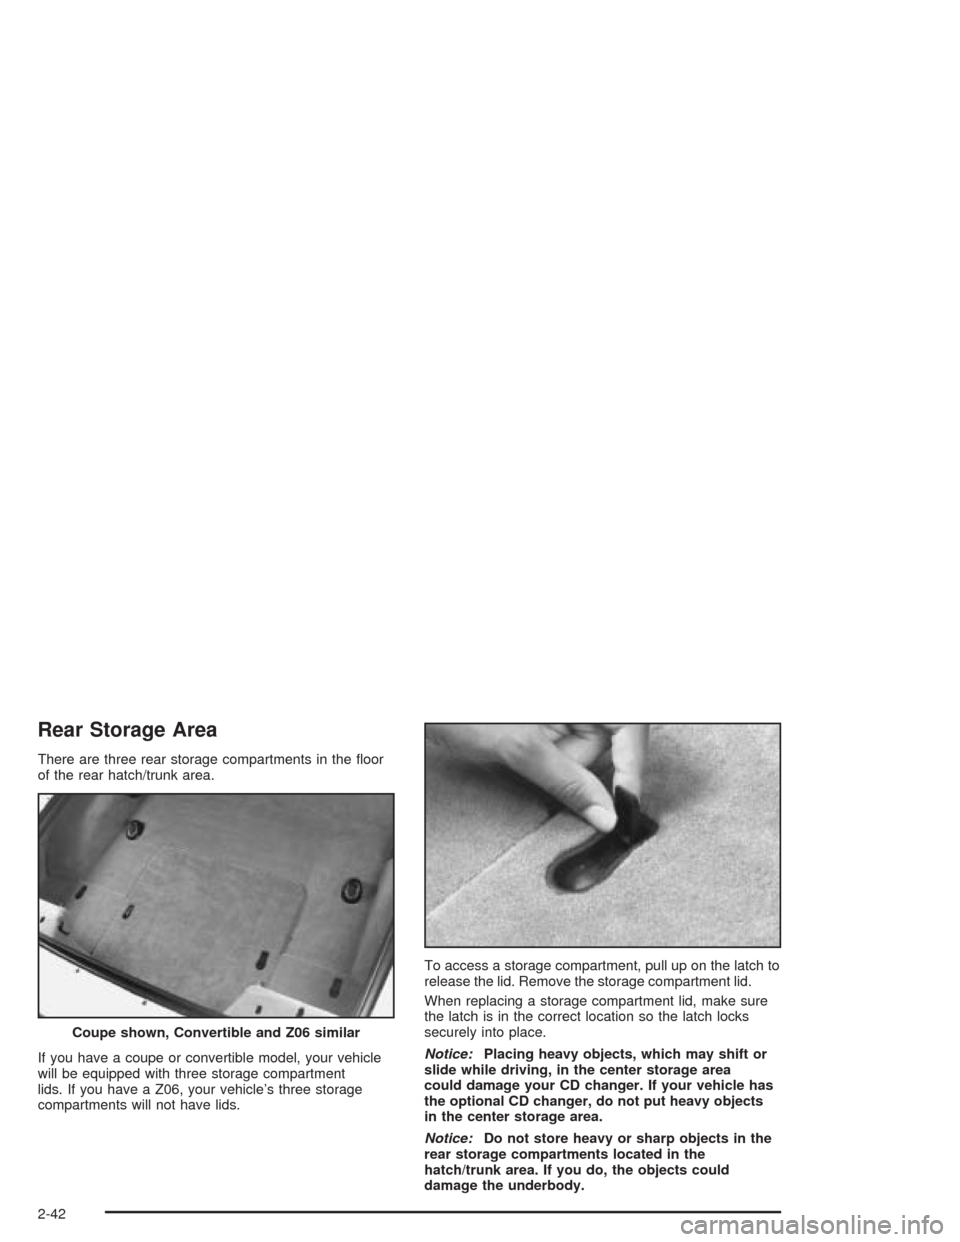
There are three rear storage compartments in the floor
of the rear hatch/trunk area.
If you have a coupe or convertible model, your vehicle
will be equipped with three storage compartment
lids. If you have a Z06, your vehicle’s three storage
compartments will not have lids.To access a storage compartment, pull up on the latch to
release the lid. Remove the storage compartment lid.
When replacing a storage compartment lid, make sure
the latch is in the correct location so the latch locks
securely into place.
Notice:Placing heavy objects, which may shift or
slide while driving, in the center storage area
could damage your CD changer. If your vehicle has
the optional CD changer, do not put heavy objects
in the center storage area.
Notice:Do not store heavy or sharp objects in the
rear storage compartments located in the
hatch/trunk area. If you do, the objects could
damage the underbody. Coupe shown, Convertible and Z06 similar
2-42
Page 109 of 384
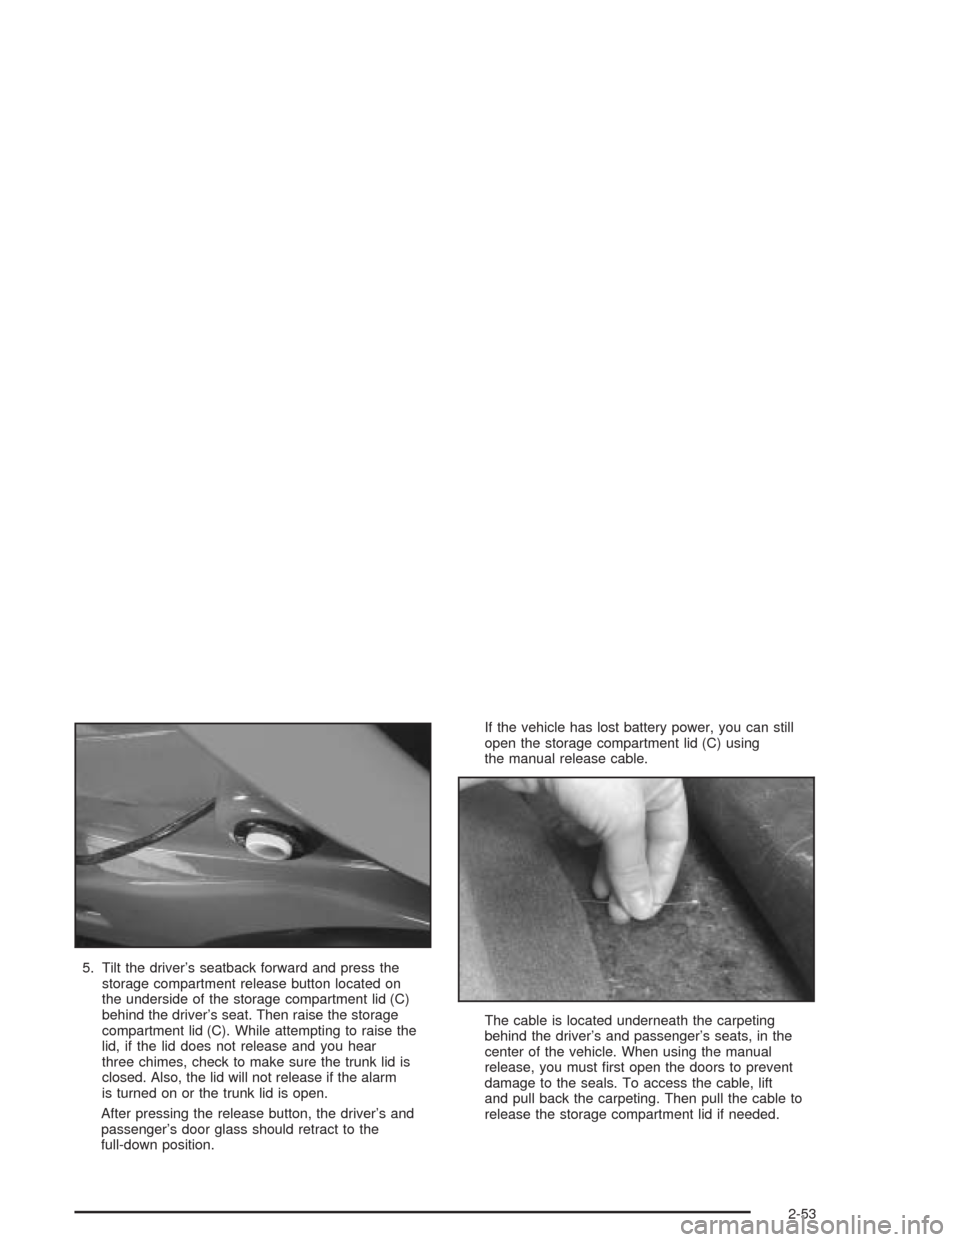
5. Tilt the driver’s seatback forward and press the
storage compartment release button located on
the underside of the storage compartment lid (C)
behind the driver’s seat. Then raise the storage
compartment lid (C). While attempting to raise the
lid, if the lid does not release and you hear
three chimes, check to make sure the trunk lid is
closed. Also, the lid will not release if the alarm
is turned on or the trunk lid is open.
After pressing the release button, the driver’s and
passenger’s door glass should retract to the
full-down position.If the vehicle has lost battery power, you can still
open the storage compartment lid (C) using
the manual release cable.
The cable is located underneath the carpeting
behind the driver’s and passenger’s seats, in the
center of the vehicle. When using the manual
release, you must first open the doors to prevent
damage to the seals. To access the cable, lift
and pull back the carpeting. Then pull the cable to
release the storage compartment lid if needed.
2-53
Page 117 of 384
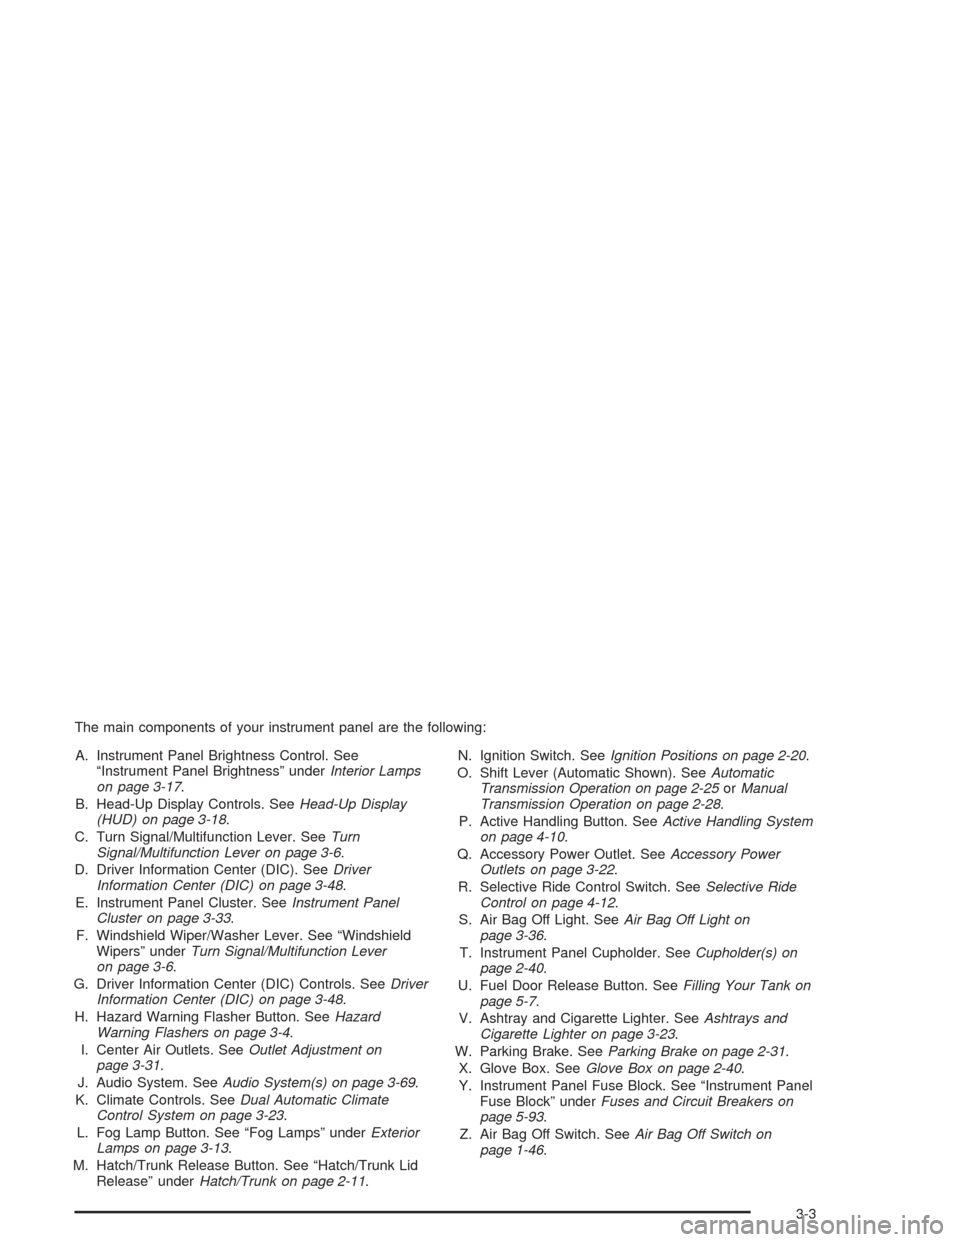
The main components of your instrument panel are the following:
A. Instrument Panel Brightness Control. See
“Instrument Panel Brightness” underInterior Lamps
on page 3-17.
B. Head-Up Display Controls. SeeHead-Up Display
(HUD) on page 3-18.
C. Turn Signal/Multifunction Lever. SeeTurn
Signal/Multifunction Lever on page 3-6.
D. Driver Information Center (DIC). SeeDriver
Information Center (DIC) on page 3-48.
E. Instrument Panel Cluster. SeeInstrument Panel
Cluster on page 3-33.
F. Windshield Wiper/Washer Lever. See “Windshield
Wipers” underTurn Signal/Multifunction Lever
on page 3-6.
G. Driver Information Center (DIC) Controls. SeeDriver
Information Center (DIC) on page 3-48.
H. Hazard Warning Flasher Button. SeeHazard
Warning Flashers on page 3-4.
I. Center Air Outlets. SeeOutlet Adjustment on
page 3-31.
J. Audio System. SeeAudio System(s) on page 3-69.
K. Climate Controls. SeeDual Automatic Climate
Control System on page 3-23.
L. Fog Lamp Button. See “Fog Lamps” underExterior
Lamps on page 3-13.
M. Hatch/Trunk Release Button. See “Hatch/Trunk Lid
Release” underHatch/Trunk on page 2-11.N. Ignition Switch. SeeIgnition Positions on page 2-20.
O. Shift Lever (Automatic Shown). SeeAutomatic
Transmission Operation on page 2-25orManual
Transmission Operation on page 2-28.
P. Active Handling Button. SeeActive Handling System
on page 4-10.
Q. Accessory Power Outlet. SeeAccessory Power
Outlets on page 3-22.
R. Selective Ride Control Switch. SeeSelective Ride
Control on page 4-12.
S. Air Bag Off Light. SeeAir Bag Off Light on
page 3-36.
T. Instrument Panel Cupholder. SeeCupholder(s) on
page 2-40.
U. Fuel Door Release Button. SeeFilling Your Tank on
page 5-7.
V. Ashtray and Cigarette Lighter. SeeAshtrays and
Cigarette Lighter on page 3-23.
W. Parking Brake. SeeParking Brake on page 2-31.
X. Glove Box. SeeGlove Box on page 2-40.
Y. Instrument Panel Fuse Block. See “Instrument Panel
Fuse Block” underFuses and Circuit Breakers on
page 5-93.
Z. Air Bag Off Switch. SeeAir Bag Off Switch on
page 1-46.
3-3
Page 131 of 384
Interior Lamps
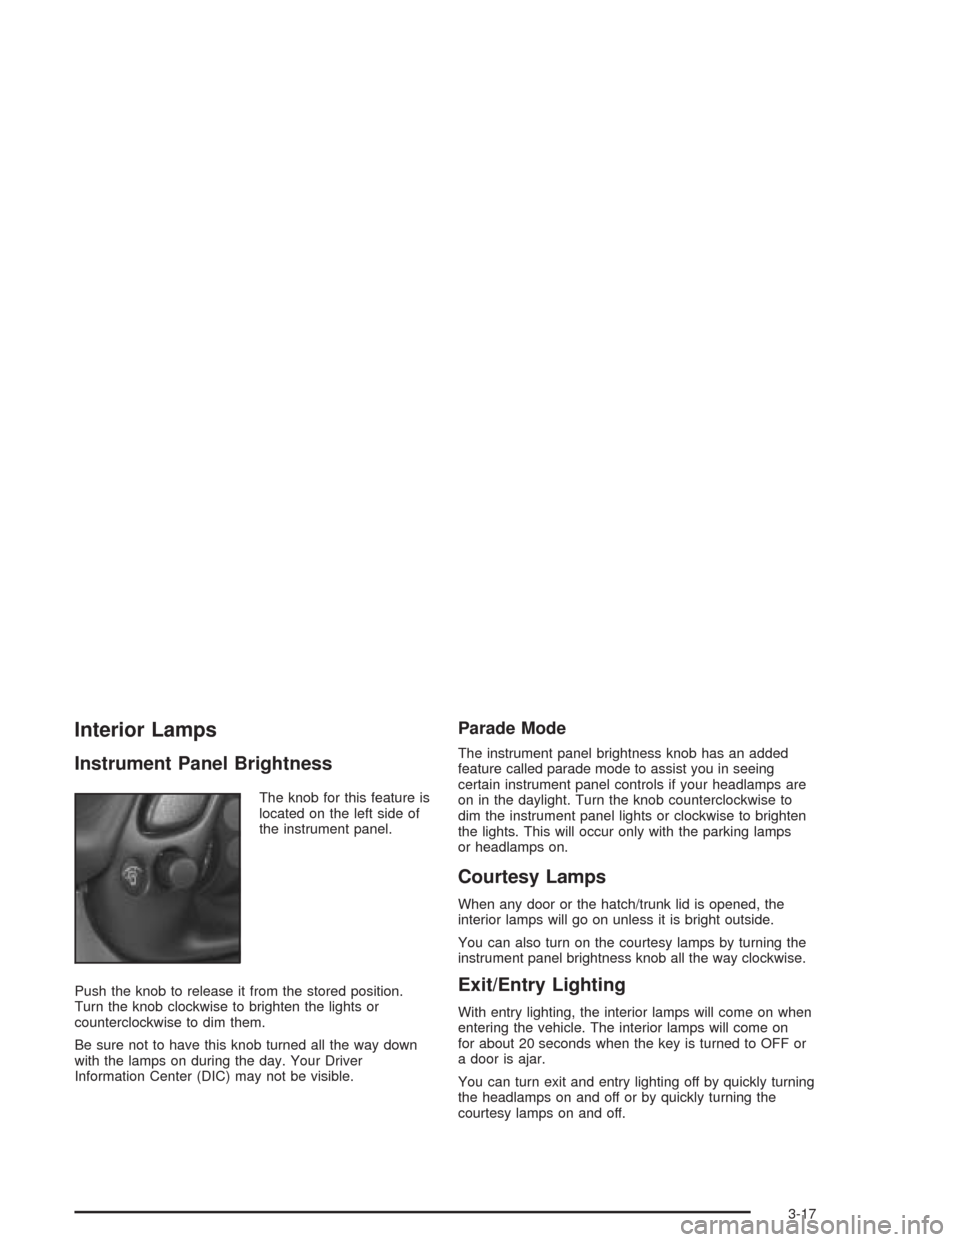
Instrument Panel Brightness
The knob for this feature is
located on the left side of
the instrument panel.
Push the knob to release it from the stored position.
Turn the knob clockwise to brighten the lights or
counterclockwise to dim them.
Be sure not to have this knob turned all the way down
with the lamps on during the day. Your Driver
Information Center (DIC) may not be visible.
Parade Mode
The instrument panel brightness knob has an added
feature called parade mode to assist you in seeing
certain instrument panel controls if your headlamps are
on in the daylight. Turn the knob counterclockwise to
dim the instrument panel lights or clockwise to brighten
the lights. This will occur only with the parking lamps
or headlamps on.
Courtesy Lamps
When any door or the hatch/trunk lid is opened, the
interior lamps will go on unless it is bright outside.
You can also turn on the courtesy lamps by turning the
instrument panel brightness knob all the way clockwise.
Exit/Entry Lighting
With entry lighting, the interior lamps will come on when
entering the vehicle. The interior lamps will come on
for about 20 seconds when the key is turned to OFF or
a door is ajar.
You can turn exit and entry lighting off by quickly turning
the headlamps on and off or by quickly turning the
courtesy lamps on and off.
3-17
Page 197 of 384
To eject the magazine from the player, slide the CD
changer door all the way open. The magazine will
automatically eject. Remember to keep the door closed
whenever possible to keep dirt and dust from getting
inside the changer.
Whenever a CD magazine with CDs is loaded in the
changer and the door is closed, the CD symbol
will appear on the radio display. If the CD changer is
checking the magazine for CDs, the CD symbol will flash
on the radio display until the changer is ready to play.
When a CD begins playing, CD will appear in the bottom
left corner and a CD and track number will appear on
the radio display. The CD numbers are listed on the front
of the magazine.
All of the CD functions are controlled by the radio
buttons except for ejecting the magazine.Operating the Trunk-Mounted CD
Changer with the Radio with Cassette
If an error appears on the display, see “CD Messages”
later in this section.
1 PREV (Previous):Press this pushbutton to go to the
start of the current track if more than eight seconds
have played. If this pushbutton is held or pressed more
than once, the player will continue moving backward
through the CD.
2 PROG (Program):Press this pushbutton to select
the next CD in the magazine. If a CD cannot be played,
its number will be skipped when selecting CDs while
using this pushbutton.
3 NEXT:Press this pushbutton to go to the next track.
If this pushbutton is held or pressed more than once,
the player will continue moving forward through the CD.
REV 4 (Reverse):Press and hold this pushbutton to
quickly reverse within a track. Release the pushbutton to
play the passage. The elapsed time of the track will
appear on the display.
3-83