Page 119 of 384
Other Warning Devices
If you carry reflective triangles, you can set one up at
the side of the road about 300 feet (100 m) behind your
vehicle.
Horn
To sound the horn, press either horn symbol on the
steering wheel.
Tilt Wheel
A tilt wheel allows you to adjust the steering wheel
before you drive. You can raise it to the highest level to
give your legs more room when you exit and enter
the vehicle.
The lever that allows you to tilt the steering wheel is
located on the left side of the steering column.To tilt the wheel, hold the steering wheel and pull the
lever toward you. Then move the wheel to a comfortable
position and release the lever to lock the wheel in place.
3-5
Page 120 of 384
Telescopic Steering Column
If your vehicle has this feature, the telescopic steering
column will allow you to adjust the distance the steering
wheel is from the instrument panel.
The telescopic steering
column switch is located
on the right side of
the steering column.
To operate the telescopic steering column, push the
switch forward and the wheel will move away from you.
Pull the switch rearward and the wheel will move
toward you.
The telescopic steering column position can be stored
with your memory settings. SeeMemory on page 2-57
for more information.
Turn Signal/Multifunction Lever
The lever on the left side of the steering column
includes the following:
•Turn and Lane-Change Signals
•Headlamp High/Low-Beam Changer
•Flash-to-Pass Feature
•Cruise Control
For information on exterior lamps, seeExterior Lamps
on page 3-13.
3-6
Page 122 of 384
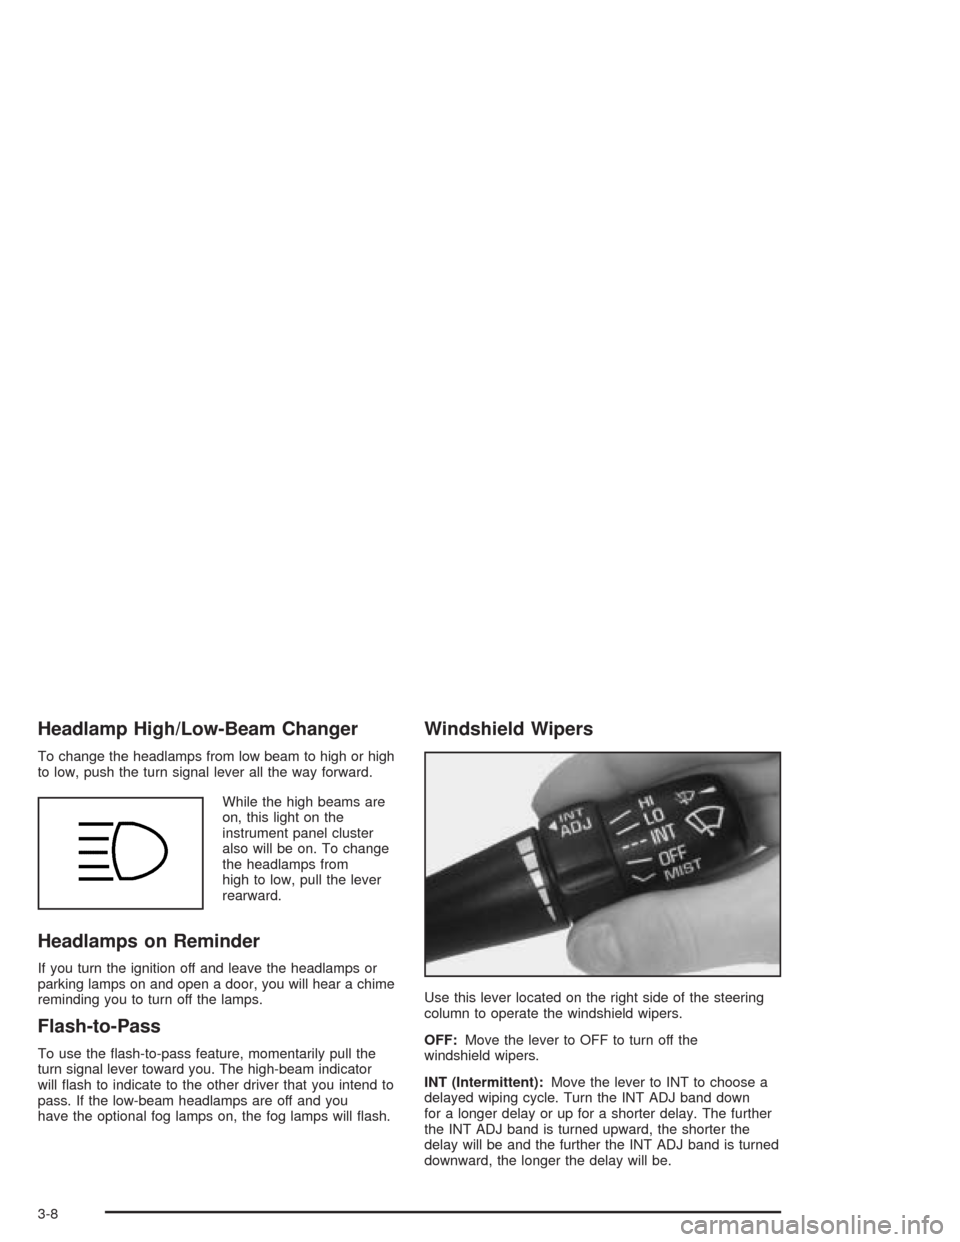
Headlamp High/Low-Beam Changer
To change the headlamps from low beam to high or high
to low, push the turn signal lever all the way forward.
While the high beams are
on, this light on the
instrument panel cluster
also will be on. To change
the headlamps from
high to low, pull the lever
rearward.
Headlamps on Reminder
If you turn the ignition off and leave the headlamps or
parking lamps on and open a door, you will hear a chime
reminding you to turn off the lamps.
Flash-to-Pass
To use the flash-to-pass feature, momentarily pull the
turn signal lever toward you. The high-beam indicator
will flash to indicate to the other driver that you intend to
pass. If the low-beam headlamps are off and you
have the optional fog lamps on, the fog lamps will flash.
Windshield Wipers
Use this lever located on the right side of the steering
column to operate the windshield wipers.
OFF:Move the lever to OFF to turn off the
windshield wipers.
INT (Intermittent):Move the lever to INT to choose a
delayed wiping cycle. Turn the INT ADJ band down
for a longer delay or up for a shorter delay. The further
the INT ADJ band is turned upward, the shorter the
delay will be and the further the INT ADJ band is turned
downward, the longer the delay will be.
3-8
Page 123 of 384
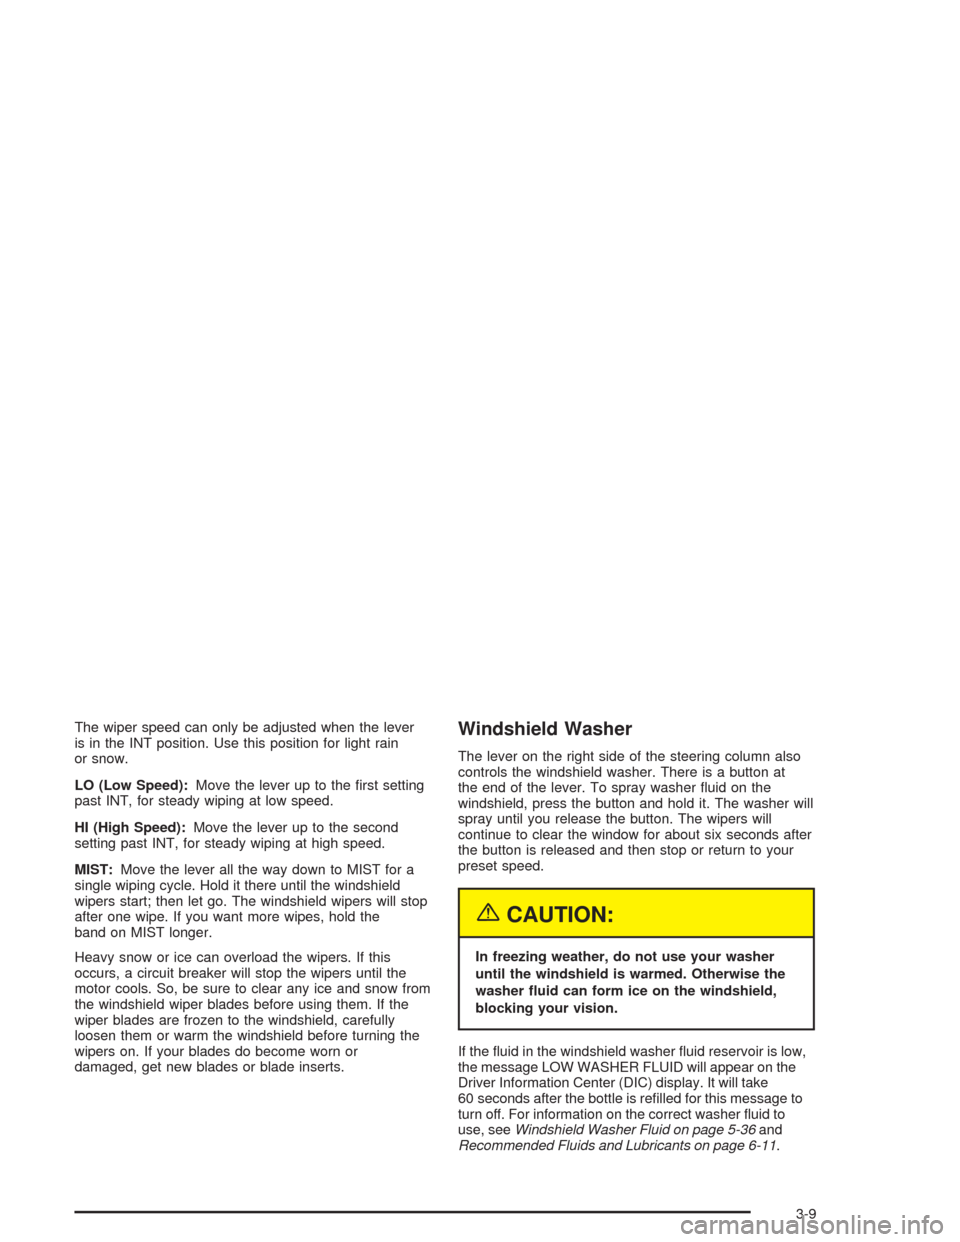
The wiper speed can only be adjusted when the lever
is in the INT position. Use this position for light rain
or snow.
LO (Low Speed):Move the lever up to the first setting
past INT, for steady wiping at low speed.
HI (High Speed):Move the lever up to the second
setting past INT, for steady wiping at high speed.
MIST:Move the lever all the way down to MIST for a
single wiping cycle. Hold it there until the windshield
wipers start; then let go. The windshield wipers will stop
after one wipe. If you want more wipes, hold the
band on MIST longer.
Heavy snow or ice can overload the wipers. If this
occurs, a circuit breaker will stop the wipers until the
motor cools. So, be sure to clear any ice and snow from
the windshield wiper blades before using them. If the
wiper blades are frozen to the windshield, carefully
loosen them or warm the windshield before turning the
wipers on. If your blades do become worn or
damaged, get new blades or blade inserts.Windshield Washer
The lever on the right side of the steering column also
controls the windshield washer. There is a button at
the end of the lever. To spray washer fluid on the
windshield, press the button and hold it. The washer will
spray until you release the button. The wipers will
continue to clear the window for about six seconds after
the button is released and then stop or return to your
preset speed.
{CAUTION:
In freezing weather, do not use your washer
until the windshield is warmed. Otherwise the
washer �uid can form ice on the windshield,
blocking your vision.
If the fluid in the windshield washer fluid reservoir is low,
the message LOW WASHER FLUID will appear on the
Driver Information Center (DIC) display. It will take
60 seconds after the bottle is refilled for this message to
turn off. For information on the correct washer fluid to
use, seeWindshield Washer Fluid on page 5-36and
Recommended Fluids and Lubricants on page 6-11.
3-9
Page 129 of 384
Daytime Running Lamps
Daytime Running Lamps (DRL) can make it easier for
others to see the front of your vehicle during the
day. DRL can be helpful in many different driving
conditions, but they can be especially helpful in the short
periods after dawn and before sunset. Fully functional
daytime running lamps are required on all vehicles
first sold in Canada.
The DRL system will make the front turn signal lamps
come on when the following conditions are met:
•The ignition is on,
•the exterior lamp switch is off and
•the parking brake is released.
When the DRL are on, only the front turn signal lamps
will be on. The headlamps, taillamps, sidemarker
and other lamps will not be on. Your instrument panel
will not be lit up either.
To idle the vehicle with the DRL off, set the parking
brake while the ignition is in OFF. Then start the vehicle.
The DRL, headlamps and parking lamps will stay off
until you release the parking brake.
As with any vehicle, you should turn on the regular
headlamp system when you need it.
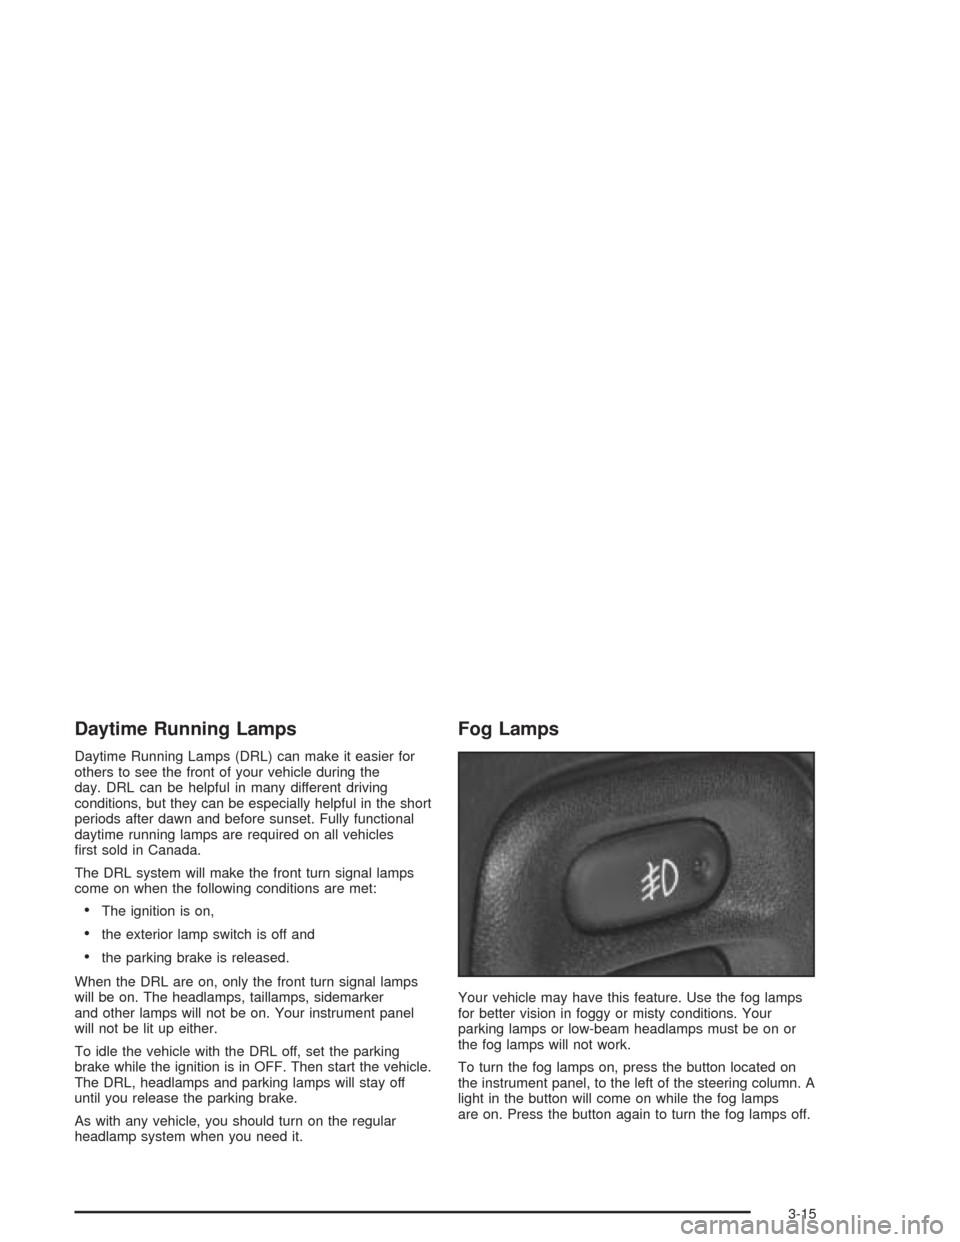
Fog Lamps
Your vehicle may have this feature. Use the fog lamps
for better vision in foggy or misty conditions. Your
parking lamps or low-beam headlamps must be on or
the fog lamps will not work.
To turn the fog lamps on, press the button located on
the instrument panel, to the left of the steering column. A
light in the button will come on while the fog lamps
are on. Press the button again to turn the fog lamps off.
3-15
Page 134 of 384
Be sure to continue scanning your displays, controls
and driving environment just as you would in a vehicle
without HUD. If you never look at your instrument
panel cluster, you may not see something important,
such as a warning light. Under important warning
conditions, the CHECK GAGES icon will illuminate in
the HUD. View your Driver Information Center (DIC) for
more information.The HUD controls are located to the left of the
steering wheel.
To adjust the HUD so you can see it properly, do the
following:
1. Start your engine and slide the HUD dimmer control
all the way up.
The brightness of the HUD image is determined by
the light conditions in the direction your vehicle is
facing and where you have the HUD dimmer control
set. If you are facing a dark object or a heavily
shaded area, your HUD may anticipate that you are
entering a dark area and may begin to dim.
3-20
Page 135 of 384
It is possible for sunlight to enter the HUD causing
all of the graphics to light up. The display will
return to normal when the sunlight is no longer
entering the HUD.
2. Adjust the seat to a comfortable driving position. If
you change your seat position later, you may have
to re-adjust your HUD.
3. Press the top or bottom of the DISPLAY switch to
center the HUD image in your view.
The HUD image can only be adjusted up and down,
not side-to-side.
4. Slide the dimmer control downward until the HUD
image is no brighter than necessary.
To turn HUD off, slide the switch to OFF.
If the sun comes out or it becomes cloudy, you may
need to adjust the HUD brightness again using
the dimmer control. Polarized sunglasses could make
the HUD image harder to see.
To change from English to metric units, press the
E/M button located to the right of the steering wheel.Clean the inside of the windshield as needed to remove
any dirt or film that reduces the sharpness or clarity
of the HUD image.
To clean the HUD, spray household glass cleaner on a
soft, clean cloth. Wipe the HUD lens gently, then dry
it. Do not spray cleaner directly on the lens because the
cleaner could leak into the unit.
If the ignition is on and you can’t see the HUD image,
check to see if:
•Something is covering the HUD unit.
•The HUD dimmer control is adjusted properly.
•The HUD image is adjusted to the proper height.
•Ambient light, in the direction your vehicle is facing,
is low.
•A fuse is blown. SeeFuses and Circuit Breakers on
page 5-93.
Keep in mind that your windshield is part of the HUD
system. If you ever have to have your windshield
replaced, be sure to get one that is designed for HUD
or your HUD image may look blurred and out of focus.
3-21
Page 162 of 384
Driver Information Center (DIC)
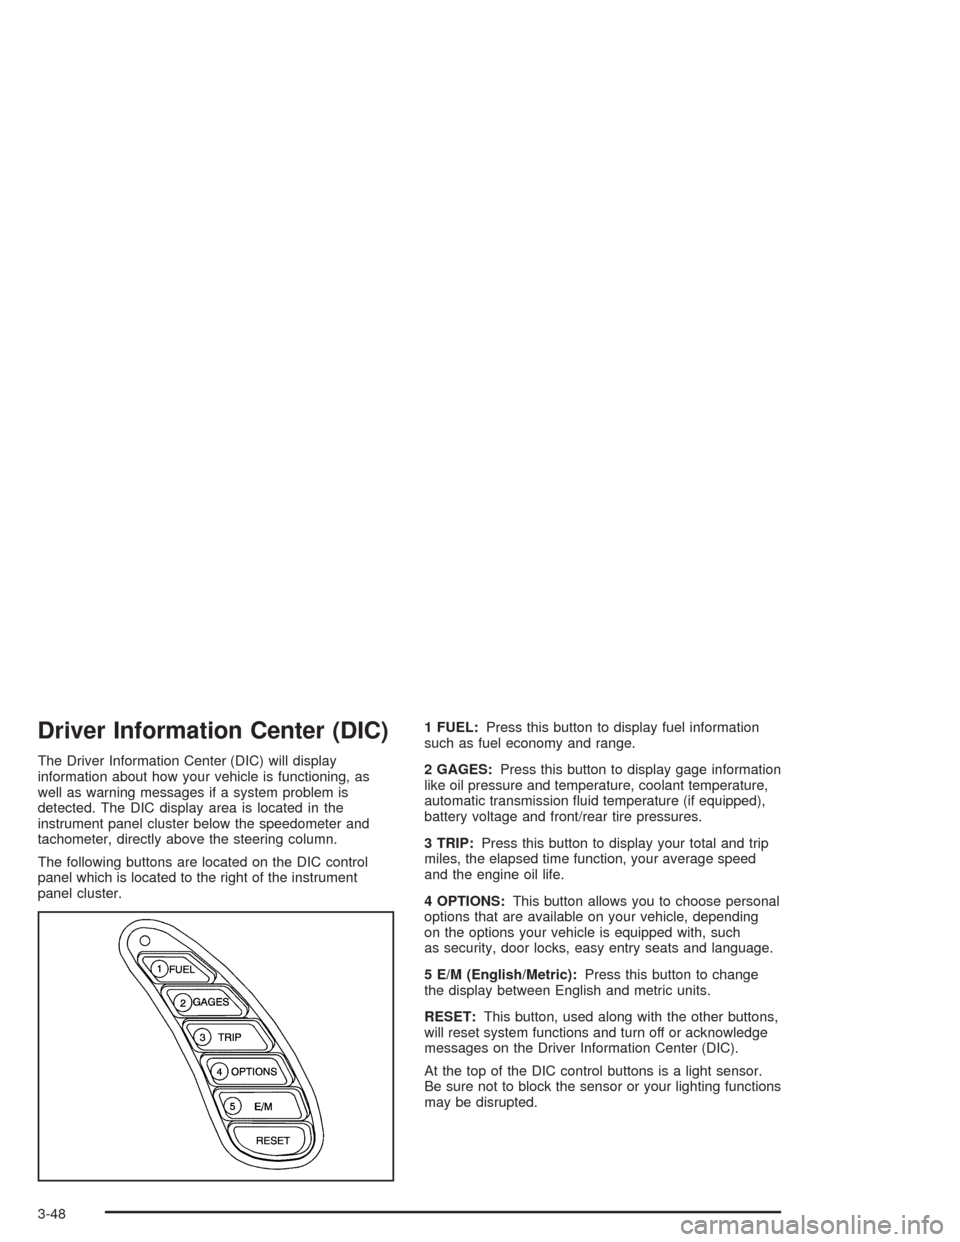
The Driver Information Center (DIC) will display
information about how your vehicle is functioning, as
well as warning messages if a system problem is
detected. The DIC display area is located in the
instrument panel cluster below the speedometer and
tachometer, directly above the steering column.
The following buttons are located on the DIC control
panel which is located to the right of the instrument
panel cluster.1 FUEL:Press this button to display fuel information
such as fuel economy and range.
2 GAGES:Press this button to display gage information
like oil pressure and temperature, coolant temperature,
automatic transmission fluid temperature (if equipped),
battery voltage and front/rear tire pressures.
3 TRIP:Press this button to display your total and trip
miles, the elapsed time function, your average speed
and the engine oil life.
4 OPTIONS:This button allows you to choose personal
options that are available on your vehicle, depending
on the options your vehicle is equipped with, such
as security, door locks, easy entry seats and language.
5 E/M (English/Metric):Press this button to change
the display between English and metric units.
RESET:This button, used along with the other buttons,
will reset system functions and turn off or acknowledge
messages on the Driver Information Center (DIC).
At the top of the DIC control buttons is a light sensor.
Be sure not to block the sensor or your lighting functions
may be disrupted.
3-48