2004 CHEVROLET CORVETTE maintenance schedule
[x] Cancel search: maintenance schedulePage 1 of 384

Seats and Restraint Systems........................... 1-1
Front Seats
............................................... 1-2
Safety Belts
.............................................. 1-6
Child Restraints
.......................................1-19
Air Bag System
.......................................1-40
Restraint System Check
............................1-49
Features and Controls..................................... 2-1
Keys
........................................................ 2-3
Doors and Locks
....................................... 2-9
Windows
.................................................2-14
Theft-Deterrent Systems
............................2-16
Starting and Operating Your Vehicle
...........2-19
Mirrors
....................................................2-37
Storage Areas
.........................................2-40
Roof Panel
..............................................2-44
Convertible Top
.......................................2-50
Vehicle Personalization
.............................2-57
Instrument Panel............................................. 3-1
Instrument Panel Overview
.......................... 3-2
Climate Controls
......................................3-23
Warning Lights, Gages, and Indicators
........3-32
Driver Information Center (DIC)
..................3-48
Audio System(s)
.......................................3-69Driving Your Vehicle....................................... 4-1
Your Driving, the Road, and Your Vehicle
..... 4-2
Towing
...................................................4-33
Service and Appearance Care.......................... 5-1
Service
..................................................... 5-3
Fuel
......................................................... 5-4
Checking Things Under the Hood
...............5-10
Rear Axle
...............................................5-47
Bulb Replacement
....................................5-48
Windshield Wiper Blade Replacement
.........5-52
Tires
......................................................5-55
Appearance Care
.....................................5-82
Vehicle Identification
.................................5-91
Electrical System
......................................5-92
Capacities and Specifications
.....................5-99
Maintenance Schedule..................................... 6-1
Maintenance Schedule
................................ 6-2
Customer Assistance and Information.............. 7-1
Customer Assistance and Information
........... 7-2
Reporting Safety Defects
...........................7-10
Index................................................................ 1
2004 Chevrolet Corvette Owner ManualM
Page 159 of 384
The engine oil pressure can also be displayed using the
GAGES button on the Driver Information Center (DIC).
SeeDriver Information Center (DIC) on page 3-48.
{CAUTION:
Do not keep driving if the oil pressure is low. If
you do, your engine can become so hot that it
catches �re. You or others could be burned.
Check your oil as soon as possible and have
your vehicle serviced.
Notice:Lack of proper engine oil maintenance may
damage the engine. The repairs would not be
covered by your warranty. Always follow the
maintenance schedule in this manual for changing
engine oil.
Security Light
This light comes on to
remind you to arm your
theft-deterrent system. If it
comes on and stays on
when your ignition is
on, there may be a
problem with your
theft-deterrent system.
SeeTheft-Deterrent System on page 2-16and
PASS-Key
®on page 2-18.
3-45
Page 167 of 384
Elapsed Time
Press the TRIP button until ELAP. TIME is displayed,
such as ELAP. TIME 00:00:00.00.
When the ignition is in ON, the Driver Information
Center (DIC) can be used as a stopwatch. The display
can show hours, minutes, seconds and hundredths
of a second. The elapsed time indicator will record up to
99 hours, 59 minutes and 59 seconds, then it will
reset to zero and continue counting. (Hundredths are
shown up to 59 minutes, 59 seconds and
99 hundredths). The display appears as ELAP. TIME
00:00:00.00 in the elapsed time function.
You can start or stop the elapsed time by pressing
RESET. To reset the elapsed time to zero, stop the timer
by pressing RESET. Then press and hold RESET
until ELAP. TIME 00:00:00.00 appears in the DIC.
Average Speed
Press the TRIP button until the average speed is
displayed, such as:
•AVERAGE SPEED 62 MPH or
•AVERAGE SPEED 100 km/h
Press reset in this mode to start calculating the average
speed. Press and hold RESET to clear.
Engine Oil Life
Press the TRIP button until the engine oil life is
displayed, such as OIL LIFE REMAIN 89%.
This is an estimate of the engine oil’s remaining useful
life. It will show 100% when the system is reset after
an oil change. It will alert you to change your oil
on a schedule consistent with your driving conditions.
When the remaining oil life is low, the system will
alert you with the message CHANGE OIL SOON.
When the oil life is down to zero, you will receive the
message CHANGE OIL NOW.
Remember, you must reset the OIL LIFE yourself after
each oil change. It will not reset itself. Also, be
careful not to reset the OIL LIFE accidentally at any
time other than when the oil has just been changed. It
can’t be reset accurately until the next oil change.
To reset the system, see “How to Reset the Change Oil
Soon Message” underEngine Oil on page 5-13.
Also, seeEngine Oil on page 5-13andScheduled
Maintenance on page 6-4.
3-53
Page 182 of 384
Other Messages
Here are more messages that you can receive on your
Driver Information Center (DIC). To acknowledge a
message and read another message that may have
come on at the same time, press the RESET button.
•BRAKE BEFORE SHIFT
(See “Automatic Transmissions Only” under
Automatic Transmission Operation on page 2-25.)
•CHANGE OIL NOW
(See “GM Oil Life System™” underEngine Oil on
page 5-13.)
•CHANGE OIL SOON
(See “GM Oil Life System™” underEngine Oil on
page 5-13andScheduled Maintenance on
page 6-4.)
•CRUISE DISENGAGED
(See “Cruise Control” underTurn
Signal/Multifunction Lever on page 3-6.)
•CRUISE SET_MPH (_km/h)
(See “Cruise Control” underTurn
Signal/Multifunction Lever on page 3-6.)
•DOOR AJAR
•ENGINE PROTECTION REDUCE ENGINE RPM
•HATCH AJAR (Coupe)
•HIGH VOLTAGE
(SeeVoltmeter Gage on page 3-37.)
•LOW BRAKE FLUID
(See “Brake Fluid” underBrakes on page 5-37.)
•LOW FUEL
(SeeFuel Gage on page 3-46.)
•LOW VOLTAGE
(SeeVoltmeter Gage on page 3-37.)
•LOW WASHER FLUID
(SeeWindshield Washer Fluid on page 5-36.)
•RESERVE FUEL
(SeeFuel Gage on page 3-46.)
•TONNEAU AJAR (Convertible)
•TRUNK AJAR (Convertible/Z06)
•UPSHIFT NOW
(SeeManual Transmission Operation on
page 2-28.)
3-68
Page 262 of 384
Automatic Transmission Fluid
How to Check
It is not necessary to check the transmission fluid level.
A transmission fluid leak is the only reason for fluid
loss. If a leak occurs, take the vehicle to your dealer
service department and have it repaired as soon
as possible.
There is a special procedure for checking and changing
the transmission fluid. Because this procedure is
difficult, you should have this done at your dealer service
department. Contact your dealer for additional
information or the procedure can be found in the service
manual. To purchase a service manual, seeService
Publications Ordering Information on page 7-11.
Notice:We recommend you use only �uid labeled
DEXRON
®-III, because �uid with that label is
made especially for your automatic transmission.
Damage caused by �uid other than DEXRON
®-III is
not covered by your new vehicle warranty.Change both the fluid and filter every 50,000 miles
(80 000 km) if the vehicle is mainly driven under one of
these conditions:
•In heavy city traffic where the outside temperature
regularly reaches 90°F (32°C) or higher.
•In hilly or mountainous terrain.
•High performance operation.
If you do not use your vehicle under one of these
conditions, change the fluid and filter every
100,000 miles (166 000 km).
SeeScheduled Maintenance on page 6-4for the proper
service intervals for the transmission fluid and filter.
5-20
Page 264 of 384
How to Add Fluid
Here’s how to add fluid. Refer to the Maintenance
Schedule to determine what kind of fluid to use. See
Recommended Fluids and Lubricants on page 6-11.
1. Remove the filler plug.
2. Add fluid at the filler plug hole. Add only enough
fluid to bring the fluid level up to the bottom of the
filler plug hole.
3. Install the filler plug. Be sure the plug is fully
seated.
4. Tighten the plug to 20 lb ft (27Y).
Hydraulic Clutch
The hydraulic clutch linkage in your vehicle is
self-adjusting. The master cylinder reservoir is filled with
hydraulic fluid.
It is not necessary to regularly check the fluid unless
you suspect there is a leak in the system. Adding fluid
won’t correct a leak.
A fluid loss in this system could indicate a problem.
Have the system inspected and repaired.
When to Check and What to Use
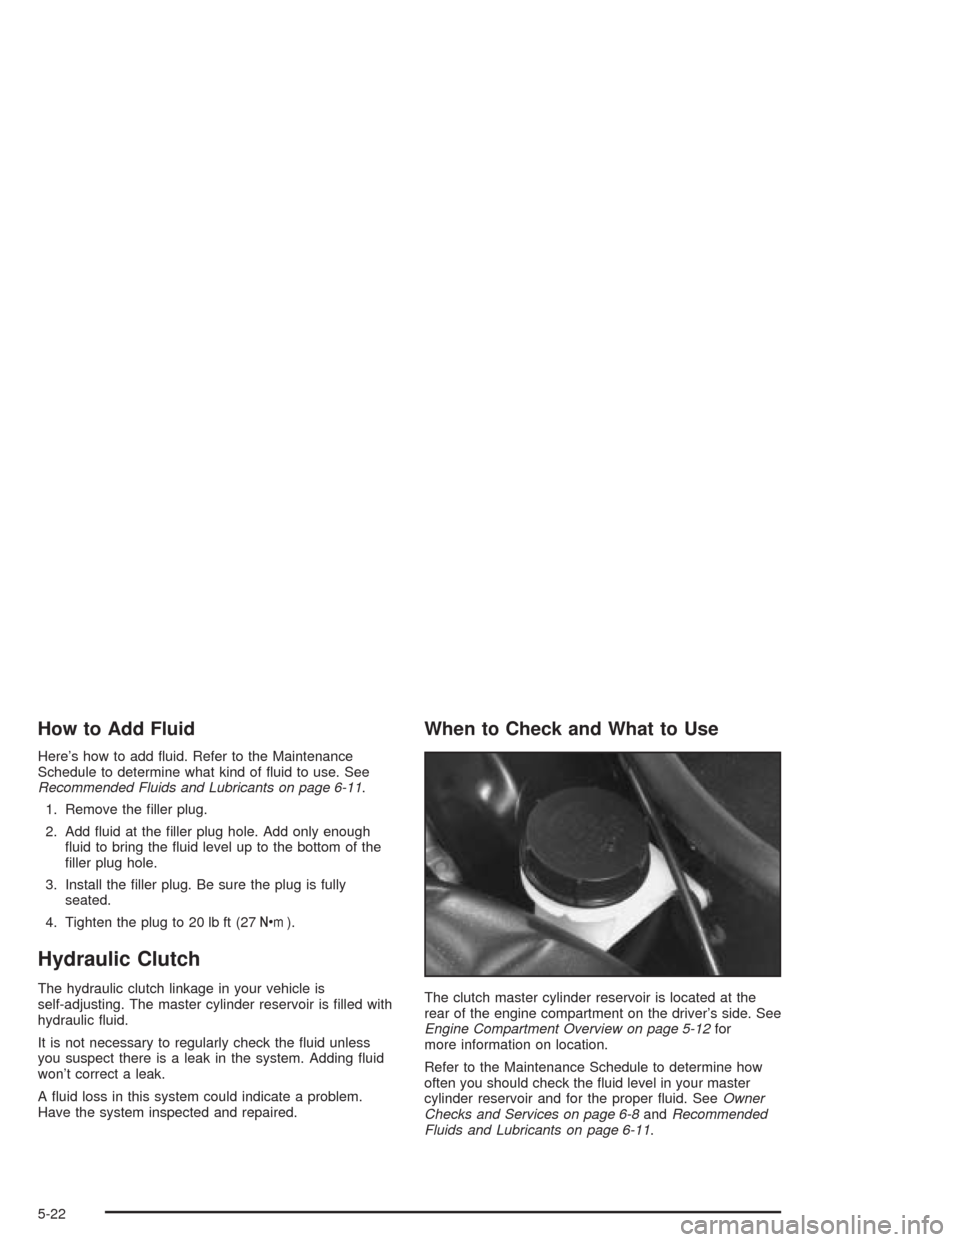
The clutch master cylinder reservoir is located at the
rear of the engine compartment on the driver’s side. See
Engine Compartment Overview on page 5-12for
more information on location.
Refer to the Maintenance Schedule to determine how
often you should check the fluid level in your master
cylinder reservoir and for the proper fluid. SeeOwner
Checks and Services on page 6-8andRecommended
Fluids and Lubricants on page 6-11.
5-22
Page 279 of 384
Brakes
Brake Fluid
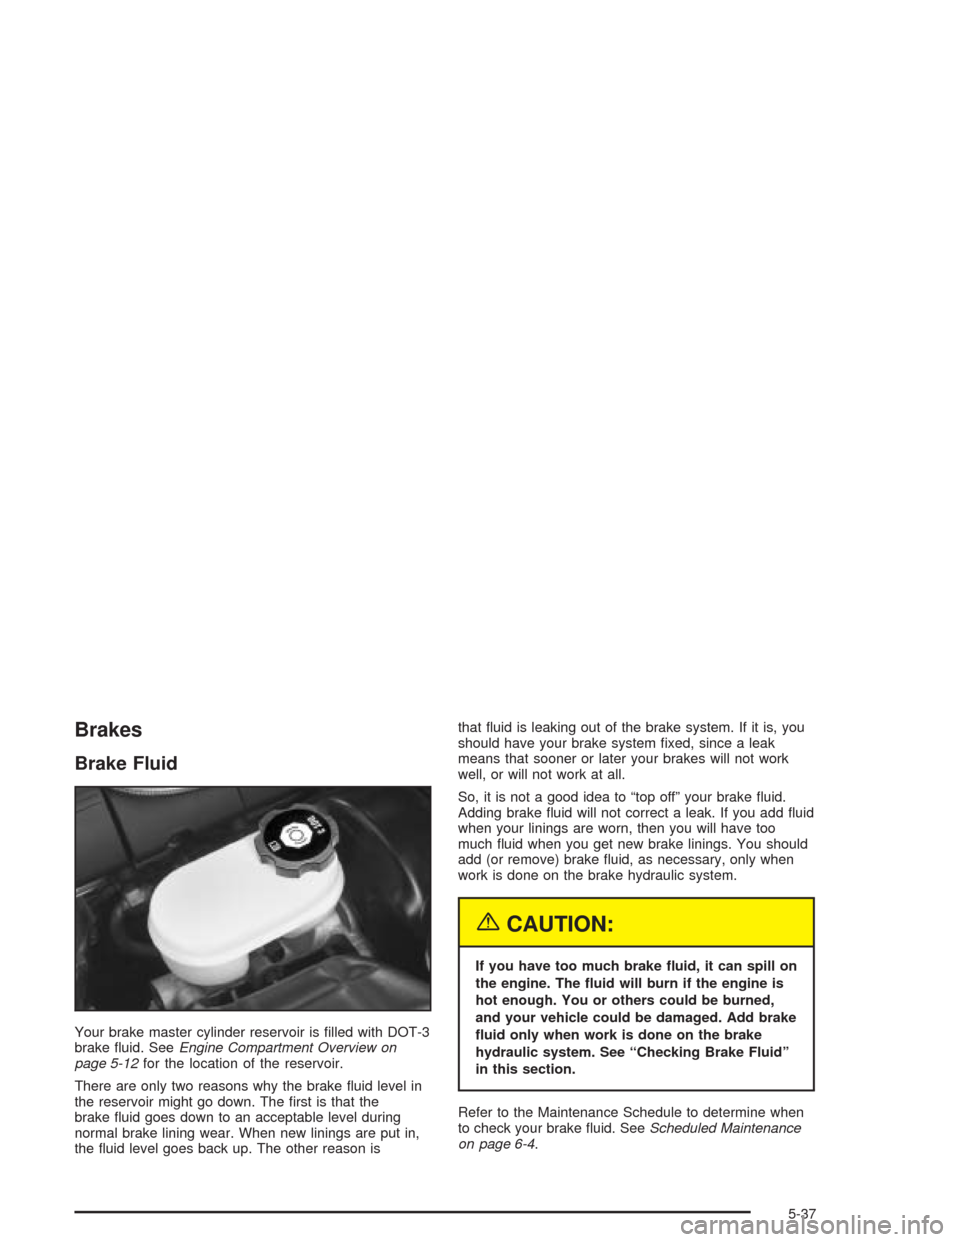
Your brake master cylinder reservoir is filled with DOT-3
brake fluid. SeeEngine Compartment Overview on
page 5-12for the location of the reservoir.
There are only two reasons why the brake fluid level in
the reservoir might go down. The first is that the
brake fluid goes down to an acceptable level during
normal brake lining wear. When new linings are put in,
the fluid level goes back up. The other reason isthat fluid is leaking out of the brake system. If it is, you
should have your brake system fixed, since a leak
means that sooner or later your brakes will not work
well, or will not work at all.
So, it is not a good idea to “top off” your brake fluid.
Adding brake fluid will not correct a leak. If you add fluid
when your linings are worn, then you will have too
much fluid when you get new brake linings. You should
add (or remove) brake fluid, as necessary, only when
work is done on the brake hydraulic system.
{CAUTION:
If you have too much brake �uid, it can spill on
the engine. The �uid will burn if the engine is
hot enough. You or others could be burned,
and your vehicle could be damaged. Add brake
�uid only when work is done on the brake
hydraulic system. See “Checking Brake Fluid”
in this section.
Refer to the Maintenance Schedule to determine when
to check your brake fluid. SeeScheduled Maintenance
on page 6-4.
5-37
Page 294 of 384
Back-Up Lamps
You can access the back-up lamps through the inboard
taillamp opening. SeeTaillamps and Turn Signal
Lamps on page 5-50.
1. Squeeze the tab on the socket while turning it
counterclockwise to remove it from the assembly.
2. Remove the bulb from the socket.
3. Reverse the steps listed previously with a new bulb.
Replacement Bulbs
Exterior Lamp Bulb Number
High-Beam Headlamp 9005
Low-Beam Headlamp 9006
Back-Up 2057
Rear Stop/Tail and Turn Signal 3057
For any bulb replacements or procedures not listed
here, please consult your dealer.
Windshield Wiper Blade
Replacement
Windshield wiper blades should be inspected each time
maintenance is performed. See “Wiper Blade Check”
underScheduled Maintenance on page 6-4for
more information.
Replacement blades come in different types and are
removed in different ways. For the proper type and
length, seeNormal Maintenance Replacement Parts on
page 6-13.
It is a good idea to clean or replace the wiper blade
assembly every six months.
Notice:Allowing the wiper blade arm to touch the
windshield when no wiper blade is installed
could damage the windshield. Any damage that
occurs would not be covered by your warranty. Do
not allow the wiper blade arm to touch the
windshield.
5-52