2004 CADILLAC SEVILLE power steering
[x] Cancel search: power steeringPage 55 of 410
CAUTION: (Continued)
To avoid this, everyone in the vehicle should
get out as soon as it is safe to do so. If you
have breathing problems but can’t get out of
the vehicle after an air bag inflates, then get
fresh air by opening a window or a door. If you
experience breathing problems following an air
bag deployment, you should seek medical
attention.
Your vehicle has a feature that will automatically unlock
the doors and turn the interior lamps on when the air
bags inflate (if battery power is available). You can lock
the doors again and turn the interior lamps off by
using the door lock and interior lamp controls.
In many crashes severe enough to inflate an air bag,
windshields are broken by vehicle deformation.
Additional windshield breakage may also occur from the
right front passenger air bag.
•Air bags are designed to inflate only once. After an
air bag inflates, you’ll need some new parts for your
air bag system. If you don’t get them, the air bag
system won’t be there to help protect you in another
crash. A new system will include air bag modules
and possibly other parts. The service manual for your
vehicle covers the need to replace other parts.
•Your vehicle is equipped with a crash sensing and
diagnostic module, which records information about
the frontal air bag system. The module records
information about the readiness of the system, when
the system commands air bag inflation and driver’s
safety belt usage at deployment. The module also
records speed, engine rpm, brake and throttle data.
•Let only qualified technicians work on your air bag
systems. Improper service can mean that an air bag
system won’t work properly. See your dealer for
service.
Notice:If you damage the covering for the driver’s
or the right front passenger’s air bag, or the air
bag covering on the driver’s and right front
passenger’s seatback, the bag may not work
properly. You may have to replace the air bag
module in the steering wheel, both the air bag
module and the instrument panel for the right front
passenger’s air bag, or both the air bag module
and seatback for the driver’s and right front
passenger’s side impact air bag. Do not open or
break the air bag coverings.
1-49
Page 83 of 410
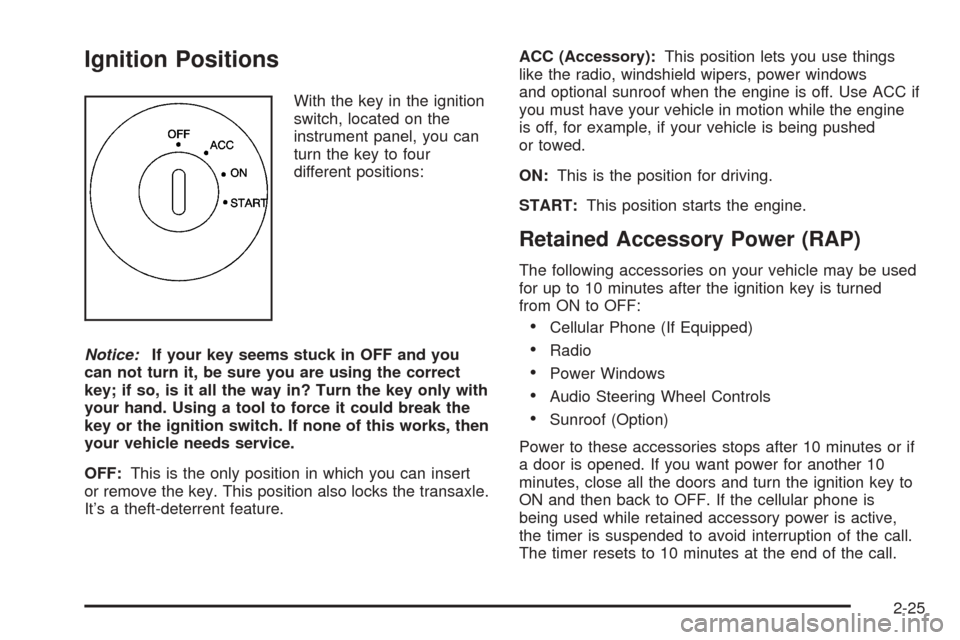
Ignition Positions
With the key in the ignition
switch, located on the
instrument panel, you can
turn the key to four
different positions:
Notice:If your key seems stuck in OFF and you
can not turn it, be sure you are using the correct
key; if so, is it all the way in? Turn the key only with
your hand. Using a tool to force it could break the
key or the ignition switch. If none of this works, then
your vehicle needs service.
OFF:This is the only position in which you can insert
or remove the key. This position also locks the transaxle.
It’s a theft-deterrent feature.ACC (Accessory):This position lets you use things
like the radio, windshield wipers, power windows
and optional sunroof when the engine is off. Use ACC if
you must have your vehicle in motion while the engine
is off, for example, if your vehicle is being pushed
or towed.
ON:This is the position for driving.
START:This position starts the engine.
Retained Accessory Power (RAP)
The following accessories on your vehicle may be used
for up to 10 minutes after the ignition key is turned
from ON to OFF:
•Cellular Phone (If Equipped)
•Radio
•Power Windows
•Audio Steering Wheel Controls
•Sunroof (Option)
Power to these accessories stops after 10 minutes or if
a door is opened. If you want power for another 10
minutes, close all the doors and turn the ignition key to
ON and then back to OFF. If the cellular phone is
being used while retained accessory power is active,
the timer is suspended to avoid interruption of the call.
The timer resets to 10 minutes at the end of the call.
2-25
Page 98 of 410
Cleaning the Mirror
When cleaning the mirror, use a paper towel or similar
material dampened with glass cleaner. Do not spray
glass cleaner directly on the mirror as that may cause
the liquid cleaner to enter the mirror housing.
Outside Power Mirrors
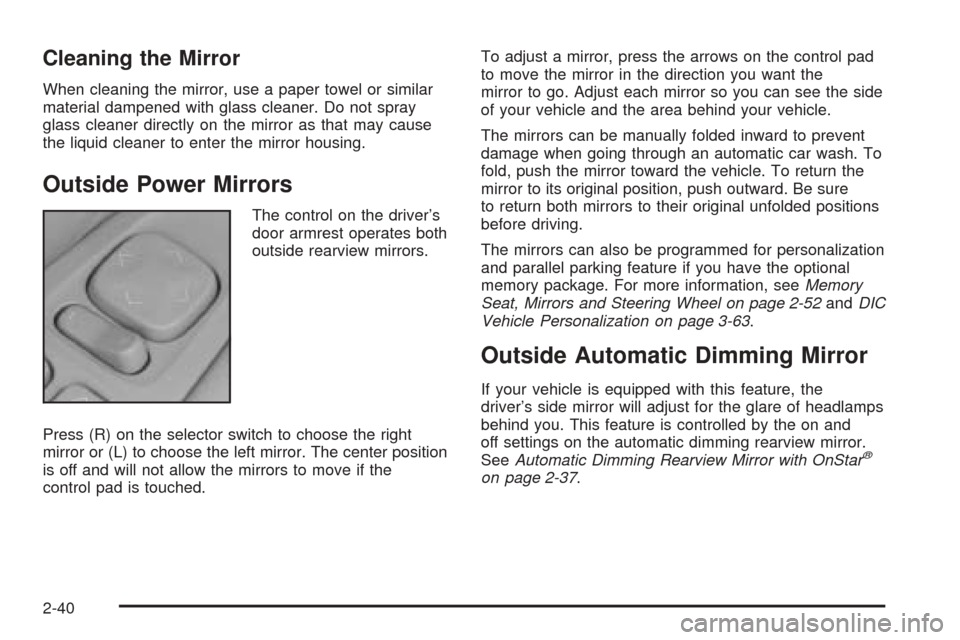
The control on the driver’s
door armrest operates both
outside rearview mirrors.
Press (R) on the selector switch to choose the right
mirror or (L) to choose the left mirror. The center position
is off and will not allow the mirrors to move if the
control pad is touched.To adjust a mirror, press the arrows on the control pad
to move the mirror in the direction you want the
mirror to go. Adjust each mirror so you can see the side
of your vehicle and the area behind your vehicle.
The mirrors can be manually folded inward to prevent
damage when going through an automatic car wash. To
fold, push the mirror toward the vehicle. To return the
mirror to its original position, push outward. Be sure
to return both mirrors to their original unfolded positions
before driving.
The mirrors can also be programmed for personalization
and parallel parking feature if you have the optional
memory package. For more information, seeMemory
Seat, Mirrors and Steering Wheel on page 2-52andDIC
Vehicle Personalization on page 3-63.
Outside Automatic Dimming Mirror
If your vehicle is equipped with this feature, the
driver’s side mirror will adjust for the glare of headlamps
behind you. This feature is controlled by the on and
off settings on the automatic dimming rearview mirror.
SeeAutomatic Dimming Rearview Mirror with OnStar
®
on page 2-37.
2-40
Page 111 of 410
If you use the remote keyless entry transmitter to enter
your vehicle and the remote recall memory feature
is on, automatic seat and mirror movement will occur.
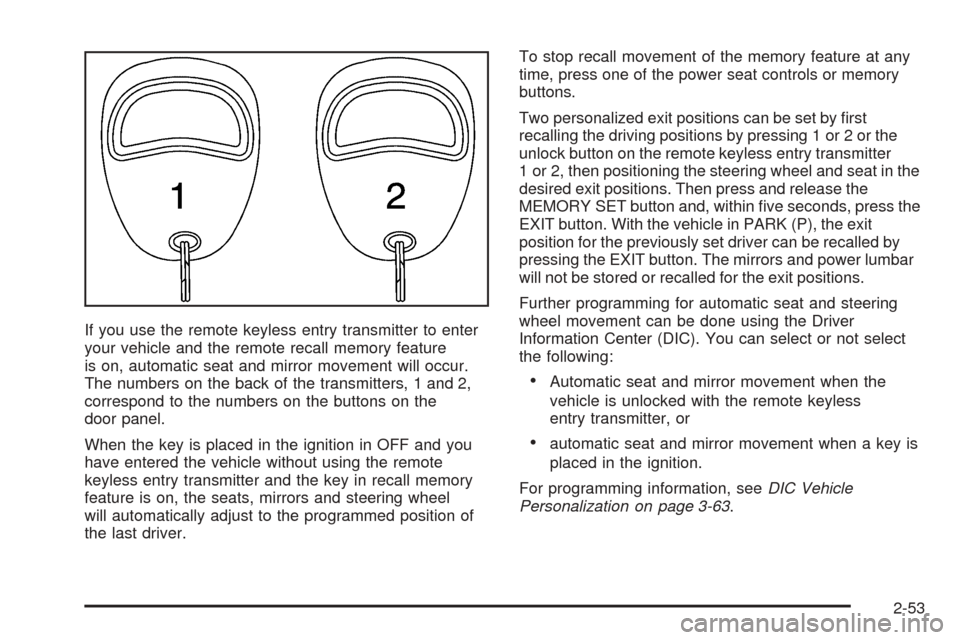
The numbers on the back of the transmitters, 1 and 2,
correspond to the numbers on the buttons on the
door panel.
When the key is placed in the ignition in OFF and you
have entered the vehicle without using the remote
keyless entry transmitter and the key in recall memory
feature is on, the seats, mirrors and steering wheel
will automatically adjust to the programmed position of
the last driver.To stop recall movement of the memory feature at any
time, press one of the power seat controls or memory
buttons.
Two personalized exit positions can be set by first
recalling the driving positions by pressing 1 or 2 or the
unlock button on the remote keyless entry transmitter
1 or 2, then positioning the steering wheel and seat in the
desired exit positions. Then press and release the
MEMORY SET button and, within five seconds, press the
EXIT button. With the vehicle in PARK (P), the exit
position for the previously set driver can be recalled by
pressing the EXIT button. The mirrors and power lumbar
will not be stored or recalled for the exit positions.
Further programming for automatic seat and steering
wheel movement can be done using the Driver
Information Center (DIC). You can select or not select
the following:
•Automatic seat and mirror movement when the
vehicle is unlocked with the remote keyless
entry transmitter, or
•automatic seat and mirror movement when a key is
placed in the ignition.
For programming information, seeDIC Vehicle
Personalization on page 3-63.
2-53
Page 113 of 410
Instrument Panel Overview...............................3-4
Hazard Warning Flashers................................3-6
Other Warning Devices...................................3-7
Horn.............................................................3-7
Tilt Wheel.....................................................3-7
Turn Signal/Multifunction Lever.........................3-9
Exterior Lamps.............................................3-16
Interior Lamps..............................................3-22
Ultrasonic Rear Parking Assist (URPA)............3-24
Accessory Power Outlets...............................3-26
Ashtrays and Cigarette Lighter........................3-27
Climate Controls............................................3-28
Dual Climate Control System..........................3-28
Outlet Adjustment.........................................3-33
Rear Climate Control System.........................3-34
Passenger Compartment Air Filter...................3-35
Steering Wheel Climate Controls.....................3-36
Climate Controls Personalization.....................3-36
Warning Lights, Gages and Indicators.............3-37
Warning Lights, Gages, and Indicators.............3-37
Instrument Panel Cluster................................3-38
Speedometer and Odometer...........................3-39
Tachometer.................................................3-40
Safety Belt Reminder Light.............................3-41Air Bag Readiness Light................................3-41
Charging System Light..................................3-42
Brake System Warning and Parking Brake
Indicator Light...........................................3-43
Anti-Lock Brake System Warning Light.............3-44
Traction Control System (TCS) Warning Light......3-44
Engine Coolant Temperature Warning Light......3-45
Engine Coolant Temperature Gage..................3-45
Malfunction Indicator Lamp.............................3-46
Oil Pressure Light.........................................3-49
Security Light...............................................3-50
Fog Lamp Light............................................3-50
Lights On Reminder......................................3-50
Cruise Control Light......................................3-50
Fuel Gage...................................................3-51
Driver Information Center (DIC).......................3-52
DIC Controls and Displays.............................3-52
DIC Warnings and Messages.........................3-55
Climate Controls and Radio System
Personalization..........................................3-62
DIC Vehicle Personalization............................3-63
Trip Computer................................................3-74
Oil Life Indicator...........................................3-74
Section 3 Instrument Panel
3-1
Page 120 of 410
Power Tilt Wheel and Telescopic
Steering Column
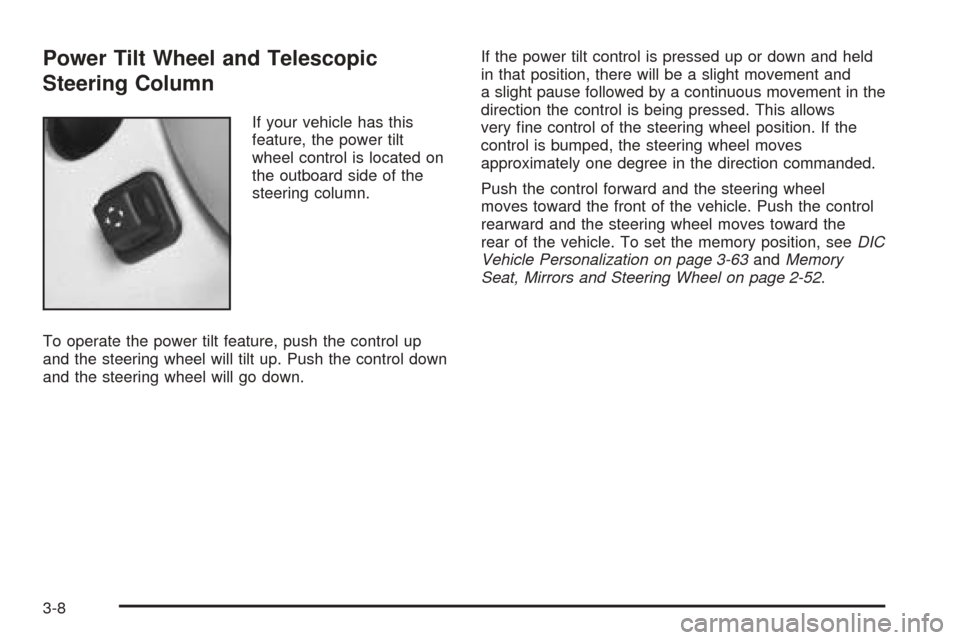
If your vehicle has this
feature, the power tilt
wheel control is located on
the outboard side of the
steering column.
To operate the power tilt feature, push the control up
and the steering wheel will tilt up. Push the control down
and the steering wheel will go down.If the power tilt control is pressed up or down and held
in that position, there will be a slight movement and
a slight pause followed by a continuous movement in the
direction the control is being pressed. This allows
very fine control of the steering wheel position. If the
control is bumped, the steering wheel moves
approximately one degree in the direction commanded.
Push the control forward and the steering wheel
moves toward the front of the vehicle. Push the control
rearward and the steering wheel moves toward the
rear of the vehicle. To set the memory position, seeDIC
Vehicle Personalization on page 3-63andMemory
Seat, Mirrors and Steering Wheel on page 2-52.
3-8
Page 172 of 410
SERVICE STABILITY SYS – 54:If you ever see the
SERVICE STABILITY SYS message, it means
there may be a problem with your stability enhancement
system. If you see this message, try to reset the
system (stop, turn off the engine, then start the engine
again). If the SERVICE STABILITY SYS message
still comes on, it means there is a problem. You should
see your dealer for service. Reduce your speed and
drive accordingly. A single chime will also sound when
this message is displayed.
SERVICE STEERING – 127:This message is displayed
when a problem has been detected in the magnetic
speed variable assist steering system. If message
comes on, service is required.
SERVICE SUSPENSION SYS – 84:This message is
displayed to indicate that the suspension system is
not operating properly. To correct this problem, have
your vehicle serviced at your dealership.
SERVICE THEFT SYSTEM – 34:This message means
there is a problem with the PASS-Key
®III system. A
fault has been detected in the system which means that
the system is disabled and is not protecting the
vehicle. The vehicle usually restarts, however, you may
want to take your vehicle to your dealer before turning
off the engine.SERVICE TPM SYSTEM – 51:When this message is
displayed, the Tire Pressure Monitor (TPM) system
is not working properly. See your dealer for service.
SERVICE TRANSMISSION – 100:See your dealer
for repair.
SERVICE VEHICLE SOON – 3:This message is
displayed when a non-emissions related powertrain
malfunction occurs. Have your vehicle serviced by
a technician as soon as possible.
SPEED LIMIT TO 90 – 113:A failure in the suspension
control system has occurred when this message
appears. The Powertrain Control Module (PCM)
determines the speed to which your vehicle is limited.
Have your vehicle serviced if this message appears.
STABILITY SYS ENGAGED – 55:You may see
the STABILITY SYS ENGAGED message on the Driver
Information Center. It means that an advanced,
computer-controlled system has come on to help your
vehicle continue to go in the direction in which you
are steering. This stability enhancement system
activates when the computer senses that your vehicle is
just starting to spin, as it might if you hit a patch of
ice or other slippery spot on the road. When the system
is on, you may hear a noise or feel a vibration in the
brake pedal. This is normal.
3-60
Page 212 of 410
Audio Steering Wheel Controls
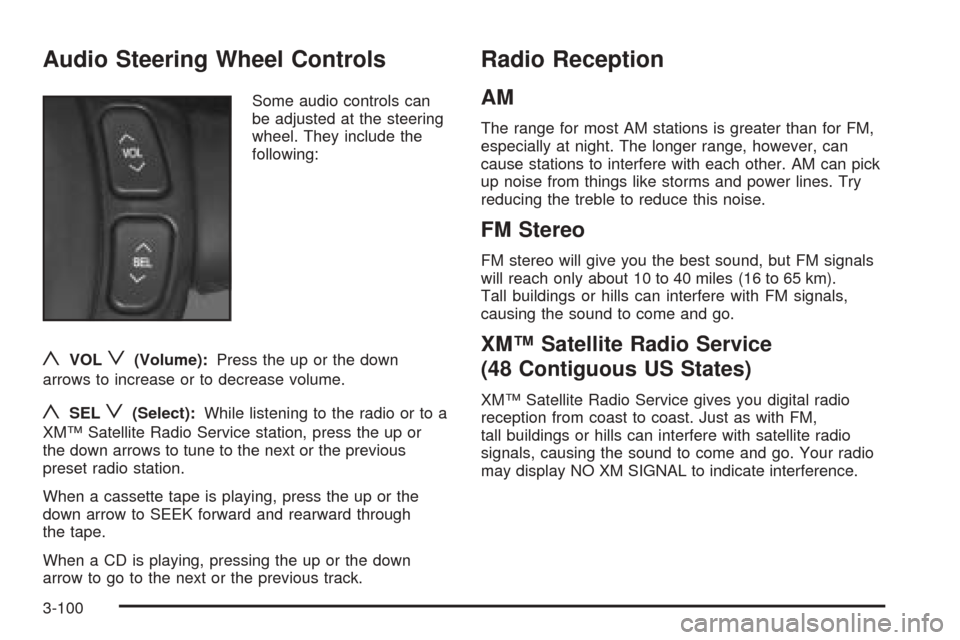
Some audio controls can
be adjusted at the steering
wheel. They include the
following:
yVOLz(Volume):Press the up or the down
arrows to increase or to decrease volume.
ySELz(Select):While listening to the radio or to a
XM™ Satellite Radio Service station, press the up or
the down arrows to tune to the next or the previous
preset radio station.
When a cassette tape is playing, press the up or the
down arrow to SEEK forward and rearward through
the tape.
When a CD is playing, pressing the up or the down
arrow to go to the next or the previous track.
Radio Reception
AM
The range for most AM stations is greater than for FM,
especially at night. The longer range, however, can
cause stations to interfere with each other. AM can pick
up noise from things like storms and power lines. Try
reducing the treble to reduce this noise.
FM Stereo
FM stereo will give you the best sound, but FM signals
will reach only about 10 to 40 miles (16 to 65 km).
Tall buildings or hills can interfere with FM signals,
causing the sound to come and go.
XM™ Satellite Radio Service
(48 Contiguous US States)
XM™ Satellite Radio Service gives you digital radio
reception from coast to coast. Just as with FM,
tall buildings or hills can interfere with satellite radio
signals, causing the sound to come and go. Your radio
may display NO XM SIGNAL to indicate interference.
3-100