2004 CADILLAC SEVILLE ignition
[x] Cancel search: ignitionPage 90 of 410
Shifting Into Park (P)
{CAUTION:
It can be dangerous to get out of your vehicle
if the shift lever is not fully in PARK (P) with
the parking brake firmly set. Your vehicle can
roll. If you have left the engine running, the
vehicle can move suddenly. You or others
could be injured. To be sure your vehicle will
not move, even when you are on fairly level
ground, use the steps that follow. If you are
pulling a trailer, seeTowing a Trailer on
page 4-37.1. Hold the brake pedal down with your right foot.
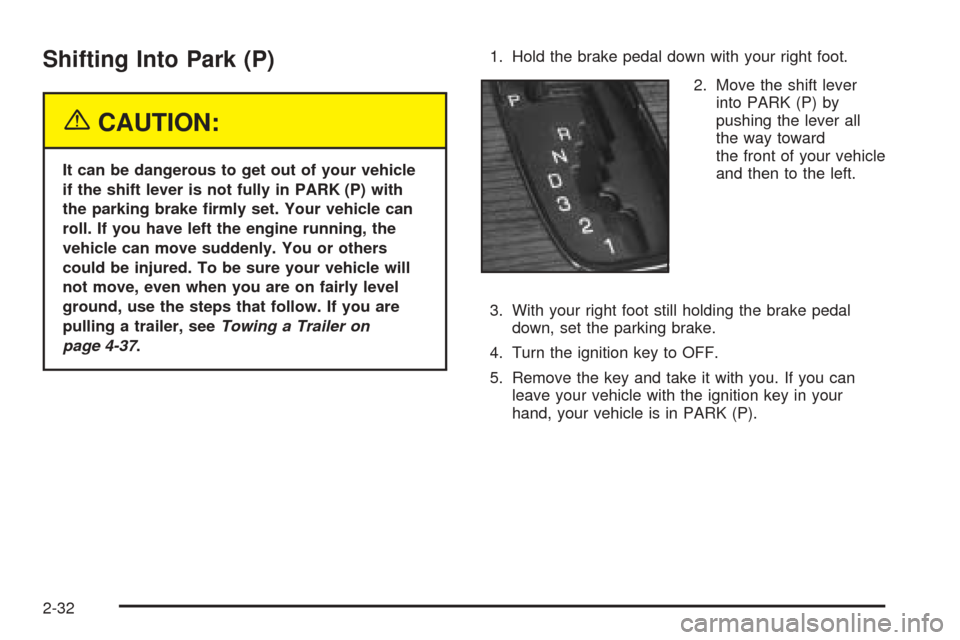
2. Move the shift lever
into PARK (P) by
pushing the lever all
the way toward
the front of your vehicle
and then to the left.
3. With your right foot still holding the brake pedal
down, set the parking brake.
4. Turn the ignition key to OFF.
5. Remove the key and take it with you. If you can
leave your vehicle with the ignition key in your
hand, your vehicle is in PARK (P).
2-32
Page 92 of 410
Shifting Out of Park (P)
Your vehicle has an automatic transaxle shift lock
control system which locks the shift lever in PARK (P)
when the ignition is in the OFF position. In addition, you
have to fully apply your regular brakes before you
can shift from PARK (P) when the ignition is ON. See
Automatic Transaxle Operation on page 2-28.
If you cannot shift out of PARK (P), ease pressure on
the shift lever and push the shift lever all the way
into PARK (P) as you maintain brake application. Then
move the shift lever into the gear you want.
If you ever hold the pedal down but still cannot shift out
of PARK (P), try the following:
1. Turn the ignition key to ACC. Open and close the
driver’s door to turn off the RAP feature.
2. Apply and hold the brake until the end of Step 4.
3. Shift to NEUTRAL (N).
4. Start the vehicle and then shift to the drive gear
you want.
5. Have the vehicle fixed as soon as you can.
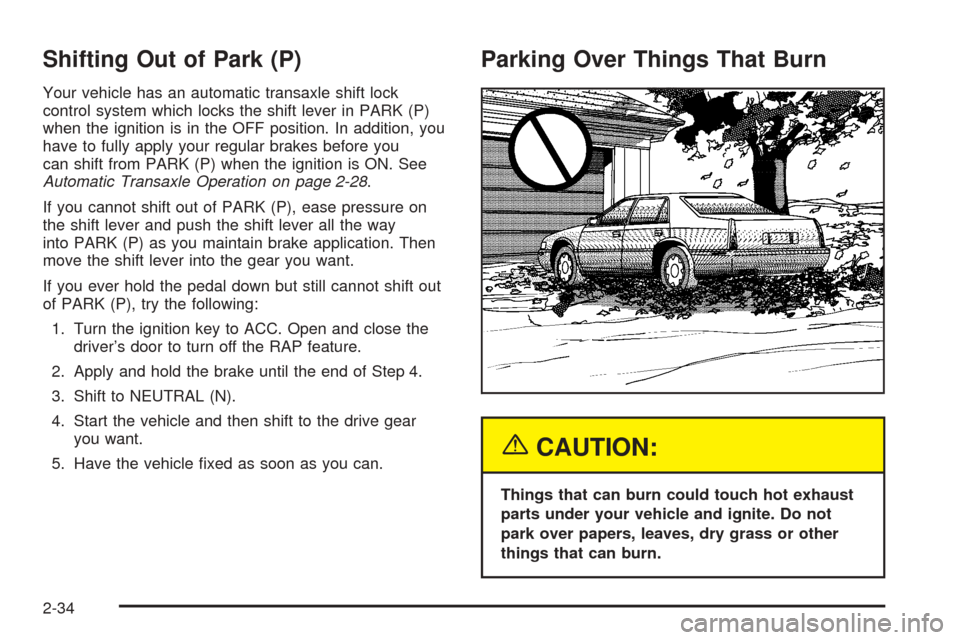
Parking Over Things That Burn
{CAUTION:
Things that can burn could touch hot exhaust
parts under your vehicle and ignite. Do not
park over papers, leaves, dry grass or other
things that can burn.
2-34
Page 96 of 410
Automatic Dimming Rearview Mirror
with OnStar
®and Compass
Your vehicle may have an automatic dimming rearview
mirror with a compass display. The mirror also
contains OnStar
®controls. For more information see
OnStar®System on page 2-42.
The automatic dimming feature functions the same as
that of the automatic dimming rearview mirror without a
compass. SeeAutomatic Dimming Rearview Mirror
with OnStar
®on page 2-37.
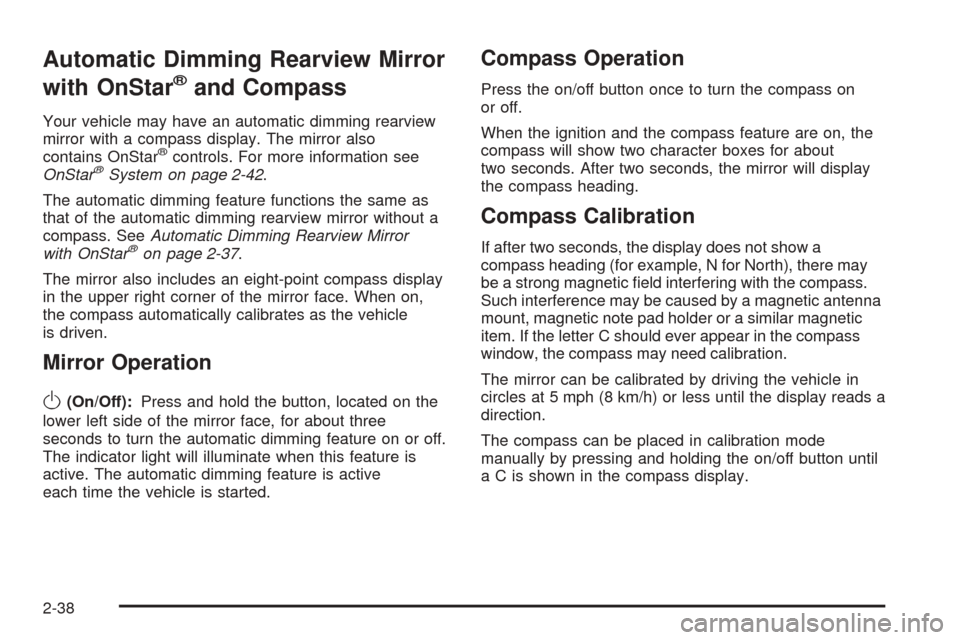
The mirror also includes an eight-point compass display
in the upper right corner of the mirror face. When on,
the compass automatically calibrates as the vehicle
is driven.
Mirror Operation
O
(On/Off):Press and hold the button, located on the
lower left side of the mirror face, for about three
seconds to turn the automatic dimming feature on or off.
The indicator light will illuminate when this feature is
active. The automatic dimming feature is active
each time the vehicle is started.
Compass Operation
Press the on/off button once to turn the compass on
or off.
When the ignition and the compass feature are on, the
compass will show two character boxes for about
two seconds. After two seconds, the mirror will display
the compass heading.
Compass Calibration
If after two seconds, the display does not show a
compass heading (for example, N for North), there may
be a strong magnetic field interfering with the compass.
Such interference may be caused by a magnetic antenna
mount, magnetic note pad holder or a similar magnetic
item. If the letter C should ever appear in the compass
window, the compass may need calibration.
The mirror can be calibrated by driving the vehicle in
circles at 5 mph (8 km/h) or less until the display reads a
direction.
The compass can be placed in calibration mode
manually by pressing and holding the on/off button until
a C is shown in the compass display.
2-38
Page 109 of 410
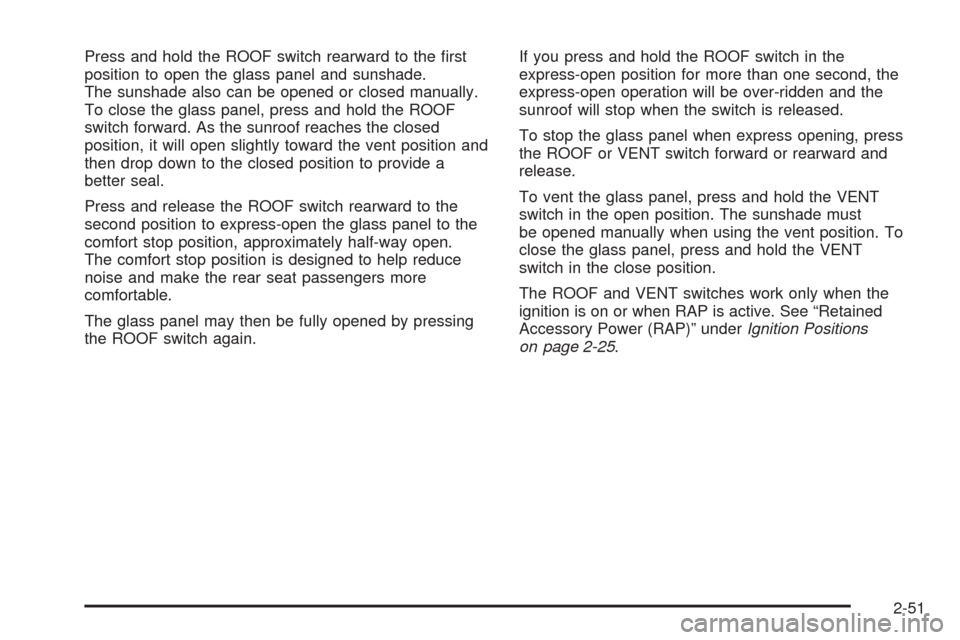
Press and hold the ROOF switch rearward to the first
position to open the glass panel and sunshade.
The sunshade also can be opened or closed manually.
To close the glass panel, press and hold the ROOF
switch forward. As the sunroof reaches the closed
position, it will open slightly toward the vent position and
then drop down to the closed position to provide a
better seal.
Press and release the ROOF switch rearward to the
second position to express-open the glass panel to the
comfort stop position, approximately half-way open.
The comfort stop position is designed to help reduce
noise and make the rear seat passengers more
comfortable.
The glass panel may then be fully opened by pressing
the ROOF switch again.If you press and hold the ROOF switch in the
express-open position for more than one second, the
express-open operation will be over-ridden and the
sunroof will stop when the switch is released.
To stop the glass panel when express opening, press
the ROOF or VENT switch forward or rearward and
release.
To vent the glass panel, press and hold the VENT
switch in the open position. The sunshade must
be opened manually when using the vent position. To
close the glass panel, press and hold the VENT
switch in the close position.
The ROOF and VENT switches work only when the
ignition is on or when RAP is active. See “Retained
Accessory Power (RAP)” underIgnition Positions
on page 2-25.
2-51
Page 111 of 410
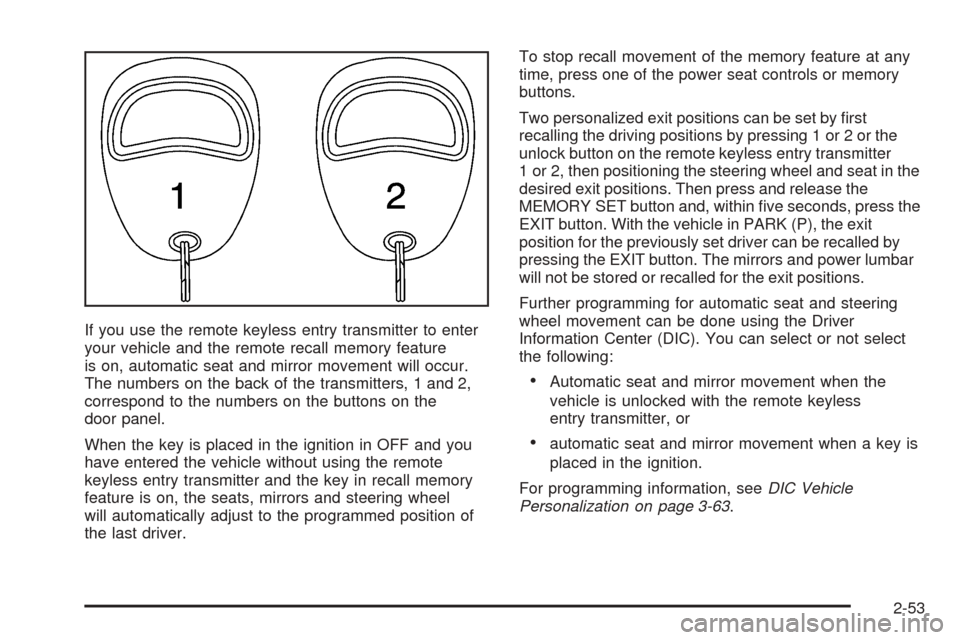
If you use the remote keyless entry transmitter to enter
your vehicle and the remote recall memory feature
is on, automatic seat and mirror movement will occur.
The numbers on the back of the transmitters, 1 and 2,
correspond to the numbers on the buttons on the
door panel.
When the key is placed in the ignition in OFF and you
have entered the vehicle without using the remote
keyless entry transmitter and the key in recall memory
feature is on, the seats, mirrors and steering wheel
will automatically adjust to the programmed position of
the last driver.To stop recall movement of the memory feature at any
time, press one of the power seat controls or memory
buttons.
Two personalized exit positions can be set by first
recalling the driving positions by pressing 1 or 2 or the
unlock button on the remote keyless entry transmitter
1 or 2, then positioning the steering wheel and seat in the
desired exit positions. Then press and release the
MEMORY SET button and, within five seconds, press the
EXIT button. With the vehicle in PARK (P), the exit
position for the previously set driver can be recalled by
pressing the EXIT button. The mirrors and power lumbar
will not be stored or recalled for the exit positions.
Further programming for automatic seat and steering
wheel movement can be done using the Driver
Information Center (DIC). You can select or not select
the following:
•Automatic seat and mirror movement when the
vehicle is unlocked with the remote keyless
entry transmitter, or
•automatic seat and mirror movement when a key is
placed in the ignition.
For programming information, seeDIC Vehicle
Personalization on page 3-63.
2-53
Page 117 of 410
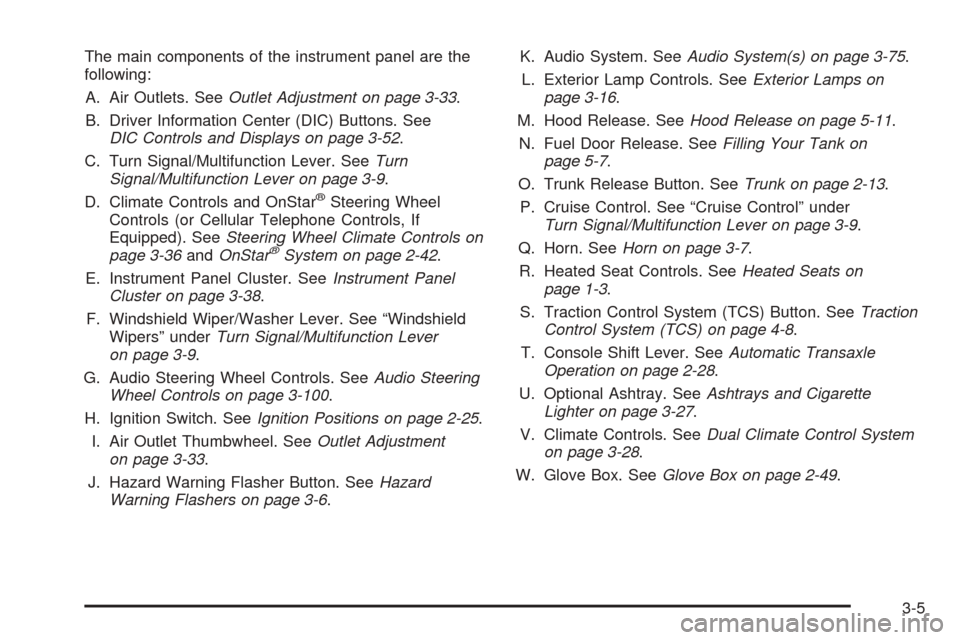
The main components of the instrument panel are the
following:
A. Air Outlets. SeeOutlet Adjustment on page 3-33.
B. Driver Information Center (DIC) Buttons. See
DIC Controls and Displays on page 3-52.
C. Turn Signal/Multifunction Lever. SeeTurn
Signal/Multifunction Lever on page 3-9.
D. Climate Controls and OnStar
®Steering Wheel
Controls (or Cellular Telephone Controls, If
Equipped). SeeSteering Wheel Climate Controls on
page 3-36andOnStar
®System on page 2-42.
E. Instrument Panel Cluster. SeeInstrument Panel
Cluster on page 3-38.
F. Windshield Wiper/Washer Lever. See “Windshield
Wipers” underTurn Signal/Multifunction Lever
on page 3-9.
G. Audio Steering Wheel Controls. SeeAudio Steering
Wheel Controls on page 3-100.
H. Ignition Switch. SeeIgnition Positions on page 2-25.
I. Air Outlet Thumbwheel. SeeOutlet Adjustment
on page 3-33.
J. Hazard Warning Flasher Button. SeeHazard
Warning Flashers on page 3-6.K. Audio System. SeeAudio System(s) on page 3-75.
L. Exterior Lamp Controls. SeeExterior Lamps on
page 3-16.
M. Hood Release. SeeHood Release on page 5-11.
N. Fuel Door Release. SeeFilling Your Tank on
page 5-7.
O. Trunk Release Button. SeeTrunk on page 2-13.
P. Cruise Control. See “Cruise Control” under
Turn Signal/Multifunction Lever on page 3-9.
Q. Horn. SeeHorn on page 3-7.
R. Heated Seat Controls. SeeHeated Seats on
page 1-3.
S. Traction Control System (TCS) Button. SeeTraction
Control System (TCS) on page 4-8.
T. Console Shift Lever. SeeAutomatic Transaxle
Operation on page 2-28.
U. Optional Ashtray. SeeAshtrays and Cigarette
Lighter on page 3-27.
V. Climate Controls. SeeDual Climate Control System
on page 3-28.
W. Glove Box. SeeGlove Box on page 2-49.
3-5
Page 128 of 410
Passing Another Vehicle While Using
Cruise Control
Use the accelerator pedal to increase your speed.
When you take your foot off the pedal, your vehicle will
slow down to the cruise control speed you set earlier.
Using Cruise Control on Hills
How well your cruise control will work on hills depends
upon your speed, load and the steepness of the
hills. When going up steep hills, you may have to step
on the accelerator pedal to maintain your speed.
When going downhill, you may have to brake or shift to
a lower gear to keep your speed down. Applying the
brake or shifting into a lower gear will take you out
of cruise control. If you need to apply the brake or shift
to a lower gear due to the grade of the downhill
slope, you may not want to attempt to use your cruise
control feature.
Ending Cruise Control
To turn off the cruise control, step lightly on the brake
pedal or press CRUISE ON/OFF on the steering wheel.
Erasing Speed Memory
When you turn off the cruise control or the ignition, your
cruise control set speed memory is erased.
Exterior Lamps
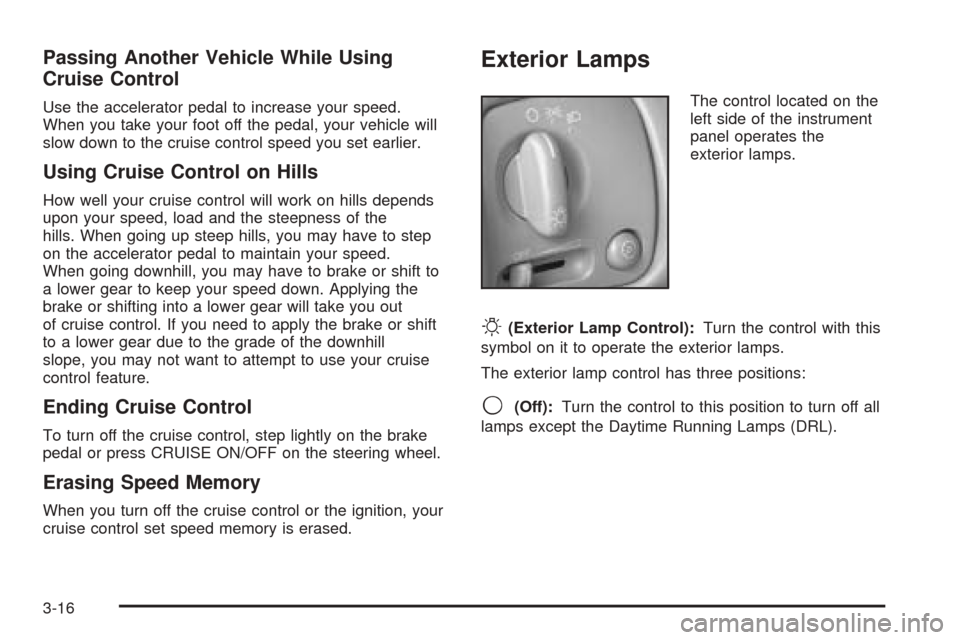
The control located on the
left side of the instrument
panel operates the
exterior lamps.
O(Exterior Lamp Control):Turn the control with this
symbol on it to operate the exterior lamps.
The exterior lamp control has three positions:
9(Off):Turn the control to this position to turn off all
lamps except the Daytime Running Lamps (DRL).
3-16
Page 129 of 410
;(Parking Lamps):Turn the control to this position
to turn on the parking lamps together with the
following:
•Sidemarker Lamps
•Taillamps
•License Plate Lamps
•Instrument Panel Lights
The parking brake indicator light will come on and stay
on while the parking lamps are on with the engine
off and the ignition in ACC or ON.
2(Headlamps):Turn the control to this position to
turn on the headlamps, together with the previously
listed lamps and lights.
Your vehicle may be equipped with High Intensity
Discharge (HID) headlamps. These headlamps come on
at a lower intensity and gradually increase to full
brightness.
Wiper-Activated Headlamps
This feature activates the headlamps and parking lamps
after the windshield wipers have been in use for
about six seconds. To operate, the Twilight Sentinel
®
feature must be turned on.
When the exterior lamp control is in the off or parking
lamp position and the wiper control is on INT, LO or HI,
the HEADLAMPS SUGGESTED message will appear
on the Driver Information Center (DIC).
When the ignition is turned to OFF, the wiper-activated
headlamps will immediately turn off. The wiper-activated
headlamps will also turn off if the Twilight Sentinel
®
or the windshield wipers are turned off.
Lamps On Reminder
A warning chime will sound if the exterior lamp control
is left on in either the headlamp or parking lamp position
and the driver’s door is opened with the ignition off.
3-17