2004 CADILLAC SEVILLE wheel
[x] Cancel search: wheelPage 83 of 410
Ignition Positions
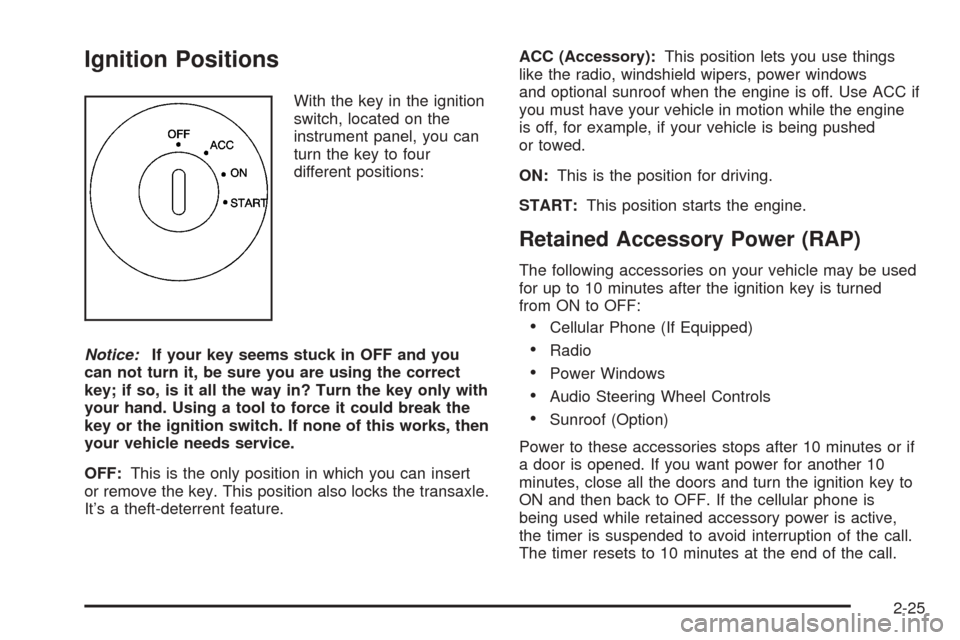
With the key in the ignition
switch, located on the
instrument panel, you can
turn the key to four
different positions:
Notice:If your key seems stuck in OFF and you
can not turn it, be sure you are using the correct
key; if so, is it all the way in? Turn the key only with
your hand. Using a tool to force it could break the
key or the ignition switch. If none of this works, then
your vehicle needs service.
OFF:This is the only position in which you can insert
or remove the key. This position also locks the transaxle.
It’s a theft-deterrent feature.ACC (Accessory):This position lets you use things
like the radio, windshield wipers, power windows
and optional sunroof when the engine is off. Use ACC if
you must have your vehicle in motion while the engine
is off, for example, if your vehicle is being pushed
or towed.
ON:This is the position for driving.
START:This position starts the engine.
Retained Accessory Power (RAP)
The following accessories on your vehicle may be used
for up to 10 minutes after the ignition key is turned
from ON to OFF:
•Cellular Phone (If Equipped)
•Radio
•Power Windows
•Audio Steering Wheel Controls
•Sunroof (Option)
Power to these accessories stops after 10 minutes or if
a door is opened. If you want power for another 10
minutes, close all the doors and turn the ignition key to
ON and then back to OFF. If the cellular phone is
being used while retained accessory power is active,
the timer is suspended to avoid interruption of the call.
The timer resets to 10 minutes at the end of the call.
2-25
Page 86 of 410
To Use the Engine Coolant Heater
1. Turn off the engine.
2. Open the hood and unwrap the electrical cord.
The electrical cord is located on the driver’s side
of the engine, behind the transaxle dipstick/fluid fill
location (C) and next to the engine.
3. Plug it into a normal, grounded 110-volt AC outlet.
{CAUTION:
Plugging the cord into an ungrounded outlet
could cause an electrical shock. Also, the
wrong kind of extension cord could overheat
and cause a fire. You could be seriously
injured. Plug the cord into a properly grounded
three-prong 110-volt AC outlet. If the cord will
not reach, use a heavy-duty three-prong
extension cord rated for at least 15 amps.
4. Before starting the engine, be sure to unplug and
store the cord as it was before to keep it away
from moving engine parts. If you do not, it could be
damaged.How long should you keep the coolant heater plugged
in? The answer depends on the outside temperature, the
kind of oil you have, and some other things. Instead
of trying to list everything here, we ask that you contact
your dealer in the area where you will be parking
your vehicle. The dealer can give you the best advice
for that particular area.
Automatic Transaxle Operation
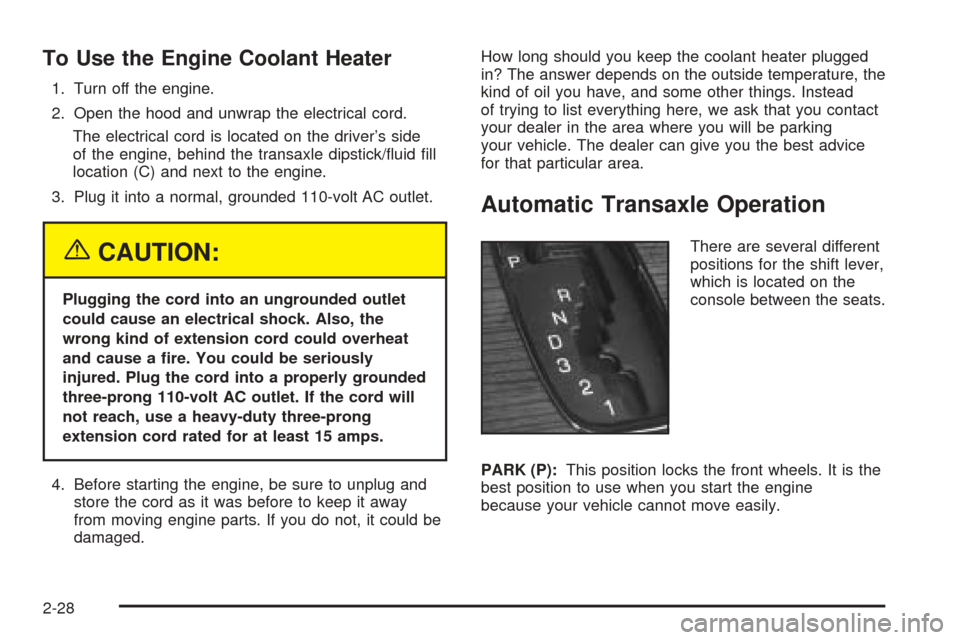
There are several different
positions for the shift lever,
which is located on the
console between the seats.
PARK (P):This position locks the front wheels. It is the
best position to use when you start the engine
because your vehicle cannot move easily.
2-28
Page 88 of 410
NEUTRAL (N):In this position, the engine does not
connect with the wheels. To restart when you are
already moving, use NEUTRAL (N) only. Also use
NEUTRAL (N) when your vehicle is being towed.
{CAUTION:
Shifting into a drive gear while your engine is
running at high speed is dangerous. Unless
your foot is firmly on the brake pedal, your
vehicle could move very rapidly. You could
lose control and hit people or objects. Do not
shift into a drive gear while your engine is
running at high speed.
AUTOMATIC OVERDRIVE (
X):This position is for
normal driving. If you need more power for passing, and
you are:
•Going less than 35 mph (55 km/h), push the
accelerator pedal about halfway down.
•Going about 35 mph (55 km/h) or more, push the
accelerator all the way down.
The transaxle will shift down to the next gear and
have more power.Notice:Driving your vehicle if you notice that it is
moving slowly or not shifting gears as you increase
speed may damage the transaxle. Have your vehicle
serviced right away. You can drive in SECOND (2)
when you are driving less than 35 mph (55 km/h) and
AUTOMATIC OVERDRIVE (D) for higher speeds
until then.
THIRD (3):This position is also used for normal driving,
however, it offers more power and lower fuel economy
than AUTOMATIC OVERDRIVE (
X).
Here are examples for using THIRD (3) instead of
AUTOMATIC OVERDRIVE (
X):
•When driving on hilly, winding roads.
•When going down a steep hill.
SECOND (2):This position gives you more power. You
can use SECOND (2) on hills. It can help control your
speed as you go down steep mountain roads, but then
you would also want to use your brakes off and on.
Notice:Do not shift into SECOND (2) unless you
are going slower than 65 mph (105 km/h), or you can
damage your engine.
FIRST (1):This position gives you even more power
than SECOND (2). You can use it on very steep hills, or
in deep snow or mud.
2-30
Page 98 of 410
Cleaning the Mirror
When cleaning the mirror, use a paper towel or similar
material dampened with glass cleaner. Do not spray
glass cleaner directly on the mirror as that may cause
the liquid cleaner to enter the mirror housing.
Outside Power Mirrors
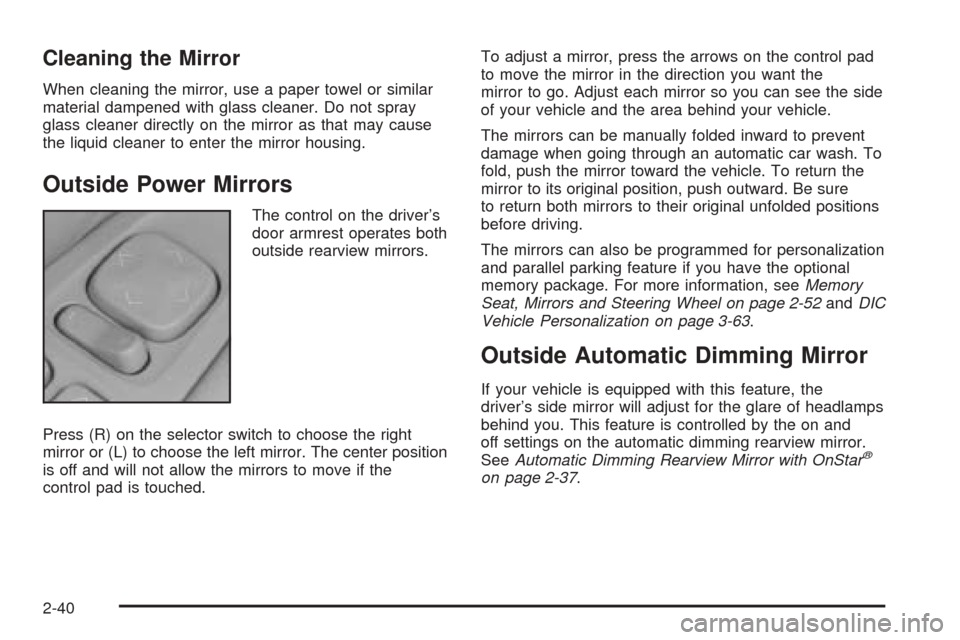
The control on the driver’s
door armrest operates both
outside rearview mirrors.
Press (R) on the selector switch to choose the right
mirror or (L) to choose the left mirror. The center position
is off and will not allow the mirrors to move if the
control pad is touched.To adjust a mirror, press the arrows on the control pad
to move the mirror in the direction you want the
mirror to go. Adjust each mirror so you can see the side
of your vehicle and the area behind your vehicle.
The mirrors can be manually folded inward to prevent
damage when going through an automatic car wash. To
fold, push the mirror toward the vehicle. To return the
mirror to its original position, push outward. Be sure
to return both mirrors to their original unfolded positions
before driving.
The mirrors can also be programmed for personalization
and parallel parking feature if you have the optional
memory package. For more information, seeMemory
Seat, Mirrors and Steering Wheel on page 2-52andDIC
Vehicle Personalization on page 3-63.
Outside Automatic Dimming Mirror
If your vehicle is equipped with this feature, the
driver’s side mirror will adjust for the glare of headlamps
behind you. This feature is controlled by the on and
off settings on the automatic dimming rearview mirror.
SeeAutomatic Dimming Rearview Mirror with OnStar
®
on page 2-37.
2-40
Page 101 of 410
Luxury and Leisure Plan
•
All Directions and Connections Plan services
•Personal Concierge
OnStar®Personal Calling
With OnStar®Personal Calling, you have a safer way to
stay connected while driving. It’s a hands-free wireless
phone that’s integrated into your vehicle. You can place
calls nationwide using voice-activated dialing with no
contracts and no additional roaming charges. To find out
more about OnStar
®Personal Calling, refer to the
OnStar®user’s guide in your vehicle’s glove box, or call
OnStar®at 1-888-4-ONSTAR (1-888-466-7827).
OnStar®Virtual Advisor
With OnStar®Virtual Advisor you can listen to the news,
entertainment and informative topics, such as traffic
and weather reports. You are able to listen and reply to
your e-mail through your vehicle’s speakers.
OnStar®Steering Wheel Controls
You can use the steering wheel controls with OnStar®.
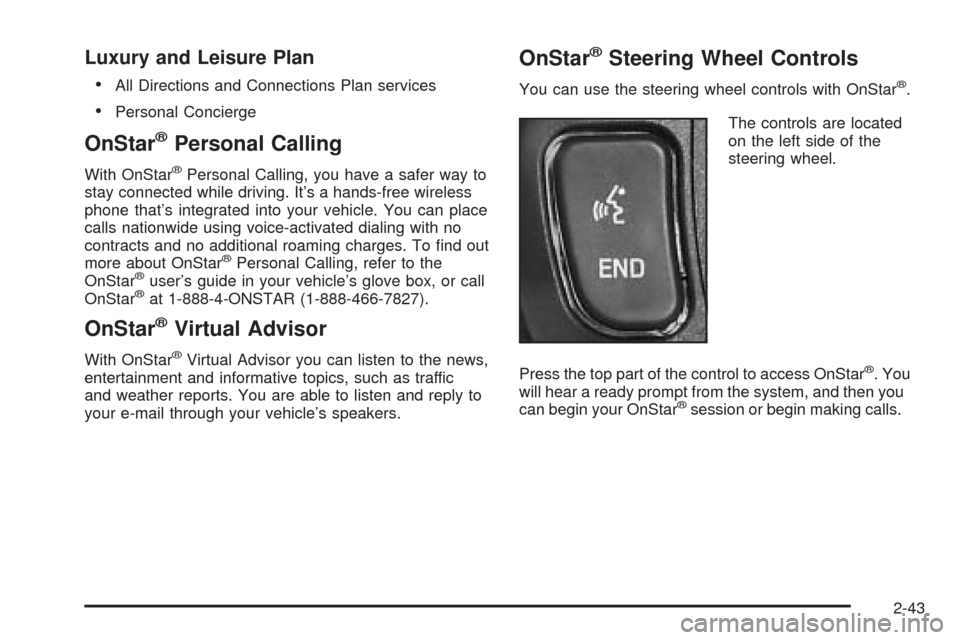
The controls are located
on the left side of the
steering wheel.
Press the top part of the control to access OnStar
®. You
will hear a ready prompt from the system, and then you
can begin your OnStar
®session or begin making calls.
2-43
Page 107 of 410
Storage Areas
Glove Box
The glove box is located in front of the passenger’s seat
on the instrument panel. To lock the glove box door,
insert the master key into the lock cylinder and
turn it clockwise. Turn the key counterclockwise to
unlock the door.
Cellular Telephone
Your vehicle may have been prewired for dealer
installation of a portable cellular telephone system.
The system has steering wheel telephone controls and
information output through the Driver Information
Center (DIC). Voice activation with remote record and
hands-free operation are standard features. For
more information, contact your dealer. A user’s guide is
provided with the telephone.
Center Console Storage Area
The center console comes with a storage tray, a
storage compartment for CDs or tapes, a dual cupholder
that unfolds, a coinholder, an optional phone and an
armrest. The cupholder can be opened by pressing on
the surface panel located in front of the armrest and
unfolding it. Close the lid to secure it.
Map Pocket
The map/storage pockets are located on each front door
as well as on the passenger’s and driver’s seatbacks.
Assist Handles
A handle above each door can be used when getting
out of your vehicle.
Garment Hooks
For your convenience, a garment hook is attached to
each rear assist handle.
2-49
Page 110 of 410
Vehicle Personalization
Memory Seat, Mirrors and Steering
Wheel
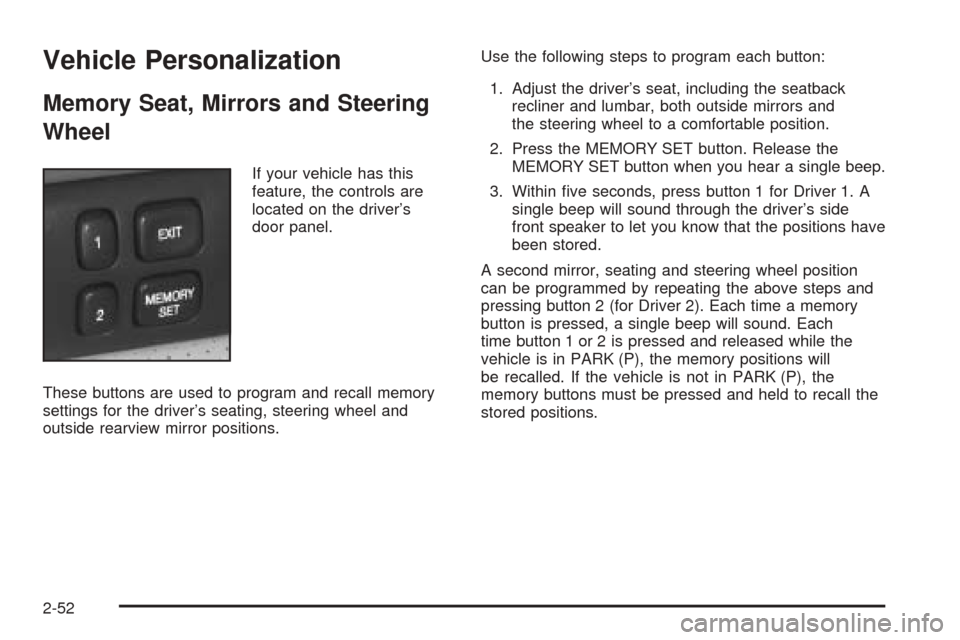
If your vehicle has this
feature, the controls are
located on the driver’s
door panel.
These buttons are used to program and recall memory
settings for the driver’s seating, steering wheel and
outside rearview mirror positions.Use the following steps to program each button:
1. Adjust the driver’s seat, including the seatback
recliner and lumbar, both outside mirrors and
the steering wheel to a comfortable position.
2. Press the MEMORY SET button. Release the
MEMORY SET button when you hear a single beep.
3. Within five seconds, press button 1 for Driver 1. A
single beep will sound through the driver’s side
front speaker to let you know that the positions have
been stored.
A second mirror, seating and steering wheel position
can be programmed by repeating the above steps and
pressing button 2 (for Driver 2). Each time a memory
button is pressed, a single beep will sound. Each
time button 1 or 2 is pressed and released while the
vehicle is in PARK (P), the memory positions will
be recalled. If the vehicle is not in PARK (P), the
memory buttons must be pressed and held to recall the
stored positions.
2-52
Page 111 of 410
If you use the remote keyless entry transmitter to enter
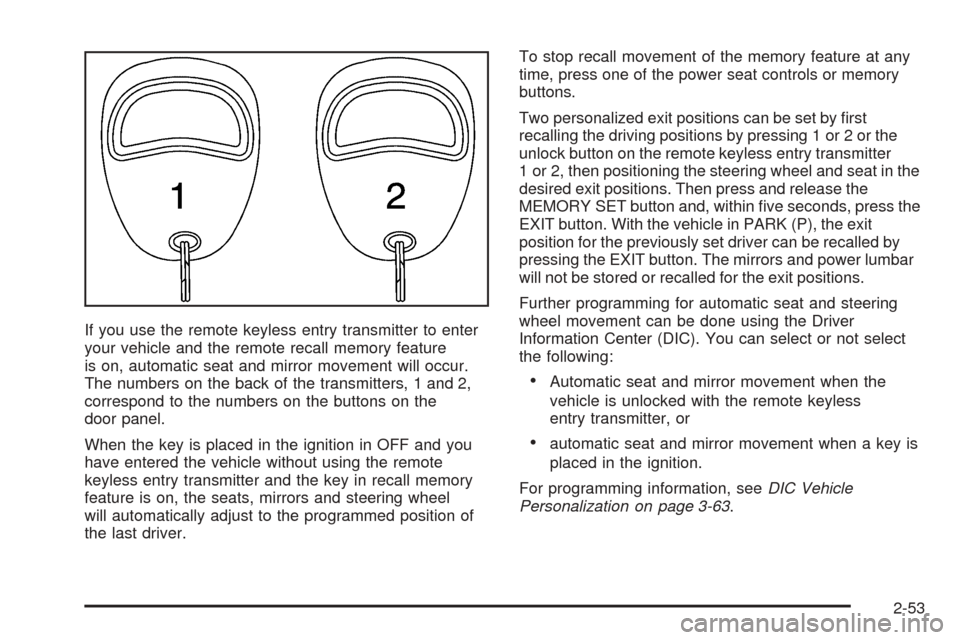
your vehicle and the remote recall memory feature
is on, automatic seat and mirror movement will occur.
The numbers on the back of the transmitters, 1 and 2,
correspond to the numbers on the buttons on the
door panel.
When the key is placed in the ignition in OFF and you
have entered the vehicle without using the remote
keyless entry transmitter and the key in recall memory
feature is on, the seats, mirrors and steering wheel
will automatically adjust to the programmed position of
the last driver.To stop recall movement of the memory feature at any
time, press one of the power seat controls or memory
buttons.
Two personalized exit positions can be set by first
recalling the driving positions by pressing 1 or 2 or the
unlock button on the remote keyless entry transmitter
1 or 2, then positioning the steering wheel and seat in the
desired exit positions. Then press and release the
MEMORY SET button and, within five seconds, press the
EXIT button. With the vehicle in PARK (P), the exit
position for the previously set driver can be recalled by
pressing the EXIT button. The mirrors and power lumbar
will not be stored or recalled for the exit positions.
Further programming for automatic seat and steering
wheel movement can be done using the Driver
Information Center (DIC). You can select or not select
the following:
•Automatic seat and mirror movement when the
vehicle is unlocked with the remote keyless
entry transmitter, or
•automatic seat and mirror movement when a key is
placed in the ignition.
For programming information, seeDIC Vehicle
Personalization on page 3-63.
2-53