2004 CADILLAC SEVILLE change time
[x] Cancel search: change timePage 130 of 410
Daytime Running Lamps
Daytime Running Lamps (DRL) can make it easier for
others to see the front of your vehicle during the
day. DRL can be helpful in many different driving
conditions, but they can be especially helpful in the short
periods after dawn and before sunset. Fully functional
daytime running lamps are required on all vehicles
first sold in Canada.
The DRL system will make the high-beam headlamps
come on at reduced brightness when the following
conditions are met:
•It is still daylight and the ignition is on,
•the exterior lamp control is in the off position and
•the transaxle is not in PARK (P).
When DRL are on, only your high-beam headlamps (at
reduced brightness) will be on. No other exterior
lamps such as the parking lamps, taillamps, etc. will be
on when the DRL are being used. Your instrument
panel will not be lit up either.
When the Twilight Sentinel
®lever is on and it is dark
enough outside, the high-beam headlamps (at reduced
intensity) will turn off and normal low-beam headlamp
operation will occur.When the Twilight Sentinel
®lever is on and it is bright
enough outside, the regular lamps will go off, and
the high-beam headlamps at reduced brightness will
take over. If you start your vehicle in a dark garage, the
automatic headlamp system will come on immediately.
Once you leave the garage, it will take approximately
one minute for the automatic headlamp system to
change to DRL if it is light outside. During that delay,
your instrument panel cluster may not be as bright
as usual. Make sure your instrument panel brightness
knob is in the full bright position. See “Instrument Panel
Brightness” underInterior Lamps on page 3-22.
If it is dark enough outside and the Twilight Sentinel
®
lever is off, a HEADLAMPS SUGGESTED message will
display on the Driver’s Information Center (DIC). This
message informs the driver that turning on the exterior
lamps is recommended even though the DRL are
still illuminated. Turning on the Twilight Sentinel
®or the
headlamps will deactivate the DRL and remove the
HEADLAMPS SUGGESTED message. If the parking
lamps or the fog lamps were turned on instead, the DRL
will still deactivate and the HEADLAMPS SUGGESTED
message will continue to be displayed.
3-18
Page 140 of 410
Climate Controls
Dual Climate Control System
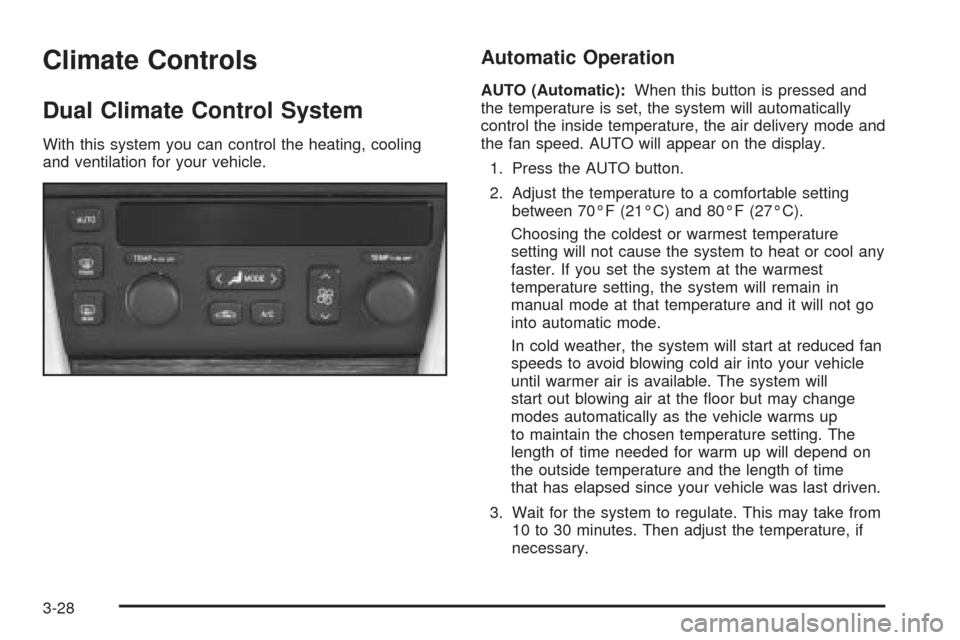
With this system you can control the heating, cooling
and ventilation for your vehicle.
Automatic Operation
AUTO (Automatic):When this button is pressed and
the temperature is set, the system will automatically
control the inside temperature, the air delivery mode and
the fan speed. AUTO will appear on the display.
1. Press the AUTO button.
2. Adjust the temperature to a comfortable setting
between 70°F (21°C) and 80°F (27°C).
Choosing the coldest or warmest temperature
setting will not cause the system to heat or cool any
faster. If you set the system at the warmest
temperature setting, the system will remain in
manual mode at that temperature and it will not go
into automatic mode.
In cold weather, the system will start at reduced fan
speeds to avoid blowing cold air into your vehicle
until warmer air is available. The system will
start out blowing air at the floor but may change
modes automatically as the vehicle warms up
to maintain the chosen temperature setting. The
length of time needed for warm up will depend on
the outside temperature and the length of time
that has elapsed since your vehicle was last driven.
3. Wait for the system to regulate. This may take from
10 to 30 minutes. Then adjust the temperature, if
necessary.
3-28
Page 148 of 410
Steering Wheel Climate Controls
You can adjust the temperature using the steering wheel
controls.
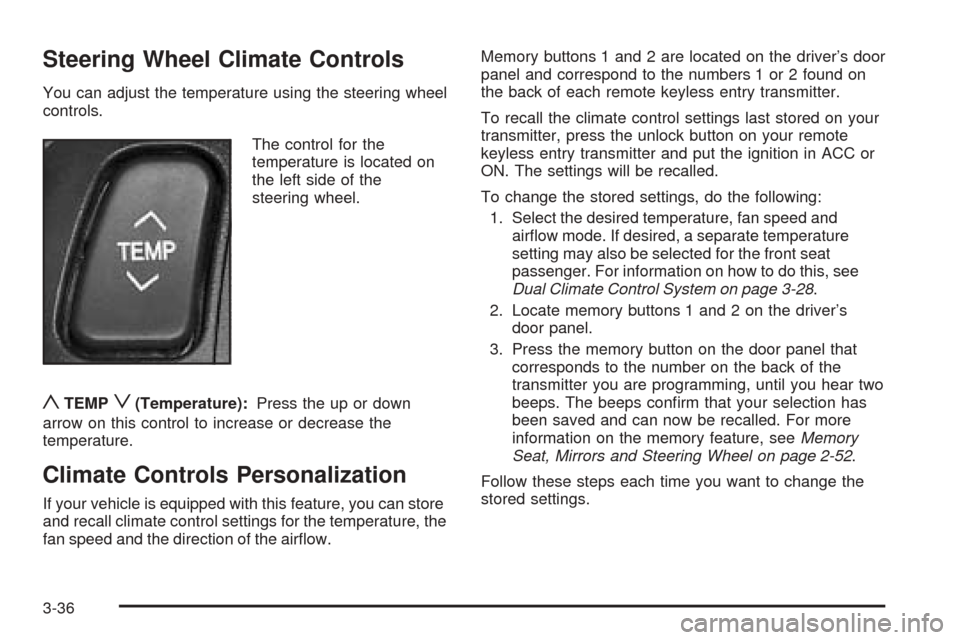
The control for the
temperature is located on
the left side of the
steering wheel.
yTEMPz(Temperature):Press the up or down
arrow on this control to increase or decrease the
temperature.
Climate Controls Personalization
If your vehicle is equipped with this feature, you can store
and recall climate control settings for the temperature, the
fan speed and the direction of the airflow.Memory buttons 1 and 2 are located on the driver’s door
panel and correspond to the numbers 1 or 2 found on
the back of each remote keyless entry transmitter.
To recall the climate control settings last stored on your
transmitter, press the unlock button on your remote
keyless entry transmitter and put the ignition in ACC or
ON. The settings will be recalled.
To change the stored settings, do the following:
1. Select the desired temperature, fan speed and
airflow mode. If desired, a separate temperature
setting may also be selected for the front seat
passenger. For information on how to do this, see
Dual Climate Control System on page 3-28.
2. Locate memory buttons 1 and 2 on the driver’s
door panel.
3. Press the memory button on the door panel that
corresponds to the number on the back of the
transmitter you are programming, until you hear two
beeps. The beeps confirm that your selection has
been saved and can now be recalled. For more
information on the memory feature, seeMemory
Seat, Mirrors and Steering Wheel on page 2-52.
Follow these steps each time you want to change the
stored settings.
3-36
Page 165 of 410
•AVG MPH (Average Miles per Hour):This
message shows the average speed you have
traveled at since the last time you reset the value.
To reset the value, press the INFO button to
display AVG MPH then press and hold the INFO
RESET button until 0.0 AVG MPH is displayed.
•TIMER:This feature is like a stopwatch, in that you
can clock the time it takes to get from one point to
another.
To operate, press the INFO button to display
TIMER. Each of the fields for the hours, minutes
and seconds are two numeric digits.
Once TIMER 00:00:00 is displayed, press the
ON/OFF button to start the timing feature. Press the
ON/OFF button again to stop it. If you will be starting
and stopping your vehicle, during a trip for instance,
the TIMER feature will automatically start timing
where it left off when you last stopped. To reset it,
press and hold the INFO RESET button until the
display reads TIMER 00:00:00. Press the INFO
button to exit from the TIMER display.
•ENGINE OIL LIFE:Press the INFO button to display
ENGINE OIL LIFE, then press and hold the INFO
RESET button until 100% ENGINE OIL LIFE is
displayed. (This only needs to be reset after you
have had the oil changed.)
•TRANSMISSION FLUID LIFE MONITOR:Under
normal conditions, the rate of deterioration of the
transmission fluid is slow. SeeScheduled
Maintenance on page 6-4for proper fluid and change
intervals. To reset the transmission fluid life, press
the INFO button to display TRANS FLUID LIFE, then
press and hold the INFO RESET button until 100%
TRANS FLUID LIFE is displayed. (This only needs to
be reset after you have had the fluid changed.)
ON/OFF:Pressing this button turns the Personalization
Features on and off. (FEATURE PROGRAMMING must
be displayed on the DIC to begin actual programming.)
This button also starts and stops the timer.
OUTSIDE TEMP (Temperature):This message shows
the outside temperature. After this display has been on
the DIC for about five seconds, the words OUTSIDE
TEMP will disappear so that only the temperature
remains.
3-53
Page 168 of 410
CHANGE ENGINE OIL – 82:This means that the life
of the engine oil has expired and it should be changed
within 200 miles. After an oil change, the Oil Life
Indicator must be reset. SeeOil Life Indicator on
page 3-74. SeeEngine Oil on page 5-13.
CHANGE TRANS FLUID – 47:This message will
appear when it is time to change the transaxle fluid. See
Scheduled Maintenance on page 6-4for the proper
fluid and change intervals.
CHECK BRAKE FLUID – 37:This message will
display if the ignition is in ON to inform the driver that
the brake fluid level is low. Have the brake system
serviced by a technician as soon as possible. SeeBrake
System Warning and Parking Brake Indicator Light on
page 3-43.
CHECK COOLANT LEVEL – 2:This message will
appear when there is a low level of engine coolant. Have
the cooling system serviced by a technician as soon
as possible. SeeEngine Coolant on page 5-23.
CHECK FUEL GAGE – 50:This message will appear
when the fuel supply is less than 5 gallons (18.9 L)
and the display is turned off. A single chime will also
sound when this message is displayed.CHECK GAS CAP – 61:This message will appear if
the gas cap has not been fully tightened. You should
recheck your gas cap to ensure that it is on properly.
CHECK OIL LEVEL – 36:For correct operation of the
low oil sensing system, your vehicle should be on a
level surface. A false CHECK OIL LEVEL message may
appear if the vehicle is parked on a grade. The oil
level sensing system does not check for actual oil level
if the engine has been off for a short period of time,
and the oil level is never checked while the engine is
running. If the CHECK OIL LEVEL message appears,
and your vehicle has been parked on level ground
with the engine off for at least 30 minutes, the oil level
should be checked by observing the oil dipstick. Prior to
checking the oil level, be sure the engine has been
off for a few minutes and your vehicle is on a level
surface. Then check the dipstick and add oil if
necessary. SeeEngine Oil on page 5-13.
3-56
Page 174 of 410
TRACTION SUSPENDED – 56:This message displays
when the traction control system has been temporarily
shut off because your vehicle’s brakes have overheated.
This message does not indicate a problem with your
vehicle’s traction control system. After a few minutes,
the traction control system will be available again
and the TRACTION READY message will appear.
TRANS HOT IDLE ENGINE – 112:This message
indicates that the transaxle fluid in your vehicle is too
hot. Stop and allow your vehicle to idle until it cools
down or until this message is removed.
TRUNK OPEN – 24:This message indicates that the
trunk is open when the ignition is on.
TURN SIGNAL ON – 20:If you drive your vehicle for
more than a mile with a turn signal on, this message will
appear as a reminder to turn off the turn signal. A
multiple chime will sound when this message is
displayed.
VEHICLE OVERSPEED – 52:This message is
displayed when the vehicle speed exceeds a certain
limit as required by some export countries. A continuous
chime will sound when this message is displayed.Climate Controls and Radio System
Personalization
These features allow both drivers to personalize their
own climate control settings as well as their radio
settings. For more information, seeClimate Controls
Personalization on page 3-36andRadio Personalization
with Home and Away Feature on page 3-98.
The outside temperature is always available for display
if it has been selected for a DIC display when your
vehicle is running unless an overriding DIC message
appears. You can change the temperature from
Fahrenheit to Celsius by pressing the ENG/MET
(English/metric) button on the instrument panel. For
more information on the DIC, seeDIC Warnings
and Messages on page 3-55.
The electronic sensor can be affected by road or engine
heat during idling, slow driving or when the engine is
first started after a short trip. To ensure proper automatic
climate control operation, the outside air temperature
display may not update as quickly as expected. This is
to allow the air surrounding the outside temperature
sensor to be as close to the actual outside conditions as
possible. This is determined by how much time has
elapsed since the vehicle has been turned off and by
vehicle speed.
3-62
Page 186 of 410
Driver’s Name Set/Recall
If your vehicle has the optional memory package, you
will have this feature. This feature allows individual
driver’s names to be displayed in the DIC when
the ignition is turned to ON. This feature only works
when the remote keyless entry transmitter is used
to unlock the vehicle or when buttons 1 or 2 on the
driver’s door are pressed. See your dealer for assistance
in programming this feature.
Exiting Feature Programming
To exit FEATURE PROGRAMMING, press the INFO
RESET or INFO button.
Trip Computer
Oil Life Indicator
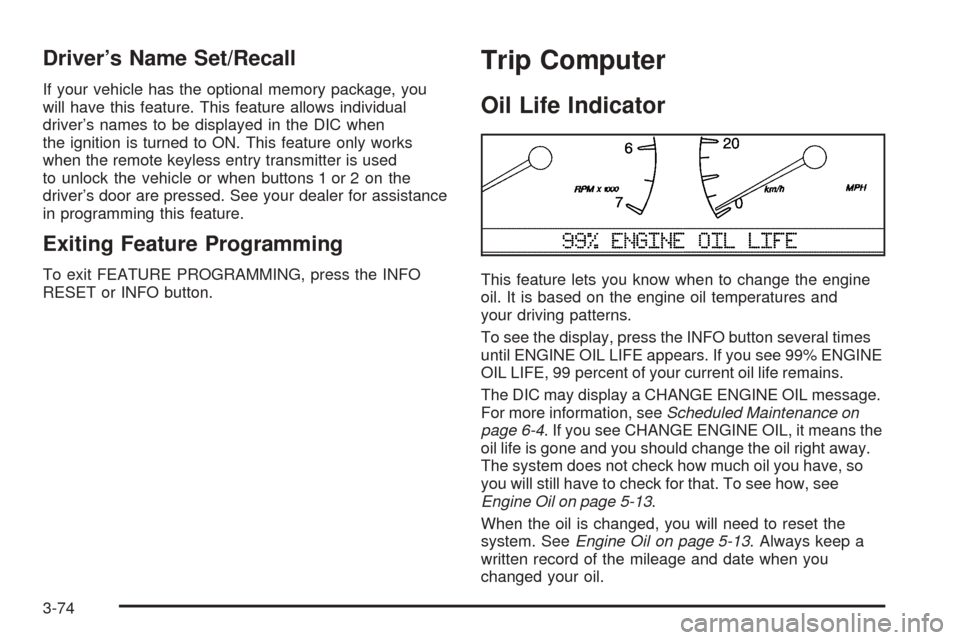
This feature lets you know when to change the engine
oil. It is based on the engine oil temperatures and
your driving patterns.
To see the display, press the INFO button several times
until ENGINE OIL LIFE appears. If you see 99% ENGINE
OIL LIFE, 99 percent of your current oil life remains.
The DIC may display a CHANGE ENGINE OIL message.
For more information, seeScheduled Maintenance on
page 6-4. If you see CHANGE ENGINE OIL, it means the
oil life is gone and you should change the oil right away.
The system does not check how much oil you have, so
you will still have to check for that. To see how, see
Engine Oil on page 5-13.
When the oil is changed, you will need to reset the
system. SeeEngine Oil on page 5-13. Always keep a
written record of the mileage and date when you
changed your oil.
3-74
Page 209 of 410
Whenever a CD magazine with CDs is loaded in the
changer, the CD changer symbol will appear on
the radio display. If the CD changer is checking the
magazine for CDs, the CD symbol will flash on
the display until the changer is ready to play. When a
CD begins playing, a CD and track number will
appear on the display. The CD numbers are listed on
the front of the magazine.
The features of the CD changer may be different due to
your vehicles audio system.
1 PREV (Previous) /
¦TUNE SEEK¥:Press this
pushbutton or the up arrow to seek to the previous track
on the CD. If playing the first track of the CD, pressing
the pushbutton or the up arrow will seek to the last track
of the CD.
2 NEXT /
¦TUNE SEEK¥:Press this pushbutton or
the down arrow to seek to the next track on the CD. If
playing last track of the CD, pressing the pushbutton or
the down arrow will seek to the first track of the CD.
3
{RW /{RW (Rewind):Press and hold this
button to reverse quickly within a track.
4FF
|/FF|(Fast Forward):Press and hold this
button to advance quickly within a track.5DISC/5:Press this pushbutton to select the next
CD in the changer. Each time you press this button,
LOADING will appear on the display and the CD
number on the radio display will go to that of the next
available CD.
6 RDM / RDM (Random):Press this pushbutton to
hear the tracks in random, rather than sequential, order.
RDM will appear on the display. Press the PREV or
NEXT pushbuttons while RDM is on the display to
randomly seek through CDs. Press RDM again to turn
off random play. This feature may not be available
on your radio.
SCAN:Press this button to hear the first few seconds
of the first track on each CD. SCAN will appear on
the display and the CD will mute while scanning. Press
this button again to stop scanning.
SOURCE:Press this button to play a cassette tape or
CD when listening to the radio. The inactive CD will
remain safely inside the radio for future listening.
BAND:Press this button to listen to the radio when
playing a CD.
EJECT:Slide the CD changer door all the way open.
Press the EJECT button and the magazine will eject.
3-97