Page 67 of 162
465Riding
Placing the motorcycle
on the centre stand
OA
The motorcycle cannot
stand securely on poor
ground.
Ensure that the stand is set
down on a firm and even
surface.c
• Switch off the engine.
• Dismount, keeping your left
hand on the handlebar grip.
• With your right hand, take
hold of the pillion passenger
grab handle or rear frame.
• Place your right foot on the
actuating pin of the centre
stand and press the centre
stand downwards until the
rolling feet make contact
with the ground.• Place your full body weight
on the centre stand and at
the same time pull the
motorcycle backwards
(arrow).
• Check that the motorcycle is
standing firmly.
The centre stand can fold
in if there is excessive
motion and lead to the vehicle
falling over.
Do not sit on the motorcycle
with the centre stand
extended.c
Page 70 of 162

Riding468
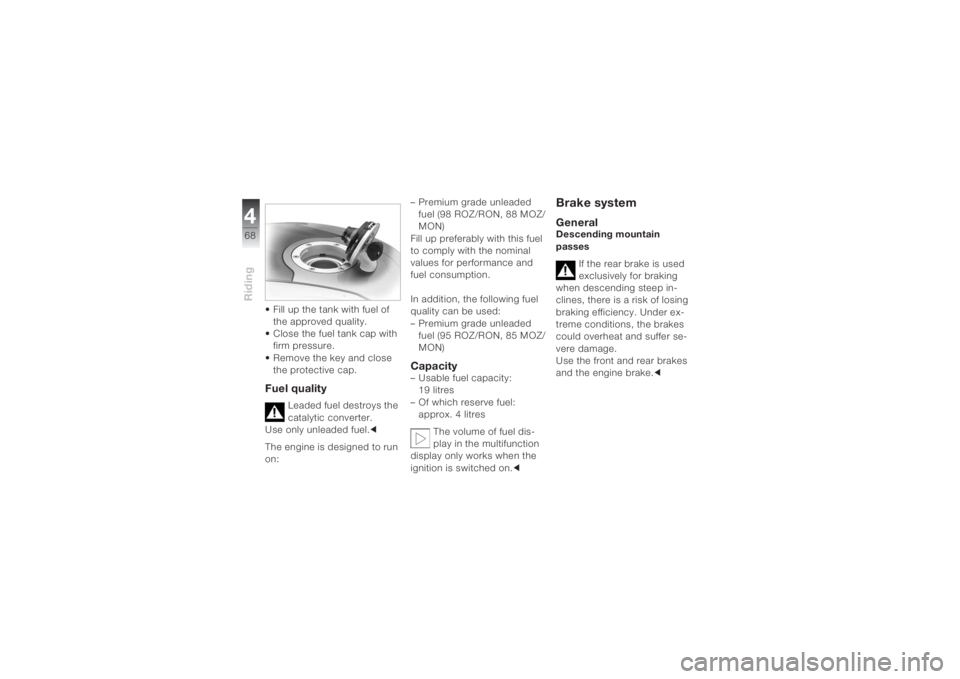
• Fill up the tank with fuel of
the approved quality.
• Close the fuel tank cap with
firm pressure.
• Remove the key and close
the protective cap.Fuel quality
Leaded fuel destroys the
catalytic converter.
Use only unleaded fuel.c
The engine is designed to run
on:– Premium grade unleaded
fuel (98 ROZ/RON, 88 MOZ/
MON)
Fill up preferably with this fuel
to comply with the nominal
values for performance and
fuel consumption.
In addition, the following fuel
quality can be used:
– Premium grade unleaded
fuel (95 ROZ/RON, 85 MOZ/
MON)
Capacity– Usable fuel capacity:
19 litres
– Of which reserve fuel:
approx. 4 litres
The volume of fuel dis-
play in the multifunction
display only works when the
ignition is switched on.c
Brake system GeneralDescending mountain
passes
If the rear brake is used
exclusively for braking
when descending steep in-
clines, there is a risk of losing
braking efficiency. Under ex-
treme conditions, the brakes
could overheat and suffer se-
vere damage.
Use the front and rear brakes
and the engine brake.c
Page 85 of 162
683Maintenance
Toolkit............................................. 85
Engine oil ....................................... 86
Coolant ........................................... 88
Brakes ............................................ 89
Clutch ............................................. 93
Wheels ............................................ 94
Front-wheel stand ....................... 103
Rear wheel stand ........................ 104
Bulbs............................................. 105
Jump starting............................... 111
Battery .......................................... 112
Splash guard................................ 116
Page 88 of 162

Maintenance686
Engine oilChecking the engine oil
levelCheck the oil level at regular
intervals.
The oil level depends on
the oil temperature. The
higher the temperature the
higher the oil level in the oil
tank.
Check the engine oil level
immediately after a longer
journey.c
After longer motorcycle
immobilisation periods,
oil can collect in the oil pan;
this must be pumped into the
oil tank before the reading is
taken. The engine oil must be
at operating temperature to do
this. Checking the oil level with
the engine cold or after a short trip leads to misinterpretations
and therefore to incorrect oil fill
quantities.
To ensure that the correct en-
gine oil level is displayed, only
check the oil level after a long-
er trip.c
• With the motorcycle at oper-
ating temperature, hold it
vertically or place it on the
centre stand
OA, ensuring
that the ground is firm and
level.
• Let the engine run in neutral
for one minute.
• Switch off the ignition.
• Read off the oil level.
If you have a motorcycle
without a centre stand
OA,
obtain assistance from anoth-
er person when reading the oil
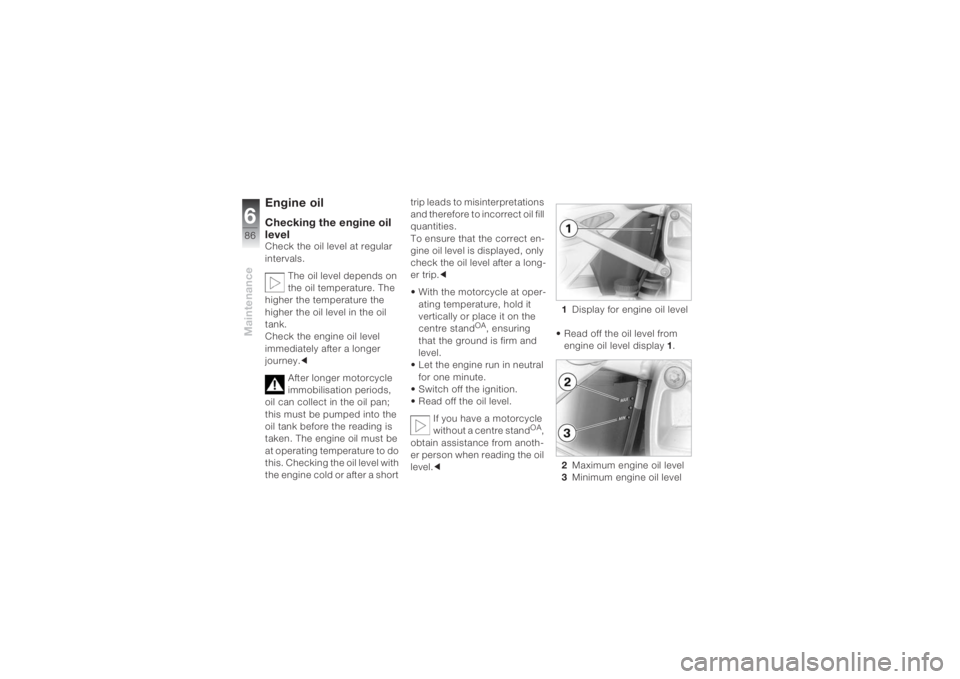
level.c1Display for engine oil level
• Read off the oil level from
engine oil level display1.
2Maximum engine oil level
3Minimum engine oil level
Page 89 of 162
687Maintenance
The oil level must be located
between the MIN and MAX
marks. The difference is
approx. 0.5 litres.
If the oil level is below the
MIN mark:
• Top up the engine oil.
If the oil level is above the
MAX mark:
• Drain off the engine oil.
Too little or too much
engine oil can lead to
engine damage.
Ensure that the engine oil level
is correct.c
Too little engine oil can
result in the engine seiz-
ing and therefore lead to
accidents.
Ensure that the engine oil level
is correct.c
Topping up the engine oil• Remove the seat (
b 40)
.
• Clean the area around the
filler aperture.
• Unscrew cap of the engine
oil filler aperture 1.• Add engine oil up to the
central markA.
• Check the oil level.
• Repeat the filling and
checking procedure until the
engine oil level is located
between the MIN and
MAX marks.
• Screw on the cap of the
engine oil filler aperture.
Page 90 of 162
Maintenance688
Draining off engine oil • Remove the seat (
b 40)
.
• Press the retainer of clear
hose 2 on the left and right
and pull upwards out of the
oil tank.
• Pull the clear hose down-
wards out of the frame and
drain off the oil into a suitable
container.
• Insert the clear hose in the
oil tank and lock into place.
• Check the oil level.
• Repeat the draining and
checking procedure until the
engine oil level is located
between the MIN and
MAX marks.
• Store or dispose of excess
engine oil in an environmen-
tally-responsible manner.
Coolant Checking the coolant
levelCheck the coolant level at
regular intervals.
1Display for coolant level
• Read off the coolant level
from the coolant display1.
2Maximum coolant level
3Minimum coolant level
The coolant level must be
located between the MIN and
MAX marks.
If the coolant is below the
MIN mark:
• Top up the coolant.
Page 113 of 162

6111
Maintenance
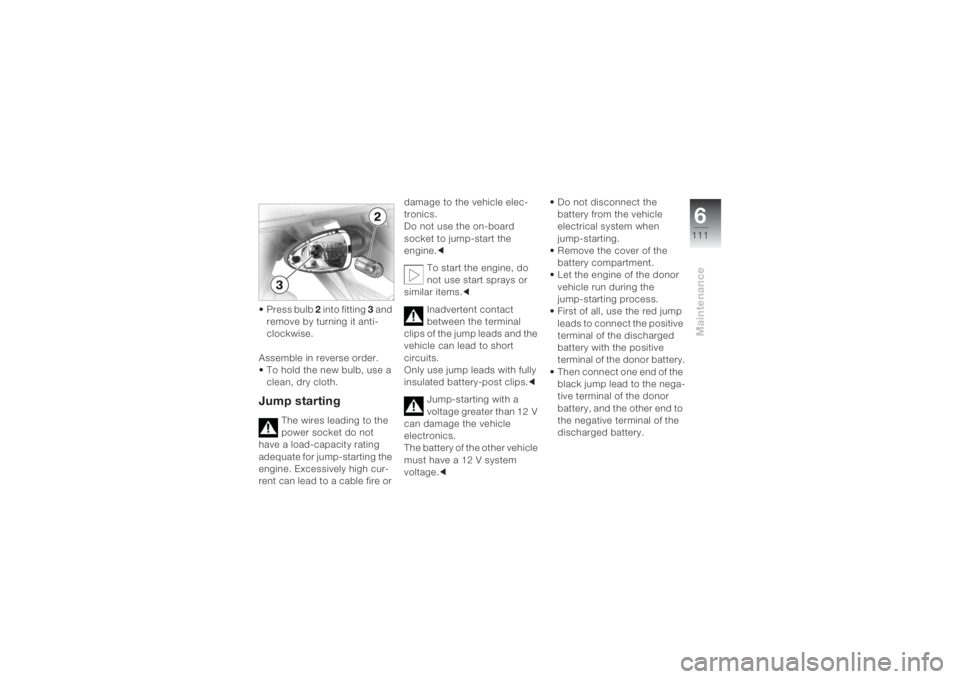
• Press bulb 2 into fitting 3 and
remove by turning it anti-
clockwise.
Assemble in reverse order.
• To hold the new bulb, use a
clean, dry cloth.Jump starting
The wires leading to the
power socket do not
have a load-capacity rating
adequate for jump-starting the
engine. Excessively high cur-
rent can lead to a cable fire or damage to the vehicle elec-
tronics.
Do not use the on-board
socket to jump-start the
engine.c
To start the engine, do
not use start sprays or
similar items.c
Inadvertent contact
between the terminal
clips of the jump leads and the
vehicle can lead to short
circuits.
Only use jump leads with fully
insulated battery-post clips.c
Jump-starting with a
voltage greater than 12 V
can damage the vehicle
electronics.
The battery of the other vehicle
must have a 12 V system
voltage.c• Do not disconnect the
battery from the vehicle
electrical system when
jump-starting.
• Remove the cover of the
battery compartment.
• Let the engine of the donor
vehicle run during the
jump-starting process.
• First of all, use the red jump
leads to connect the positive
terminal of the discharged
battery with the positive
terminal of the donor battery.
• Then connect one end of the
black jump lead to the nega-
tive terminal of the donor
battery, and the other end to
the negative terminal of the
discharged battery.
Page 114 of 162

Maintenance6112
• Start the engine of the
vehicle with the discharged
battery in the usual way; if
the engine does not start,
wait a few minutes before
repeating the attempt in
order to protect the starter
and the donor battery.
• Allow both engines to idle for
a few minutes before discon-
necting the jump leads.
• Disconnect the jump lead
from the negative terminals
first, then disconnect the
second lead from the
positive terminals.
• Screw down the cover of the
battery compartment.Touching live parts of the
ignition system with the
engine running can lead to
electric shocks.
Do not touch any parts of the
ignition system when the
engine is running.c
BatteryMaintenance informationYour motorcycle is supplied
with a maintenance-free
battery.
Correct upkeep, recharging
and storage will prolong the
life of the battery and are
essential if warranty claims are
to be considered.
Compliance with the points
below is important in order to
maximise battery life:– Keep the surface of the
battery clean and dry.
– Do not open the battery.
– Do not top up with water.
– Be sure to read and comply
with the instructions for
charging the battery on the
following pages.
– Do not turn the battery
upside down.
If the battery is not dis-
connected, the on-board
electronics (clock, etc.) will
drain the battery. This can
cause the battery to run flat.
If this happens, warranty
claims will not be accepted.
During immobilisation periods
of more than four weeks,
disconnect the battery from
the motorcycle or connect a
trickle charger to the battery.c