2004 BMW 645CI COUPE&CONVERTIBLE tires
[x] Cancel search: tiresPage 5 of 216
Reference
At a glance
Controls
Driving tips
Communications
Navigation
Entertainment
Mobility
Contents
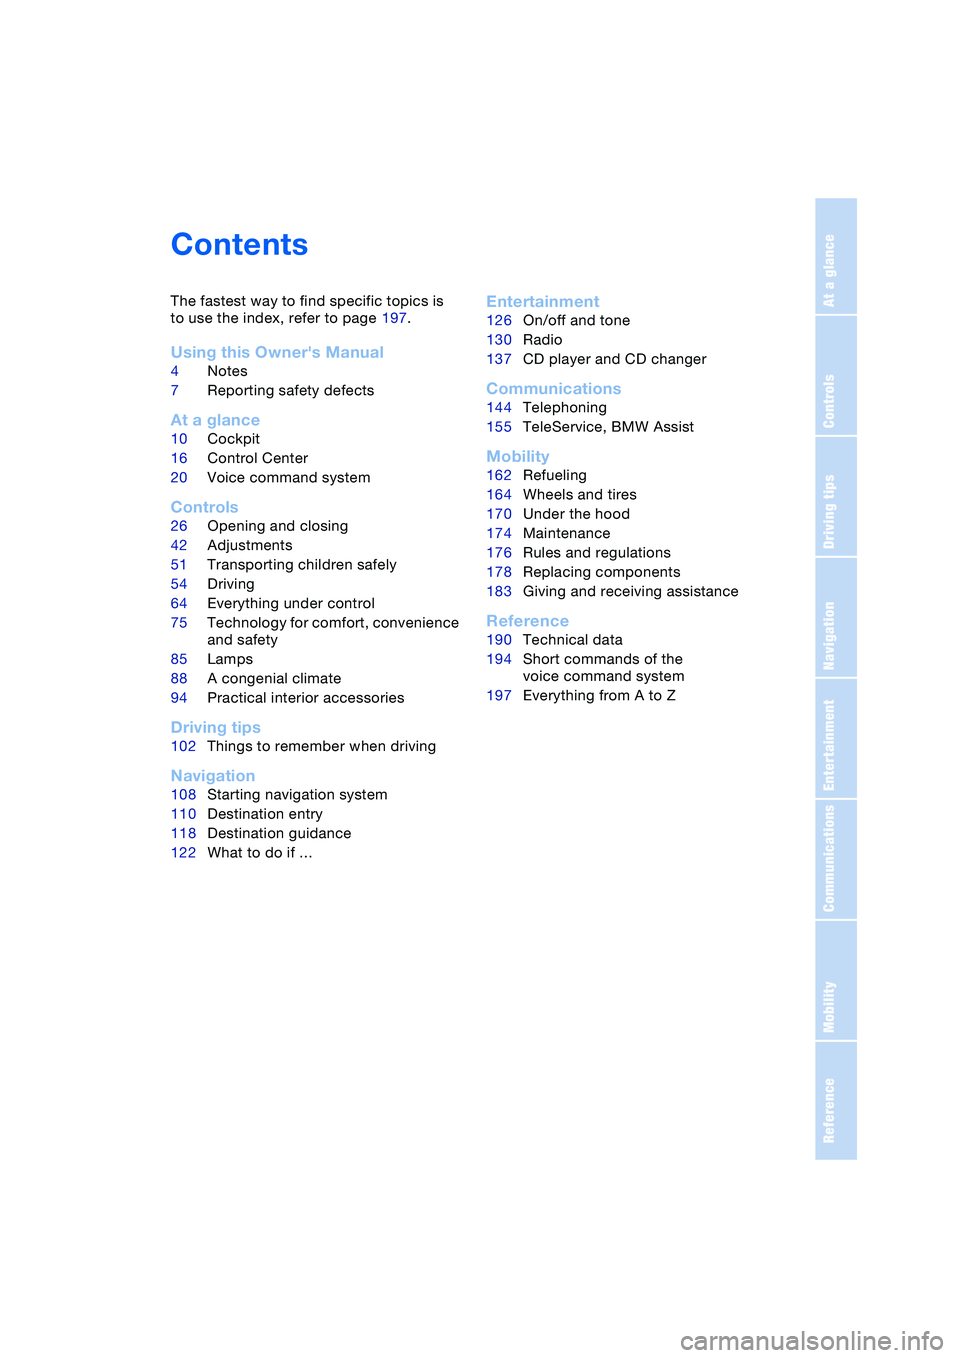
The fastest way to find specific topics is
to use the index, refer to page 197.
Using this Owner's Manual
4Notes
7Reporting safety defects
At a glance
10Cockpit
16Control Center
20Voice command system
Controls
26Opening and closing
42Adjustments
51Transporting children safely
54Driving
64Everything under control
75Technology for comfort, convenience
and safety
85Lamps
88A congenial climate
94Practical interior accessories
Driving tips
102Things to remember when driving
Navigation
108Starting navigation system
110Destination entry
118Destination guidance
122What to do if …
Entertainment
126On/off and tone
130Radio
137CD player and CD changer
Communications
144Telephoning
155TeleService, BMW Assist
Mobility
162Refueling
164Wheels and tires
170Under the hood
174Maintenance
176Rules and regulations
178Replacing components
183Giving and receiving assistance
Reference
190Technical data
194Short commands of the
voice command system
197Everything from A to Z
Page 81 of 216
Controls
79Reference
At a glance
Driving tips
Communications
Navigation
Entertainment
Mobility
have dropped below the minimum, possi-
bly owing to a leak in the hydraulic system.
Do not continue driving. Contact your BMW
center.<
Flat Tire Monitor
The concept
The Flat Tire Monitor keeps track of the
inflation pressures in the four tires as you
drive. The system provides an alert when-
ever the inflation pressure drops signifi-
cantly in relation to the pressure in another
tire.
The check of the tire inflation pressure is
based on monitoring the relative speeds
of the wheels. A flat tire is detected and
reported on the basis of a deviation in cer-
tain speed ratios.
Functional requirement
To ensure reliable operation, the system
should have been initialized with the cor-
rect tire inflation pressure.
System limits
The Flat Tire Monitor cannot indicate
sudden severe tire damage caused
by outside factors and does not detect a
natural, even pressure drop in all four
tires.<
In the following situations, the system
could be delayed or malfunction:
>When you are driving on snow-covered
or slippery road surfaces
>In the case of performance-oriented
driving: slip on the drive wheels, high
lateral acceleration
>False alarms and undetected loss of
pressure may occur when you are driv-
ing with snow chains fitted
>If the Flat Tire Monitor was not initial-
ized after the last inflation pressure cor-
rection, false alarms indicating a flat tire
that is not present are possible or pres-
sure loss might not be detected.
Initializing system
Perform the initialization immediately
after correcting the inflation pressure,
after changing a tire or changing a wheel or
all wheels. A drive is necessary for this pur-
pose.<
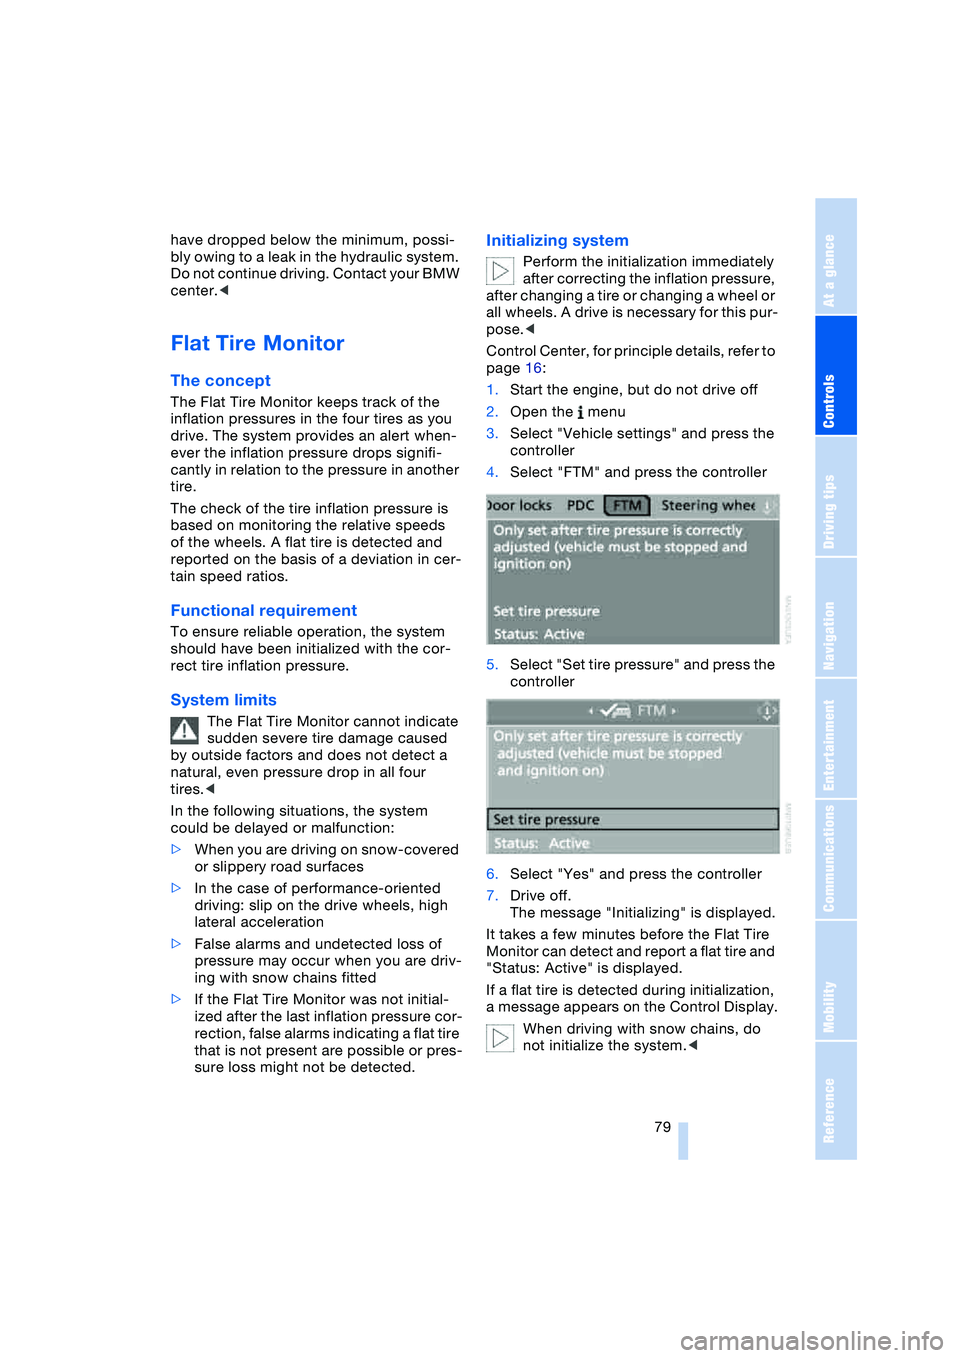
Control Center, for principle details, refer to
page 16:
1.Start the engine, but do not drive off
2.Open the menu
3.Select "Vehicle settings" and press the
controller
4.Select "FTM" and press the controller
5.Select "Set tire pressure" and press the
controller
6.Select "Yes" and press the controller
7.Drive off.
The message "Initializing" is displayed.
It takes a few minutes before the Flat Tire
Monitor can detect and report a flat tire and
"Status: Active" is displayed.
If a flat tire is detected during initialization,
a message appears on the Control Display.
When driving with snow chains, do
not initialize the system.<
Page 82 of 216
Technology for comfort, convenience and safety
80
Report of a flat tire
The warning lamp lights up in red
and a message appears on the
Control Display. In addition, an
acoustic signal sounds. There is a flat tire
or extensive inflation pressure loss.
1.Cautiously reduce the vehicle speed to
below 50 mph/80 km/h. Avoid sudden
braking and steering maneuvers. Do
not exceed a vehicle speed of 50 mph/
80 km/h
Due to the reinforcement on the
side walls of the run-flat tires,
inflation pressure loss can not usually
be recognized from the outside, refer to
Run-flat tires on page 168.<
2.To continue driving, comply with the
instructions for driving with damaged
tires on page 168.
Malfunction
The warning lamp lights up yellow
and a message appears on the
Control Display. The Flat Tire Moni-
tor has a malfunction or has failed. Have
the system checked as soon as possible.
Active steering*
The concept
The active steering is a system that actively
varies the steering angle of the front wheels
in relation to the steering wheel move-
ments.
When you are driving in the low road speed
range, e.g. in a town or when parking, the
steering angle of the wheels is reinforced,
i.e. the steering becomes very direct.
In the higher speed range, on the other
hand, the steering angle of the wheels is
reduced more and more. This improves the
handling capability of your BMW over the
entire speed range.
In critical situations, the system can make
targeted changes to the steering angle pro-
vided by the driver and thus stabilize the
vehicle before the driver intervenes.
Malfunction
The fixed warning lamp lights up.
The active steering is no longer
operational. In the low speed range,
greater steering wheel movement is neces-
sary. Have the system checked.
If the warning lamp lights up during the first
engine starting following a power supply
interruption, the system must be activated
with initialization.
Initializing system
1.Start the engine
2.With the vehicle stationary, turn the
steering wheel from the straight-ahead
position to the left as far as it will go and
then back to the straight-ahead position
3.Switch off the engine.
When you start the engine again, all the
functions of the active steering are avail-
able once again.
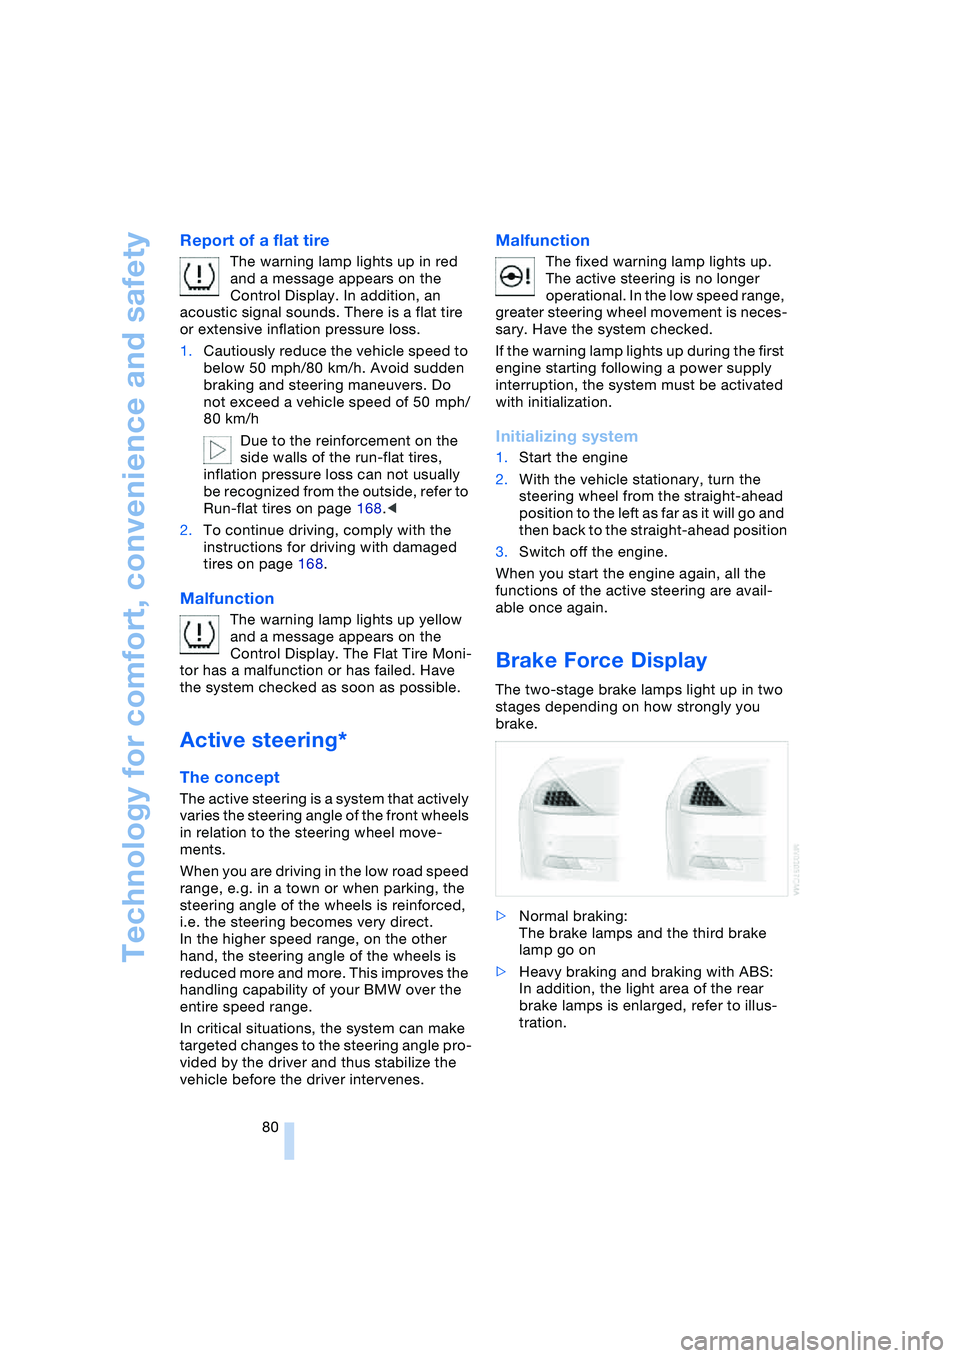
Brake Force Display
The two-stage brake lamps light up in two
stages depending on how strongly you
brake.
>Normal braking:
The brake lamps and the third brake
lamp go on
>Heavy braking and braking with ABS:
In addition, the light area of the rear
brake lamps is enlarged, refer to illus-
tration.
Page 104 of 216
Things to remember when driving
102
Things to remember when driving
Break-in procedures
To ensure that your vehicle continues to
provide optimized economy of operation
throughout an extended service life, we
request that you devote careful attention to
the following section.
Engine and differential
Up to 1,200 miles/2,000 km:
You should attempt to vary both vehicle
and engine speeds. Until the break-in
period has been completed, you should
also refrain from exceeding an engine
speed of 4500 rpm or a driving speed of
100 mph/160 km/h.
Always obey all official speed limits.
Avoid full-throttle operation and use of the
transmission's kickdown mode during
these initial miles.
Once you have driven 1,200 miles/
2,000 km, the engine and vehicle speeds
can be gradually increased.
SMG Sequential manual
transmission
Do not use the acceleration assistant dur-
ing the break-in period, refer to page 60.
Tires
Due to technical factors associated with
their manufacture, tires do not achieve their
full traction potential until after an initial
break-in period. Therefore, drive reservedly
during the first 200 miles/300 km.
Brake system
Brakes require an initial break-in period of
approx. 300 miles/500 km to achieve opti-
mized contact and wear patterns between
brake pads and rotors.
Clutch
The function of the clutch is only at its opti-
mized level after a distance driven of
approx. 300 miles/500 km. During this
break-in period, engage the clutch gently.
After component replacement
You should also comply with these break-in
procedures should the components men-
tioned above need to be replaced at a later
point.
General driving notes
Hot exhaust system
Extreme temperatures occur at the
catalytic converter on this and every
catalyst-equipped vehicle. Do not remove
the heat shields installed adjacent to vari-
ous sections of the exhaust system, and
never apply undercoating to them. When
driving, standing at idle and while parking,
take care to avoid possible contact
between the hot exhaust system and any
highly flammable materials such as hay,
leaves, grass, etc. Such contact could lead
to a fire, and with it the risk of serious prop-
erty damage as well as personal injury.<
Parking vehicle
Condensation forms in the air conditioner
system during operation, and then exits
under the vehicle. Traces of condensed
water under the vehicle are thus normal.
Before driving into a car wash
Fold in the exterior mirrors manually, as
otherwise they could be damaged due to
the width of the vehicle.
Hydroplaning
When driving on wet or slushy roads,
reduce road speed. If you do not, a
wedge of water can form between tires and
Page 105 of 216
Driving tips
103Reference
At a glance
Controls
Communications
Navigation
Entertainment
Mobility
road surface. This phenomenon is referred
to as hydroplaning, and is characterized
by a partial or complete loss of contact
between the tires and the road surface, ulti-
mately undermining your ability to steer
and brake the vehicle.<
The risk of hydroplaning increases as the
tread depth of the tires decreases, also
refer to Tire tread on page 167.
Driving through water
Do not drive through water on the
road if it is deeper than 1 ft/30 cm,
and then only at walking speed at the most.
Otherwise, the vehicle's engine, the electri-
cal systems and the transmission may be
damaged.<
Braking safely
Your BMW is equipped with ABS as stan-
dard. The best way to achieve optimized
braking response from the ABS is to apply
maximum pressure to the brake pedal in
situations where this is required: panic
stops. Since the vehicle maintains steering
responsiveness, you can nevertheless
avoid possible obstacles with a minimum
of steering effort.
Pulsation at the brake pedal combines with
sounds from the hydraulic circuits to indi-
cate to the driver that ABS is in its active
mode.
Do not drive with your foot resting on
the brake pedal. Even light but con-
sistent pedal pressure can lead to high
temperatures, brake wear and possibly
even brake failure.<
Driving in wet conditions
While driving in wet conditions and in
heavy rain, it is a good idea to apply light
pressure to the brake pedal every few
miles. Monitor traffic conditions to ensure
that this maneuver does not endanger
other road users. The heat generated in this
process helps dry the pads and rotors to
ensure that full braking efficiency will then
be available when you need it.
Hills
To prevent overheating and thus
reduced efficiency of the brake sys-
tem, downshift to a gear in which only min-
imal brake applications are needed when
descending long or steep downhill
stretches. Even light but consistent pedal
pressure can lead to high temperatures,
brake wear and possibly even brake fail-
ure.<
You can further enhance the engine's brak-
ing effect by selecting a lower gear in the
automatic transmission's manual mode,
downshifting as far as first gear on
extremely steep stretches, refer to
page 59. This strategy helps you avoid
placing excessive loads on the brake sys-
tem.
Never drive with the clutch pressed
or allow the vehicle to coast with the
transmission in Neutral – or with the engine
switched off – there is no engine braking
when the transmission is in Neutral, and no
power assist for brakes and steering when
the engine is not running.
Never allow floor mats, carpets or any other
objects to protrude into the area around the
accelerator and brake pedals and obstruct
their movement.<
Corrosion on brake rotors
When the vehicle is driven only occasion-
ally, during extended periods when the
vehicle is not used at all, and in operating
conditions where brake applications are
less frequent, there is an increased ten-
dency for corrosion to form on rotors, while
contaminants accumulate on the brake
pads. This occurs because the minimum
pressure which must be exerted by the
pads during brake applications to clean the
rotors is not reached.
Should corrosion form on the brake rotors,
the brakes will tend to respond with a pul-
sating effect that even extended applica-
tion will fail to cure.
Page 106 of 216
Things to remember when driving
104
Mobile communication devices in
vehicle
BMW advises against using mobile
communication devices, e.g. portable
phones, in the inside of the vehicle without
a direct connection to an external antenna.
Otherwise, the vehicle electronics and
mobile communication device can influ-
ence one another. It is not ensured that the
waves emitted during transmission are led
out of the vehicle interior.<
Cargo loading
To avoid loading the tires beyond
their approved carrying capacity,
never overload the vehicle. Overloading
can lead to overheating and increases the
rate at which damage develops inside the
tires. The ultimate result can assume the
form of a sudden air loss.<
Determining loading limit
1.Locate the following statement on your
vehicle's placard
*:
The combined weight of occu-
pants and cargo should never
exceed XXX lbs. or YYY kg, as other-
wise the vehicle may be damaged and
unstable driving conditions may
result.<
2.Determine the combined weight of the
driver and passengers that will be riding
in your vehicle
3.Subtract the combined weight of the
driver and passengers from XXX lbs. or
YYY kg4.The resulting figure equals the available
amount of cargo and luggage load
capacity.
For example, if the XXX amount equals
1400 lbs. and there will be five 150-lbs.
passengers in your vehicle, the amount
of available cargo and luggage load
capacity is 650 lbs.:
1400 lbs. minus 750 lbs. = 650 lbs.
5.Determine the combined weight of lug-
gage and cargo being loaded on the
vehicle. That weight may not safely
exceed the available cargo and luggage
load capacity calculated in step 4
6.If your vehicle will be towing a trailer,
part of the load from your trailer will be
transferred to your vehicle. Consult the
manual for transporting a trailer to
determine how this may reduce the
available cargo and luggage load
capacity of your vehicle.
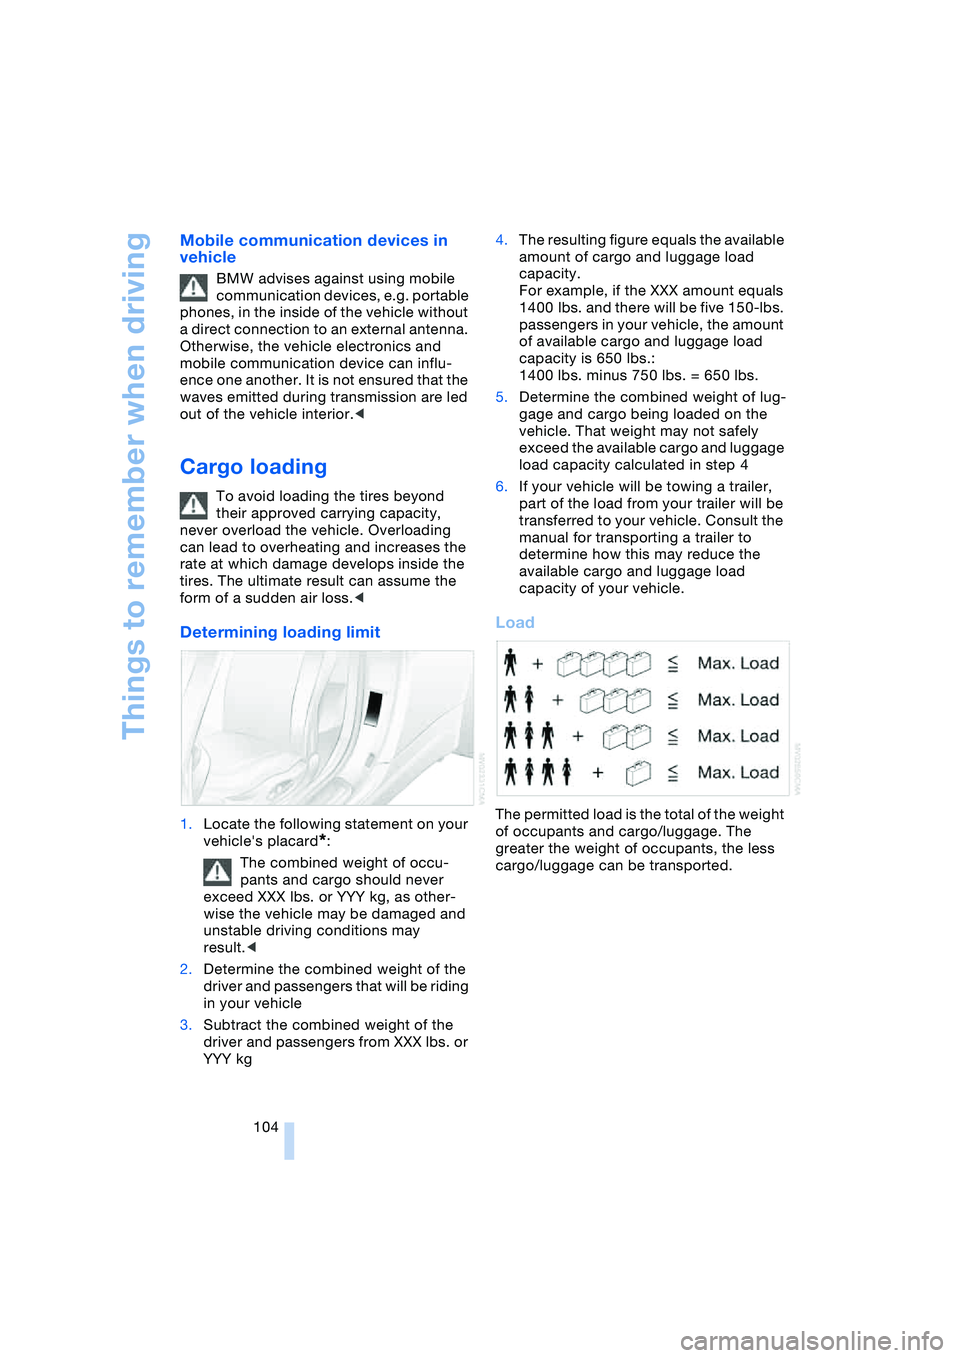
Load
The permitted load is the total of the weight
of occupants and cargo/luggage. The
greater the weight of occupants, the less
cargo/luggage can be transported.
Page 163 of 216
Mobility
This section helps you maintain
your mobility by supplying important
information on vital topics including fuels
and lubricants, wheels and tires, service,
maintenance and how to deal with any
problems that may occur.
Page 166 of 216
Wheels and tires
164
Wheels and tires
Tire inflation pressure
Information for your safety
It is not merely the tire's service life, but
also driving comfort and – to a great extent
– driving safety that depend on the condi-
tion of the tires and the maintenance of the
specified tire pressure.
Check the tire inflation pressure regu-
larly and correct it if necessary: at
least every two weeks and before begin-
ning a longer trip. If you fail to observe this
precaution, you may be driving on tires with
incorrect tire pressures, a condition that
can not only compromise your vehicle's
stability, but also lead to tire damage and
the risk of an accident.<
Checking tire inflation pressure
Only check tire inflation pressure when the
tires are cold. This means after a maximum
of 1.25 miles/2 km driving or when the
vehicle has been parked for at least
2 hours. When tires are warm, the tire infla-
tion pressure increases.
After correcting the inflation pres-
sure(s), always reinitialize the Flat Tire
Monitor, refer to page 79.<
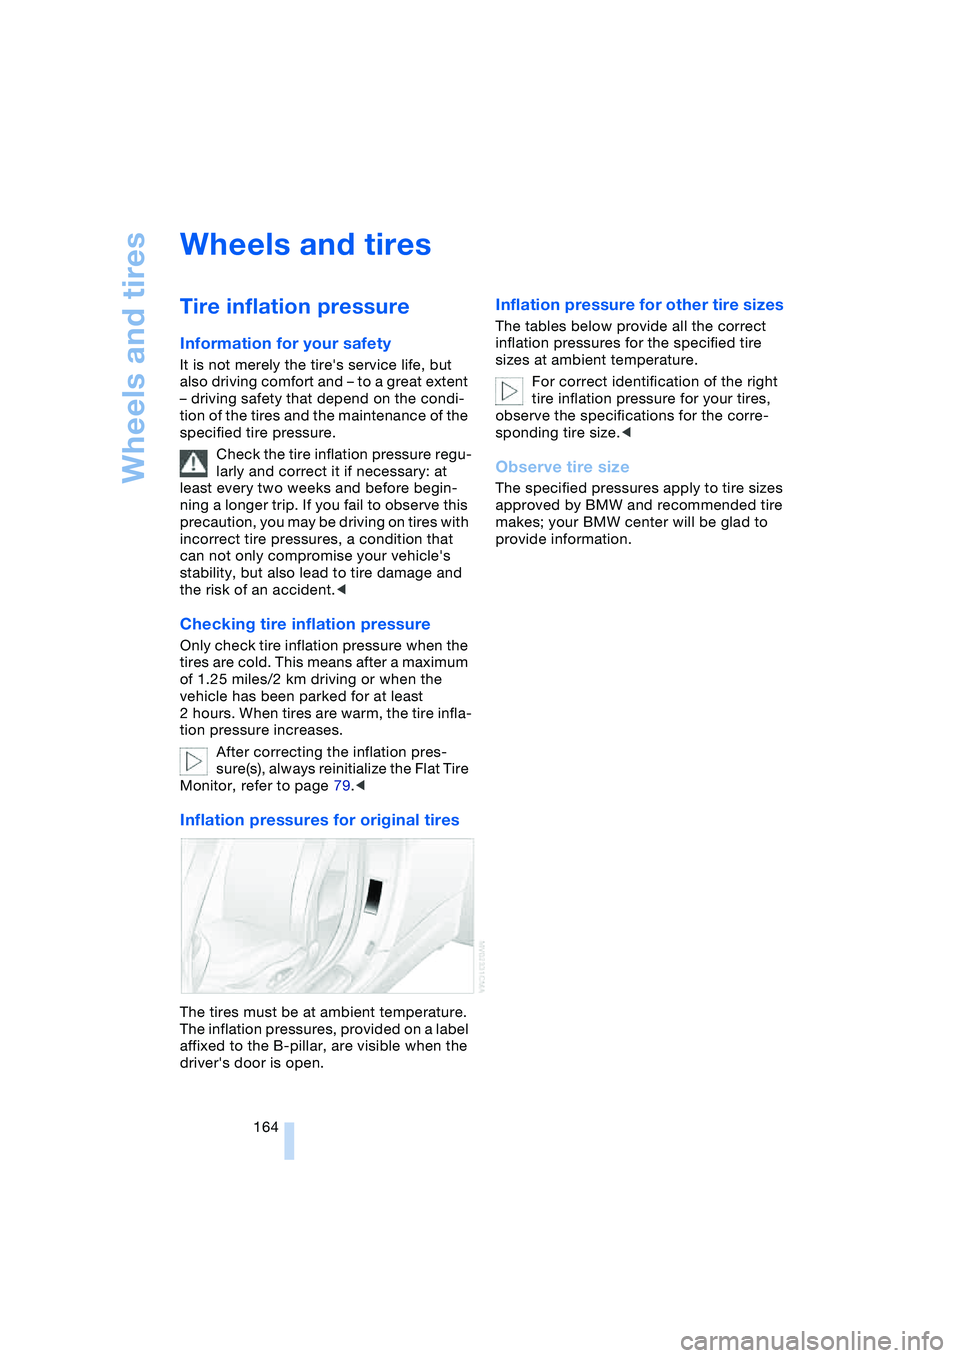
Inflation pressures for original tires
The tires must be at ambient temperature.
The inflation pressures, provided on a label
affixed to the B-pillar, are visible when the
driver's door is open.
Inflation pressure for other tire sizes
The tables below provide all the correct
inflation pressures for the specified tire
sizes at ambient temperature.
For correct identification of the right
tire inflation pressure for your tires,
observe the specifications for the corre-
sponding tire size.<
Observe tire size
The specified pressures apply to tire sizes
approved by BMW and recommended tire
makes; your BMW center will be glad to
provide information.