2004 BMW 525I SEDAN light
[x] Cancel search: lightPage 13 of 220

At a glance
11
Reference
Controls
Driving tips
Communications
Navigation
Entertainment
Mobility
6
Buttons on steering wheel
Portable phone
*
:
>
Accepting a call
>
Start calling
>
Ending call.
Volume
Voice command system.
Fast forward/reverse:
>
Radio
Press briefly: change station
Press longer: manual tuning or auto-
matic search scan
>
CD
Press briefly: select track
Press longer: fast forward/reverse.
Individually programmable, refer to
page 44.
>
Individually programmable, refer to
page 44
>
Voice instructions for navigation.
7
Instrument cluster12
9
Ignition lock49
10
Horn: the entire surface
13
Opening the hood177
14
Opening the luggage compartment
lid31
16
Parking lamps and low beams87
8
Windshield wipers57
Rain sensor57
11
Steering wheel heater44
Steering wheel adjustment43
12
Cruise control58
Active cruise control59
15
Head-Up Display85
17
Instrument lighting88
Front fog lamps89
Page 15 of 220

At a glance
13Reference
Controls
Driving tips
Communications
Navigation
Entertainment
Mobility
Indicator and warning
lamps
Technology that monitors itself
The indicator and warning lamps identified
by the
+ symbol are subjected to an oper-
ation check each time you switch on the
ignition or start the engine. They each light
up once for different periods of time.
When a malfunction occurs in a monitored
system, the corresponding lamp will either
fail to go out when the engine is started, or
it will come on again during normal driving.
For information on how you should respond
when this happens, please refer to the
pages indicated.
Colors
The indicator and warning lamps can light
up in different colors and combinations.
The following section explains the signifi-
cance of the individual colors as well as
how you should respond when they
appear.
>Red:
Stop immediately
or
important reminder
>Red and yellow:
Continue driving moderately
>Yellow:
Have checked soon
or
for your information
>Green or blue:
For your information.
Indicator and warning lamps of the
Check Control
Other indicator and warning lamps appear
in display 6 of the instrument cluster as
necessary, accompanied by supplemen-
tary text on the Control Display, refer to
Check Control, page 68. Turn signal indicators 56
Active steering
+82
Handbrake/brake fluid, brake
hydraulics/DBC Dynamic Brake
Control
+50/ 180/ 79
Handbrake/brake fluid, brake
hydraulics/DBC Dynamic Brake
Control for Canadian models
Airbags
+83
Service Engine Soon
+183
If the indicator lamp comes on
either continuously or intermit-
tently, this indicates a fault in the
emissions-related electronic sys-
tems. Although the vehicle
remains operational, you should
have the systems checked by your
BMW center at the earliest possi-
ble opportunity.
Service Engine Soon indicator
lamp for Canadian models.
Front fog lamps 89
ABS Antilock Brake System
+77
DTC Dynamic Traction Control79
High beams/headlamp flasher 88
Please fasten safety belt
+40
DSC Dynamic Stability
Control
+78
Check Gas Cap168
lamp for US models
Page 35 of 220
Controls
33Reference
At a glance
Driving tips
Communications
Navigation
Entertainment
Mobility
Indicator lamp displays
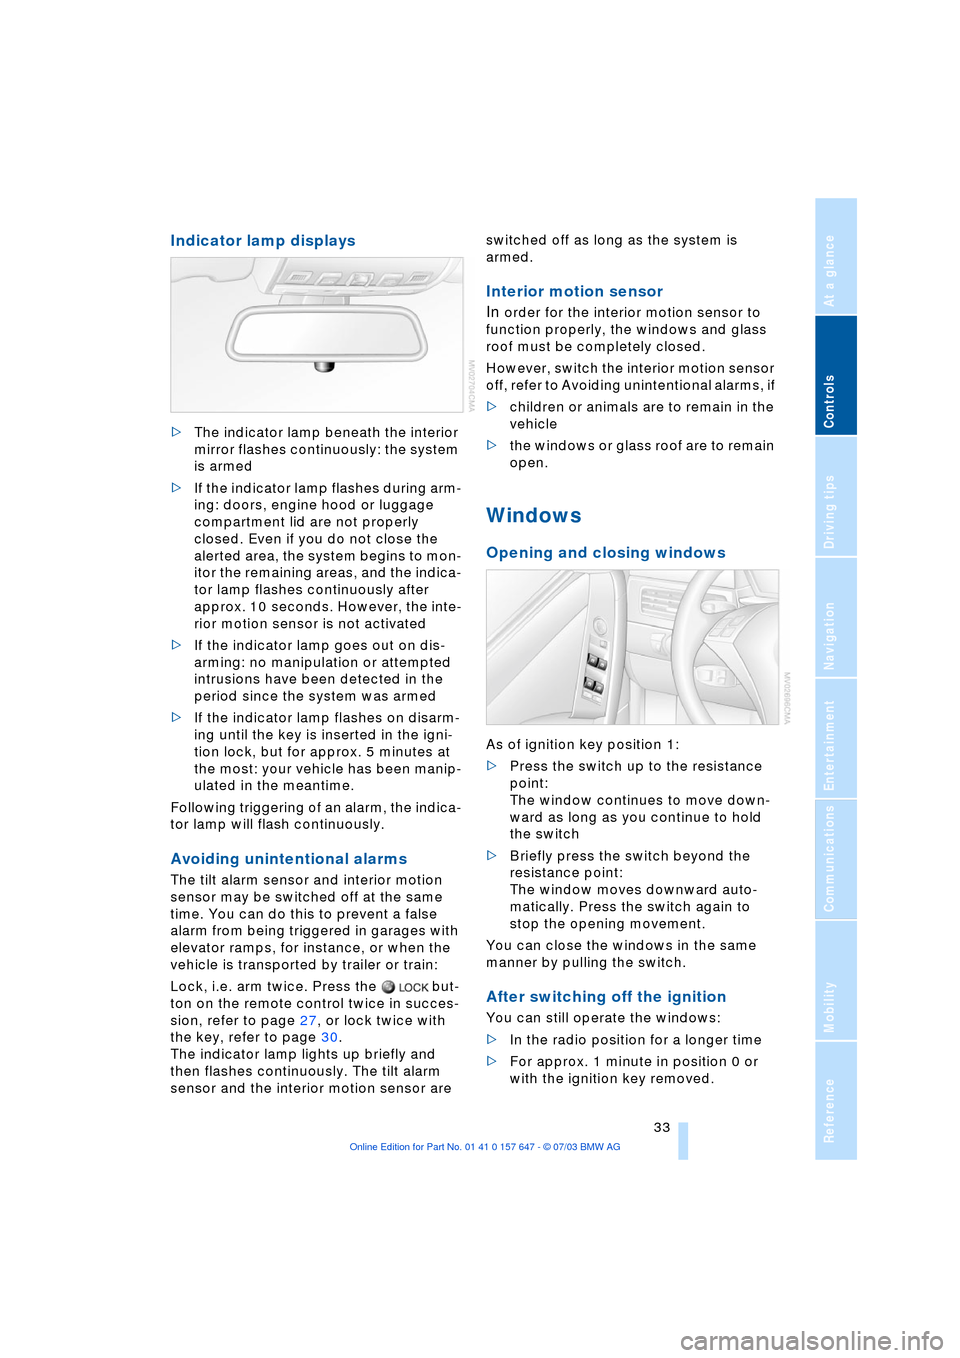
>The indicator lamp beneath the interior
mirror flashes continuously: the system
is armed
>If the indicator lamp flashes during arm-
ing: doors, engine hood or luggage
compartment lid are not properly
closed. Even if you do not close the
alerted area, the system begins to mon-
itor the remaining areas, and the indica-
tor lamp flashes continuously after
approx. 10 seconds. However, the inte-
rior motion sensor is not activated
>If the indicator lamp goes out on dis-
arming: no manipulation or attempted
intrusions have been detected in the
period since the system was armed
>If the indicator lamp flashes on disarm-
ing until the key is inserted in the igni-
tion lock, but for approx. 5 minutes at
the most: your vehicle has been manip-
ulated in the meantime.
Following triggering of an alarm, the indica-
tor lamp will flash continuously.
Avoiding unintentional alarms
The tilt alarm sensor and interior motion
sensor may be switched off at the same
time. You can do this to prevent a false
alarm from being triggered in garages with
elevator ramps, for instance, or when the
vehicle is transported by trailer or train:
Lock, i.e. arm twice. Press the but-
ton on the remote control twice in succes-
sion, refer to page 27, or lock twice with
the key, refer to page 30.
The indicator lamp lights up briefly and
then flashes continuously. The tilt alarm
sensor and the interior motion sensor are switched off as long as the system is
armed.
Interior motion sensor
In
order for the interior motion sensor to
function properly, the windows and glass
roof must be completely closed.
However, switch the interior motion sensor
off, refer to Avoiding unintentional alarms, if
>children or animals are to remain in the
vehicle
>the windows or glass roof are to remain
open.
Windows
Opening and closing windows
As of ignition key position 1:
>Press the switch up to the resistance
point:
The window continues to move down-
ward as long as you continue to hold
the switch
>Briefly press the switch beyond the
resistance point:
The window moves downward auto-
matically. Press the switch again to
stop the opening movement.
You can close the windows in the same
manner by pulling the switch.
After switching off the ignition
You can still operate the windows:
>In the radio position for a longer time
>For approx. 1 minute in position 0 or
with the ignition key removed.
Page 36 of 220
Opening and closing
34 To open, press the switch beyond the
resistance point.
When leaving the vehicle parked,
always remove the central key with
remote control from the ignition lock and
close the doors; this precaution prevents
children from operating the power win-
dows and injuring themselves etc.<
For information on using the convenience
operation mode at the door lock or with the
remote control, refer to page 28 or 29.
Safety feature
If the closing force rises beyond a pre-
defined threshold during closing, the sys-
tem will immediately stop moving the win-
dow prior to lowering it slightly.
Despite this safety feature you should
always inspect the window's travel
path prior to closing it, as the safety system
might fail to detect certain kinds of obstruc-
tions, such as very thin objects, and the
window would continue closing.
Pulling the switch beyond the resistance
point and holding it limits the response of
the safety feature.
Under these conditions the window will
respond to forces beyond a defined thresh-
old by only opening several inches/millime-
ters.
If you again pull the switch past the resis-
tance point and hold it in position within a
period of roughly 4 seconds, the safety fea-
ture is deactivated.<
Safety switch
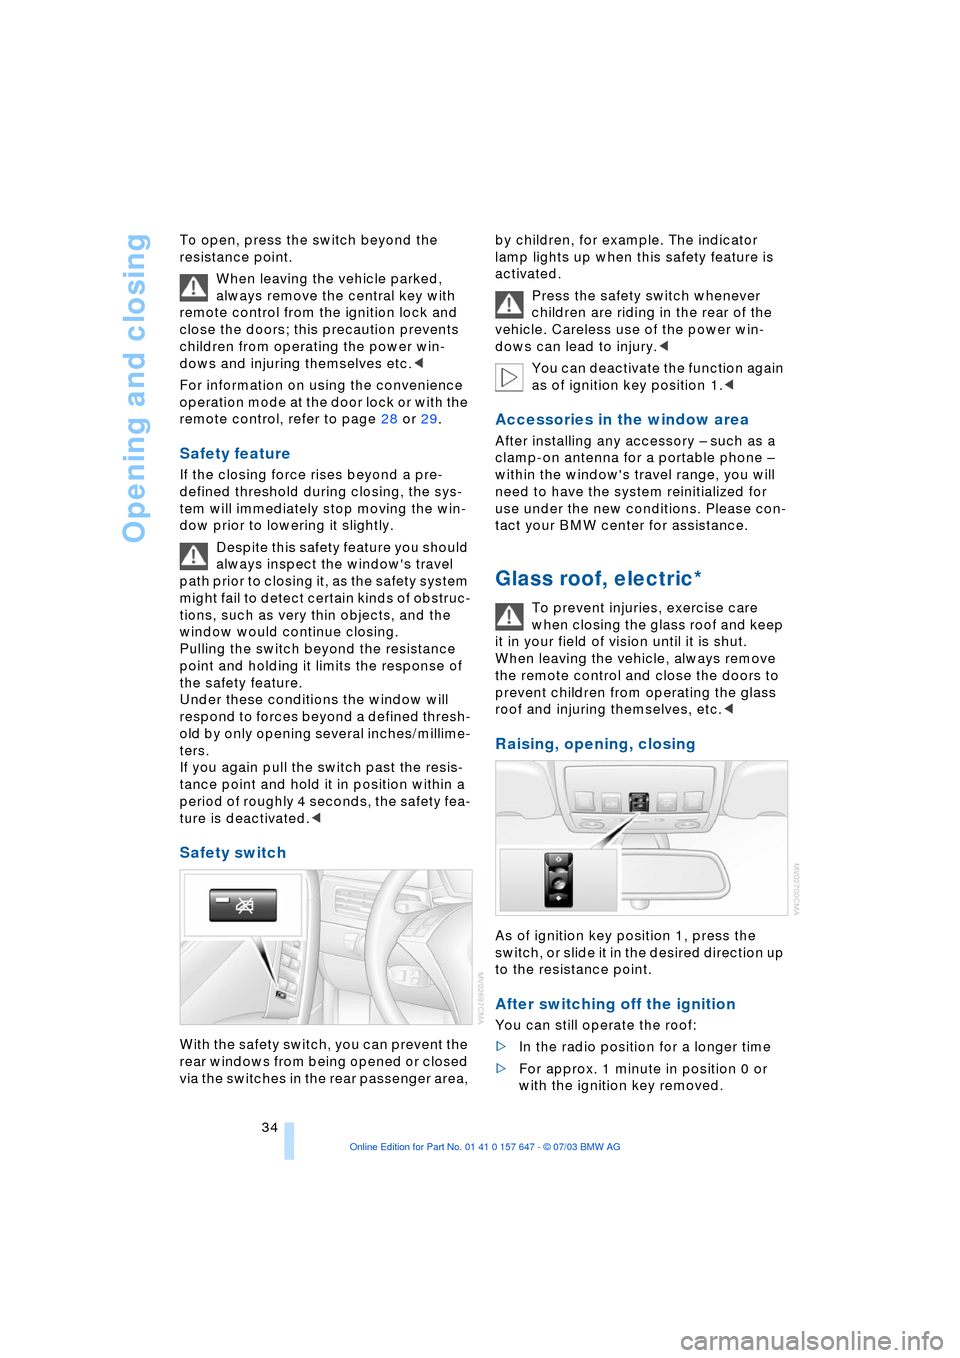
With the safety switch, you can prevent the
rear windows from being opened or closed
via the switches in the rear passenger area, by children, for example. The indicator
lamp lights up when this safety feature is
activated.
Press the safety switch whenever
children are riding in the rear of the
vehicle. Careless use of the power win-
dows can lead to injury.<
You can deactivate the function again
as of ignition key position 1.<
Accessories in the window area
After installing any accessory Ð such as a
clamp-on antenna for a portable phone Ð
within the window's travel range, you will
need to have the system reinitialized for
use under the new conditions. Please con-
tact your BMW center for assistance.
Glass roof, electric*
To prevent injuries, exercise care
when closing the glass roof and keep
it in your field of vision until it is shut.
When leaving the vehicle, always remove
the remote control and close the doors to
prevent children from operating the glass
roof and injuring themselves, etc.<
Raising, opening, closing
As of ignition key position 1, press the
switch, or slide it in the desired direction up
to the resistance point.
After switching off the ignition
You can still operate the roof:
>In the radio position for a longer time
>For approx. 1 minute in position 0 or
with the ignition key removed.
Page 40 of 220
Adjustments
38
Lumbar support* adjustment
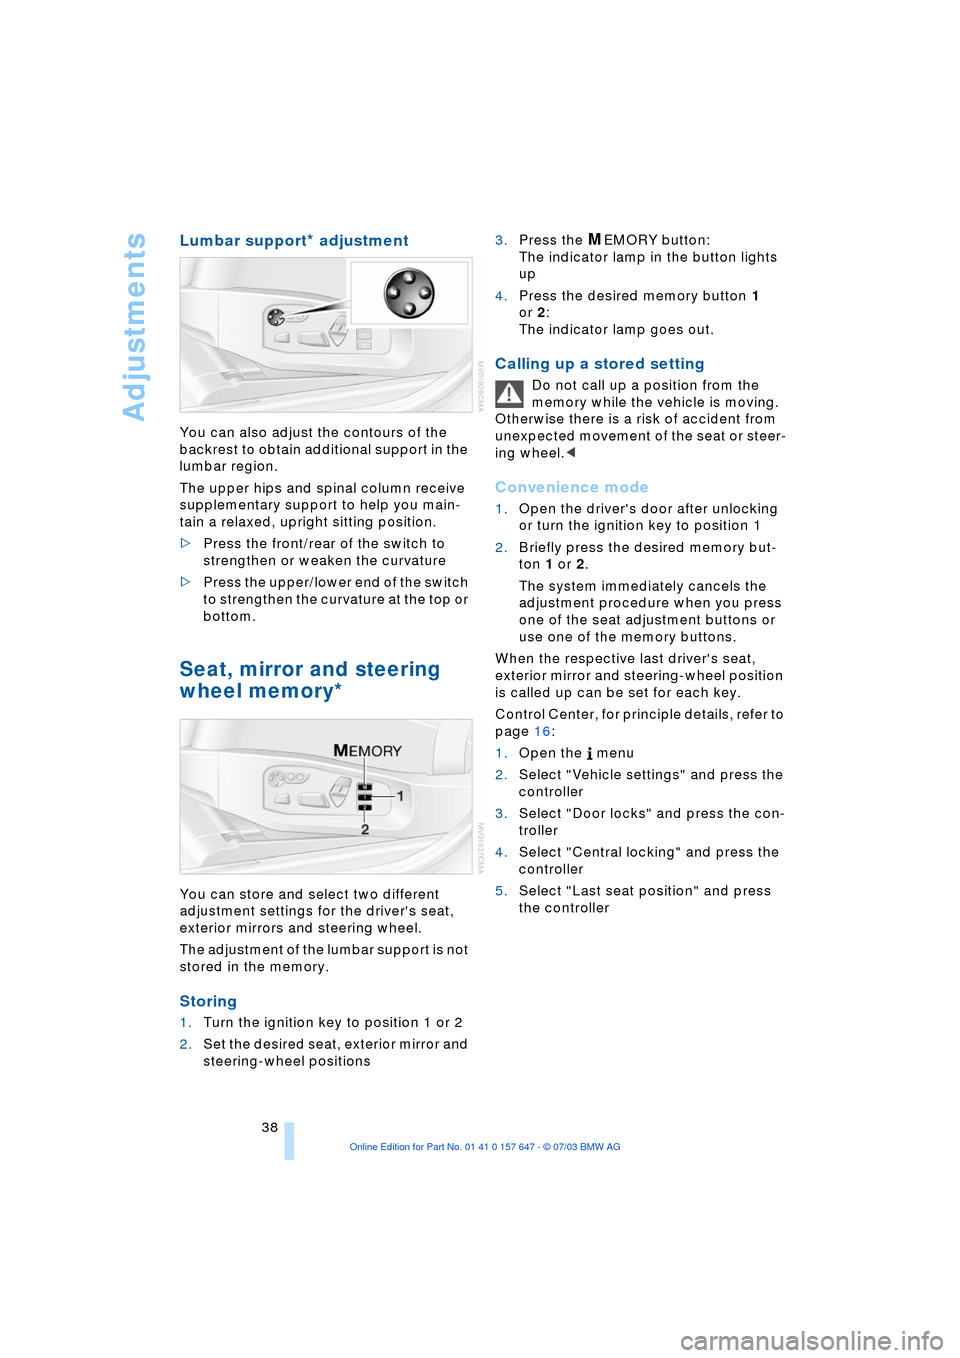
You can also adjust the contours of the
backrest to obtain additional support in the
lumbar region.
The upper hips and spinal column receive
supplementary support to help you main-
tain a relaxed, upright sitting position.
>Press the front/rear of the switch to
strengthen or weaken the curvature
>Press the upper/lower end of the switch
to strengthen the curvature at the top or
bottom.
Seat, mirror and steering
wheel memory*
You can store and select two different
adjustment settings for the driver's seat,
exterior mirrors and steering wheel.
The adjustment of the lumbar support is not
stored in the memory.
Storing
1.Turn the ignition key to position 1 or 2
2.Set the desired seat, exterior mirror and
steering-wheel positions 3.Press the
MEMORY button:
The indicator lamp in the button lights
up
4.Press the desired memory button 1
or 2:
The indicator lamp goes out.
Calling up a stored setting
Do not call up a position from the
memory while the vehicle is moving.
Otherwise there is a risk of accident from
unexpected movement of the seat or steer-
ing wheel.<
Convenience mode
1.Open the driver's door after unlocking
or turn the ignition key to position 1
2.Briefly press the desired memory but-
ton 1 or 2.
The system immediately cancels the
adjustment procedure when you press
one of the seat adjustment buttons or
use one of the memory buttons.
When the respective last driver's seat,
exterior mirror and steering-wheel position
is called up can be set for each key.
Control Center, for principle details, refer to
page 16:
1.Open the menu
2.Select "Vehicle settings" and press the
controller
3.Select "Door locks" and press the con-
troller
4.Select "Central locking" and press the
controller
5.Select "Last seat position" and press
the controller
Page 41 of 220
Controls
39Reference
At a glance
Driving tips
Communications
Navigation
Entertainment
Mobility
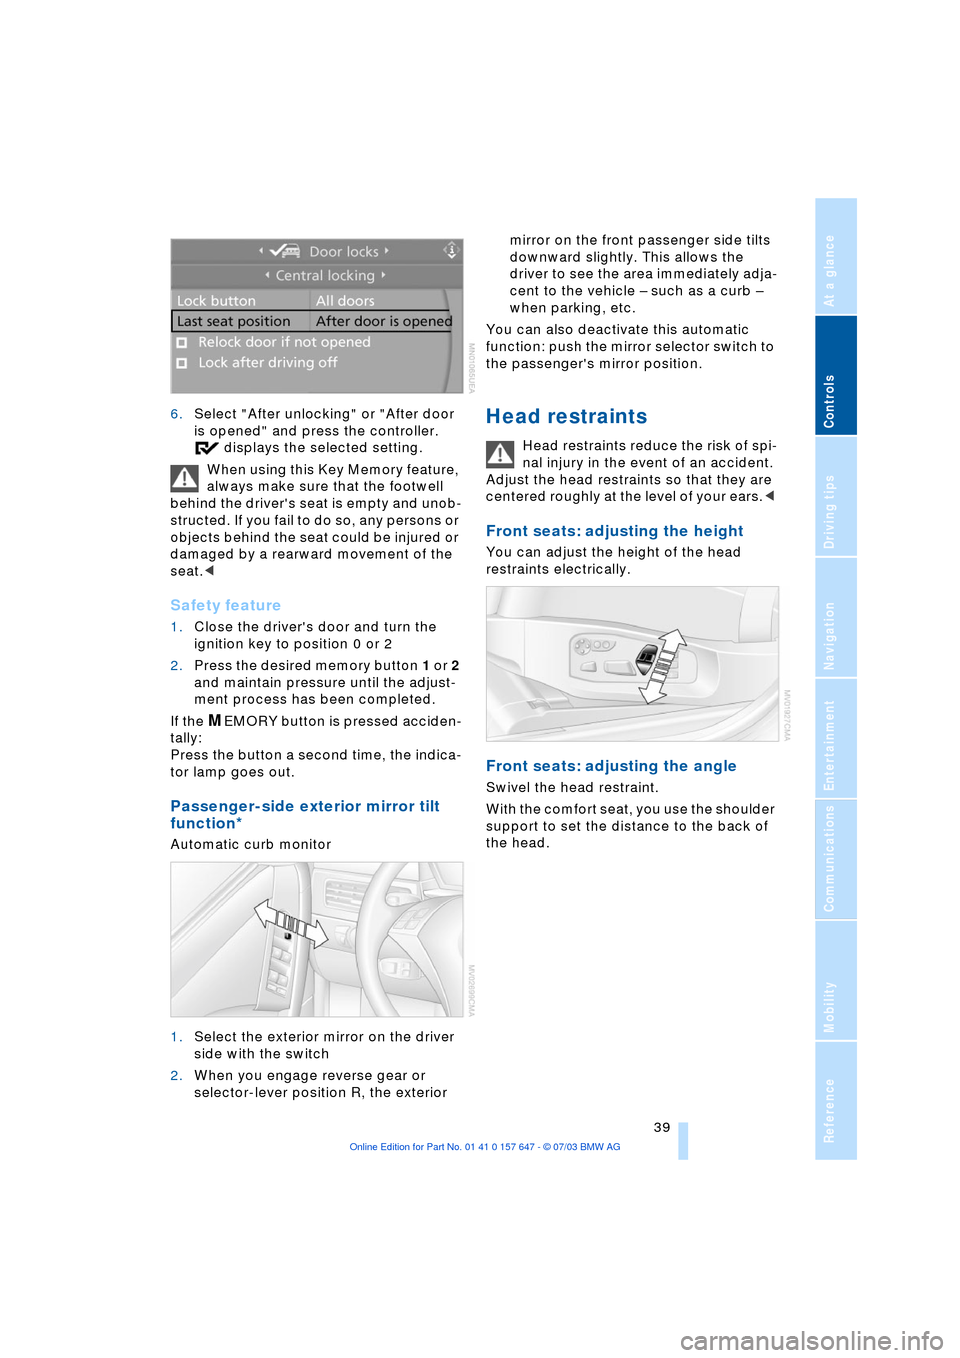
6.Select "After unlocking" or "After door
is opened" and press the controller.
displays the selected setting.
When using this Key Memory feature,
always make sure that the footwell
behind the driver's seat is empty and unob-
structed. If you fail to do so, any persons or
objects behind the seat could be injured or
damaged by a rearward movement of the
seat.<
Safety feature
1.Close the driver's door and turn the
ignition key to position 0 or 2
2.Press the desired memory button 1 or 2
and maintain pressure until the adjust-
ment process has been completed.
If the
MEMORY button is pressed acciden-
tally:
Press the button a second time, the indica-
tor lamp goes out.
Passenger-side exterior mirror tilt
function*
Automatic curb monitor
1.Select the exterior mirror on the driver
side with the switch
2.When you engage reverse gear or
selector-lever position R, the exterior mirror on the front passenger side tilts
downward slightly. This allows the
driver to see the area immediately adja-
cent to the vehicle Ð such as a curb Ð
when parking, etc.
You can also deactivate this automatic
function: push the mirror selector switch to
the passenger's mirror position.
Head restraints
Head restraints reduce the risk of spi-
nal injury in the event of an accident.
Adjust the head restraints so that they are
centered roughly at the level of your ears.<
Front seats: adjusting the height
You can adjust the height of the head
restraints electrically.
Front seats: adjusting the angle
Swivel the head restraint.
With the comfort seat, you use the shoulder
support to set the distance to the back of
the head.
Page 42 of 220
Adjustments
40
Comfort seat
Setting the side extensions
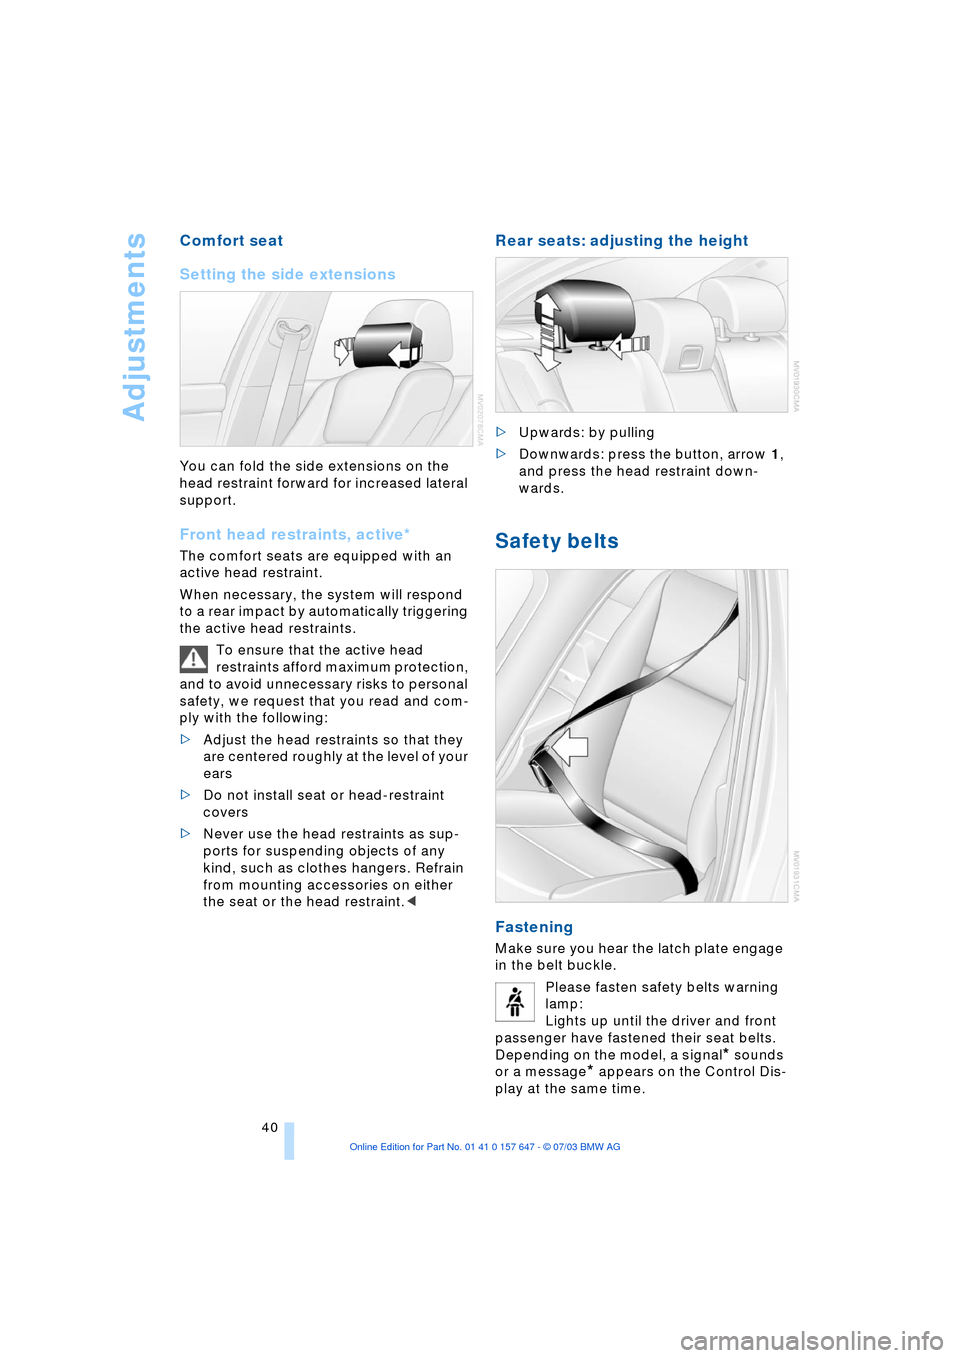
You can fold the side extensions on the
head restraint forward for increased lateral
support.
Front head restraints, active*
The comfort seats are equipped with an
active head restraint.
When necessary, the system will respond
to a rear impact by automatically triggering
the active head restraints.
To ensure that the active head
restraints afford maximum protection,
and to avoid unnecessary risks to personal
safety, we request that you read and com-
ply with the following:
>Adjust the head restraints so that they
are centered roughly at the level of your
ears
>Do not install seat or head-restraint
covers
>Never use the head restraints as sup-
ports for suspending objects of any
kind, such as clothes hangers. Refrain
from mounting accessories on either
the seat or the head restraint.<
Rear seats: adjusting the height
>Upwards: by pulling
>Downwards: press the button, arrow 1,
and press the head restraint down-
wards.
Safety belts
Fastening
Make sure you hear the latch plate engage
in the belt buckle.
Please fasten safety belts warning
lamp:
Lights up until the driver and front
passenger have fastened their seat belts.
Depending on the model, a signal
* sounds
or a message
* appears on the Control Dis-
play at the same time.
Page 44 of 220
Adjustments
42 3.Move the controller to the left or right to
select "Driver" or "Passenger"
4.Turn the controller. The adjustment is
adopted; the field can be changed.
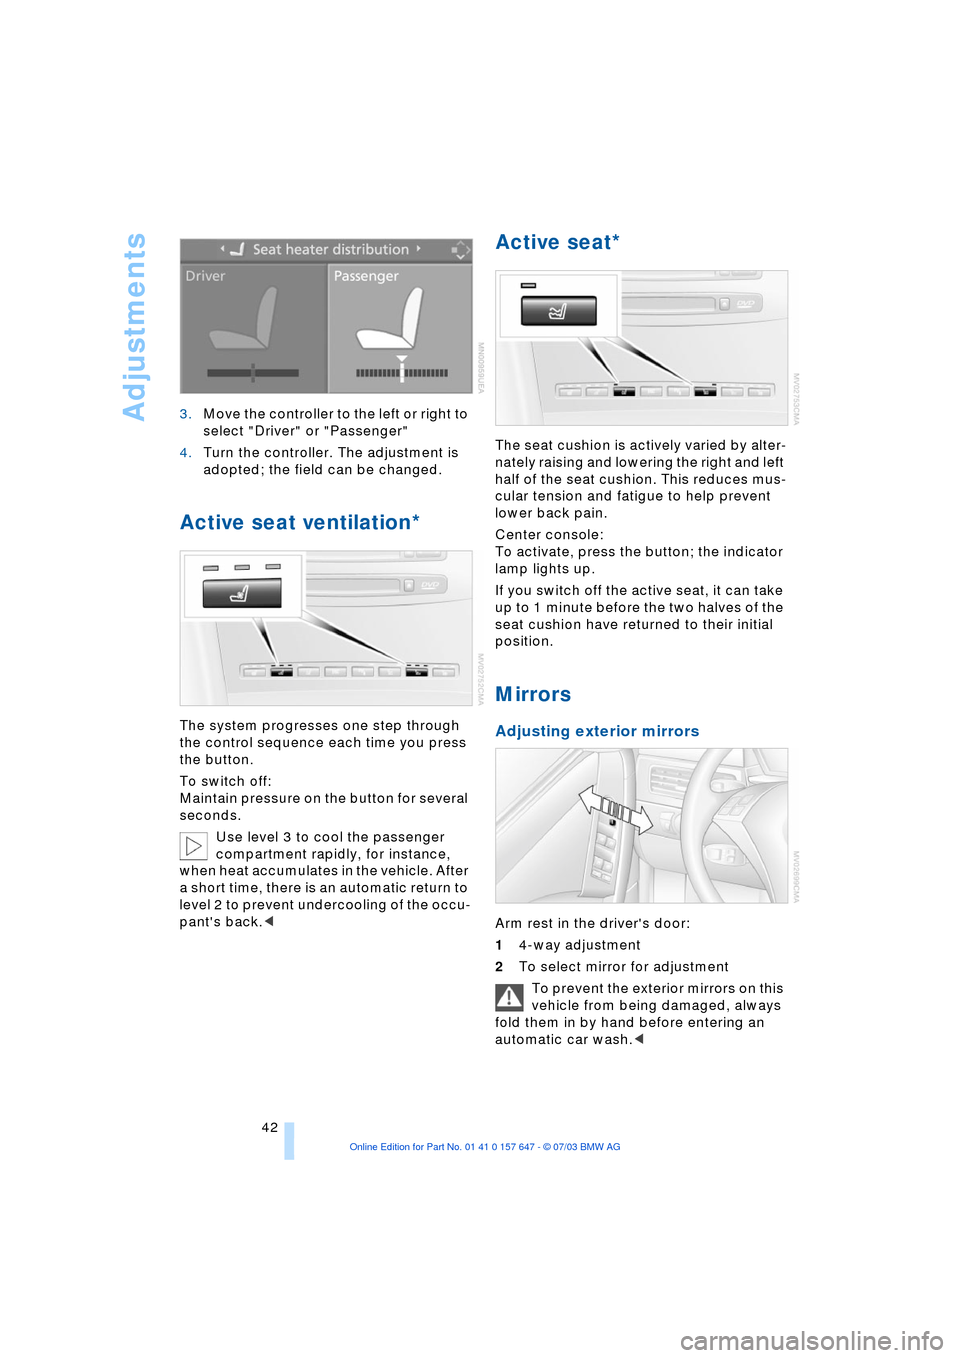
Active seat ventilation*
The system progresses one step through
the control sequence each time you press
the button.
To switch off:
Maintain pressure on the button for several
seconds.
Use level 3 to cool the passenger
compartment rapidly, for instance,
when heat accumulates in the vehicle. After
a short time, there is an automatic return to
level 2 to prevent undercooling of the occu-
pant's back.<
Active seat*
The seat cushion is actively varied by alter-
nately raising and lowering the right and left
half of the seat cushion. This reduces mus-
cular tension and fatigue to help prevent
lower back pain.
Center console:
To activate, press the button; the indicator
lamp lights up.
If you switch off the active seat, it can take
up to 1 minute before the two halves of the
seat cushion have returned to their initial
position.
Mirrors
Adjusting exterior mirrors
Arm rest in the driver's door:
14-way adjustment
2To select mirror for adjustment
To prevent the exterior mirrors on this
vehicle from being damaged, always
fold them in by hand before entering an
automatic car wash.<