2004 BMW 525I SEDAN navigation system
[x] Cancel search: navigation systemPage 93 of 220
Controls
91Reference
At a glance
Driving tips
Communications
Navigation
Entertainment
Mobility
>Activation time set:
The indicator lamp lights up
>Independent ventilation switched
on:
The indicator lamp flashes
15Rear window defroster
16Air grill for interior temperature sensor,
please keep clear and unobstructed
All other setting options for the automatic
climate control can be found in the "Cli-
mate" menu and in the menu on the Con-
trol Display, as of page 92.
The current setting for air distribution is dis-
played on the Control Display.
A congenial climate
To use the automatic function, press the
AUTO button. Select an interior tempera-
ture you find pleasant.
The following section contains more
detailed information on the available set-
ting options.
The cooling function is only possible with
the engine running.
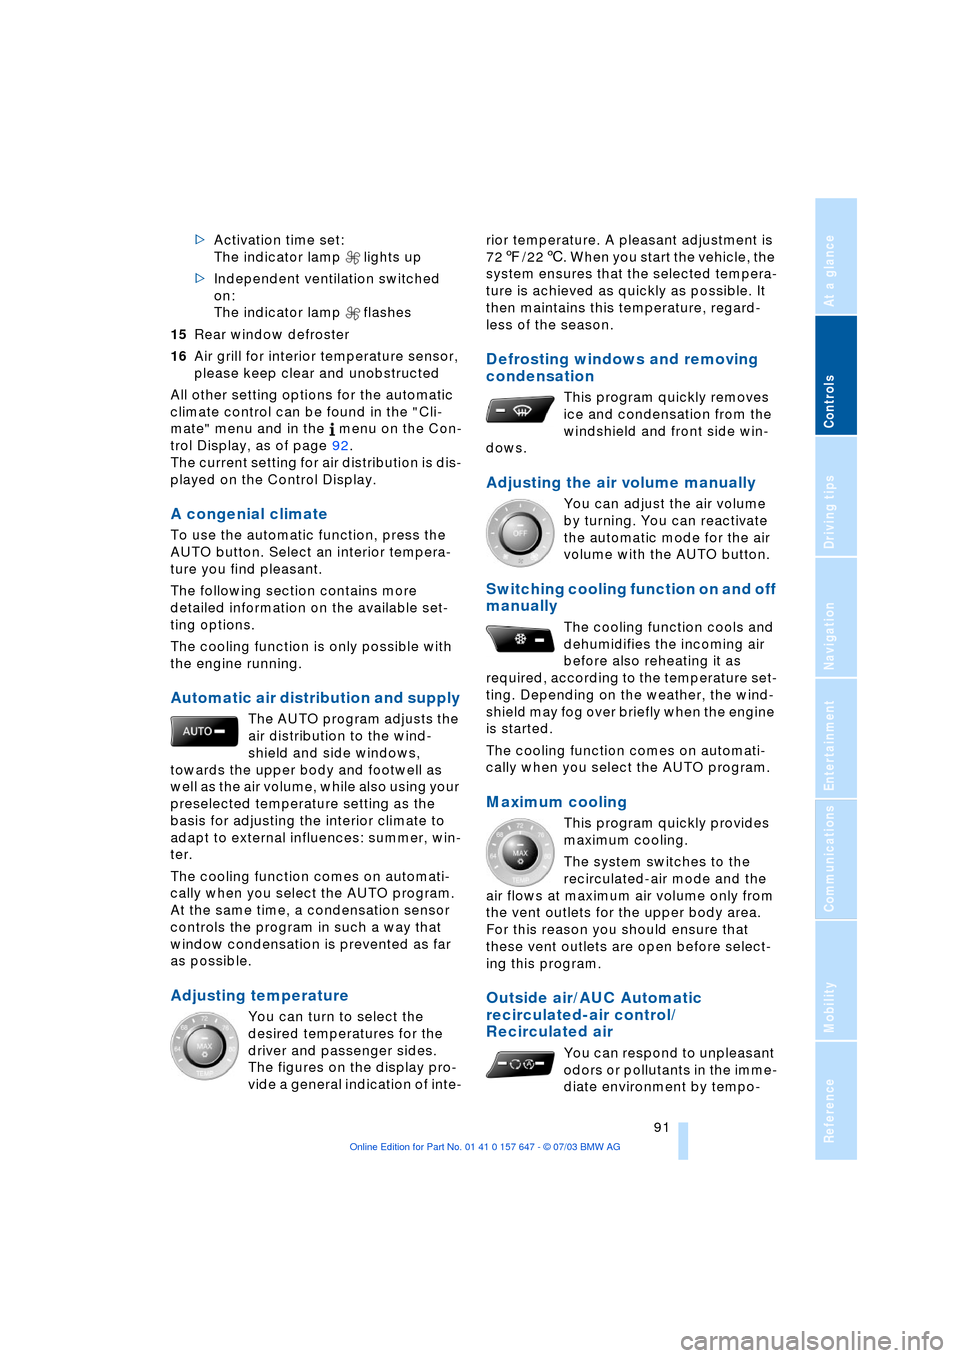
Automatic air distribution and supply
The AUTO program adjusts the
air distribution to the wind-
shield and side windows,
towards the upper body and footwell as
well as the air volume, while also using your
preselected temperature setting as the
basis for adjusting the interior climate to
adapt to external influences: summer, win-
ter.
The cooling function comes on automati-
cally when you select the AUTO program.
At the same time, a condensation sensor
controls the program in such a way that
window condensation is prevented as far
as possible.
Adjusting temperature
You can turn to select the
desired temperatures for the
driver and passenger sides.
The figures on the display pro-
vide a general indication of inte-rior temperature. A pleasant adjustment is
727/226. When you start the vehicle, the
system ensures that the selected tempera-
ture is achieved as quickly as possible. It
then maintains this temperature, regard-
less of the season.
Defrosting windows and removing
condensation
This program quickly removes
ice and condensation from the
windshield and front side win-
dows.
Adjusting the air volume manually
You can adjust the air volume
by turning. You can reactivate
the automatic mode for the air
volume with the AUTO button.
Switching cooling function on and off
manually
The cooling function cools and
dehumidifies the incoming air
before also reheating it as
required, according to the temperature set-
ting. Depending on the weather, the wind-
shield may fog over briefly when the engine
is started.
The cooling function comes on automati-
cally when you select the AUTO program.
Maximum cooling
This program quickly provides
maximum cooling.
The system switches to the
recirculated-air mode and the
air flows at maximum air volume only from
the vent outlets for the upper body area.
For this reason you should ensure that
these vent outlets are open before select-
ing this program.
Outside air/AUC Automatic
recirculated-air control/
Recirculated air
You can respond to unpleasant
odors or pollutants in the imme-
diate environment by tempo-
Page 99 of 220
Controls
97Reference
At a glance
Driving tips
Communications
Navigation
Entertainment
Mobility
The equipment can be used as of ignition
key position 2.
If the device cannot be used even
after repeated programming, check
whether the original hand-held transmitter
is equipped with an alternating-code sys-
tem. Here, either read the instructions for
the original hand-held transmitter or hold
down the programmed memory button 1 of
the integrated universal remote control. If
the indicator lamp 2 on the integrated uni-
versal remote control flashes rapidly for a
short time then lights up for approx. 2 sec-
onds, this indicates that the original hand-
held transmitter uses an alternating-code
system. In the case of an alternating-code
system, program the memory buttons 1 as
described at Alternating-code hand-held
transmitters.<
Alternating-code hand-held
transmitters
To program the integrated universal remote
control, consult the operating instructions
for the equipment to be set. You will find
information there on the possibilities for
synchronization.
When programming hand-held transmitters
that employ an alternating code, please
observe the following supplementary
instructions:
Programming will be easier with the
aid of a second person.<
1.Park your vehicle within the range of the
remote-controlled device
2.Program the integrated universal
remote control as described above at
Fixed-code hand-held transmitters
3.Locate the button at the receiver of the
equipment to be set, e.g. on the drive
4.Press the button on the receiver of the
device you want to set up. After step 4,
you have approx. 30 seconds for step 5
5.Press the programmed memory
button 1 of the integrated universal
remote control three times. The corresponding memory button 1 is now
programmed with the signal of the original
hand-held transmitter.
If you have any additional questions,
please contact your BMW center.<
Clearing the memory buttons
Press both outer buttons 1 of the inte-
grated universal remote control for approx.
20 seconds until the indicator lamp 2
flashes. All memory buttons will be cleared.
The memory of individual memory
buttons 1 cannot be cleared.
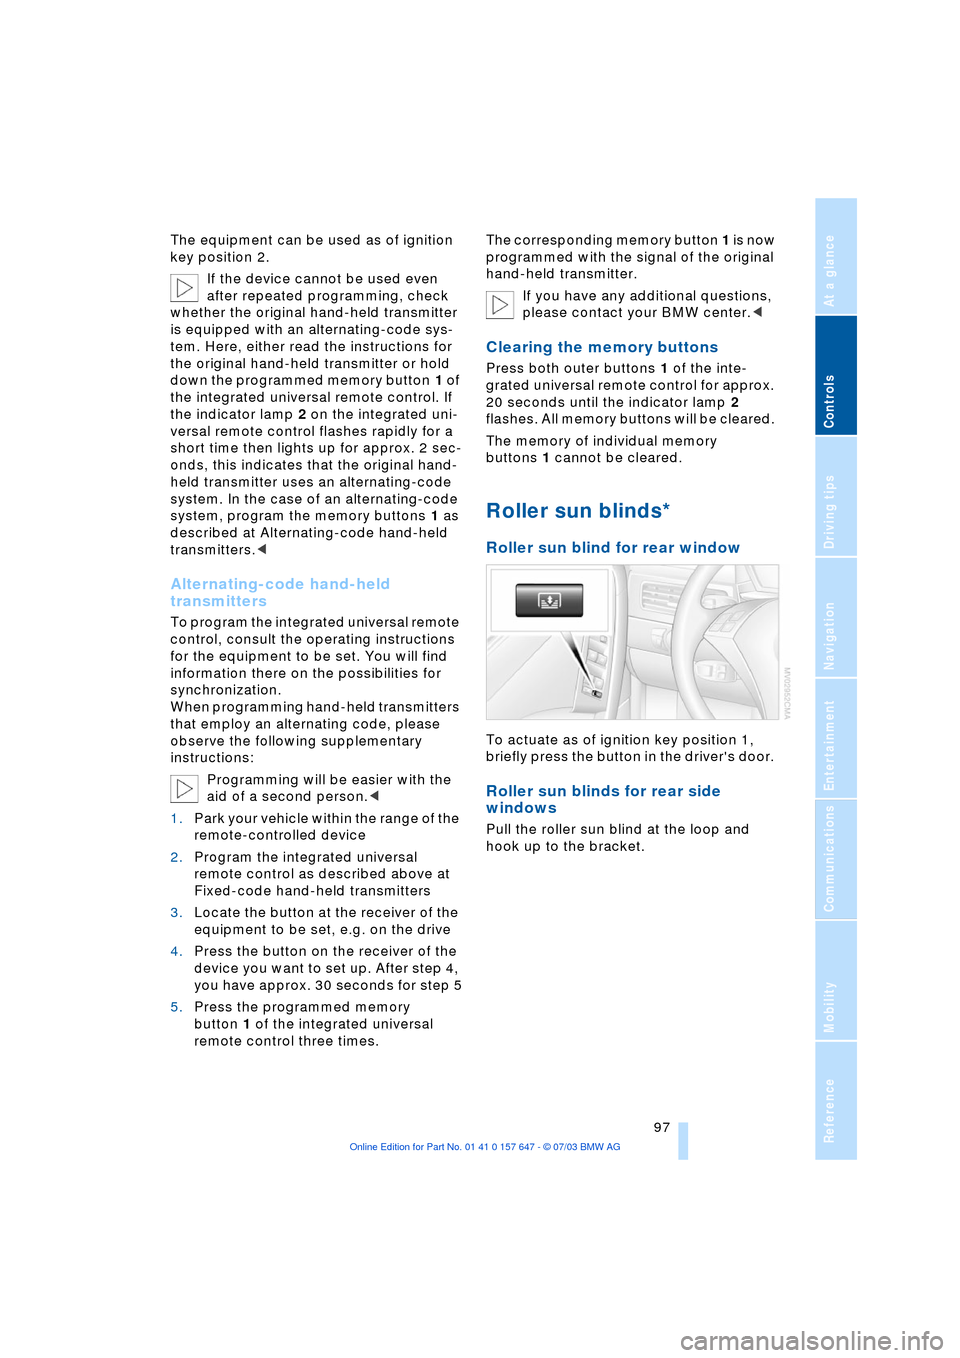
Roller sun blinds*
Roller sun blind for rear window
To actuate as of ignition key position 1,
briefly press the button in the driver's door.
Roller sun blinds for rear side
windows
Pull the roller sun blind at the loop and
hook up to the bracket.
Page 109 of 220

Driving tips
107Reference
At a glance
Controls
Communications
Navigation
Entertainment
Mobility
The risk of hydroplaning increases as the
tread depth of the tires decreases, refer
also to Tire tread on page 173.
Water on the road
Do not drive through water on the
road if it is deeper than 1 ft/30 cm,
and then only at walking speed at the most.
Otherwise, the vehicle's engine, the electri-
cal systems and the transmission may be
damaged.<
Brakes
Your BMW is equipped with ABS as stan-
dard. The best way to achieve optimized
response from the ABS is to apply maxi-
mum pressure to the brake pedal during
emergency: panic stops. Since the vehicle
maintains steering responsiveness, you
can nevertheless avoid possible obstacles
with a minimum of steering effort.
Pulsation at the brake pedal combines with
sounds from the hydraulic circuits to indi-
cate to the driver that ABS is in its active
mode.
Do not drive with your foot resting on
the brake pedal. Even light but con-
sistent pedal pressure can lead to high
temperatures, brake wear and possibly
even brake failure.<
Driving in wet conditions
While driving in wet conditions and in
heavy rain, it is a good idea to apply light
pressure to the brake pedal every few
miles. Monitor traffic conditions to ensure
that this maneuver does not endanger
other road users. The heat generated in this
process helps dry the pads and rotors to
ensure that full braking efficiency will then
be available when you need it.
Hills
You can retain full and unimpaired braking
efficiency by downshifting to a gear in
which only minimal brake applications are
needed when descending long or steep
downhill stretches. You can further enhance the engine's brak-
ing effect by selecting a lower gear in the
automatic transmission's manual mode,
downshifting as far as first gear on
extremely steep stretches, refer to
pages 50 and 55. This strategy helps you
avoid placing excessive loads on the brake
system.
Never drive with the clutch pressed or
allow the vehicle to coast with the
transmission in Neutral Ð or with the engine
switched off Ð there is no engine braking
when the transmission is in Neutral, and no
power-assist for brakes and steering when
the engine is not running.
Never allow floor mats, carpets or any other
objects to protrude into the area around the
accelerator and brake pedals and obstruct
their movement.<
Corrosion on the brake rotors
When the vehicle is driven only occasion-
ally, during extended periods when the
vehicle is not used at all, and in operating
conditions where brake applications are
less frequent, there is an increased ten-
dency for corrosion to form on rotors, while
contaminants accumulate on the brake
pads. This occurs because the minimum
pressure which must be exerted by the
pads during brake applications to clean the
rotors is not reached.
Should corrosion form on the brake rotors,
the brakes will tend to respond with a pul-
sating effect that even extended applica-
tion will fail to cure.
Brake pads
The brake pad wear warning lamp
lights up and a message appears on
the Check Control. Please note any
supplementary information that appears
there.
Warning lamp for Canadian models.
The brake pads have reached their mini-
mum pad thickness. Have them replaced at
your BMW center as soon as possible.
Page 111 of 220
Driving tips
109Reference
At a glance
Controls
Communications
Navigation
Entertainment
Mobility
Stowing cargo
>Load heavy cargo as far forward and as
low as possible, placing it directly
behind the bulkhead behind the rear
seats
>Cover sharp edges and corners
>For very heavy cargo when the rear seat
is not occupied, secure each safety belt
in the opposite buckle.
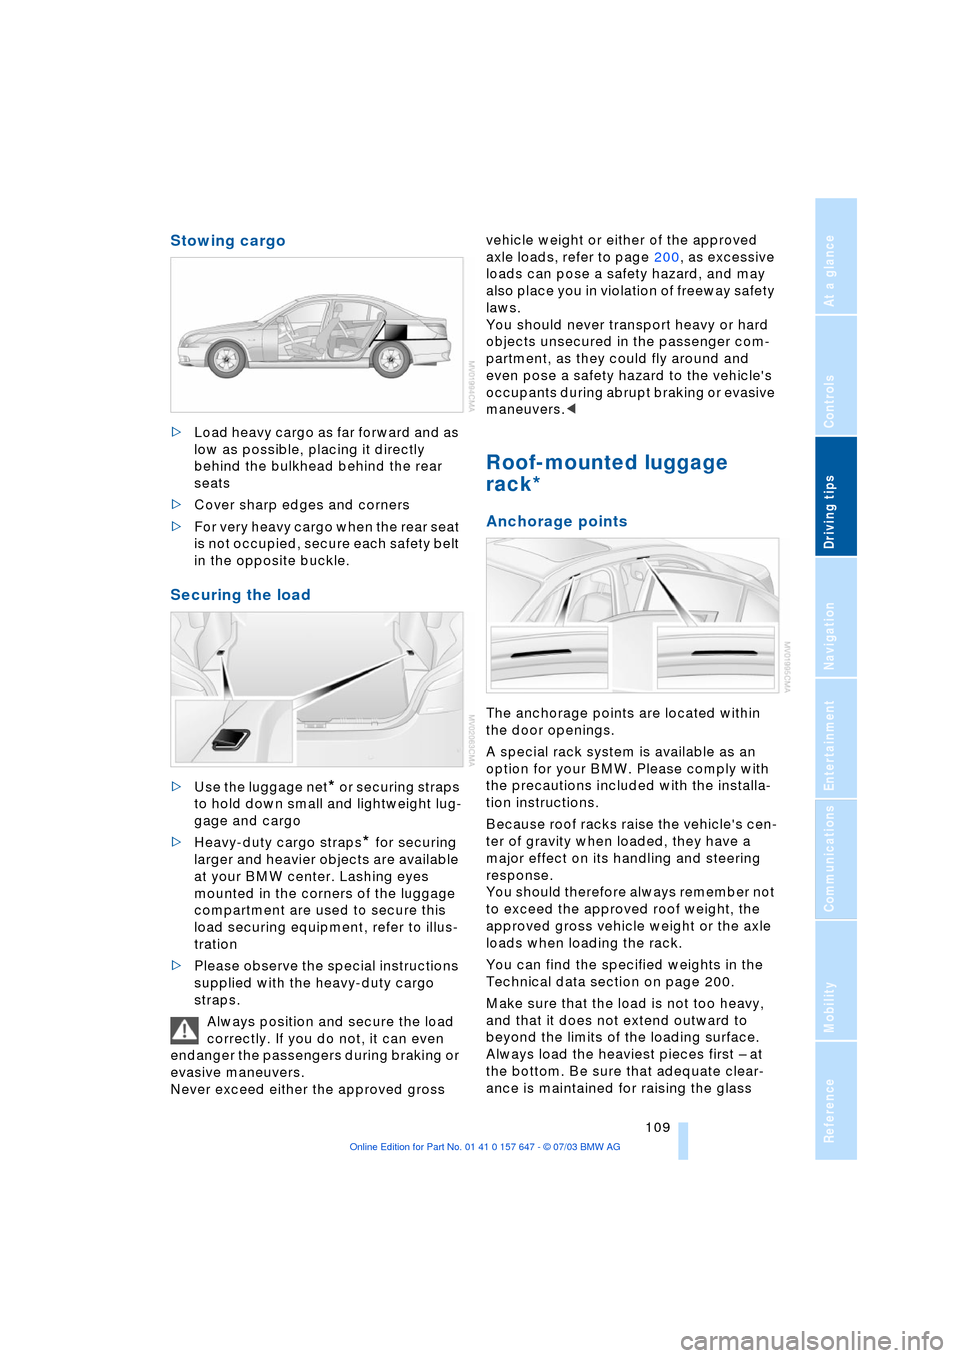
Securing the load
>Use the luggage net* or securing straps
to hold down small and lightweight lug-
gage and cargo
>Heavy-duty cargo straps
* for securing
larger and heavier objects are available
at your BMW center. Lashing eyes
mounted in the corners of the luggage
compartment are used to secure this
load securing equipment, refer to illus-
tration
>Please observe the special instructions
supplied with the heavy-duty cargo
straps.
Always position and secure the load
correctly. If you do not, it can even
endanger the passengers during braking or
evasive maneuvers.
Never exceed either the approved gross vehicle weight or either of the approved
axle loads, refer to page 200, as excessive
loads can pose a safety hazard, and may
also place you in violation of freeway safety
laws.
You should never transport heavy or hard
objects unsecured in the passenger com-
partment, as they could fly around and
even pose a safety hazard to the vehicle's
occupants during abrupt braking or evasive
maneuvers.<
Roof-mounted luggage
rack*
Anchorage points
The anchorage points are located within
the door openings.
A special rack system is available as an
option for your BMW. Please comply with
the precautions included with the installa-
tion instructions.
Because roof racks raise the vehicle's cen-
ter of gravity when loaded, they have a
major effect on its handling and steering
response.
You should therefore always remember not
to exceed the approved roof weight, the
approved gross vehicle weight or the axle
loads when loading the rack.
You can find the specified weights in the
Technical data section on page 200.
Make sure that the load is not too heavy,
and that it does not extend outward to
beyond the limits of the loading surface.
Always load the heaviest pieces first Ð at
the bottom. Be sure that adequate clear-
ance is maintained for raising the glass
Page 115 of 220
Navigation
This section contains various examples
that illustrate how the navigation
system provides you with reliable
guidance to your destination.
Page 116 of 220
Starting navigation system
114
Starting navigation system
Your navigation system can use satellites
to ascertain the precise position of your
vehicle and guide you reliably to any desti-
nation you enter.
Navigation CD/DVD
In your navigation computer, you can use
special navigation CDs/DVDs.
To ensure that your vehicle's navigation
system has access to the latest highway
network information, always load the most
recent CD/DVD version.
Navigation CDs/DVDs are available at your
BMW center.
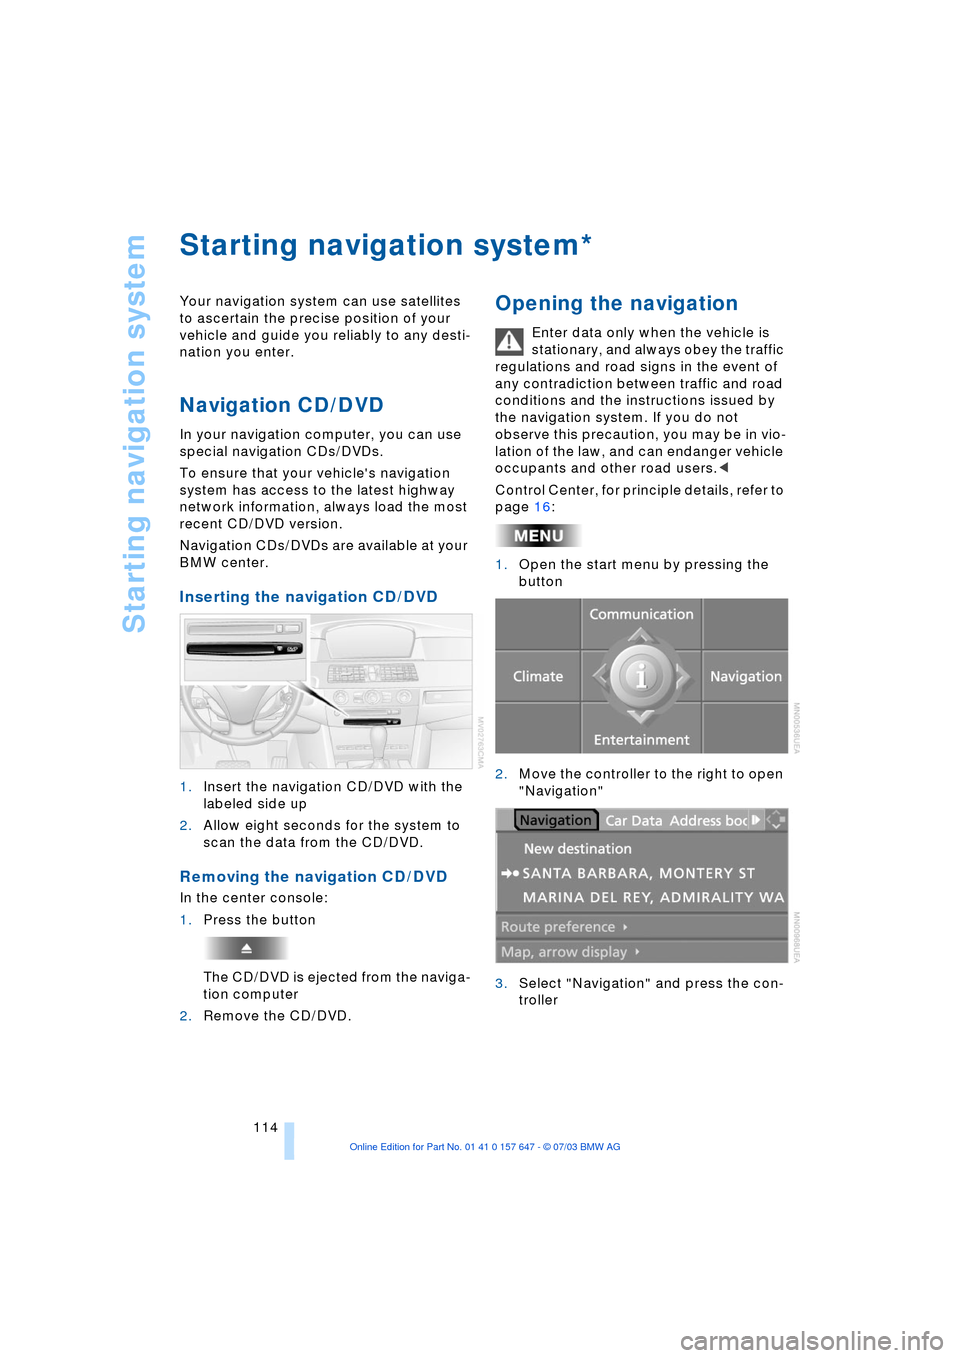
Inserting the navigation CD/DVD
1.Insert the navigation CD/DVD with the
labeled side up
2.Allow eight seconds for the system to
scan the data from the CD/DVD.
Removing the navigation CD/DVD
In the center console:
1.Press the button
The CD/DVD is ejected from the naviga-
tion computer
2.Remove the CD/DVD.
Opening the navigation
Enter data only when the vehicle is
stationary, and always obey the traffic
regulations and road signs in the event of
any contradiction between traffic and road
conditions and the instructions issued by
the navigation system. If you do not
observe this precaution, you may be in vio-
lation of the law, and can endanger vehicle
occupants and other road users.<
Control Center, for principle details, refer to
page 16:
1.Open the start menu by pressing the
button
2.Move the controller to the right to open
"Navigation"
3.Select "Navigation" and press the con-
troller
*
Page 117 of 220
Navigation
Driving tips
115Reference
At a glance
Controls
Communications
Entertainment
Mobility
Display in assistance
window
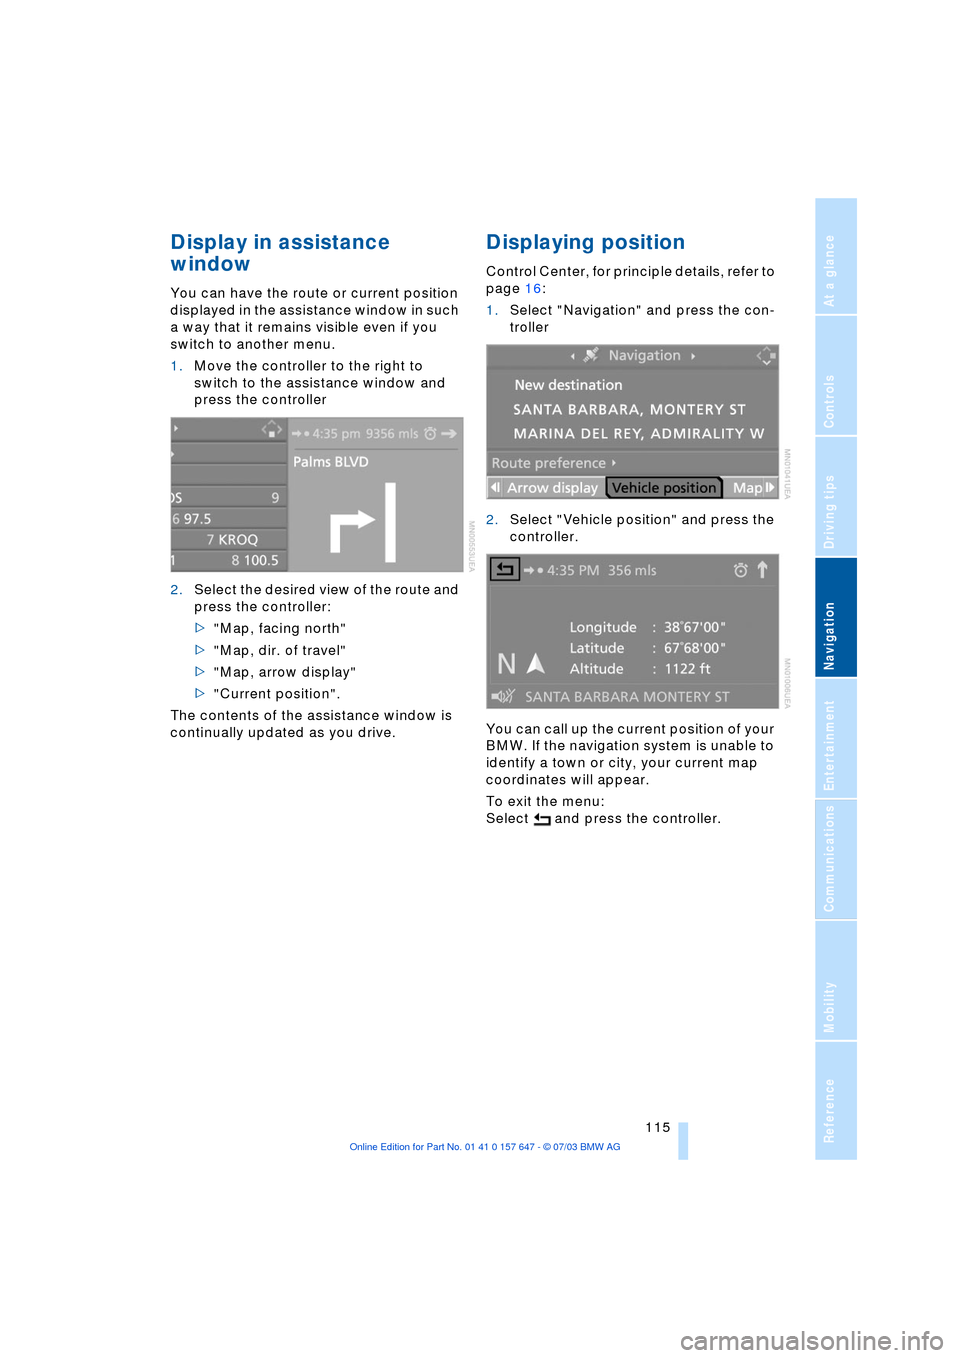
You can have the route or current position
displayed in the assistance window in such
a way that it remains visible even if you
switch to another menu.
1.Move the controller to the right to
switch to the assistance window and
press the controller
2.Select the desired view of the route and
press the controller:
>"Map, facing north"
>"Map, dir. of travel"
>"Map, arrow display"
>"Current position".
The contents of the assistance window is
continually updated as you drive.
Displaying position
Control Center, for principle details, refer to
page 16:
1.Select "Navigation" and press the con-
troller
2.Select "Vehicle position" and press the
controller.
You can call up the current position of your
BMW. If the navigation system is unable to
identify a town or city, your current map
coordinates will appear.
To exit the menu:
Select and press the controller.
Page 118 of 220
Destination entry
116
Destination entry
In entering your destination you can select
from among the following options:
>Entering a destination manually, see
below
>Selecting destination via information,
refer to page 118
>Selecting from among recent destina-
tions, refer to page 119
>Selecting destination from address
book, refer to page 120.
After selecting your destination you can
proceed to start the destination guidance
system, refer to page 123.
Enter data only when the vehicle is
stationary, and always obey the traffic
regulations and road signs in the event of
any contradiction between traffic and road
conditions and the instructions issued by
the navigation system. If you do not
observe this precaution, you may be in vio-
lation of the law, and can endanger vehicle
occupants and other road users.<
Entering a destination
manually
The system supports the wordmatch prin-
ciple to make it easier for you to enter the
names of streets or towns. This enables
input of different spellings and supple-
ments your input automatically so that
stored names can be adopted as destina-
tions as quickly as possible, refer to
page 122.
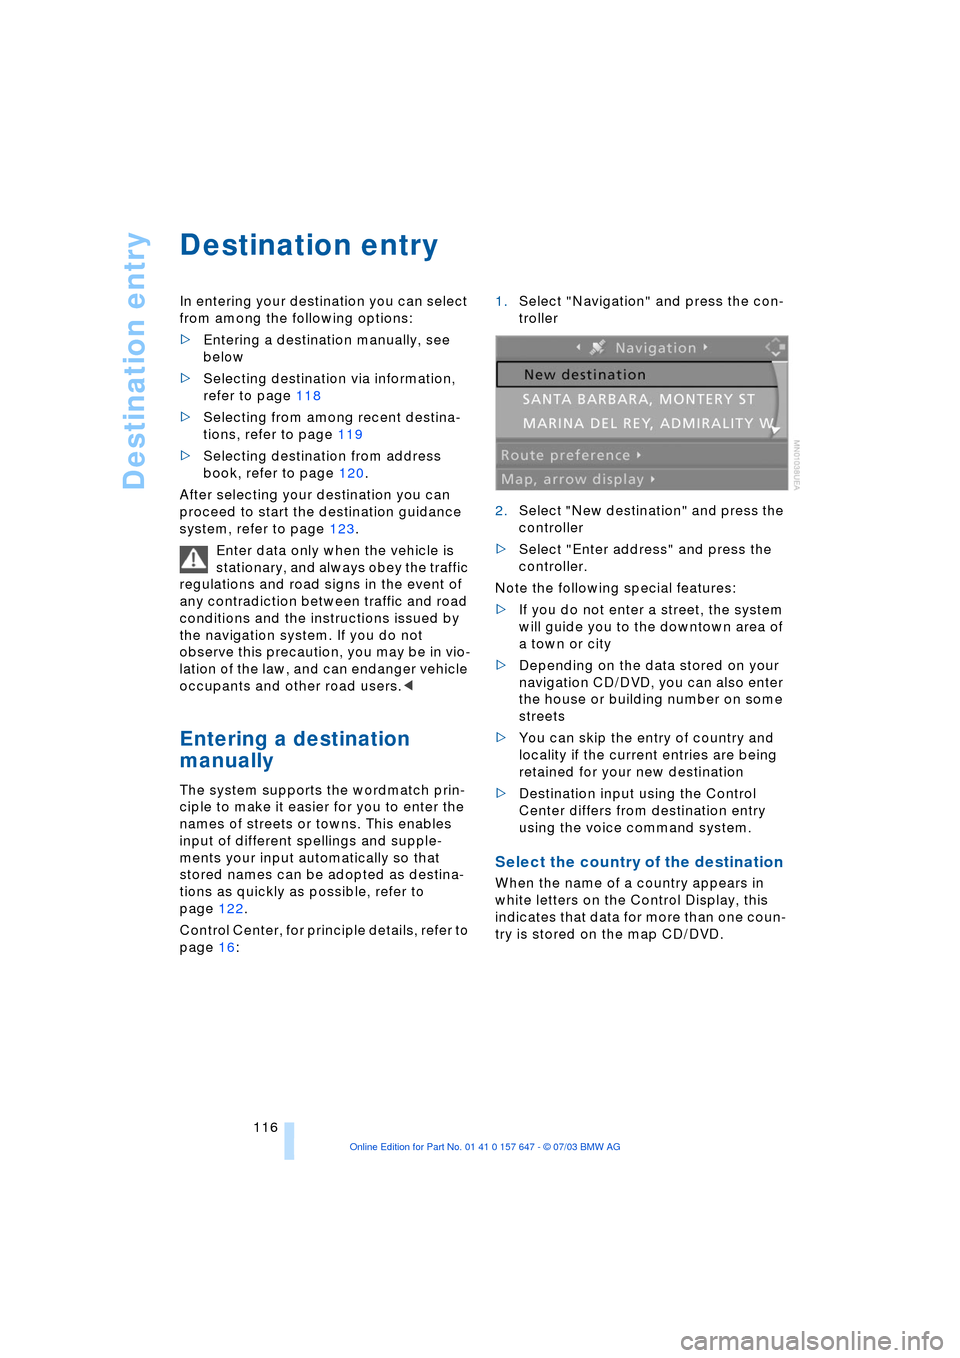
Control Center, for principle details, refer to
page 16: 1.Select "Navigation" and press the con-
troller
2.Select "New destination" and press the
controller
>Select "Enter address" and press the
controller.
Note the following special features:
>If you do not enter a street, the system
will guide you to the downtown area of
a town or city
>Depending on the data stored on your
navigation CD/DVD, you can also enter
the house or building number on some
streets
>You can skip the entry of country and
locality if the current entries are being
retained for your new destination
>Destination input using the Control
Center differs from destination entry
using the voice command system.
Select the country of the destination
When the name of a country appears in
white letters on the Control Display, this
indicates that data for more than one coun-
try is stored on the map CD/DVD.