2003 VOLVO XC70 ESP
[x] Cancel search: ESPPage 51 of 257
2003 VOLVO XC70
pg. 33 Cruise control
Cruise control
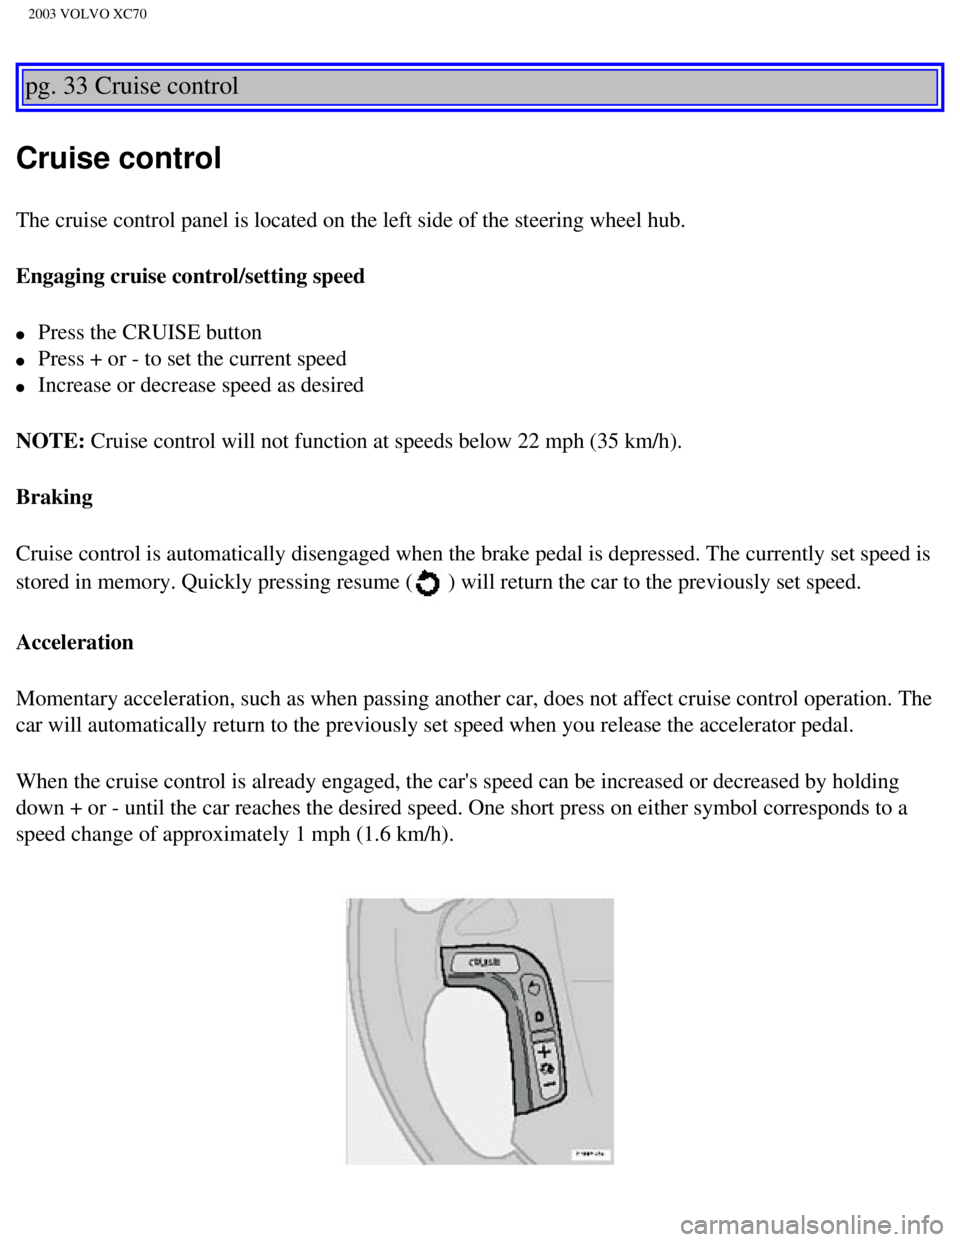
The cruise control panel is located on the left side of the steering whe\
el hub.
Engaging cruise control/setting speed
l Press the CRUISE button
l Press + or - to set the current speed
l Increase or decrease speed as desired
NOTE: Cruise control will not function at speeds below 22 mph (35 km/h).
Braking
Cruise control is automatically disengaged when the brake pedal is depre\
ssed. The currently set speed is
stored in memory. Quickly pressing resume (
) will return the car to the previously set speed.
Acceleration
Momentary acceleration, such as when passing another car, does not affec\
t cruise control operation. The
car will automatically return to the previously set speed when you relea\
se the accelerator pedal.
When the cruise control is already engaged, the car's speed can be incre\
ased or decreased by holding
down + or - until the car reaches the desired speed. One short press on \
either symbol corresponds to a
speed change of approximately 1 mph (1.6 km/h).
file:///K|/ownersdocs/2003/2003_XC70/03xc70_02b.htm (1 of 18)12/30/200\
6 4:17:54 PM
Page 60 of 257
2003 VOLVO XC70
A timer automatically switches off the heating to the sideview mirrors a\
fter approximately 6 minutes and
to the rear window after approximately 12 minutes. The LED will go out c\
orrespondingly.
Heated front seats (option)
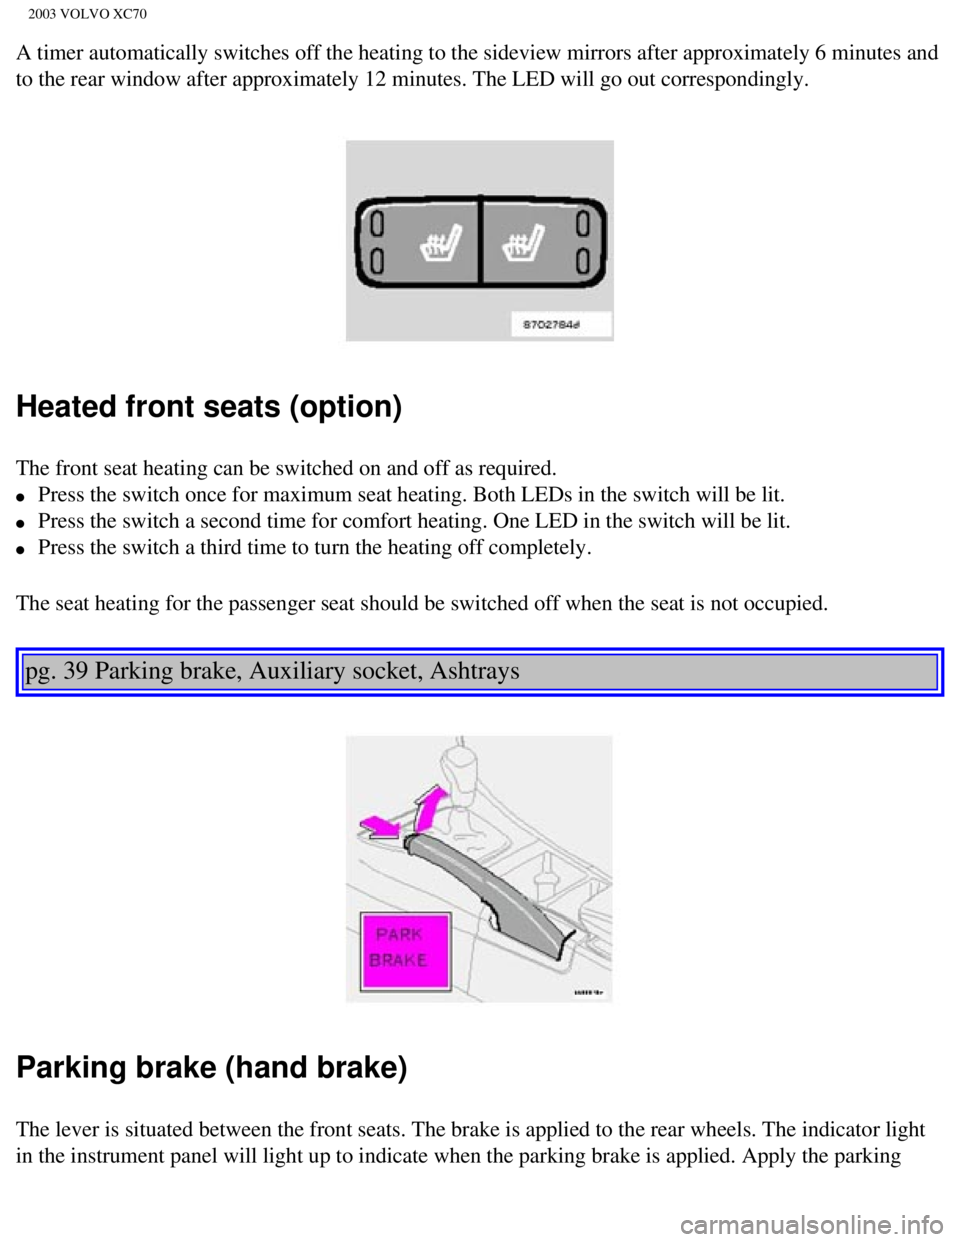
The front seat heating can be switched on and off as required.
l Press the switch once for maximum seat heating. Both LEDs in the switch \
will be lit.
l Press the switch a second time for comfort heating. One LED in the switc\
h will be lit.
l Press the switch a third time to turn the heating off completely.
The seat heating for the passenger seat should be switched off when the \
seat is not occupied.
pg. 39 Parking brake, Auxiliary socket, Ashtrays
Parking brake (hand brake)
The lever is situated between the front seats. The brake is applied to t\
he rear wheels. The indicator light
in the instrument panel will light up to indicate when the parking brake\
is applied. Apply the parking
file:///K|/ownersdocs/2003/2003_XC70/03xc70_02b.htm (10 of 18)12/30/20\
06 4:17:54 PM
Page 78 of 257
2003 VOLVO XC70
A/C - ON/OFF
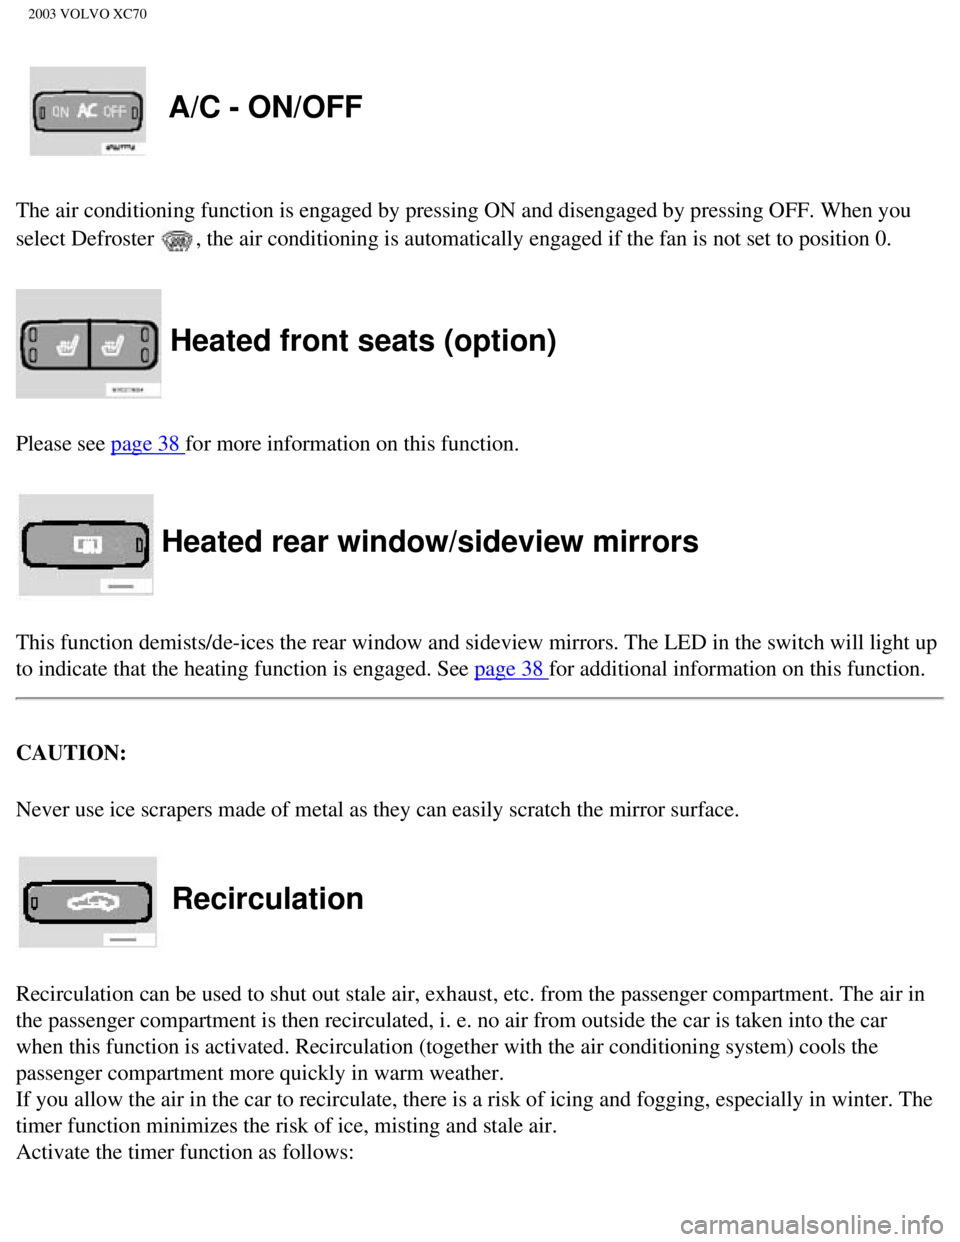
The air conditioning function is engaged by pressing ON and disengaged b\
y pressing OFF. When you
select Defroster
, the air conditioning is automatically engaged if the fan is not set to\
position 0.
Heated front seats (option)
Please see page 38 for more information on this function.
Heated rear window/sideview mirrors
This function demists/de-ices the rear window and sideview mirrors. The \
LED in the switch will light up
to indicate that the heating function is engaged. See
page 38 for additional information on this function.
CAUTION:
Never use ice scrapers made of metal as they can easily scratch the mirr\
or surface.
Recirculation
Recirculation can be used to shut out stale air, exhaust, etc. from the \
passenger compartment. The air in
the passenger compartment is then recirculated, i. e. no air from outsid\
e the car is taken into the car
when this function is activated. Recirculation (together with the air c\
onditioning system) cools the
passenger compartment more quickly in warm weather.
If you allow the air in the car to recirculate, there is a risk of icing\
and fogging, especially in winter. The
timer function minimizes the risk of ice, misting and stale air.
Activate the timer function as follows:
file:///K|/ownersdocs/2003/2003_XC70/03xc70_03.htm (10 of 12)12/30/200\
6 4:17:55 PM
Page 112 of 257

2003 VOLVO XC70
Reading lights - front/rear
The reading lights can be switched on or off by pressing the respective \
buttons. These lights switch off
automatically after 10 minutes if the engine is not running. If the engi\
ne is running, the lights stay on
indefinitely. The lights can be switched off at any time by pressing the\
button.
Contents | Top of Page
file:///K|/ownersdocs/2003/2003_XC70/03xc70_04b.htm (21 of 21)12/30/20\
06 4:17:57 PM
Page 129 of 257
2003 VOLVO XC70
For cold starts at altitudes above 6000 ft (1800 meters), depress the \
accelerator pedal halfway and turn
the key to the starting position. Release the pedal slowly when the engi\
ne starts.
NOTE:
On certain models, when the car is started, idle speed may be noticeably\
higher than normal for a short
period, depending on the temperature of the engine.
This has been done to help bring components in the emission control syst\
em to their normal operating
temperature as quickly as possible, which enables them to function norma\
lly.
4. To release the gear selector from the (P)ark position, the engine m\
ust be running (or the ignition key
must be in position II) and the brake pedal must be depressed.
5. Select the desired gear. The gear engages after a very slight delay w\
hich is especially noticeable when
selecting R.
NOTE:
l Your car is equipped with a KEYLOCK system. When the engine is switched off, the gear selector
must be in the (P)ark position before the key can be removed from the \
ignition switch.
l When starting in cold weather, the transmission may shift up at slightly\
higher engine speeds than
normal until the automatic transmission fluid reaches normal operating t\
emperature.
* Your car is equipped with an electronic start inhibitor (immobilizer)\
. The keys you received with your
car are specially coded. The code in the key is transmitted to an antenn\
a in the ignition switch where it is
compared to the code stored in the start inhibitor module. The car can o\
nly be started if a properly coded
key is used.
If two of the keys to your car are close together, e.g., on the same key\
ring, when you try to start the car,
this could cause interference in the immobilizer system and result in th\
e car not starting. If this should
occur, remove one of the keys from the key ring before trying to start t\
he car again.
pg. 88 Starting the engine
CAUTION:
l The engine should be idling when you move the gear selector. Never accel\
erate until after you feel the
transmission engage! Accelerating immediately after selecting a gear wil\
l cause harsh engagement and
premature transmission wear.
l Selecting P or N when idling at a standstill for prolonged periods time \
will help prevent overheating
of the automatic transmission fluid.
l Do not race a cold engine immediately after starting. Oil flow may not r\
each some lubrication points
fast enough to prevent engine damage.
file:///K|/ownersdocs/2003/2003_XC70/03xc70_06a.htm (6 of 22)12/30/200\
6 4:17:59 PM
Page 140 of 257

2003 VOLVO XC70
lower with the air conditioning on and the windows closed than with the \
air conditioning off and the
windows open.
l Using the onboard trip computer's fuel consumption modes can help you le\
arn how to drive more
economically.
Other factors that decrease gas mileage are:
l Dirty air cleaner
l Dirty engine oil and clogged oil filter
l Dragging brakes
l Incorrect front end alignment Some of the above mentioned items and othe\
rs are checked at the
standard Maintenance Service intervals.
NOTE: Vehicles equipped with automatic transmissions should use (D)rive as o\
ften as possible and
avoid using "kick-down" to help improve fuel economy. Vehicles equipped \
with manual transmissions
should use fifth gear at highway speeds. At other times, choose the high\
est gear that still allows smooth
acceleration.
Weight distribution affects handling
At the specified curb weight your car has a tendency to understeer, whic\
h means that the steering wheel
has to be turned more than might seem appropriate for the curvature of a\
bend. This ensures good
stability and reduces the risk of rear wheel skid. Remember that these p\
roperties can alter with the
vehicle load. The heavier the load on the rear of the vehicle (e.g., he\
avily loaded (max. 220 lbs, 100 kg)
cargo area or when towing a trailer, the less the tendency to understeer\
.
Handling, roadholding
Vehicle load, tire design and inflation pressure all affect vehicle hand\
ling. Therefore, check that the tires
are inflated to the recommended pressure according to the vehicle load. \
See "Tire pressure" section.
Loads should be distributed so that capacity weight or maximum permissib\
le axle loads are not
exceeded.
pg. 96 Points to remember
Cooling system
The risk for engine overheating is greatest, especially in hot weather, \
when:
l Towing a trailer up steep inclines for prolonged periods at wide open th\
rottle and low engine rpm.
l Stopping the engine suddenly after high speed driving (so-called "after\
-boiling" can occur).
l To avoid overheating, the following rules should be followed: Do not dri\
ve for prolonged periods at
file:///K|/ownersdocs/2003/2003_XC70/03xc70_06a.htm (17 of 22)12/30/20\
06 4:18:00 PM
Page 142 of 257

2003 VOLVO XC70
Electrical system
When replacing the battery or when carrying out work involving the elect\
rical system, the following
should be observed:
l A battery connection to the wrong terminal will damage the electrical sy\
stem. Be sure to connect the
positive battery cable to the positive battery terminal and the negative\
battery cable to the negative
battery terminal.
l If booster batteries are used for starting, they must be properly connec\
ted to minimize the risk of the
electrical system being damaged. For correct connection, see "Jump start\
ing" section.
l Never disconnect the battery circuit (for example, to replace the batte\
ry) while the engine is running,
as this may damage the generator. Always make sure that all the battery \
connections are properly
cleaned and tightened.
l If any electrical welding work is performed on the vehicle, the battery'\
s ground lead (negative cable)
and all the connecting cables of the generator must be disconnected and \
the welder cables placed as near
the welding points as possible.
l The radio must be turned off before the battery is disconnected.
l Switch off the ignition for at least 10 minutes before disconnecting the\
battery.
pg. 97 Roof racks/Load carriers
Load carriers (accessory)
Load carriers are available as Volvo accessories. Observe the following \
points when in use:
l To avoid damaging your car and to achieve maximum safety when driving, w\
e recommend using the
load carriers that Volvo has developed especially for your car.
l Volvo-approved removable roof racks are designed to carry the maximum al\
lowable roof load for this
vehicle: 220 lbs (100 kg). For Non-Volvo roof racks, check the manufac\
turer's weight limits for the rack.
l Never exceed the rack manufacturer's weigh limits and never exceed the m\
aximum rated roof load of
220 lbs (100 kg).
l Avoid single-point loads. Distribute loads evenly.
l Place heavier cargo at the bottom of the load.
l Anchor the cargo correctly with appropriate tie-down equipment.
l Check periodically that the load carriers and load are properly secured.\
l Remember that the car's center of gravity and handling change when you c\
arry a load on the roof.
l The car's wind resistance (and correspondingly, fuel consumption) will\
increase with the size of the
load.
l Drive smoothly. Avoid rapid starts, fast cornering and hard braking.
file:///K|/ownersdocs/2003/2003_XC70/03xc70_06a.htm (19 of 22)12/30/20\
06 4:18:00 PM
Page 143 of 257
2003 VOLVO XC70
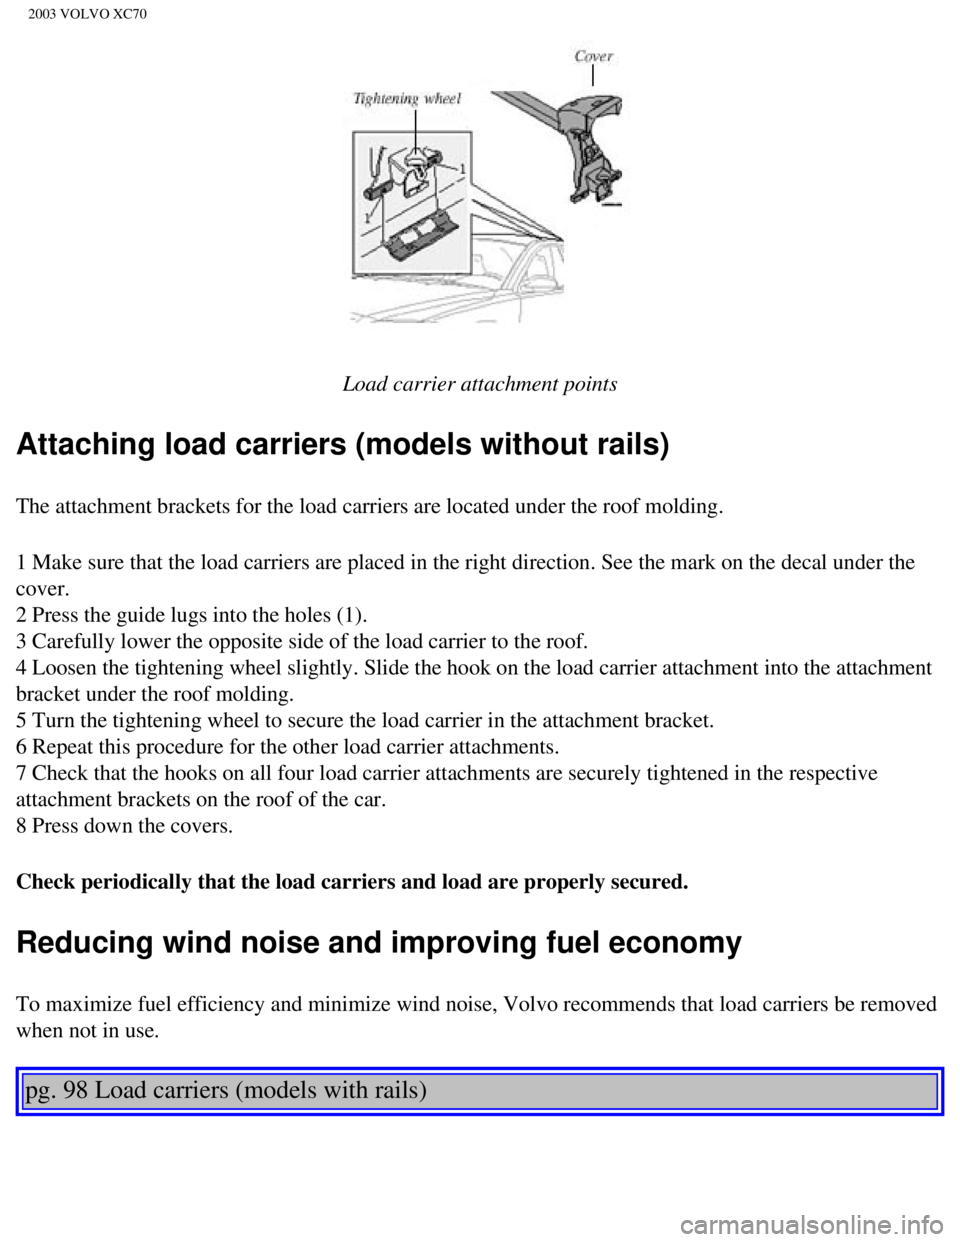
Load carrier attachment points
Attaching load carriers (models without rails)
The attachment brackets for the load carriers are located under the roof\
molding.
1 Make sure that the load carriers are placed in the right direction. Se\
e the mark on the decal under the
cover.
2 Press the guide lugs into the holes (1).
3 Carefully lower the opposite side of the load carrier to the roof.
4 Loosen the tightening wheel slightly. Slide the hook on the load carri\
er attachment into the attachment
bracket under the roof molding.
5 Turn the tightening wheel to secure the load carrier in the attachment\
bracket.
6 Repeat this procedure for the other load carrier attachments.
7 Check that the hooks on all four load carrier attachments are securely\
tightened in the respective
attachment brackets on the roof of the car.
8 Press down the covers.
Check periodically that the load carriers and load are properly secured.\
Reducing wind noise and improving fuel economy
To maximize fuel efficiency and minimize wind noise, Volvo recommends th\
at load carriers be removed
when not in use.
pg. 98 Load carriers (models with rails)
file:///K|/ownersdocs/2003/2003_XC70/03xc70_06a.htm (20 of 22)12/30/20\
06 4:18:00 PM