2003 PONTIAC BONNEVILLE key
[x] Cancel search: keyPage 123 of 418
Turn Signal On Chime
If your turn signal is left on for more than 3/4 of a mile
(1.2 km), a chime will sound at each flash of the
turn signal. To turn
off the chime, move the turn signal
lever
to the off position.
Headlamp High/Low-Beam Changer
To change the headlamps from low beam to high beam,
push the lever forward. To change from high beam
to
low beam, pull the turn signal lever toward you,
then release it.
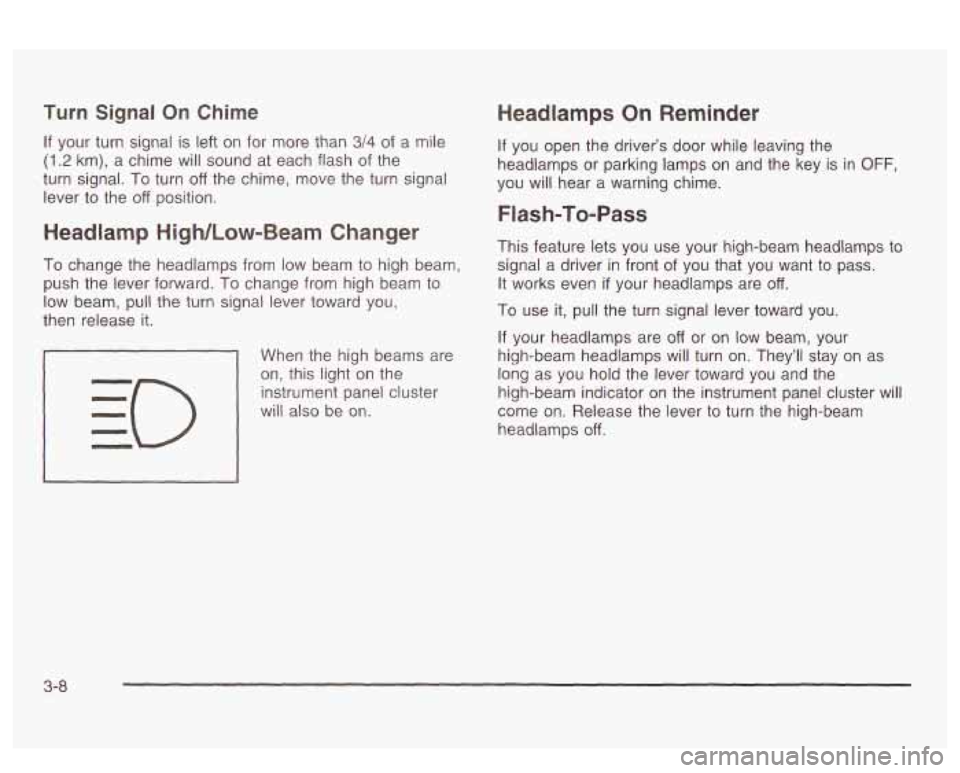
When the high beams are
on, this light on the
instrument panel cluster
will also be on.
Headlamps On Reminder
If you open the driver’s door while leaving the
headlamps or parking lamps
on and the key is in OFF,
you will hear a warning chime.
Flash-To-Pass
This feature lets you use your high-beam headlamps to
signal a driver in front of you that you want to pass.
It works even
if your headlamps are off.
To use it, pull the turn signal lever toward you.
If your headlamps are off or on low beam, your
high-beam headlamps will turn on. They’ll stay on as
long as you hold the lever toward you and the
high-beam indicator on the instrument panel cluster will
come on. Release the lever
to turn the high-beam
headlamps
off.
3-8
Page 128 of 418
Erasing Speed Memory
When you turn off the cruise control or the ignition, your
cruise control set speed memory is erased.
Exterior Lamps
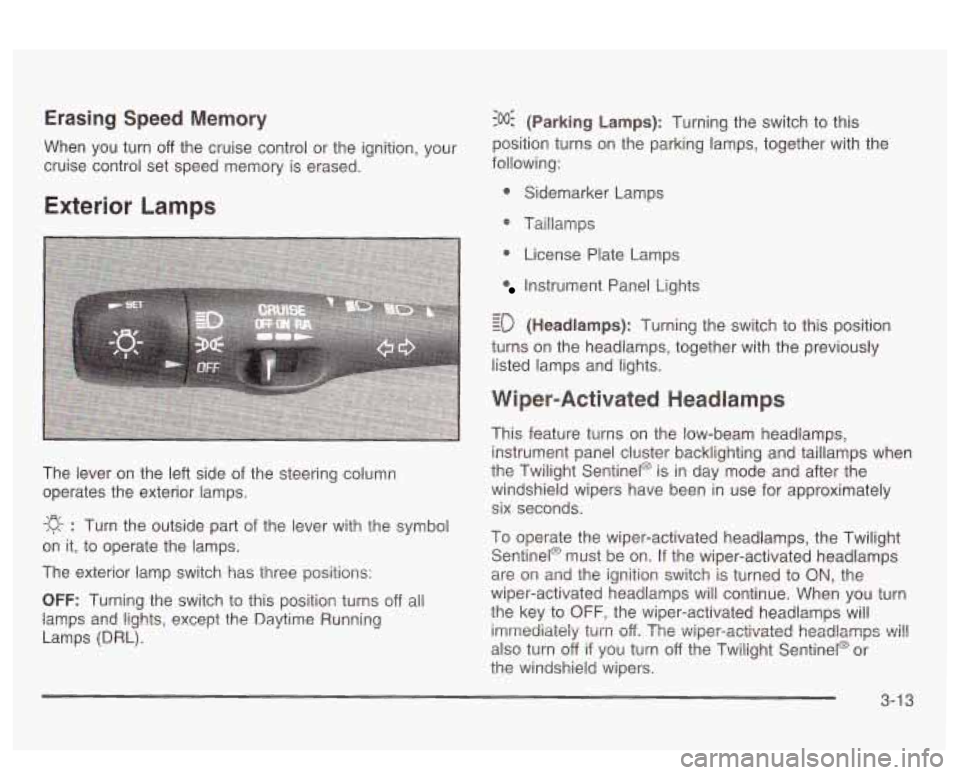
The lever on the left side of the steering column
operates the exterior lamps.
-g- : Turn the outside part of the lever with the symbol
on it, to operate the lamps.
The exterior lamp switch has three positions:
OFF: Turning the switch to this position turns off all
lamps
and lights, except the Daytime Running
Lamps (DRL).
:o@ (Parking Lamps): Turning the switch to this
position turns on the parking lamps, together with the
following:
0 Sidemarker Lamps
@ Taillamps
0 License Plate Lamps
Instrument Panel Lights
- - ED (Headlamps): Turning the switch to this position
turns on the headlamps, together with the previously
listed lamps and lights.
Wiper-Activated Headlamps
This feature turns on the low-beam headlamps,
instrument panel cluster backlighting and taillamps when
the Twilight Sentinel@ is in day mode and after the
windshield wipers have been in use for approximately
six seconds.
To operate the wiper-activated headlamps, the Twilight Sentinel@ must be on. If the wiper-activated headlamps
are on and the ignition switch is turned to
ON, the
wiper-activated headlamps will continue. When you turn
the key to
OFF, the wiper-activated headlamps will
imrrtediaieiy
turn off. The v~iper-activated headlamps ~i!!
also turn off if you turn off the Twilight Sentinel@ or
the windshield wipers.
3-1 3
Page 131 of 418
If the Twilight Sentinel@ lighting is active, it can be
disabled by turning on the manual parking lamps. This
lighting will be disabled until the key is turned from
ON or until the manual parking lamps are turned off.
Also, it’s possible that your headlamps may go out if you
drive from a dark area into a bright area like a lighted
parking lot.
If this happens, turn on your headlamps with
the exterior lamp control.
Exterior Lighting Battery Saver
If the exterior lamp control has been left on, the exterior
lamps will turn
off approximately 10 minutes after the
ignition is turned to
OFF and a door has been opened.
This protects against draining the battery in case
you have accidentally left the headlamps or parking
lamps on.
If you need to leave the lamps on for more
than
10 minutes, use the exterior lamp control to turn the
lamps back on after turning the ignition to
OFF and
opening a door. To delay the lamps from turning
off, see
“Twilight Sentinel@,” listed previously.
Interior Lamps
Instrument Panel Brightness
When it is dark outside, you can brighten or dim your
instrument panel cluster lights using the DIM knob,
located to the left of the steering wheel on the instrument
panel.
Turn the knob clockwise to brighten the instrument
panel cluster lights and displays. Turn the knob
clockwise all the way to turn on the interior courtesy
lamps. Turn the knob counterclockwise to dim the
instrument panel cluster lights and displays and to turn
off the courtesy lamps.
Courtesy Lamps
If it is dark enough outside, when any door is opened,
several lamps will come on. They make
it easier for you
to enter and leave the vehicle. Turn the dimmer knob
all the way clockwise to turn the interior courtesy
lamps on.
3-1 6
Page 132 of 418
Entry Lighting
If it is dark enough outside and you press the button
with the unlock symbol on the remote keyless entry
transmitter
(if equipped), the interior courtesy lamps will
come on and stay on for approximately
25 seconds,
The lamps will turn
off immediately by pressing
the button with the lock symbol on the remote keyless
entry transmitter, by turning the ignition key to
ON or by
activating the power door locks.
If a door is left ajar, your interior lamps will turn
off after
10 minutes to save your battery.
Delayed Entry Lighting
When you open the door to enter your vehicle, the
interior lamps will come on
if it is dark enough outside.
When you close the door with the ignition
off, the
interior lamps will stay on for
25 seconds or until the
ignition is turned on. Locking the doors with the power
door lock switch, or with the lock button on the
remote keyless entry transmitter (if equipped), will
override the delayed entry lighting and the lamps will
turn
off immediately.
Theater Dimming
This feature allows for a three to five-second fade out oi
the courtesy lamps instead of immediate turn off after
you remove the key from the ignition.
Delayed Exit Lighting
This feature will turn on the interior lamps for 25 seconds
after you remove the key from the ignition while the
doors are closed and it is night. This
will give you time
to find the door handle or lock switches as you exit
the vehicle.
This lighting will only be deactivated
if the key is
reinserted into the ignition switch or the power door
locks are activated.
Parade Dimming
To activate the instrument panel backlighting during the
day, turn the exterior lamp switch to the parking
lamp or headlamp position. Dimming
oi the instrument
panel display is not possible during daylight hours.
The instrument panel display can only be adjusted when
the parking lamps or headlamps are on and it is dark
outside.
Perimeter Lighting
When the button with the unlock symbol on the remote
keyless entry transmitter
(if equipped) is pressed,
the DRL headlamps, parking lamps and back-up lamps
will turn on
if it is dark enough outside.
3-1 7
Page 136 of 418
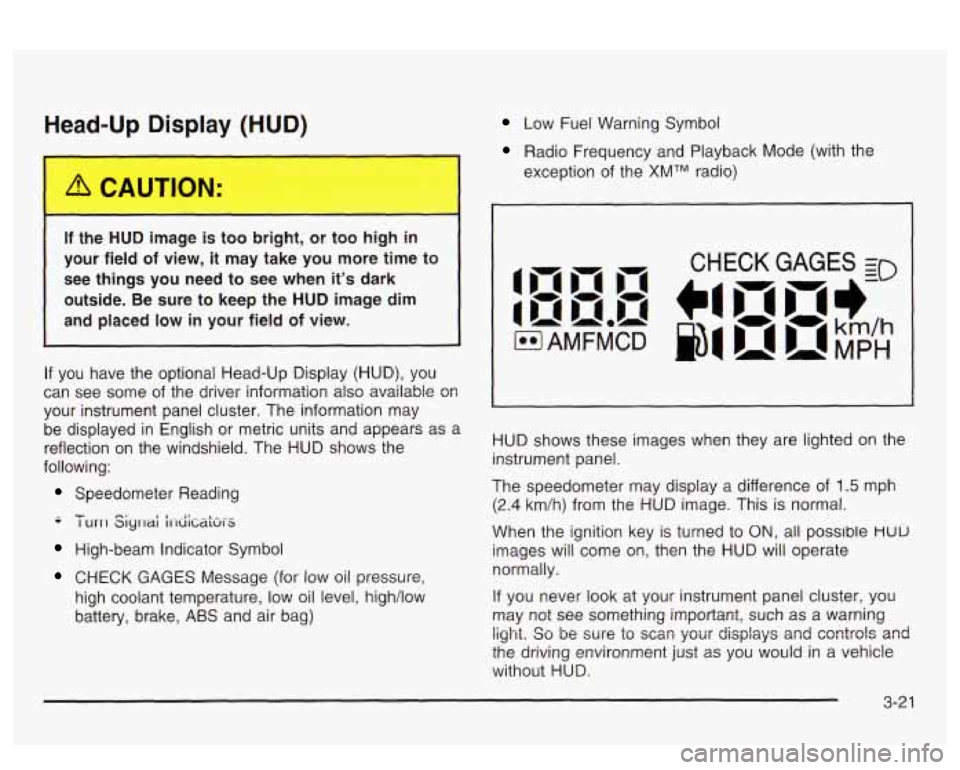
Head-Up Display (HUD)
If the HUD image is too bright, or too high in
your field
of view, it may take you more time to
see things you need to see when it's dark
outside. Be sure to keep the HUD image dim
and placed low in your field of view.
If you have the optional Head-Up Display (HUD), you
can see
some of the driver information also available 08
your instrument panel cluster. The information may
be displayed in English
or metric units and appears as a
reflection on the windshield. The HUD shows the
following:
Speedometer Reading
-- - I urrl Siyrlai i1-diCaki-S
High-beam Indicator Symbol
CHECK GAGES Message (for low oil pressure,
high coolant temperature, low oil level, high/low
battery, brake,
ABS and air bag)
Low Fuel Warning Symbol
Radio Frequency and Playback Mode (with the
exception of the
XMTM radio)
HUD shows these images when they are lighted on the
instrument panel.
The speedometer may display a difference of
1.5 mph
(2.4 km/h) from the HUD image. This is normal.
When the ignition key is turned to
ON, all possible HUU
images will come on, then the HUD will operate
normally.
If you never look at your instrument panel cluster, you
may not see something important, such as a warning
light. So be wre to scm your displays and csntrols and
the driving environment just as you would in a vehicle
without HUD.
Page 138 of 418
If you can’t see the HUD image when the ignition is on,
check to see
if:
0 The HUD unit is covered,
0 the HUD INTENSITY knob is adjusted correctly,
0 the HUD image is adjusted to the proper height, or
a fuse in the fuse panel may have blown. See
Fuses and Circuit Breakers on page 5-92.
If the HUD image is not clear, it could be too bright.
Move the HUD INTENSITY knob counterclockwise. You
may need to clean the windshield and HUD lens.
Your windshield is part of the HUD system. If you ever
have to have a new windshield, be sure to get one
designed for HUD.
If you don’t, the HUD image may look
blurred and out of focus.
Accessory Power Outlets
If your vehicle has a front console, the accessory power
outlet
(1 2-volt ) is located at the rear of the front
console.
If your vehicle has a floor console, the outlet is
located at the rear of the floor console. To
use the outlet, remove the protective cap which
covers it. When not using it, always cover the outlet with
the protective cap.
The accessory power outlet will only operate when the
ignition key
is in ON and for 10 minutes after turning
the ignition OFF. If you would like the accessory power
outlet to operate regardless of ignition position, and
for extended periods of time, see “Engine Compartment
Fuse
Block” under Fuses and Circuit Breakers on
page 5-92 or see your dealer for more information.
Nofice: When using an accessory power outlet,
maximum electrical load must not exceed
15 amps.
Always turn
off any electrical equipment when
not in use. Leaving electrical equipment on for
extended periods will drain your battery.
Certain electrical accessories may not be compatible
with the accessory power outlet and could result
in blown vehicle or adapter fuses.
If you experience a
problem, see your dealer for additional information
on accessory power outlets.
3-23
Page 139 of 418
Notice: Adding some electrical equipment to your
vehicle can damage
it or keep other things from
working as they should. This wouldn’t be covered by
your warranty. Check with your dealer before adding electrical equipment, and never use anything
that exceeds the amperage rating.
When adding electrical equipment, be sure to follow the
proper installation instructions included with the
equipment.
Notice: Power outlets are designed for accessory
plugs only.
Do not hang any type of accessory
or accessory bracket from the plug. Improper use of
the power outlet can cause damage not covered
by your warranty.
Ashtrays and Cigarette Lighter
Push down on the cover to reveal the front ashtray.
To clean the ashtray,
lift it out by pulling on the finger
holes on each side.
On models without a console, an ashtray is located
underneath the instrument panel.
To clean the ashtray,
lift it out by pulling up on the tabs on either side.
It snaps back into place.
To open a rear ashtray, lift the cover
Notice: Don’t put papers or other flammable
items into your ashtrays. Hot cigarettes or other
smoking materials could ignite them, causing
a damaging fire.
The cigarette lighter is located next to the storage tray.
To use a lighter, just push the center in all the way
and let
it go. When it is ready, the center will pop back
out by itself. Pull out the entire unit to use it.
Notice: Don’t hold a cigarette lighter in with your
hand while
it is heating. If you do, it won’t be able to
back away from the heating element when it’s
ready. That can make
it overheat, damaging the
lighter and the heating element.
The cigarette lighter will only operate when the ignition
key is in
ON and for 10 minutes after turning the
ignition
OFF. If you would like the lighter to operate
regardless of ignition position, and for extended periods
of time, see “Engine Compartment Fuse Block under
Fuses and Circuit Breakers on page 5-92 or see
your dealer.
3-24
Page 148 of 418
Climate Controls Personalization
If your vehicle is equipped with this feature, up to two
drivers are able to store and recall climate control
settings for the temperature, the fan speed and the
direction
of the airflow.
Memory buttons
1 and 2 are located on the driver’s
door panel and correspond to the numbers
1 or 2 found
on the back
of each remote keyless entry transmitter.
To store settings, do the following:
1. Select the desired temperature, fan speed and
airflow mode,
If desired, a separate temperature
setting may also be selected for the front seat
passenger. For information on how to
do this, see
Automatic Climate Control System on page 3-28.
2. Locate memory buttons 1 and 2 on the driver’s
door panel.
3. Press the memory button on the door panel that
corresponds to the number on the back of the
transmitter you are programming, until you hear two
beeps. The beeps confirm that your selection has
been saved and can now
be recalled. For more
information on the memory feature, see
Memory
Seat and Mirrors on page 2-48.
Follow these steps each time you want to change the
stored settings.
To recall the climate control settings last stored on your
transmitter, press the unlock button on your remote
keyless entry transmitter and put the ignition in
ACCESSORY or RUN.
3-33