2003 PONTIAC BONNEVILLE stop start
[x] Cancel search: stop startPage 158 of 418
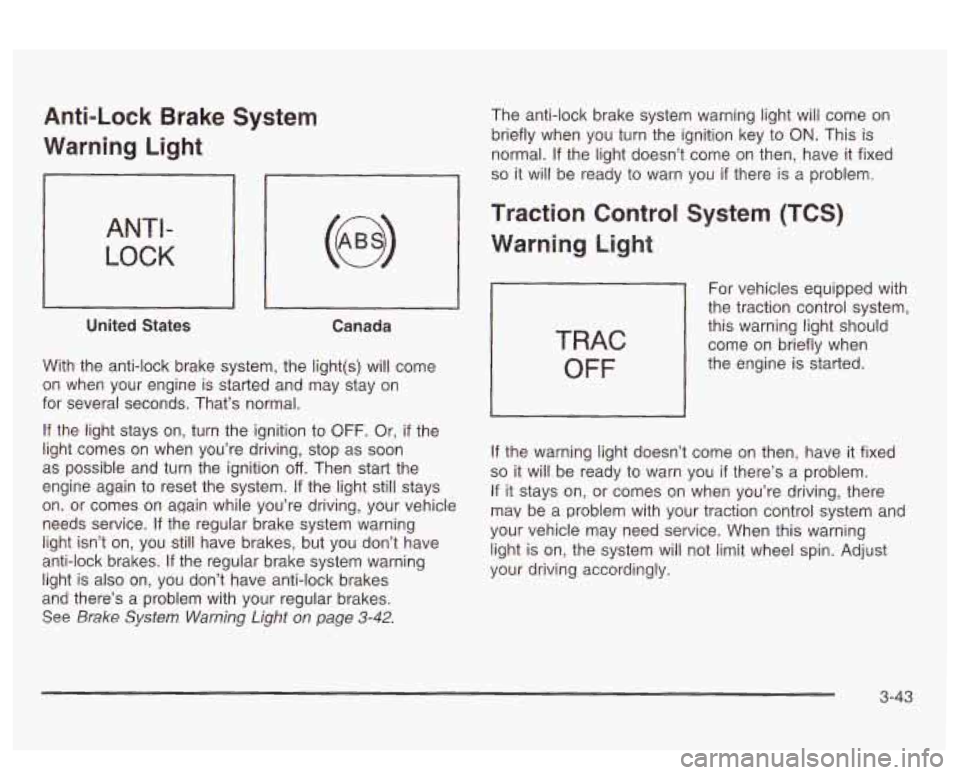
Anti-Lock Brake System
Warning Light
ANTI-
LOCK
United States Canada
With the anti-lock brake system, the light(s) will come
on when your engine
is starled and x2y stay on
for several seconds. That’s normal.
If the light stays on, turn the ignition to OFF. Or, if the
light comes on when you’re driving, stop as soon
as possible and turn the ignition
off. Then start the
engine again to reset the system.
If the light still stays
on. or comes on again while you’re driving, your vehicle
needs service. If the regular brake system warning
light isn’t on, you still have brakes, but
you don’t have
anti-lock brakes. If the regular brake system warning
light is also on, you don’t have anti-lock brakes
and there’s a problem with your regular brakes.
See Brake System Warning Light on page 3-42.
The anti-lock brake system warning light will come on
briefly when you turn the ignition key to
ON. This is
normal.
If the light doesn’t come on then, have it fixed
so it will be ready to warn you if there is a problem.
Traction Control System (TCS)
Warning Light
TRAC
OFF
For vehicles equipped with
the traction control system,
this warning light should
come on briefly when
the engine is started.
If the warning light doesn’t come on then, have it fixed
so it will be ready to warn you if there’s a problem.
If it stays on, or comes on when you’re driving, there
may be a problem with your traction control system and
your vehicle may need service. When this warning
light is on, the system will not limit wheel spin. Adjust
your driving accordingly.
3-43
Page 176 of 418
SERVICE STABILITY SYSTEM - 54: If you ever see
the SERVICE STABILITY SYSTEM message,
it
means there may be a problem with your stability
enhancement system.
If you see this message, try to
reset the system (stop; turn
off the engine; then start the
engine again).
If the SERVICE STABILITY SYSTEM
message still comes on, it means there is a problem.
You should see your dealer for service. Reduce
your speed and drive accordingly.
STABILITY SYSTEM ACTIVE - 55: You may see the
STABILITY SYSTEM ACTIVE message on the Driver
Information Center. It means that an advanced,
computer-controlled system has come on to help your
vehicle cmtinue to
go in the direction in which you’re
steering. This stability enhancement system activates
when the computer senses that your vehicle
is just
starting to spin, as it might
if you hit a patch of ice or
other slippery spot
on the road. When the system is on,
you may hear a noise or feel a vibration in the brake
pedal. This is normal.
When the STABILITY SYSTEM ACTIVE message
is on,
you should continue to steer in the direction you want
to go. The system is designed to help you in bad
weather or other difficult driving situations by making the
most
of whatever road conditions will permit. If the
STABiLiiY SYSTEM ACTIVE message comes on, you’!!
know that something has caused your vehicle to start
to spin,
so you should consider slowing down.
Tire Pressure Status - 144: If you see the CHECK
TIRE PRESSURE message, you should stop as soon as
you can and check all your tires for damage. (If a tire
is flat, see
If a Tire Goes Flat on page 5-72.) Also check
the tire pressure in all four tires as soon as you can.
See
inflation -- lire Pressure on page 5-62 and Check
Tire Pressure System
on page 5-64.
Driver Identifier DIC Display
This feature allows two different drivers to store and
recall their own preferred display mode. The
personalization settings displayed
on the DIC are
determined by the transmitter used to enter the vehicle.
After the uniock button
on a remote keyless entry
transmitter (if equipped) is pressed and the ignition is
in
ON, the DIC will display the identified driver. The
settings can also be changed by briefly pressing one of
the MEMORY buttons located on the driver’s door.
The DIC is used to program information for DRIVER
#I
UNKNOWN DRIVER if they are neither DRIVER #I nor
DRIVER
#2.
1 --a* .un TI^ nbfi ... :II :A~...+;$., ,-,~orp.,n Qc ~[IU unlvcn ft~. I IIZ UIU vvII1 luGltrl~y S r)bld-aI --
3-61
Page 196 of 418
SEEK v : Press the down arrow while playing a
CD to go to the start of the current track
if more
than eight seconds have played. Press the up arrow to
go to the next track. If you hold the button or press
it more than once, the player will continue moving
backward or forward through the disc.
SCAN v : Press and hold one of the arrows for
more than two seconds until SCAN and the track
number appear on the display and you hear a beep.
The disc will go to the next track, play for a few seconds,
then go on to the next track. Press this button again
to stop scanning.
RCL (Recall): Push this buttcn to see how long the
current track has been playing.
To change the default on
the display (track or elapsed time), push the knob
until you see the display you want, then hold the knob
until the display flashes. The selected display will
now be the default. While elapsed time is showing, CD
TIME will appear on the display.
BAND: Press this button to listen to the radio when a
CD is playing. The inactive CD will remain safely
inside the radio for future listening.
A (Eject): Press this button to eject a CD. Eject may
be activated with either the ignition or radio
off. CDs
may be loaded with the radio and ignition
off if this
button
is pressed first.
Compact Disc Messages
CHECK CD: If this message appears on the radio
display and the disc comes out, it could be for one of
the following reasons:
You’re driving on a very rough road. When the road
becomes smoother, the disc should play.
The disc is dirty, scratched, wet or upside down.
The air is very humid. if so, wait about an hour and
try again.
If the CD is not playing correctly, for any other reason,
try a known good CD.
If any error occurs repeatedly or
if an error can’t be
corrected, contact your dealer. If your radio displays an
error message, wrire it down ana proviae
ii io your
dealer when reporting the problem.
CD AUX (Auxiliary): Press this button to play a
compact disc when listening to the radio. CD will appear
on the display when a compact disc is loaded.
3-8 1
Page 208 of 418
SEEK v : Press the down arrow while playing a
CD to go to the start of the current track if more
than eight seconds have played. Press the up arrow to
go to the next track.
If you hold the button or press
it more than once, the player will continue moving
backward or forward through the
disc.
A SCAN v : Press and hold one of the arrows for
more than two seconds until SCAN and the track
number appear on the display and you hear a beep.
The disc will go to the next track, play for a few seconds,
then go on to the next track. Press this button again
to stop scanning.
RCL (Recall): Push this knob to see how long the
current track has been piaying.
To change ‘rhe default
on the display (track or elapsed time), push the
knob until you see the display you want, then hold the
knob until the display flashes. The selected display
will now be the default. While elapsed time is showing,
CD TIME will appear on the display.
CD is playing.
YMIbY. r~ *~n. I Dr-e~ ~uaa +hie ta IIU VUIIVS hl I++nn m tc !isfen the r21in \!/hen 8
CD TAPE: Press this button to switch between playing
a cassette tape and a compact disc
if both are
loaded, when listening to the radio. The inactive tape or
CD will remain safely inside the radio for future
listening. The display will show tape and
CD symbols.
4 (Eject): Press this button, located next to the CD
slot, to eject a CD. Eject may be activated with either
the ignition or radio
off. CDs may be loaded with
the radio and ignition
off if this button is pressed first.
Compact Disc Messages
CHECK CD: If this message appears on the radio
display and the disc comes out, it could be for one
of
the following reasons:
You’re driving on a very rough road. When the road
The disc is dirty, scratched, wet or upside down.
becomes
smoother, the disc should play.
The air is very humid. If so, wait about an hour and
try again.
If the CD is not playing correctly, for any other reason,
try a known good
CD.
If any error occurs repeatedly or if an error can’t be
corrected, contact your dealer.
If your radio displays an
eyer ~PSS~~P, write it down and provide it to vour
dealer when reporting the problem.
3-93
Page 212 of 418
A SEEK : Press the down arrow while playing a
CD to go back to the start of the current track
if
more than eight seconds have played. Press the up
arrow and it will go to the next track on the disc.
If the
button is pressed more than once, the player will
continue moving backward or forward through the disc.
A SCAN 7 : Press and hold either arrow for more
than two seconds until TRACK SCAN appears on
the display and you hear a beep. You will hear the first
few seconds of each track on the current disc. The
scan symbol will appear on the display and T will blink
to indicate track scan mode. Press either arrow
again, to stop scanning.
To scan all loaded discs, press and
hoid either SCAN
arrow for more than four seconds until DISC SCAN
appears on the display and you hear a double beep.
You will hear the first few seconds of track one on each
disc. The scan symbol will appear on the display
and
D will blink to indicate disc scan mode. Press either
SCAN arrow again, to stop scanning.
AM FM: Press this button to listen to the radio when
playing a CD.
TAPE AUX, CD AUX or CD TAPE: Press this button to
play a CD
if you have a magazine loaded in the
changer when listening to the radio. You can also press
this button to switch between a cassette tape, a CD
in the compact disc player and a CD in the
trunk-mounted CD changer,
if these sources are loaded.
Compact Disc Messages
If an error appears on the display, an error has occurred
and the compact disc temporarily cannot play.
The CD changer will send an error message to the
receiver to indicate one of the following:
NO CDS: An empty magazine is inserted in the CD
changer. Try the magazine again with a disc loaded on
one of the trays.
CHECK CD: If this message appears, it could be one
of the following:
You’re driving on a very rough road. When the road
The disc IS dlrty, scratcnea or wet.
becomes smoother, the disc should play.
The air is very humid. If so, wait about an hour and
try again.
3-97
Page 214 of 418
AM FM (BAND): Press this button to select AM, FMl,
FM2, XMI or XM2. The band you select will be
displayed. The frequency will also be displayed and,
if the station is in stereo, the stereo indicator will also be
displayed.
If a cassette tape or compact disc is
playing, it will stop and the radio
will play.
A SEEK 7 : Press the up or the down arrow
to go to the next or to the previous radio station and
stay there.
If a cassette tape is playing, press the up or the down
arrow to search for the next or the previous selection on
the tape. Your tape must have at least three seconds
of silence between each selection for SEEK to work. If a
compact disc is playing, press the up arrow
to go to
the start of the next track. Press the down arrow to go
to the start
of the current track if more than eight
seconds have played.
If less than eight seconds have
played, press the down arrow to go to the previous track.
- A !?ln!llmp! v : Press the un or the down
arrow to increase or to decrease volume.
PLAY: Press this button to play a cassette tape or
compact disc when listening to the radio.
Understanding Radio Reception
The range for most AM stations is greater than for FM,
especially at night. The longer range, however, can
cause stations to interfere with each other. AM can pick
up noise from things like storms and power lines. Try
reducing the treble to reduce this noise
if you ever get it.
FM Stereo
FM stereo will give you the best sound, but FM signals
will reach only about
10 to 40 miles (I 6 to 65 km).
Tal! buildings or hills can interfere with FM signals,
causing the sound to come and go.
XMTM Satellite Radio Service
XMTM Satellite Radio gives you digital radio reception
from coast to coast. Just as with FM, tall buildings
nr hills can interfere with Satellite radio signals, causing
the sound to come and
go. Your radio may display
"NO SIGNAL" to indicate interference.
MUTE: Press this button to silence the system. Press it
again, or any other radio button,
to turn on the sound.
3-99
Page 224 of 418
And, of course, actual stopping distances vary greatly
with the surface of the road (whether it’s pavement
or gravel); the condition of the road (wet, dry, icy); tire
tread; the condition of your brakes; the weight of
the vehicle and the amount of brake force applied.
Avoid needless heavy braking. Some people drive in
spurts
- heavy acceleration followed by heavy braking
- rather than keeping pace with traffic. This is a
mistake. Your brakes may not have time to cool between
hard stops. Your brakes will wear out much faster
if
you do a lot of heavy braking. If you keep pace with the
traffic and allow realistic following distances, you will
eliminate a lot of unnecessary braking. That means
better braking and longer brake life.
If your engine ever stops while you‘re driving, brake
normally but don’t pump your brakes. If you
do,
the pedal may get harder to push down. If your engine
stops, you will still have some power brake assist.
But you will use it when you brake. Once the power
assist is used up, it may take longer to stop and
the brake pedal will be harder to push.
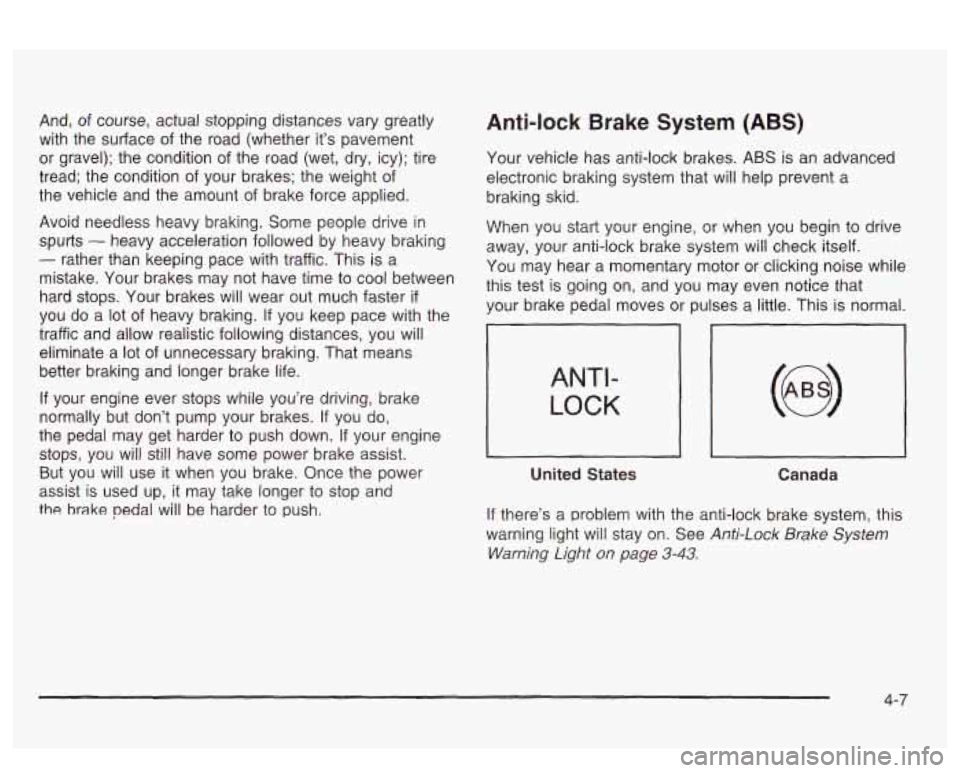
Anti-lock Brake System (ABS)
Your vehicle has anti-lock brakes. ABS is an advanced
electronic braking system that will help prevent a
braking skid.
When you start your engine, or when you begin to drive
away, your anti-lock brake system will check itself.
You may hear a momentary motor or clicking noise while
this test is going on, and you may even notice that
your brake pedal moves or pulses a little. This is normal.
ANTI-
LOCK
United States
Canada
If there’s a problem with the anti-lock brake system, this
warning light will stay on. See
Anti-Lock Brake System
Warning Light
on page 3-43.
4-7
Page 231 of 418
Do not get too close to the vehicle you want to
pass while you’re awaiting an opportunity. For
one thing, following too closely reduces your area
of vision, especially
if you’re following a larger
vehicle.
Also, you won’t have adequate space if the
vehicle ahead suddenly slows or stops. Keep
back a reasonable distance.
When it looks like a chance to pass is coming up,
start to accelerate but stay in the right lane and
don’t get too close. Time your move
so you will be
increasing speed as the time comes to move
into the other lane. If the way is clear to pass, you
will have a “running start” that more than makes
up for the distance you would lose by dropping
back. And
if something happens to cause you to
cancel your pass, you need only slow down
and drop back again and wait for another
opportunity.
If other vehicles are lined up to pass a slow vehicle,
wait your turn. But take care that someone isn’t
trying to pass you as you pull out to pass the slow
vehicle. Remember
to glance over your shoulder
and check the blind spot.
Check your mirrors, glance over your shoulder, and
start your left lane change signal before moving out
of the right lane to pass. When you are far
enough ahead of the passed vehicle to see its front
0
0
0
in your inside mirror, activate your right lane change
signal and move back into the right lane.
(Remember that your right outside mirror is convex.
The vehicle you just passed may seem to be
farther away from you than it really is.)
Try not to pass more than one vehicle at a time on
two-lane roads. Reconsider before passing the
next vehicle.
Don’t overtake a slowly moving vehicle too rapidly.
Even though the brake lamps are not flashing, it
may be slowing down or starting to turn.
If you’re being passed, make it easy for the
following driver
to get ahead of you. Perhaps you
can ease a little to the right.
Loss of Control
Let’s review what driving experts say about what
happens when the three control systems (brakes,
steering and acceleration) don’t have enough friction
where the tires meet the road to do what the driver has
asked.
In any emergency, don’t give up. Keep trying to steer
and constantly seek an escape route or area of
less danger.
4-1 4