2003 PONTIAC BONNEVILLE keyless
[x] Cancel search: keylessPage 77 of 418
Delayed Locking
This feature lets the driver delay the actual locking of
the vehicle. When the driver’s power door lock switch or
the remote keyless entry lock button is pressed, with
the key removed from the ignition and the driver’s door
open, a chime will sound three times to signal that
the delayed locking system
is active. When all doors
have been closed, the doors will lock automatically after
five seconds.
If any door is opened before this, the
five-second timer will reset itself once all the doors have
been closed again.
Pressing a power door lock switch or the remote
keyless entry lock button again will override this feature.
Personalization Programming
The delayed locking feature can be turned on or off.
If your vehicle is not equipped with remote keyless
entry, the delayed locking feature can be turned on
or
off by using the following procedure:
1. Keep all doors closed, the vehicle in PARK (P) and
the ignition on throughout this procedure.
2. Press and hold the driver’s power door lock switch
in LOCK through Step
4.
3. Cycle the parking lamp switch from off to on six
times. On the sixth cycle, the doors will unlock to
confirm that the feature has been turned on.
Your doors will remain locked
if delayed locking is
off. If the doors unlock, delayed locking is on.
switch once more.
A locking action will confirm
the new mode.
4. To change modes, cycle the parking lamp
5. Release the power door lock switch.
If your vehicle is equipped with the Driver Information
Center
(DIC), you must program this feature through the
DIC. See
DIC Vehicle Personalization on page 3-62.
2-1 2
Page 78 of 418
To turn the feature off, repeat the previous procedure.
If your vehicle is equipped with remote keyless
entry, your vehicle can be programmed to each driver’s
preference for each of the transmitters. Use the
following procedure to turn the feature
off using the
corresponding transmitter:
1. Keep all doors closed, the vehicle in PARK (P) and
the ignition on throughout this procedure.
2. Press and hold the power door lock switch in LOCK
throughout this procedure. All the doors will lock.
3. Press the button with the unlock symbol on the
transmitter. The lock delay is still on and all the
doors will unlock.
4. Press the button with the unlock symbol on the
transmitter again. Lock delay is now
off and all
the doors will lock.
5. Release the power door lock switch.
To turn this teature on, repear tne previous proceciure.
This procedure changes the mode for only the
transmitter used to change this setting. The procedure
will need to be repeated for the second transmitter.
Programmable Automatic
Door Locks
Close the doors and turn on the ignition. Every time you
move the shift lever out of PARK (P), all of the doors
will lock. And, every time you stop and move the
shift lever into PARK (P), the
doors will unlock. If
someone needs to get out while you’re not in PARK (P),
have that person use the manual door lock or the
power door lock switch. When the door
is closed again,
it will not lock automatically, Use the manual door
lock or the power door lock switch to lock the
door again.
Personalization Programming
You can program the automatic door lock feature to
change to the following modes:
Mode 0: No automatic door lock or unlock.
Mode 1: All doors automatically lock when shifted out
of PARK (P).
No automatic door unlock.
Mode 2: All doors automatically lock when shifted out
of PARK (P). Only the driver’s door automatically
unlocks when shifted into PARK (P).
Mode 3: All doors automatically lock when shifted out
of PARK (P). All doors automatically unlock when shifted
into PARK (P).
2-1 3
Page 79 of 418
Mode 4: All doors automatically lock when shifted out
of PARK
(P). Only the driver‘s door automatically
unlocks when the key is turned to
OFF (DIC equipped
vehicles only).
Mode 5: All doors automatically lock when shifted out
of PARK (P).
All doors automatically unlock when
the key is turned to
OFF (DIC equipped vehicles only).
If your vehicle is equipped with the Driver Information
Center (DIC), you must program this feature through the
DIC. See
DIC Vehicle Personalization on page 3-62.
If your vehicle is not equipped with remote keyless entry,
use the following procedure to change modes:
1.
2.
3.
4.
Keep all doors closed, the vehicle in PARK (P) and
the ignition on throughout this procedure.
Press and hold the driver’s power door lock switch
in LOCK through Step
3.
Cycle the shift lever, starting in PARK (P), out of
PARK (P) and then back into PARK
(P), to
advance by one mode for each cycle.
After the first cycle, you will hear a door locking
action, which identifies the current mode.
Release the power door lock switch. The automatic
door locks will remain in the most recent mode
selected.
If your vehicle is equipped with remote keyless entry,
use the following procedure to change modes:
1.
2.
3.
4.
5.
Keep all doors closed, the vehicle in PARK (P) and
the ignition on throughout this procedure.
Press and hold the driver’s power door lock switch
in LOCK through Step
4.
Press the button with the lock symbol on the
remote keyless entry transmitter. The automatic
door locks will remain in the current mode.
Press the button with the lock symbol on the
transmitter again. Each time the transmitter’s
lock button is pressed, the mode will advance by
one, going from
3 to 0 to 1, etc.
The door locks will cycle according to the mode
entered. (Mode
“0 has no feedback.)
Release the power door lock switch. The automatic
door locks will remain in the most recent mode
selected.
This procedure changes the mode for only the
transmitter used to change this setting. The procedure
will need to be repeated for the second transmitter.
2-1 4
Page 81 of 418
Leaving Your Vehicle
If you are leaving the vehicle, take your keys, open
your door and set the locks from the inside. Then get out
and close the door.
You may also use the lock button
on the remote keyless entry transmitter after shutting
the doors.
If your vehicle has a theft-deterrent system, see
Universal Theft-Deterrent on page 2-21.
Trunk
L% CAUTION:
It can be dangerous to drive with the trunk lid
open because carbon monoxide (CO) gas can
come into your vehicle.
You can’t see or smell
CO.
It can cause unconsciousness and
even death.
CAUTION: (Continued) If
you must drive with the trunk lid open or if
electrical wiring
or other cable connections
must pass through the seal between the body
and the trunk
lid:
Make sure all other windows are shut.
Turn the fan on your heating or cooling
system to
its highest speed and select the
control setting that will force outside air
into your vehicle. See “Climate Controls”
in the Index.
instrument panel, open them all the way.
If you have air outlets on or under the
See “Engine Exhaust” in the Index.
Trunk Lock Release
To unlock the trunk from the outside, insert the master
key and turn it.
2-1 6
Page 82 of 418
Remote Trunk Release
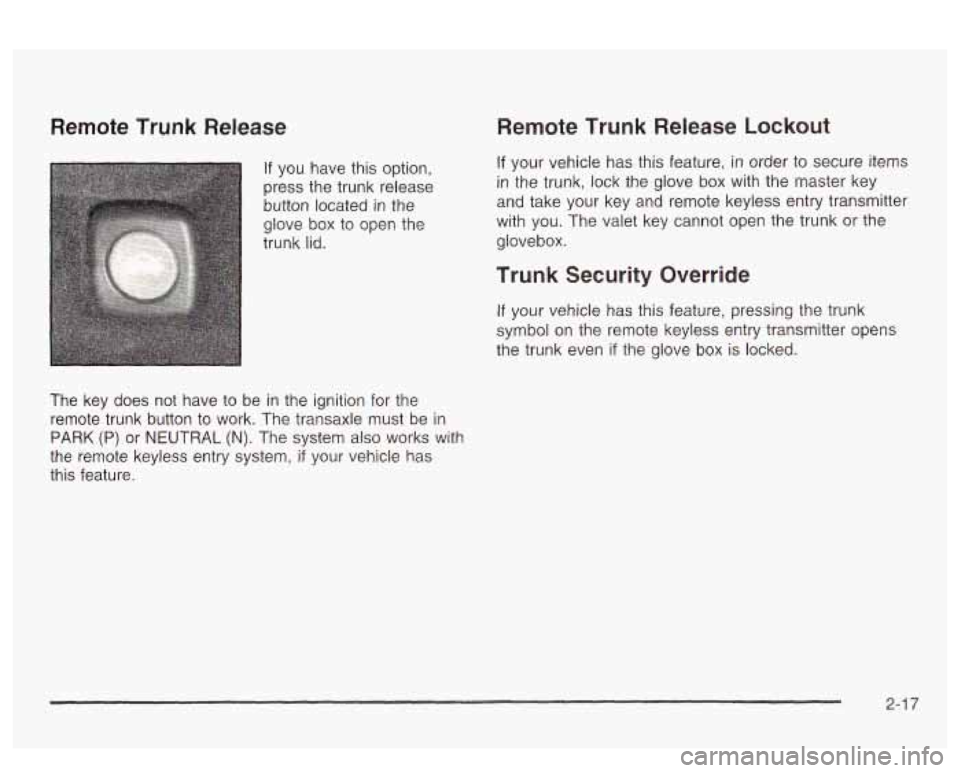
If you have this option,
press the trunk release
button located
in the
glove box to open the
trunk lid.
The key does not have to be in the ignition for the
remote trunk button to work. The transaxle must be in
PARK (P) or NEUTRAL (N). The system also works with
the remote keyless entry system,
if your vehicle has
this feature.
Remote Trunk Release Lockout
If your vehicle has this feature, in order to secure items
in the trunk, lock the glove box with the master key
and take your key and remote keyless entry transmitter
with you. The valet key cannot open the trunk or the
glovebox.
Trunk Security Override
If your vehicle has this feature, pressing the trunk
symbol on the remote keyless entry transmitter opens
the trunk even
if the glove box is locked.
2-1 7
Page 86 of 418
Theft-Deterrent Systems
Vehicle theft is big business, especially in some cities.
Although your vehicle has a number of theft-deterrent
features, we know that nothing we put on it can make it
impossible to steal.
Universal Theft-Deterrent
If your vehicle has this feature, it has a theft-deterrent
alarm system. With this system, the SECURITY light will
flash
as you open the door if your ignition is in OFF.
SECURITY
This light on the instrument
panei cluster reminds
you
to activate the
theft-deterrent system when leaving your vehicle.
To activate the system, do the following:
1. Open the door.
2. Lock the door with the power door lock switch while
the door is open, or use the remote keyless entry
transmitter
(if equipped). The SECURITY light
should come on and stay on.
3. Close all doors. The SECURITY light should go off
after about 30 seconds and the system will then be
armed.
If the SECURITY light comes on for one minute and
then shuts
off while the ignition is on, the security
system has detected a problem. See your dealer for
service.
If a door is opened without the key or remote keyless
entry transmitter, or
if the door key cylinders are
damaged, the alarm will go
off. The exterior lamps will
flash and the horn will sound for
30 seconds, then will go
off in order to save battery power.
Remember, the theft-deterrent system won’t activate
if
YQL! !ock the doors with a key or manual door lock.
It activates only
if you use a power door lock switch
while the door is open, or the remote keyless entry
transmitter.
Avoid setting
off the alarm by accident.
Always unlock a door with a key, or use the remote
keyless entry transmitter. Unlocking a door any
other way will set
off the alarm.
If you set off the alarm by accident, unlock the driver’s
door with your key. You can also turn
off the alarm
by pressing the button with the unlock symbol on the
remote keyless entry transmitter. The alarm won’t stop
if
you try to uniock a door any other Way.
2-2 1
Page 87 of 418
Testing the Alarm
1. From inside the vehicle, roll down the window.
2. Activate the system by locking the doors with the
power door lock switch while the door is open, or
with the remote keyless entry transmitter.
3. Get out of the vehicle, close the door and wait for
the SECURITY light to go out.
4. Then, reach in through the window, unlock the door
with the manual door lock and open the door. This
should set
off the alarm.
If the alarm does not sound when it should, check to
see
if the horn works. The horn fuse may be blown.
To replace the fuse, see
Fuses and Circuit Breakers on
page 5-92.
If the alarm does not sound, or the exterior lamps do
not flash, see your dealer.
Content Theft-Deterrent
If your vehicle has this option, it has a content
theft-deterrent alarm system.
A light located in your Twilight Sentinel@ cluster, above
the fog lamp button, will begin to flash
30 seconds
after the vehicle ignition is turned
off to let you know the
system has been armed.
While armed, the doors will not unlock with the power
door lock switch. Once armed,
the alarm will go
off if someone tries to
enter the vehicle without using the remote keyless entry
transmitter or a key, breaks a window, tries to damage
the vehicle or turns the ignition to
ON. If any of these do
occur, the horn will sound and the parking lamps will
flash for up to two minutes.
PASS-Key@ 111
Your PASS-Key@ Ill system operates on a radio
frequency subject to Federal Communications
Commission (FCC) Rules and with Industry Canada.
This device complies with Part
15 of the FCC Rules.
Operation is subject to the following two conditions:
(1)
this device may not cause harmful interference, and
(2) this device must accept any interference received,
including interference that may cause undesired
operation.
This device complies with RSS-210 of Industry Canada
Operation is subject to the following two conditions:
(1) this device may not cause interference, and (2) this
device must accept any interference received,
including interference that may cause undesired
operation of the device.
Changes
or modifications to this system by other than
an authorized service facility could void authorization to
use this equipment.
PASS-Key@
Ill uses a radio frequency transponder in
the key that matches
a decoder in your vehicle.
2-22
Page 113 of 418
Vehicle Personalization
Memory Seat and Mirrors
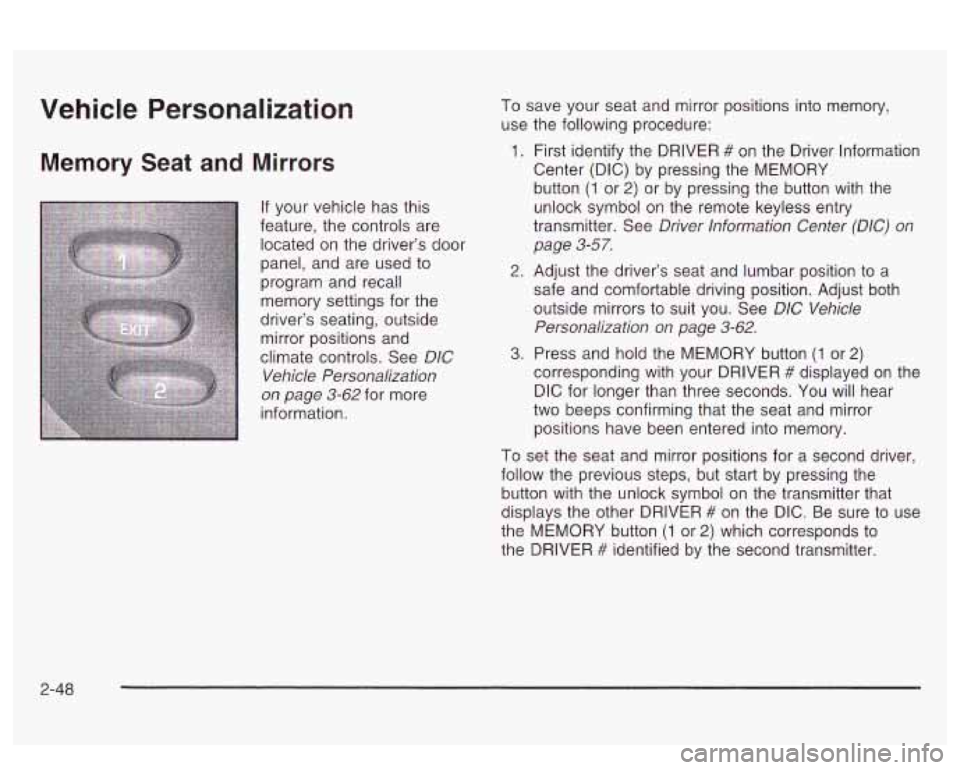
If your vehicle has this
feature, the controls are
located on the driver’s door
panel, and are used
to
program and recall
memory settings for the
driver’s seating, outside mirror positions and
climate controls. See
DIC
Vehicle Personalization
on page 3-62 for more
information. To
save your seat and mirror positions into memory,
use the following procedure:
1. First identify the DRIVER # on the Driver lnformation
Center (DIC) by pressing the MEMORY
button
(1 or 2) or by pressing the button with the
unlock symbol on the remote keyless entry
transmitter. See
Driver lnformation Center (DIC) on
page 3-57.
2. Adjust the driver’s seat and lumbar position to a
safe and comfortable driving position. Adjust both
outside mirrors to suit you. See
D/C Vehicle
Personalization on page 3-62.
3. Press and hold the MEMORY button (1 or 2)
corresponding with your DRIVER # displayed on the
DIC for longer than three seconds. You will hear
two beeps confirming that the seat and mirror
positions have been entered into memory.
To set the seat and mirror positions for a second driver,
follow the previous steps, but start by pressing the
button with the unlock symbol on the transmitter that
displays the other DRIVER
# on the DIC. Be sure to use
the MEMORY button
(1 or 2) which corresponds to
the DRIVER
# identified by the second transmitter.
2-48