Page 3 of 131
30-06-2003
3YOUR AT A GLANCE
1Driver's air bag Horn
2 Lights and direction indica- tors stalk
3 Passenger air bag disarmingswitch*
4 Heated seats control
5 Dynamic stability control(ESP/ASR) button
6 Instrument panel lightingrheostat
7 Windscreen wipers/wind-screen wash/trip computerstalk
8 Audio equipment steeringcolumn stalk
9 Hazard warning lights switch
10 Multifunction display
11 Windscreen demisting vents 12
Side windows demisting vents
13 Adjustable central vent
14 Passenger air bag
15 Adjustable central vents
16 Glove box
17 RD3 audio equipment
18 Heating/ventilation/airconditioning controls
Rear screen and mirrorsdemisting
19 Front ashtray
20 Gear lever
21 Lighter
22 Electric mirror controls
23 Electric retractable roof control 24
Electric window switches
25 Handbrake
26 Bonnet release control
27 Steering lock
28 Fuse box
29 Storage compartment
30 Steering wheel height adjustment control
31 Headlamp height adjustment
* According to destination.
Page 9 of 131
30-06-2003
9YOUR AT A GLANCE
8675
STEERING WHEEL HEIGHT ADJUSTMENT
When stationary, lower the lever to release the steering wheel. Adjust to the required height and raise the lever to lock the steer-ing wheel. OPENING THE BONNET Inside the vehicle:
pull the handle.
Outside the vehicle: lift the
catch and lift the bonnet. Secure the strut to hold the bon- net open.
Page 10 of 131
10YOUR AT A GLANCE
64
FRONT SEATS 1 - Forwards/backwards
adjustment
2 - Access to the rear seats
3 - Head restraint height and
angle adjustment
Never travel with the head restraints removed.
4 - Seat back angle adjustment
5 - Driver's seat height adjust-ment
6 - Heated seats control
30-06-2003
Page 65 of 131

30-06-2003
To lower the head restraint you must simultaneously:
- press the knob on the left-handside at its base,
- press downwards.
To remove the head restraint, press the lug.
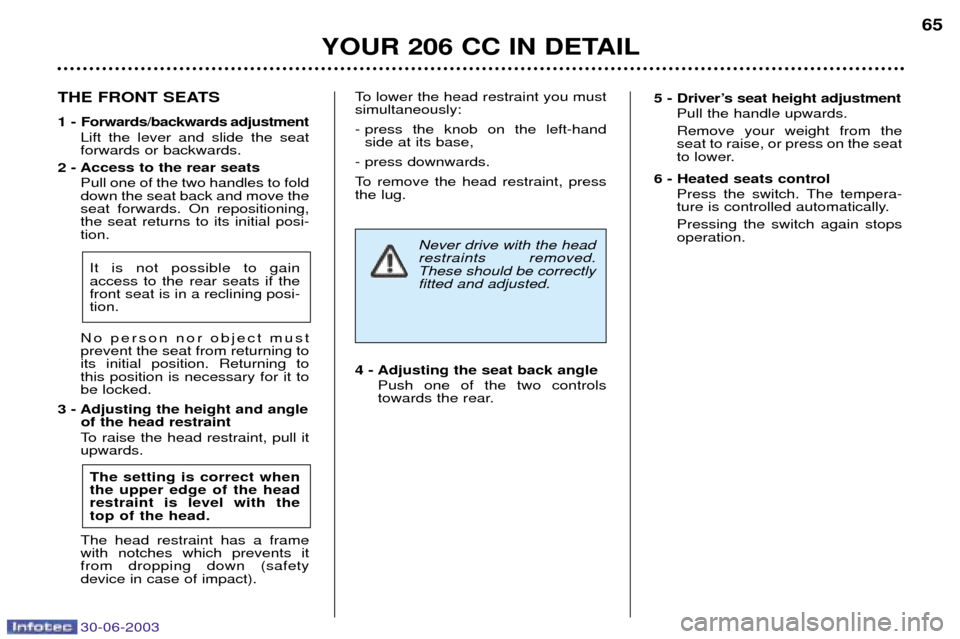
4 - Adjusting the seat back angle Push one of the two controls
towards the rear.
Never drive with the head restraints removed.These should be correctlyfitted and adjusted.
YOUR 206 CC IN DETAIL
65
5 - DriverÕs seat height adjustment
Pull the handle upwards. Remove your weight from the seat to raise, or press on the seat
to lower.
6 - Heated seats control Press the switch. The tempera-
ture is controlled automatically. Pressing the switch again stops operation.THE FRONT SEATS
1 - Forwards/backwards adjustmentLift the lever and slide the seat forwards or backwards.
2 - Access to the rear seats Pull one of the two handles to folddown the seat back and move theseat forwards. On repositioning,the seat returns to its initial posi-tion.
It is not possible to gainaccess to the rear seats if thefront seat is in a reclining posi-tion.
No person nor object mustprevent the seat from returning toits initial position. Returning tothis position is necessary for it tobe locked.
3 - Adjusting the height and angle of the head restraint
To raise the head restraint, pull itupwards.
The setting is correct whenthe upper edge of the headrestraint is level with thetop of the head.
The head restraint has a framewith notches which prevents itfrom dropping down (safetydevice in case of impact).
Page 68 of 131

30-06-2003
YOUR 206 CC IN DETAIL69
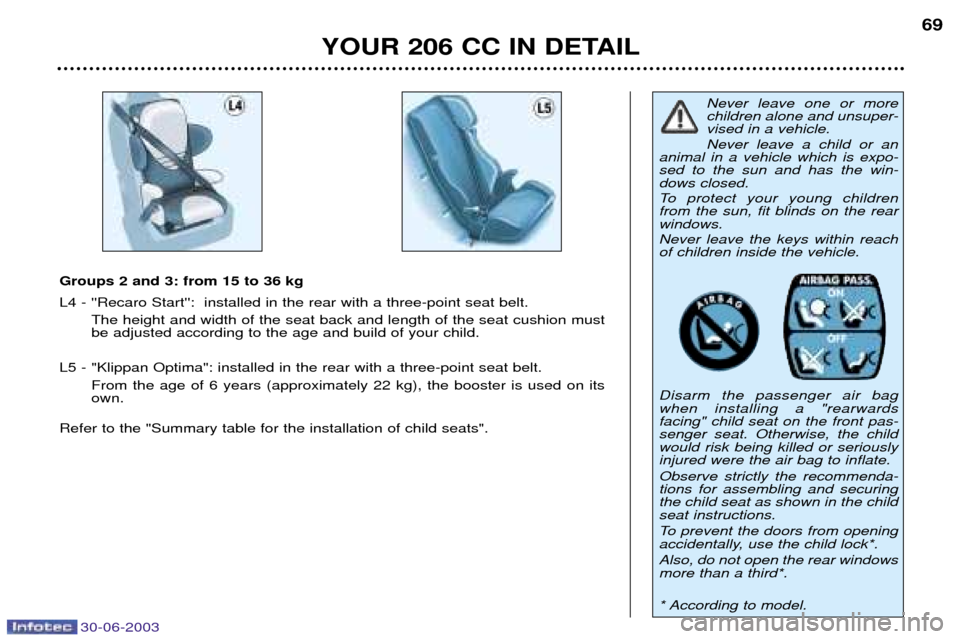
Groups 2 and 3: from 15 to 36 kg L4 - ''Recaro Start'': installed in the rear with a three-point seat belt.
The height and width of the seat back and length of the seat cushion must be adjusted according to the age and build of your child.
L5 - "Klippan Optima": installed in the rear with a three-point seat belt. From the age of 6 years (approximately 22 kg), the booster is used on itsown.
Refer to the "Summary table for the installation of child seats".
Never leave one or more children alone and unsuper-vised in a vehicle. Never leave a child or an
animal in a vehicle which is expo- sed to the sun and has the win-dows closed.
To protect your young children from the sun, fit blinds on the rearwindows. Never leave the keys within reach of children inside the vehicle. Disarm the passenger air bag when installing a "rearwardsfacing" child seat on the front pas-senger seat. Otherwise, the childwould risk being killed or seriouslyinjured were the air bag to inflate. Observe strictly the recommenda- tions for assembling and securingthe child seat as shown in the childseat instructions.
To prevent the doors from opening
accidentally, use the child lock*. Also, do not open the rear windows more than a third*.
* According to model.
Page 69 of 131

YOUR 206 CC IN DETAIL
70
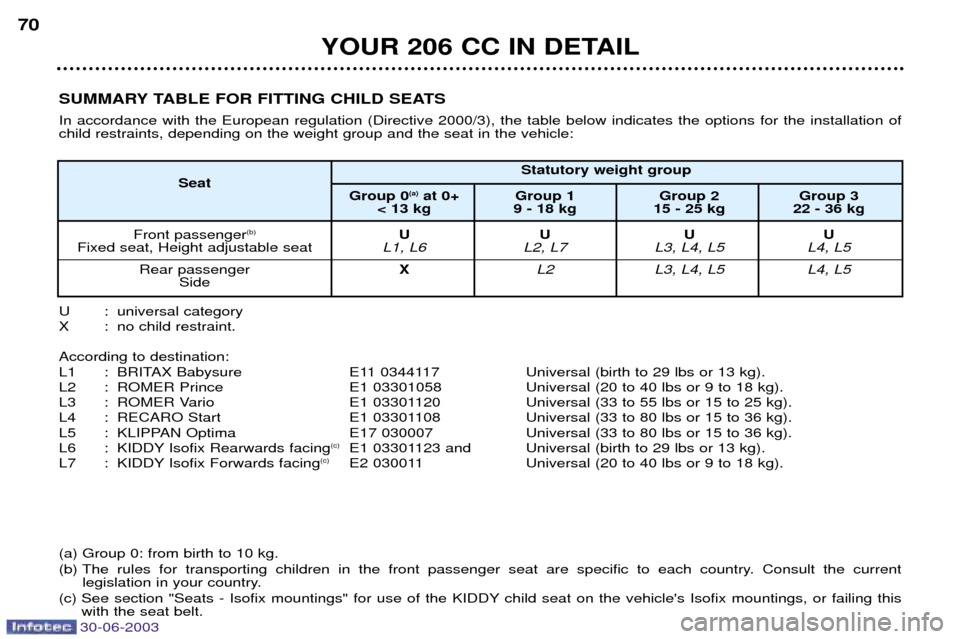
SUMMARY TABLE FOR FITTING CHILD SEATS In accordance with the European regulation (Directive 2000/3), the table below indicates the options for the installation of child restraints, depending on the weight group and the seat in the vehicle:
U : universal category
X : no child restraint. According to destination:
L1 : BRITAX Babysure E11 0344117 Universal (birth to 29 lbs or 13 kg).
L2 : ROMER Prince E1 03301058 Universal (20 to 40 lbs or 9 to 18 kg).
L3 : ROMER Vario E1 03301120 Universal (33 to 55 lbs or 15 to 25 kg).
L4 : RECARO Start E1 03301108 Universal (33 to 80 lbs or 15 to 36 kg).
L5 : KLIPPAN Optima E17 030007 Universal (33 to 80 lbs or 15 to 36 kg).
L6 : KIDDY Isofix Rearwards facing
(c)
E1 03301123 and Universal (birth to 29 lbs or 13 kg).
L7 : KIDDY Isofix Forwards facing (c)
E2 030011 Universal (20 to 40 lbs or 9 to 18 kg).
(a) Group 0: from birth to 10 kg.
(b) The rules for transporting children in the front passenger seat are specific to each country. Consult the current legislation in your country.
(c) See section "Seats - Isofix mountings" for use of the KIDDY child seat on the vehicle's Isofix mountings, or failing this with the seat belt. Statutory weight group
Seat Group 0(a)
at 0+ Group 1 Group 2 Group 3
< 13 kg 9 - 18 kg 15 - 25 kg 22 - 36 kg
Front passenger (b)
UU UU
Fixed seat, Height adjustable seat L1, L6 L2, L7 L3, L4, L5 L4, L5
Rear passenger XL2 L3, L4, L5 L4, L5
Side
30-06-2003
Page 87 of 131
30-06-2003
YOUR 206 CC IN DETAIL
86
HEADLAMP ADJUSTMENT
Depending on the load in your vehi- cle, adjusting the beam of the head-lamps is recommended as follows.
0 -
1 or 2 people in the front seats.
Ð - 3 people.
1 - 4 people.
2 - 4 people + maximum authorisedload.
3 - Driver + maximum authorisedload.
Initial setting is position 0. STEERING WHEEL HEIGHT ADJUSTMENT
When stationary, lower the handle to unlock the steering wheel. Adjust to the desired height and lift the handle to lock the steeringwheel.
HORN
Press one of the spokes orthe centre of the steeringwheel.