2003 Oldsmobile Alero ignition
[x] Cancel search: ignitionPage 97 of 354
Leaving Your Vehicle With the
Enm‘ne Running
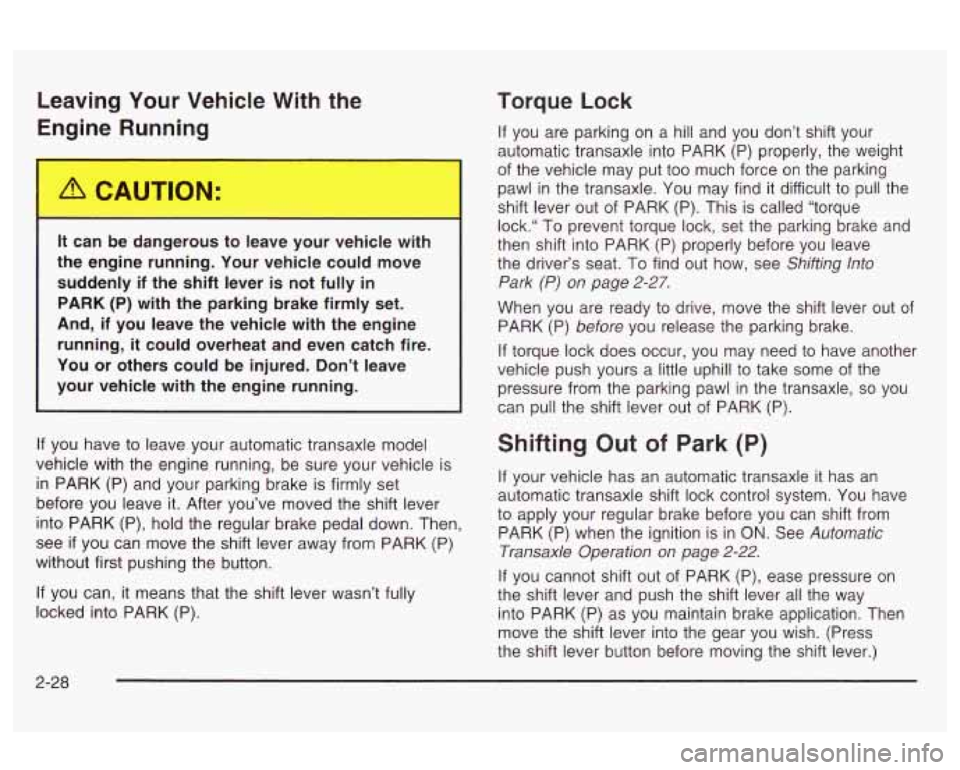
-L can be ..mgerous tc -3ave your vehicle \II .-.I
the engine running. Your vehicle could move
suddenly
if the shift lever is not fully in
PARK (P) with the parking brake firmly set.
And,
if you leave the vehicle with the engine
running, it could overheat and even catch fire.
You or others could be injured. Don’t leave
your vehicle with the engine running.
If you have to leave your automatic transaxle model
vehicle with the engine running, be sure your vehicle is
in PARK (P) and your parking brake is firmly set
before you leave it. After you’ve moved the shift lever
into PARK (P), hold the regular brake pedal down. Then,
see
if you can move the shift lever away from PARK (P)
without first pushing the button.
If you can, it means that the shift lever wasn’t fully
locked into PARK (P).
Torque Lock
If you are parking on a hill and you don’t shift your
automatic transaxle into PARK
(P) properly, the weight
of the vehicle may put too much force on the parking
pawl in the transaxle. You may find it difficult to pull the
shift lever out of PARK (P). This is called “torque
lock.“ To prevent torque lock, set the parking brake and
then shift into PARK (P) properly before you leave
the driver’s seat. To find out how, see
Shifting Into
Park (P)
on page 2-27.
When you are ready to drive, move the shift lever out of
PARK
(P) before you release the parking brake.
If torque lock does occur, you may need to have another
vehicle push yours a little uphill to take some of the
pressure from the parking pawl in the transaxle,
so you
can pull the shift lever out of PARK (P).
Shifting Out of Park (P)
If your vehicle has an automatic transaxle it has an
automatic transaxle shift lock control system. You have
to apply your regular brake before you can shift from
PARK (P) when the ignition is in
ON. See Automatic
Transaxle Operation
on page 2-22.
If you cannot shift out of PARK (P), ease pressure on
the shift lever and push the shift lever all the way
into PARK (P) as you maintain brake application. Then
move the shift lever into the gear you wish. (Press
the shift lever button before moving the shift lever.)
2-28
Page 98 of 354
If you ever hold the brake pedal down but still can’t shift Parking Over Things That Burn
out of PARK (P), try this:
1. Turn the ignition key to ACCESSORY.
2. Apply and hold the regular brake until the end of
3. Shift to NEUTRAL (N).
4. Start the vehicle.
5. Shift to the drive gear you want.
6. Have the vehicle fixed as soon as you can.
Step
5.
Parking
Your Vehicle/Key Removal
Before leaving your manual transaxle model vehicle,
fully press the clutch pedal in, move the shift lever into
REVERSE
(R) and firmly apply the parking brake.
Once the shift lever has been placed in REVERSE
(R)
with the clutch pedal pressed in, you can turn the
ignition key to
OFF, remove the key and release the
clutch. See
Manual Transaxle Operation on page 2-25.
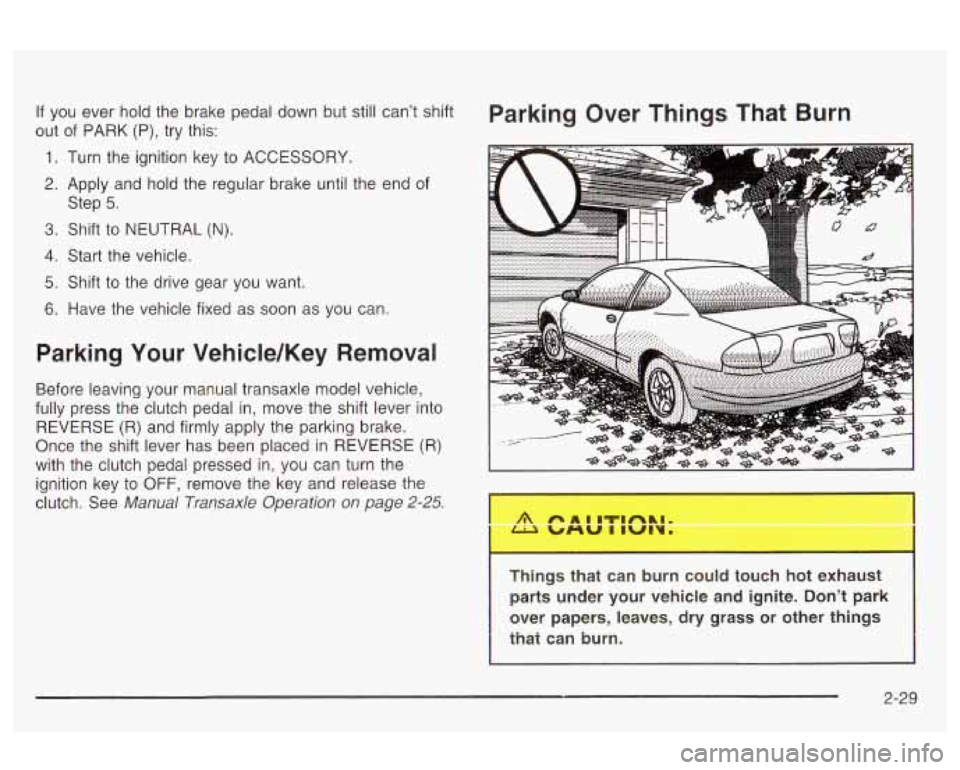
-, ,,,rigs that can burn COLJ touc,, .rot ex..,ust
parts under your vehicle and ignite. Don’t park
over papers, leaves, dry grass or other things
that can burn.
2-29
Page 104 of 354
Sunroof
If your vehicle has this feature, the switch is located on
the headliner between the sun visors. The sunroof
will only operate when the ignition is in
ON.
The sunroof can be opened to a vent position or it can
be express-opened all of the way.
To open the sunroof to the vent position, you must first
open the sunshade by hand. Then push the switch
back and release it.
To fully open the sunroof, push the switch back again
and release it. In
both the vent and fully open positions, the air
flow
can be adjusted for driving comfort by pushing and
holding the switch forward until the sunroof moves to
the desired position.
To close the sunroof, push the switch forward and hold
it until the sunroof
is closed. The sunroof will stop if
the switch is released during operation. Remember to
close the sunshade by hand.
The sunroof glass panel cannot be opened or closed
if
your vehicle has an electrical failure.
Notice: Do not attempt to force the sunshade
forward of the sliding glass panel. Damage will
occur and the sunroof may not open or close
properly.
2-35
Page 110 of 354
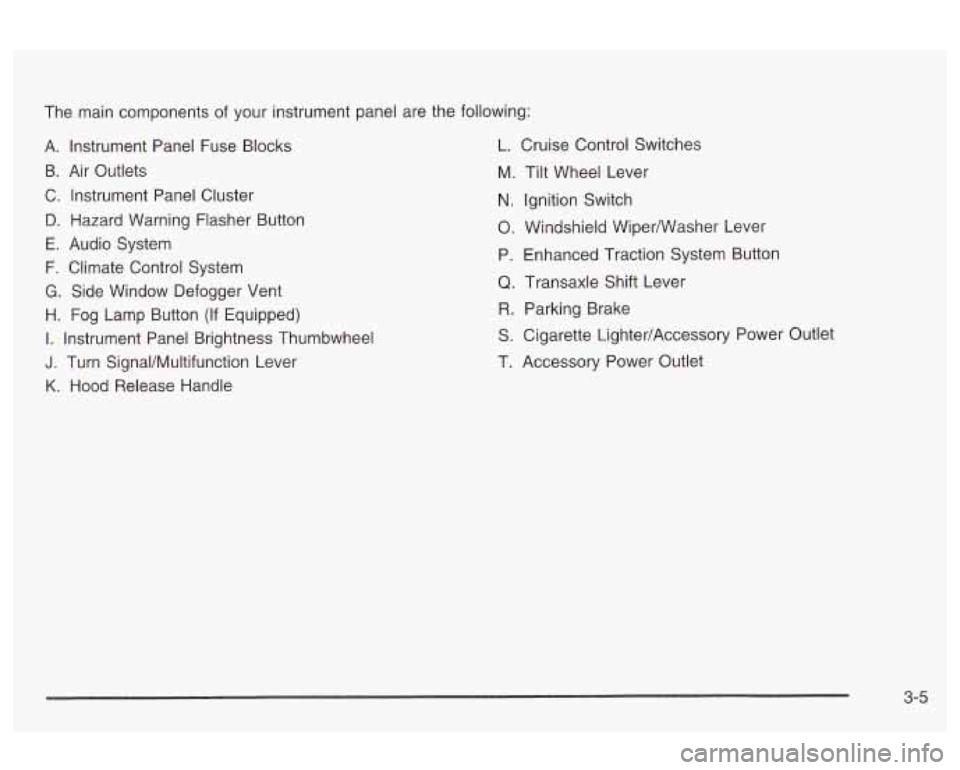
The main components of your instrument panel are the following:
A. Instrument Panel Fuse Blocks L. Cruise Control Switches
B. Air Outlets
C. Instrument Panel Cluster
D. Hazard Warning Flasher Button
E. Audio System
F. Climate Control System
G. Side Window Defogger Vent
H. Fog Lamp Button (If Equipped)
I. Instrument Panel Brightness Thumbwheel
J. Turn SignaVMultifunction Lever
K. Hood Release Handle M.
N.
0.
P,
Q
R
S
T.
Tilt
Wheel Lever
Ignition Switch
Windshieid Wiperwasher Lever
Enhanced Traction System Button
Transaxle Shift Lever Parking Brake
Cigarette Lighter/Accessory Power Outlet
Accessory Power Outlet
3-5
Page 113 of 354

Turn and Lane-Change Signals
The turn signal has two upward (for right) and two
downward (for left) positions. These positions allow you
to signal a turn or a lane change.
To signal a turn, move the lever all the way up or down.
When the turn is finished, the lever will return
automatically.
An arrow on the instrument
panel cluster will flash in
the direction
of the
turn or lane change.
To signal a lane change, just raise or lower the lever
until the arrow starts to flash. Hold it there until you
complete your lane change. The lever will return by itself
when you release it.
As you signal a turn or a lane change,
if the arrows
flash rapidly, a signal bulb may be burned out and other
drivers won’t see your turn signal.
If a bulb is burned out, replace it to help avoid an
accident.
If the arrows don’t go on at all when you signal
a turn, check for burned-out bulbs and then check the
fuse. See
Fuses and Circuit Breakers on page 5-81.
Turn Signal On Chime
If your turn signal is left on for more than 3/4 of a mile
(1.2 km), a chime will sound at each flash of the
turn signal.
To turn off the chime, move the turn signal
lever to the
off position.
Headlamps On Reminder
If you open the driver’s door and turn off the ignition
while leaving the lamps on, you will hear a warning
chime.
Headlamp High/Low-Beam Changer
To change the headlamps from low beam to high
beam, push the turn signaVmultifunction lever away
from you.
When the high beams are
on, a light on the
instrument panel cluster
will come on
if the ignition
is in
ON.
To change the headlamps from high beam to low beam,
pull the turn signal lever toward you.
3-8
Page 118 of 354
Using Cruise Control on Hills
How well your cruise control will work on hills depends
upon your speed, load and the steepness of the
hills. When going up steep hills, you may have to step
on the accelerator pedal to maintain your speed.
When going downhill, you may have to brake or
shift to
a lower gear to keep your speed down. Of course,
applying the brake takes you out
of cruise control. Many
drivers find this to be too much trouble and don’t use
cruise control on steep hills.
Ending Cruise Control
There are five ways to turn off the cruise control:
Step on the brake pedal.
Press the cruise control CANCEL button.
Press the cruise control RES ACCL button and the
CST SET buttons at the same time.
Press the cruise control ON OFF button. The
indicator liqht above the cruise control button
will turn
of.
Push the clutch pedal if your vehicle has a manual
transaxle.
Erasing Speed Memory
When you turn off the cruise control or the ignition, your
cruise control set speed memory
is erased.
Exterior Lamps
I
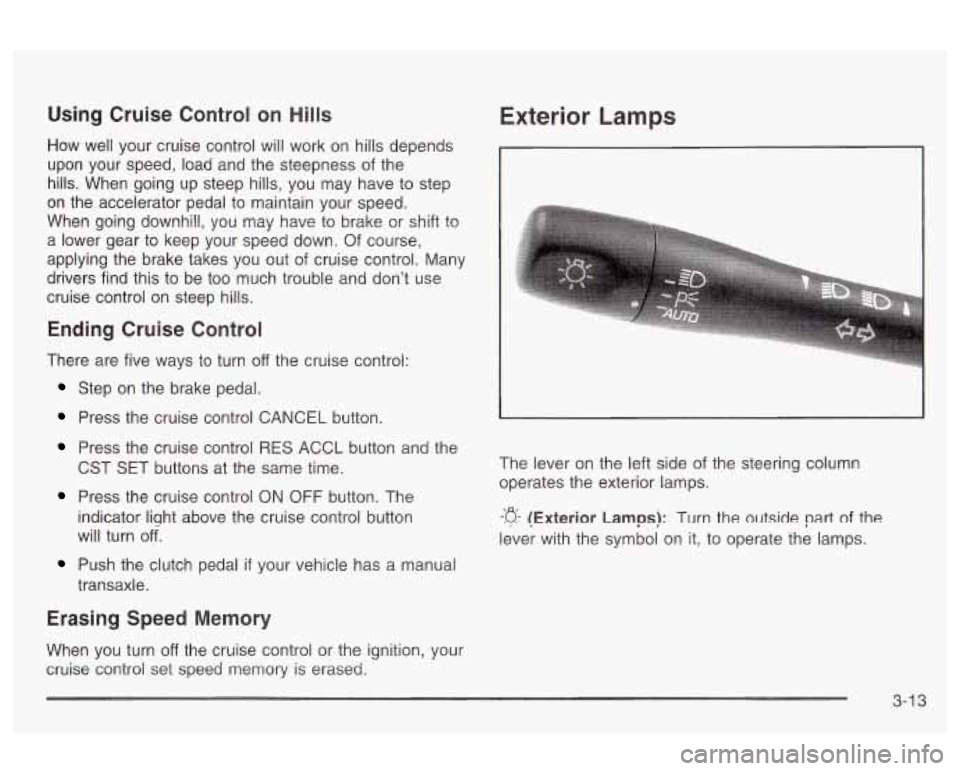
The lever on the left side of the steering column
operates the exterior lamps.
-p- (Exterior Lamps): Turn the outside part of the
lever with the symbol on it, to operate the lamps.
3-1 3
Page 119 of 354
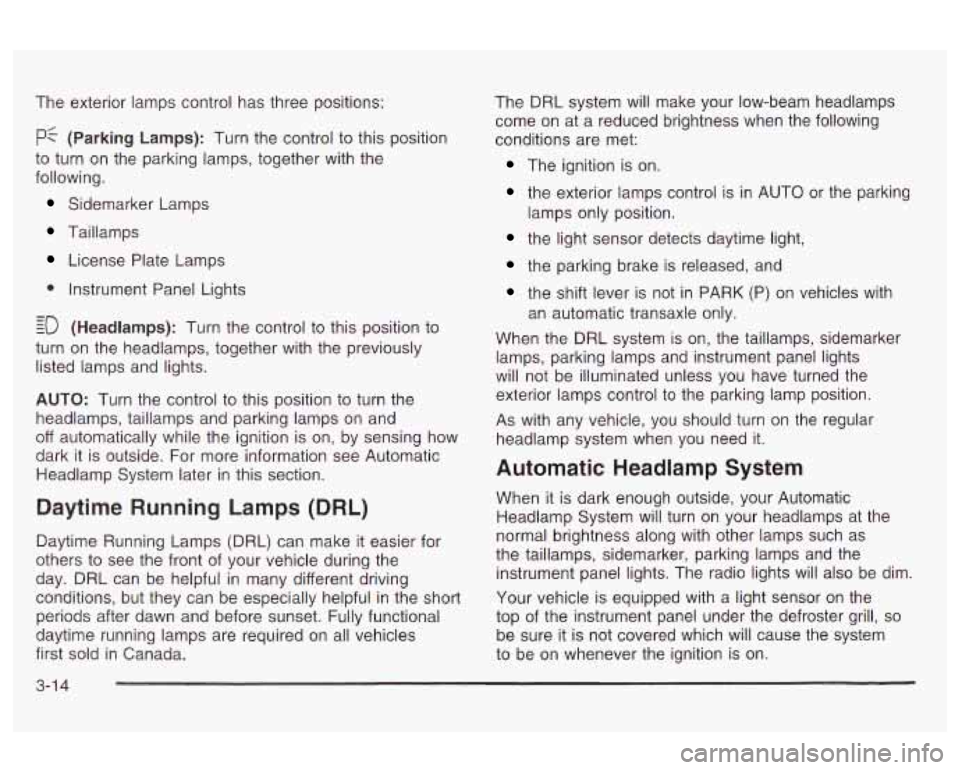
The exterior lamps control has three positions:
pf (Parking Lamps): Turn the control to this position
to turn on the parking lamps, together with the
following.
Sidemarker Lamps
Taillamps
License Plate Lamps
0 Instrument Panel Lights
- - EO (Headlamps): Turn the control to this position to
turn on the headlamps, together with the previously
listed lamps and lights.
AUTO: Turn the control to this position to turn the
headlamps, taillamps and parking lamps on and
off automatically while the ignition is on, by sensing how
dark it is outside. For more information see Automatic
Headlamp System later in this section.
Daytime Running Lamps (DRL)
Daytime Running Lamps (DRL) can make it easier for
others to see the front
of your vehicle during the
day. DRL can be helpful
in many different driving
conditions, but they can be especially helpful in the
short
periods after dawn and before sunset. Fully functional
daytime running lamps are required on all vehicles
first sold in Canada. The DRL
system will make your low-beam headlamps
come on at a reduced brightness when the following
conditions are met:
The ignition is on.
the exterior lamps control is in AUTO or the parking
the light sensor detects daytime light,
lamps
only position.
the parking brake is released, and
the shift lever is not in PARK (P) on vehicles with
When the DRL system
is on, the taillamps, sidemarker
lamps, parking lamps and instrument panel lights
will not be illuminated unless you have turned the
exterior lamps control to the parking lamp position.
As with any vehicle, you should turn on the regular
headlamp system when you need it. an
automatic transaxle only.
Automatic Headlamp System
When it is dark enough outside, your Automatic
Headlamp System will turn on your headlamps at the
normal brightness along with other lamps such as
the taillamps, sidemarker, parking lamps and the
instrument panel lights. The radio lights will also be dim.
Your vehicle is equipped with a light sensor on the
top of the instrument panel under the defroster grill,
so
be sure it is not covered which will cause the system
to be on whenever the ignition
is on.
3-1 4
Page 120 of 354

The system may also be on when driving through a
parking garage, heavy overcast weather or a tunnel.
This is normal.
There is a delay in the transition between the daytime
and nighttime operation of the DRL and the Automatic
Headlamp System
so that driving under bridges or bright
overhead street lights does not affect the system. The
DRL and Automatic Headlamp Systems will only be
affected when the light sensor sees a change in lighting
lasting longer than this delay.
To idle your vehicle with the system off, set the parkin9
brake while the ignition is
off. Then start the vehicle.
The system will stay
off until you release the parking
brake.
As with any vehicle, you should turn on the regular
headlamps when you need them.
Headlamps Off in PARK (P)
To turn the headlamps off when it is dark outside, turn
the exterior lamps control
to the parking lamp position.
In this position, the parking lamps, sidemarker lamps,
taillamps, license plate lamps and instrument panel
lights will be on, but the headlamps will be off.
To turn on the headlamps along with the other lamps
when it is dark outside, turn the exterior lamps control
to
the AUTO or headlamp position.
Delayed Headlamps
The delayed headlamps feature will continue to
illuminate the headlamps for
20 seconds after the key is
turned to
OFF, then the headlamps will automatically
turn off.
To override the
20 second delayed headlamp feature
while it is active turn the turn signal/muItifunction
lever up one position and then back
to AUTO.
Fog Lamps
If your vehicle has this feature, the button for your fog
lamps is located on the instrument panel, to the left
of the steering wheel, beside the instrument panel
brightness thumbwheel.
When using the fog lamps, the ignition must be on as
well as the parking lamps or the low-beam headlamps.
Press the button to turn the fog lamps on. An indicator
light on the button will glow when the fog lamps are on.
Press the button again to turn the fog lamps off.
TI-- I--. I ... :I1 I ..... LT . I. . . I I luy I~III~ WIII Lull1 UII WII~II~V~I iile iliyil-bed1r1
headlamps are turned on. When the high beams
are turned off, the fog lamps will come on again.
3-1 5