2003 Oldsmobile Alero low beam
[x] Cancel search: low beamPage 112 of 354

Tilt Wheel
A tilt wheel allows you to adjust the steering wheel
before you drive. You can raise it to the highest level to
give your legs more room when you exit and enter
your vehicle.
The lever that allows you to tilt the steering wheel is
located on the left side of the steering column.
Turn SignaVMultifunction Lever
I I
To tilt the wheel, hold the wheel and pull the lever
toward you. Then move the wheel
to a comfortable
position and release
the iever to iock the wheei in piace. The
lever on the left side of the steering column
includes the following:
Turn and Lane-Change Signals
Headlamp High/Low-Beam Changer
Flash-to-pass
For information on the exterior lamps. See
Exterior
Lamps on page 3-13 later in this section.
3-7
Page 113 of 354

Turn and Lane-Change Signals
The turn signal has two upward (for right) and two
downward (for left) positions. These positions allow you
to signal a turn or a lane change.
To signal a turn, move the lever all the way up or down.
When the turn is finished, the lever will return
automatically.
An arrow on the instrument
panel cluster will flash in
the direction
of the
turn or lane change.
To signal a lane change, just raise or lower the lever
until the arrow starts to flash. Hold it there until you
complete your lane change. The lever will return by itself
when you release it.
As you signal a turn or a lane change,
if the arrows
flash rapidly, a signal bulb may be burned out and other
drivers won’t see your turn signal.
If a bulb is burned out, replace it to help avoid an
accident.
If the arrows don’t go on at all when you signal
a turn, check for burned-out bulbs and then check the
fuse. See
Fuses and Circuit Breakers on page 5-81.
Turn Signal On Chime
If your turn signal is left on for more than 3/4 of a mile
(1.2 km), a chime will sound at each flash of the
turn signal.
To turn off the chime, move the turn signal
lever to the
off position.
Headlamps On Reminder
If you open the driver’s door and turn off the ignition
while leaving the lamps on, you will hear a warning
chime.
Headlamp High/Low-Beam Changer
To change the headlamps from low beam to high
beam, push the turn signaVmultifunction lever away
from you.
When the high beams are
on, a light on the
instrument panel cluster
will come on
if the ignition
is in
ON.
To change the headlamps from high beam to low beam,
pull the turn signal lever toward you.
3-8
Page 114 of 354

Flash-to-Pass Feature
This feature lets you use your high-beam headlamps to
signal a driver in front of you that you want
to pass.
To use it, pull the turn signaVmultifunction lever toward
you until the high-beam headlamps come on, then
release the lever to turn them
off.
Windshield Wipers
Use this lever located on the right side of the steering
wheel
to operate the windshield wipers.
OFF: Move the lever to OFF to turn off the windshield
wipers.
INT (Intermittent): Move the lever to INT to choose a
delayed wiping cycle. Turn the INT ADJ band down
for a longer delay or up for a shorter delay. The further
the INT ADJ band is turned upward, the shorter the
delay will be and the further the INT ADJ band is turned
downward, the longer the delay will be. The wiper
speed can only be adjusted when the lever is in the INT
position. Use this position for light rain or snow.
LO
(Low Speed): Move the lever up to the first setting
past INT, for steady wiping at low speed.
HI (High Speed): Move the lever up to the second
setting past INT, for steady wiping at high speed.
MIST: Move the lever all the way down to MIST for a
single wiping cycle. Hold it there until the windshield
wipers start; then let go. The windshield wipers will stop
after one wipe. If you want more wipes, hold the
band on mist longer.
Remember that damaged wiper blades may prevent you
damage, be sure
to clear ice and snow from the wiper
blades before using them. If they’re frozen to the
windshield, carefully loosen or thaw them.
If your blades
do become damaged, get new blades or blade inserts.
Heavy snow or Ice can overload your wiper motor-
A circuit breaker will stop the motor until it cools. Clear
away snow or ice
to prevent an overload.
t--- -,-:,, ... - 11 ---..-.L L- -I.-:.,- --&-I., T, -.,-:A IIUIII ~GGII ~y VVGII GI wuy~ I LW UIIVC; aalC;;ly. I u avulu
3-9
Page 119 of 354

The exterior lamps control has three positions:
pf (Parking Lamps): Turn the control to this position
to turn on the parking lamps, together with the
following.
Sidemarker Lamps
Taillamps
License Plate Lamps
0 Instrument Panel Lights
- - EO (Headlamps): Turn the control to this position to
turn on the headlamps, together with the previously
listed lamps and lights.
AUTO: Turn the control to this position to turn the
headlamps, taillamps and parking lamps on and
off automatically while the ignition is on, by sensing how
dark it is outside. For more information see Automatic
Headlamp System later in this section.
Daytime Running Lamps (DRL)
Daytime Running Lamps (DRL) can make it easier for
others to see the front
of your vehicle during the
day. DRL can be helpful
in many different driving
conditions, but they can be especially helpful in the
short
periods after dawn and before sunset. Fully functional
daytime running lamps are required on all vehicles
first sold in Canada. The DRL
system will make your low-beam headlamps
come on at a reduced brightness when the following
conditions are met:
The ignition is on.
the exterior lamps control is in AUTO or the parking
the light sensor detects daytime light,
lamps
only position.
the parking brake is released, and
the shift lever is not in PARK (P) on vehicles with
When the DRL system
is on, the taillamps, sidemarker
lamps, parking lamps and instrument panel lights
will not be illuminated unless you have turned the
exterior lamps control to the parking lamp position.
As with any vehicle, you should turn on the regular
headlamp system when you need it. an
automatic transaxle only.
Automatic Headlamp System
When it is dark enough outside, your Automatic
Headlamp System will turn on your headlamps at the
normal brightness along with other lamps such as
the taillamps, sidemarker, parking lamps and the
instrument panel lights. The radio lights will also be dim.
Your vehicle is equipped with a light sensor on the
top of the instrument panel under the defroster grill,
so
be sure it is not covered which will cause the system
to be on whenever the ignition
is on.
3-1 4
Page 120 of 354

The system may also be on when driving through a
parking garage, heavy overcast weather or a tunnel.
This is normal.
There is a delay in the transition between the daytime
and nighttime operation of the DRL and the Automatic
Headlamp System
so that driving under bridges or bright
overhead street lights does not affect the system. The
DRL and Automatic Headlamp Systems will only be
affected when the light sensor sees a change in lighting
lasting longer than this delay.
To idle your vehicle with the system off, set the parkin9
brake while the ignition is
off. Then start the vehicle.
The system will stay
off until you release the parking
brake.
As with any vehicle, you should turn on the regular
headlamps when you need them.
Headlamps Off in PARK (P)
To turn the headlamps off when it is dark outside, turn
the exterior lamps control
to the parking lamp position.
In this position, the parking lamps, sidemarker lamps,
taillamps, license plate lamps and instrument panel
lights will be on, but the headlamps will be off.
To turn on the headlamps along with the other lamps
when it is dark outside, turn the exterior lamps control
to
the AUTO or headlamp position.
Delayed Headlamps
The delayed headlamps feature will continue to
illuminate the headlamps for
20 seconds after the key is
turned to
OFF, then the headlamps will automatically
turn off.
To override the
20 second delayed headlamp feature
while it is active turn the turn signal/muItifunction
lever up one position and then back
to AUTO.
Fog Lamps
If your vehicle has this feature, the button for your fog
lamps is located on the instrument panel, to the left
of the steering wheel, beside the instrument panel
brightness thumbwheel.
When using the fog lamps, the ignition must be on as
well as the parking lamps or the low-beam headlamps.
Press the button to turn the fog lamps on. An indicator
light on the button will glow when the fog lamps are on.
Press the button again to turn the fog lamps off.
TI-- I--. I ... :I1 I ..... LT . I. . . I I luy I~III~ WIII Lull1 UII WII~II~V~I iile iliyil-bed1r1
headlamps are turned on. When the high beams
are turned off, the fog lamps will come on again.
3-1 5
Page 189 of 354

Here are some tips on night driving.
e
e
e
Drive defensively.
Don’t drink and drive.
Adjust your inside rearview mirror to reduce the
glare from headlamps behind you.
Since you can’t see as well, you may need to slow
down and keep more space between you and
other vehicles.
Slow down, especially on higher speed roads. Your
headlamps can light up only
so much road ahead.
In remote areas, watch for animals.
If you’re tired, pull off the road in a safe place
and rest.
No one can see as well at night as in the daytime. But
as we get older these differences increase. A
50-year-old driver may require at least twice as much
light to see the same thing at night as a 20-year-old.
What you do in the daytime can also affect your
night vision. For example,
if you spend the day in bright
sunshine you are wise to wear sunglasses. Your
eyes will have less trouble adjusting to night. But
if
you’re driving, don’t wear sunglasses at night. They may
cut down on glare from headlamps, but they also
make a lot of things invisible. You
can be temporarily blinded by approaching
headlamps. It can take a second or two, or even several
seconds, for your eyes to readjust
to the dark. When
you are faced with severe glare (as from a driver
who doesn’t lower the high beams, or a vehicle with
misaimed headlamps), slow down a little. Avoid staring
directly into the approaching headlamps.
Keep your windshield and all the glass on your vehicle
clean
- inside and out. Glare at night is made much
worse by dirt on the glass. Even the inside of the glass
can build up a film caused by dust. Dirty glass makes
lights dazzle and flash more than clean glass would,
making the pupils of your eyes contract repeatedly.
Remember that your headlamps light up far less of a
roadway when you are in a turn or curve. Keep
your eyes moving; that way, it’s easier
to pick out dimly
lighted objects. Just as your headlamps should be
checked regularly for proper aim,
so should your eyes
be examined regularly. Some drivers suffer from
night blindness
- the inability to see in dim light - and
aren’t even aware of it.
4-1 6
Page 262 of 354

Headlamp Aiming
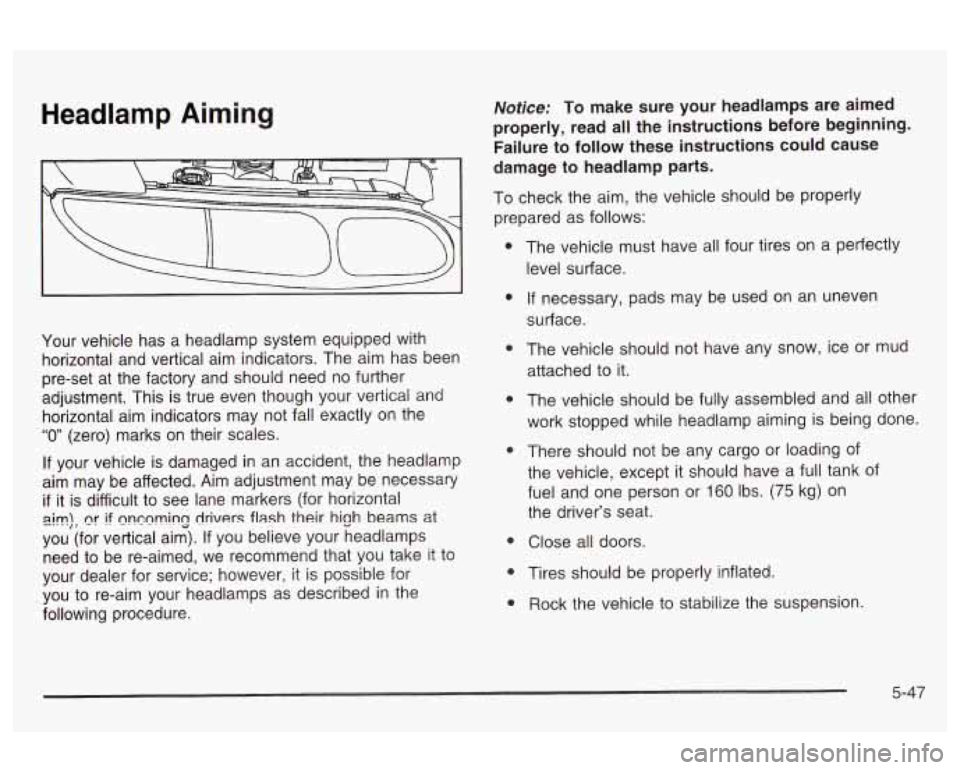
Your vehicle has a headlamp system equipped with
horizontal and vertical aim indicators. The aim has been
pre-set at the factory and should need no further
adjustment. This is true even fnough your vertieai
and
horizontal aim indicators may not fall exactly on the
“0 (zero) marks on their scales.
If your vehicle is damaged in an accident, the headlamp
aim may be affected. Aim adjustment may be necessary
if it is difficult to see lane markers (for horizontal
you (for vertical aim). If you believe your headlamps
need to be re-aimed,
we recommend that you take it to
your dealer for service; however, it is possible for
you to re-aim your headlamps as described in the
following procedure.
~im), nr if ~n~nmins drivers flash their hi9h beams at
Notice: To make sure your headlamps are aimed
properly, read all the instructions before beginning.
Failure to follow these instructions could cause
damage to headlamp parts.
To check the aim, the vehicle should be properly
prepared as follows:
The vehicle must have all four tires on a perfectly
level surface.
If necessary, pads may be used on an uneven
surface.
The vehicle should not have any snow, ice or mud
attached to it.
The vehicle should be fully assembled and aii other
work stopped while headlamp aiming is being done.
There should not be any cargo or loading of
the vehicle, except it should have a full tank of
fuel and one person or
160 Ibs. (75 kg) on
the driver’s seat.
Close all doors.
Tires should be properly inflated.
Rock the vehicle to stabilize the suspension.
5-47