2003 Oldsmobile Alero change time
[x] Cancel search: change timePage 156 of 354
Playing a Compact Disc
With the ignition on, insert a disc partway into the slot,
label side up. The player will pull it in and the disc
should begin playing. If you want to insert a CD when
the ignition is
off, first press the eject button or the RCL
knob.
If you insert a CD with the radio off and the
ignition on,
it will start to play.
When the disc is inserted, the CD symbol will be
displayed.
If you select an EQ setting for your CD, it will
be activated each time you play a CD.
As each new track starts to play, the track number will
appear on the display.
If an error appears on the display, see “Compact Disc
Messages’’ later in this section.
1 REV (Reverse): Press and hold this pushbutton to
reverse quickly within a track. You will hear sound at a
reduced volume. Release it to play the passage. The
display will show elapsed time.
2 Fwn {Fw!!!!zrt!): Press 2nd hn!d fhk pnchh!ttC)r? t!
advance quickly within a track. You will hear sound at a
reduced volume. Release it to play the passage. The
display will show elapsed time.
4 RDM (Random): Press this pushbutton to hear the
tracks in random, rather than sequential,
order.
RDM and the track number will appear on the display.
AUTO EQ (Automatic Equalizer): Press AUTO EQ to
select the desired equalization setting while playing
a compact disc. The equalization will be automatically
set whenever you play a compact disc. See “AUTO
EQ”
listed previously for more information.
< SEEK > : Press the left arrow to go to the start of
the current track
if more than eight seconds have
played. Press the right arrow to
go to the next track. If
you hold either button or press it more than once,
the player will continue moving backward or forward
through the disc.
< SCAN > : Press and hold either arrows for more
than two seconds until SCAN and the track number
appear on the display and you hear a beep. The disc will
go to the next track, play for
a few seconds, th-an go
on to the next track. Press either arrow again to
stop scanning.
RCL (Recall): Push this knob to see how long the
current track has been playing. To change the default
knob until you see the display you want, then hold the
knob until the display flashes. The selected display
will now be the default. While elapsed time is showing,
EL TM will appear on the display.
BAND: Press this buttm tG liste:: tG the radio when a
CD is playing. The inactive CD will remain safely
inside the radio for future listening.
n_ +Ln .J:-”.1-., {+“--I, ^I ^I,,,,A a:-- .-..-I- at-- VI I 11 IG ulaplay \LI acIn VI c1apr;u 111 I IG), pu31 I 11 IG
3-5 1
Page 159 of 354

RCL (Recall): Push this knob to switch the display
between the radio station frequency and the time.
Pushing this knob with the ignition off
Will display
the time.
For XMTM (USA only,
if your radio is equipped with
XMTM Satellite Radio Service), pressing this button while
in XMTM mode to retrieve various pieces of information
related to the current song or channel. By pressing
and releasing the RCL button, you may retrieve
four different categories of information: Artist,
Song Title, Category or PTY, Channel
NumberEhannel Name.
For DAB (Canada only,
if your radio is equipped with
DAB), pushing this knob switches the display between
channel name and PTY name.
To change the default on the display, push the knob
until you see the display you want, then hold the knob
until the display flashes. The selected display will
now be the default.
Finding a Station
BAND: Press this button to switch between AM, FM,
FM2, or XMI
, XM2 (USA only, if your radio is equipped
with XMTM Satellite Radio Service) or DABI, DAB2
(Canada only,
if your radio is equipped with DAB). The
display will show your selection.
TUNE: Turn this knob to select radio stations.
For DAB (Canada only,
if your radio is equipped with
DAB), the TUNE knob allows you to navigate the
DAB frequency range. Turning this knob will tune up or
tune down the range. The radio will display the letter
L with a number next to it (1 through 23). Each L number
refers to a frequency and there can be multiple
stations contained in one frequency. It may also take a
few seconds, once you have tuned to a frequency,
for that frequency
to gather all of the stations.
Depending on how many stations are within a frequency,
with every tune up or down, you may be tuning to
another station or to another frequency. The display will
show your selections.
< SEEK > : Press the right or the left arrow to go to
the next or to the previous station and stay there.
The radio will seek only to stations that are
in the
selected band and only to those with a strong signal.
3-54
Page 168 of 354

Playing a Compact Disc
With the ignition on, insert a disc partway into the slot,
label side up. The player will pull it in and the disc
should begin playing. If you want to insert a CD when
the ignition is
off, first press the eject button or the
RCL knob.
When the disc is inserted, the CD symbol will be
displayed.
If you select an EQ setting for your CD, it will
be activated each time you play a CD.
As each new track starts to play, the track number will
appear on the display.
If an error appears on the display, see “Compact Disc
Messages” later in this section.
1 REV (Reverse): Press and hold this pushbutton to
reverse quickly within a track.
You will hear sound at a
reduced volume. Release it to play the passage. The
display will show elapsed time.
2 FWD (Forward): Press and hold this pushbutton to
advance quickly within a track. You will hear sound at a
reduced voiume. Helease
it to play the passage. The
display
will show elapsed time.
4 RDM (Random): Press this pushbutton to hear the
tracks in random, rather than sequential, order.
RDM and the track number will appear on the display.
Press this pushbution again io turn off ranciom mode. AUTO
EQ (Automatic
Equalizer): Press this button to
select the desired equalization setting while playing a
compact disc. The equalization will be automatically set
whenever you play a compact disc. See “AUTO
EQ”
listed previously for more information.
< SEEK > : Press the left arrow to go to the start of
the current track
if more than eight seconds have
played. Press the right arrow to go to the next track.
If
you hold this button or press it more than once, the
player will continue moving backward or forward through
the disc.
< SCAN > : Press and hold either arrow for more
than two seconds until you hear a beep and SCAN
appears on the display. The disc will go to the next
track, play for a few seconds, then go on to the
next track. SCAN and the track number will appear on
the display. Press this button again to stop scanning.
RCL (Recall): Press this knob to see how long the
current track has been playing.
To change the default
on the display (track
or elapsed time), push the
knob until you see the display you want, then hold the
knob until the display flashes. The selected display
will now be the default. While elapsed time is showing,
EL TM will appear on the display.
BAND: Press this button to listen to the radio when a
CD is piaying.
3-63
Page 172 of 354
Notice; Do not try to clear frost or other material
from the inside
of the rear window with a razor blade
or anything else that
is sharp. This may damage
the rear defogger grid and affect your radio’s ability
to pick up stations clearly. The repairs wouldn’t
be covered by your warranty.
Because this antenna is built into your rear window,
there is a reduced risk of damage caused by car washes
and vandals.
If you choose to add a cellular telephone to your
vehicle, and the antenna needs to be attached to the
glass, be sure that you do not damage the grid lines for
the AM-FM antenna. There is enough space between
the lines to attach a cellular telephone antenna
without interfering with radio reception.
XM Satellite Radio Antenna System
Your XMTM Satellite Radio antenna is located on the
roof of your vehicle. Keep this antenna clear of
snow and ice build up for clear radio reception.
The performance of your
XM system may be affected if
your sunroof is open.
DAB Radio Antenna System
Your DAB antenna is located on the roof of your
vehicle. Keep this antenna clear of snow and ice build
up for clear radio reception.
If your vehicle is purchased in Canada and driven into
the United Stated the DAB radio antenna system will
not function. DAB radio reception is available in
Canada only.
The performance of your DAB antenna may be affected
if your sunroof is open.
Chime Level Adjustment
Chime level adjustment is only available on RDS radios.
The radio is the vehicle chime producer. The chime is
produced from the driver’s side front door speakers.
To change the volume level, press and hold
pushbutton 6 with the ignition on and the radio power
off. The chime volume level will change from the normal
level to loud, and
LOUD will be displaved on the
radio. To change back to the default or normal setting,
press and hold pushbutton
6 again. The chime level
will change from the loud level to normal, and
NORMAL
will be displayed. Each time the chime volume is
changed, three chimes will sound as an example of the
new volume selected.
Removing the radio and net
replacing it with a factory radio or chime module will
disable vehicle chimes.
3-67
Page 181 of 354
Using Anti-Lock
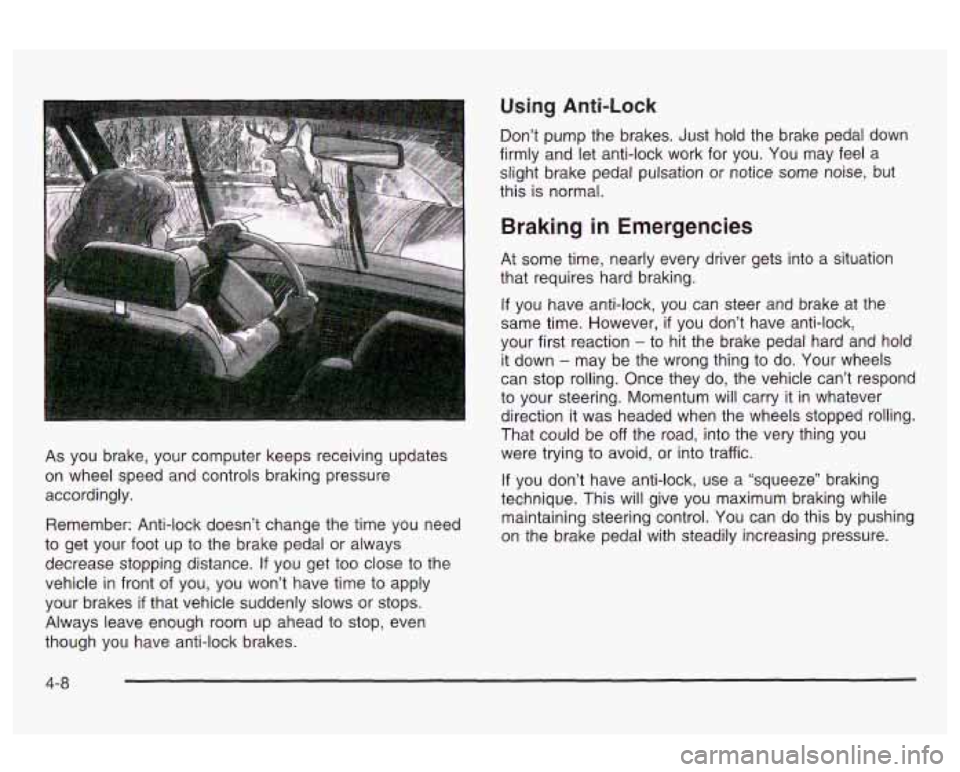
As you brake, your computer keeps receiving updates
on wheel speed and controls braking pressure
accordingly.
Remember: Anti-lock doesn’t change the time you need
to get your foot up to the brake pedal or always
decrease stopping distance.
If you get too close to the
vehicle
in front of you, you won’t have time to apply
your brakes
if that vehicle suddenly slows or stops.
Always leave enough room up ahead to stop, even
though you have anti-lock brakes. Don’t
pump the brakes. Just hold the brake pedal down
firmly and let anti-lock work for you. You may feel a
slight brake pedal pulsation or notice some noise, but
this is normal.
Braking in Emergencies
At some time, nearly every driver gets into a situation
that requires hard braking.
If you have anti-lock, you can steer and brake at the
same time. However,
if you don’t have anti-lock,
your first reaction
- to hit the brake pedal hard and hola
it down
- may be the wrong thing to do. Your wheels
can stop rolling. Once they do, the vehicle can’t respond
to your steering. Momentum will carry it in whatever
direction it was headed when the wheels stopped rolling.
That could be
off the road, into the very thing you
were trying to avoid, or into traffic.
If you don’t have anti-lock, use a “squeeze” braking
technique. This will give you maximum braking while
maintaining steering control. You can do this by pushing
on the brake pedal with steadily increasing pressure.
4-8
Page 183 of 354
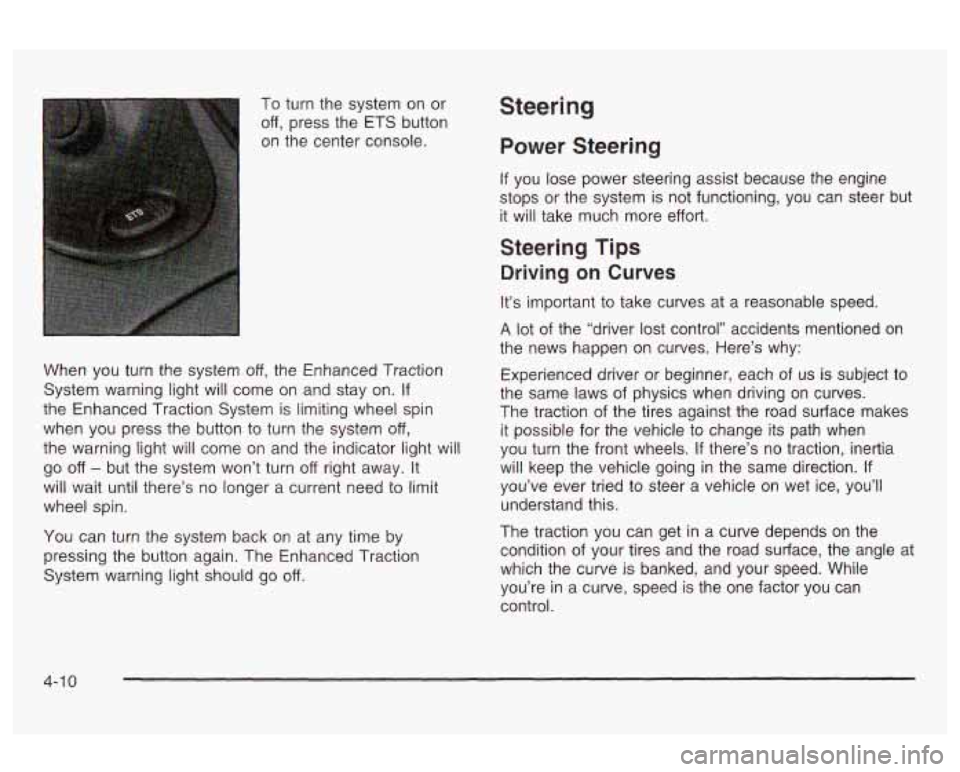
To turn the system on or
off, press the ETS button
on the center console.
When you turn the system
off, the Enhanced Traction
System warning light will come on and stay on.
If
the Enhanced Traction System is limiting wheel spin
when you press the button to turn the system
off,
the warning light will come on and the indicator light will
go off - but the system won’t turn off right away. It
will wait until there’s no longer a current need to limit
wheel spin.
You can turn the system back on at any time by
pressing the button again. The Enhanced Traction
System warning light should go
off.
Steering
Power Steering
If you lose power steering assist because the engine
stops or the system is not functioning,
you can steer but
it will take much more effort.
Steering Tips
Driving on Curves
It’s important to take curves at a reasonable speed.
A lot of the “driver lost control” accidents mentioned on
the news happen on curves. Here’s why:
Experienced driver or beginner, each
of us is subject to
the same laws of physics when driving on curves.
The traction of the tires against the road surface makes
it possible for the vehicle to change its path when
you turn the front wheels.
If there’s no traction, inertia
will keep the vehicle going in the same direction.
If
you’ve ever tried to steer a vehicle on wet ice, you’ll
understand this.
The traction you can get in a curve depends on the
condition of your tires and the road surface, the angle at
which the curve is banked, and your speed. While
you’re in a curve, speed is the one factor you can
control.
4-1 0
Page 187 of 354
Check your mirrors, glance over your shoulder, and
start your left lane change signal before moving out
of the right lane to pass. When you are far
enough ahead of the passed vehicle to see its front
in your inside mirror, activate your right lane
change signal and move back into the right lane.
(Remember that your right outside mirror is convex.
The vehicle you just passed may seem to be
farther away from you than it really is.)
Try not to pass more than one vehicle at a time on
two-lane roads. Reconsider before passing the
next vehicle.
Don’t overtake a slowly moving vehicle too rapidly.
Even though the brake lamps are not flashing, it
may be slowing down or starting to turn.
If you’re being passed, make it easy for the
following driver to get ahead of you. Perhaps you
can ease a little to the right.
Loss of Control
Let’s review what driving experts say about what
happens when the three control systems (brakes,
steering and acceleration) don’t have enough friction
where the tires meet the road to do what the driver
has asked.
Skidding
In a skid, a driver can lose control of the vehicle.
Defensive drivers avoid most skids by taking reasonable
care suited to existing conditions, and by not
“overdriving” those conditions. But skids are always
possible.
The three types of skids correspond to your vehicle’s
three control systems. In the braking skid, your wheels
aren’t rolling. In the steering or cornering skid, too
much speed or steering in a curve causes tires to slip
and lose cornering force. And in the acceleration
skid, too much throttle causes the driving wheels
to spin.
A cornering skid is best handled by easing your foot off
the accelerator pedal.
If you have the Enhanced Traction System, remember:
It helps to avoid only the acceleration skid. If you do
not have the Enhanced Traction System, or
if the system
is
off, then an acceleration skid is also best handled
by easing your foot
off the accelerator pedal.
If your vehicle starts to slide, ease your foot
off the
accelerator pedal and quickly steer the way you want
the vehicle to go.
If you start steering quickly enough,
your vehicle may straighten out. Always be ready
for a second skid
if it occurs.
In any emergency, don’t give up. Keep trying to steer
and constantly seek an escape route
or area of
less danger.
4-1 4
Page 209 of 354
Towing a Trailer
If you don’t use the correct equ,pment and
drive properly, you can lose control when you
pull a trailer. For example, if the trailer is too
heavy, the brakes may not work well
-- or even
at all.
You and your passengers could be
seriously injured. You may also damage your
vehicle; the resulting repairs would not be
covered by your warranty. Pull a trailer only
if
you have followed all the steps in this section.
Ask your dealer for advice and information
about towing a trailer with your vehicle. Your
vehicle can tow a trailer
if it is equipped with the
proper trailer towing equipment. To identify what
the vehicle trailering capacity is for your vehicle, you
should read the information in “Weight of the Trailer” that
appears later in this section. But trailering is different
than just driving your vehicle by itself. Trailering means
changes in handling, durability and fuel economy.
Successful, safe trailering takes correct equipment, and
it has to be used properly.
That’s the reason for this part. In it are many time-tested,
important trailering tips and safety rules. Many of
these are important for your safety and that of your
passengers.
So please read this section carefully before
you pull a trailer.
Load-pulling components such as the engine, transaxle,
wheel assemblies and tires are forced to work harder
against the drag of the added weight. The engine
is required to operate at relatively higher speeds and
under greater loads, generating extra heat. What’s more,
the trailer adds considerably to wind resistance,
increasing the pulling requirements.
4-36