2003 Oldsmobile Alero service schedule
[x] Cancel search: service schedulePage 2 of 354

The 2003 Oldsmobile Alero Owner Manual a
Seats and Restraint Systems ........................... 1-1
Front Seats
............................................... 1-2
Rear Seats
............................................... 1-8
Safety Belts
.............................................. 1-9
Child Restraints
....................................... 1-32
Supplemental Restraint System (SRS)
...................................... 1-53
Restraint System Check
............................ 1-60
Keys
........................................................ 2-2
Doors and Locks
....................................... 2-7
Windows
................................................. 2-1 4
Theft-Deterrent Systems ............................ 2-1 6
Starting and Operating Your Vehicle
........... 2-17
Mirrors
.................................................... 2-32
Siorage Areas
......................................... 2-34
Sunroof .................................................. 2-35
Instrument Panel Overview
.......................... 3-4
Climate Controls
...................................... 3-1 9
.w .arning Lights, Gages and indicators ......... 3-23
Audio System(s) ....................................... 3-38
Features and Controls
..................................... 2-1
Instrument Panel
............................................. 3-1 Driving Your Vehicle
....................................... 4-1
Your Driving, the Road, and Your Vehicle
..... 4-2
Towing
................................................... 4-31
Service
..................................................... 5-3
Fuel ......................................................... 5-5
Checking Things Under
the
Hood ............................................... 5-9
Headlamp Aiming
..................................... 5-47
Bulb Replacement .................................... 5-49
Windshield Wiper Blade Replacement
......... 5-52
Tires
...................................................... 5-53
Appearance Care
..................................... 5-72
Vehicle Identification
................................. 5-80
Electrical System
...................................... 5-81
Zapai;iiit=s at-tii ~J~LIIIL~LIUI I> 5-w~
Normal Maintenance Replacement Parts ...... 5-88
Maintenance Schedule ........................... ... 6-1
Maintenance Schedule
................................ 6-2
Customer Assistance Information
.................... 7-1
Customer
Assistance iniorrnation .................. 7-2
Index ................................................................. 1
Service
and Appearance Care
.......................... 5-1
n.- - -:I: - -1: - .- - .....................
Page 215 of 354
When You Are Ready to Leave After
Parking on a Hill
1. Apply your regular brakes and hold the pedal down
while you:
start your engine,
shift into a gear, and
release the parking brake.
2. Let up on the brake pedal.
3. Drive slowly until the trailer is clear of the chocks.
4. Stop and have someone pick up and store the
chocks.
Maintenance When Trailer Towing
Your vehicle will need service more often when you’re
pulling a trailer. See the Maintenance Schedule for more
on this. Things that are especially important in trailer
operation are automatic transaxle fluid (don’t overfill),
engine oil, drive belt, cooling system and brake system.
Each of these is covered in this manual, and the
Index will help you find them quickly. If you’re trailering,
it’s a good idea to review this information before you
start your trip.
Check periodically to see that all hitch nuts and bolts
are tight.
Engine Cooling When Trailer Towing
Your cooling system may temporarily overheat during
severe operating conditions. See
Engine Overheating on
page
5-26.
4-42
Page 236 of 354
Engine Air Cleaner/Filter 3. Check or replace the engine air cleaner/filter.
4. Put the cover back on tightly.
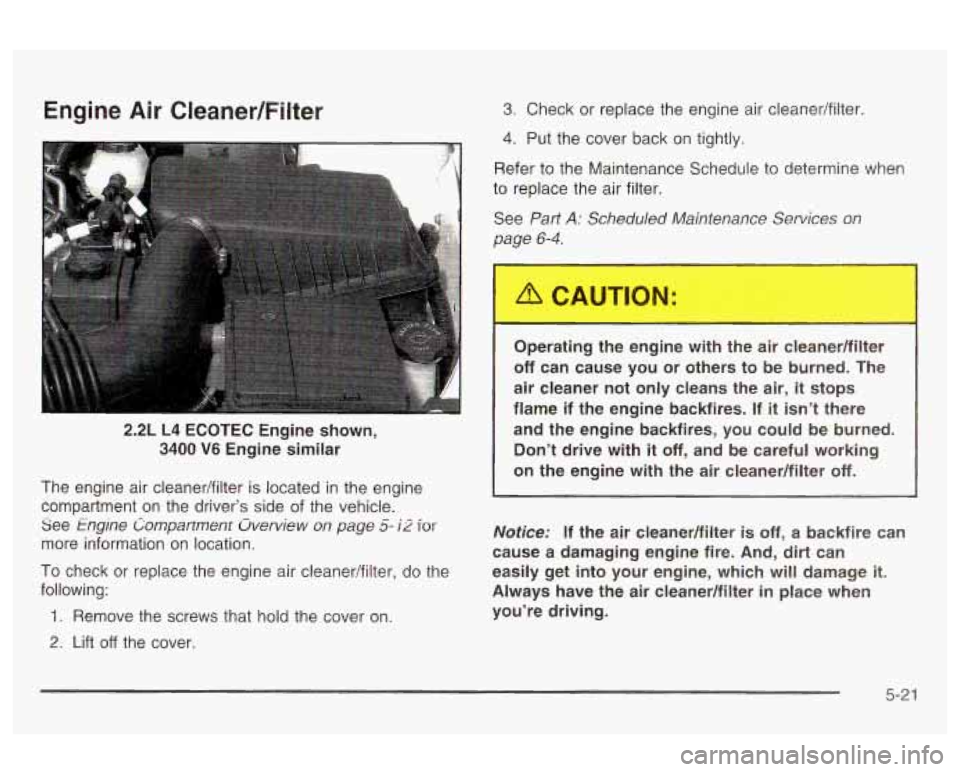
2.2L L4 ECOTEC Engine shown,
3400
V6 Engine similar
The engine air cleanedfilter is located in the engine
compartment on the driver’s side
of the vehicle.
See
Engine Compartment Overview on page 5- i2 ior
more information on location.
To check or replace the engine air cleaner/filter, do the
following:
1. Remove the screws that hold the cover on.
2. Lift off the cover. Refer
to the Maintenance Schedule to determine when
to replace the air filter.
See
Part A: Scheduled Maintenance Services on
page
6-4.
I--
Operating the engine with the air cleaner/filter
off can cause you or others to be burned. The
air cleaner not only cleans the air,
it stops
flame if the engine backfires.
If it isn’t there
and the engine backfires, you could be burned. Don’t drive with
it off, and be careful working
i on the engine with the air cleanerlfilter off.
Notice; If the air cleanerlfilter is off, a backfire can
cause a damaging engine fire. And, dirt can
easily get into your engine, which will damage
it.
Always have the air cleaner/filter in place when
you’re driving.
5-2 1
Page 238 of 354
When to Check and What to Use
Schedule to determine
how often you should
check the fluid level in your
master cylinder reservoir
and for the proper
fluid. See
Part B: Owner
Checks and Services
on page 6-9 and Part D:
Recommended Fluids
and Lubricants
on
page 6- 15.
How to Check and Add Fluid
You do not need to check the fluid level unless you
suspect a clutch problem. To check the fluid level, take
the cap
off. If the fluid level reaches the top of the
reservoir, the fluid level is correct. It isn’t a good idea to
top
off your clutch fluid. Adding fluid won’t correct a
leak. A fluid loss in this system could indicate a problem
Have the system inspected and repaired.
Engine Coolant
The cooling system in your vehicle is filled with
DEX-COOL@ engine coolant. This coolant is designed
to remain in your vehicle for 5 years or 150,000 miles
(240 000 km), whichever occurs first, if you add
only DEX-COOL@ extended life coolant.
The following explains your cooling system and how to
add coolant when
it is low. If you have a problem
with engine overheating, see
Engine Overheating on
page 5-26.
A 50/50 mixture of clean, drinkable water and
DEX-COOL@ coolant will:
Give freezing protection down to -34°F (-37°C).
Give boiling protection up to 265°F (1 29°C).
@ Protect against rust and corrosion.
@ Help keep the proper engine temperature.
Let the warning lights and gages work as they
should.
5-23
Page 270 of 354
Tire Inspection and Rotation
Tires should be rotated every 7,500 miles (12 500 km).
Any time you notice unusual wear, rotate your tires
as soon as possible and check wheel alignment. Also
check for damaged tires or wheels. See
When It Is Time
for New Tires on page
5-56 and Wheel Replacement
on page
5-59 for more information.
The purpose of regular rotation is to achieve more
uniform wear for all tires on the vehicle. The first rotation
is the most important. See “Part A: Scheduled
Maintenance Services,” in Section 6, for scheduled
rotation intervals. Don’t include the
compact spare tire in your tire rotation.
After the tires have been rotated, adjust the front and
rear inflation pressures as shown
on the Tire-Loading
Information label.
Make certain that all wheel nuts are properly tightened.
See “Wheel Nut Torque” under
Capacities and
Specifications on page
5-86.
Rust or dirt on a wheel, or or parts to
which
it is fastened, can make wheel nuts
become loose after a time. The wheel could
come
off and cause an accident. When you
change a wheel, remove any rust
or dirt from
places where the wheel attaches to the vehicle.
In an emergency, you can use a cloth or a
paper towel to do
this; but be sure to use a
3cllCapcI VI VVll c; ut U3If IBLGI, II ywu IIG‘CSU LW, LW
get all the rust or dirt off. See “Changing a Flat
Tire”
in the Index.
--_ .------ -_. ... :-- L”..-L I-*-” :+ .--. ~ “...-A 4- 4-
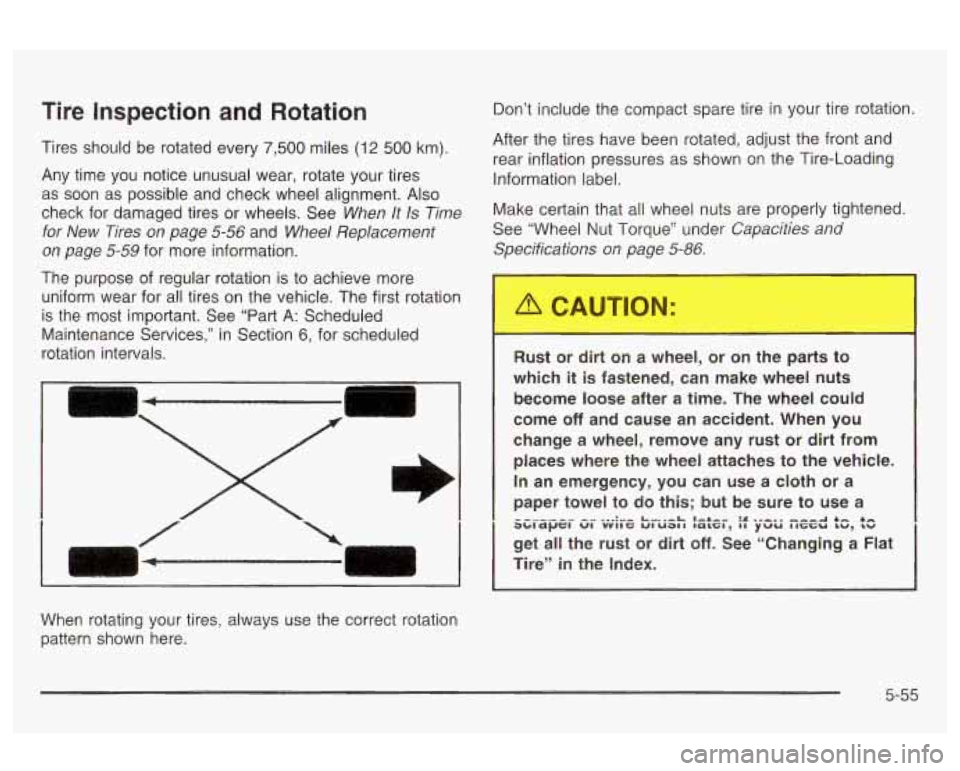
When rotating your tires, always use the correct rotation
pattern shown here.
5-55
Page 273 of 354
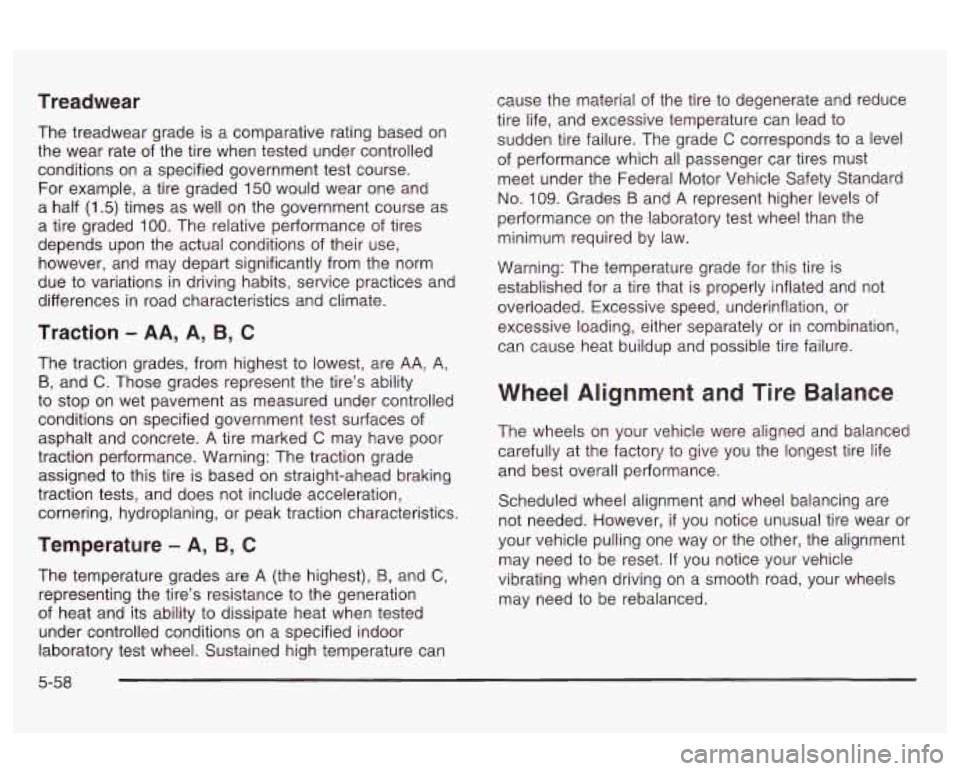
Treadwear
The treadwear grade is a comparative rating based on
the wear rate of the tire when tested under controlled
conditions on a specified government test course.
For example, a tire graded
150 would wear one and
a half
(1.5) times as well on the government course as
a tire graded
100. The relative performance of tires
depends upon the actual conditions of their use,
however, and may depart significantly from the norm
due
to variations in driving habits, service practices and
differences in road characteristics and climate.
Traction - AA, A, B, C
The traction grades, from highest to lowest, are AA, A,
B, and C. Those grades represent the tire’s ability
to stop on wet pavement as measured under controlled
conditions on specified government test surfaces of
asphalt and concrete.
A tire marked C may have poor
traction performance. Warning: The traction grade
assigned
to this tire is based on straight-ahead braking
traction tests, and does not include acceleration,
cornering, hydroplaning, or peak traction characteristics.
Temperature - A, B, C
The temperature grades are A (the highest), B, and C,
representing the tire’s resistance to the generation
of heat and its ability
to dissipate heat when tested
under controlled conditions on a specified indoor
laboratory test wheel. Sustained high temperature can cause
the material of the tire to degenerate and reduce
tire life, and excessive temperature can lead
to
sudden tire failure. The grade C corresponds to a level
of performance which all passenger car tires must
meet under the Federal Motor Vehicle Safety Standard
No. 109. Grades B and A represent higher levels of
performance on the laboratory test wheel than the
minimum required by law.
Warning: The temperature grade for this tire is
established for a tire that is properly inflated and not
overloaded. Excessive speed, underinflation, or
excessive loading, either separately or in combination,
can cause heat buildup and possible tire failure.
Wheel Alignment and Tire Balance
The wheels on your vehicle were aligned and balanced
carefully at the factory
to give you the longest tire life
and best overall performance.
Scheduled wheel alignment and wheel balancing are not needed. However,
if you notice unusual tire wear or
your vehicle pulling one way
or the other, the alignment
may need to be reset. If you notice your vehicle
vibrating when driving on a smooth road, your wheels
may need to be rebalanced.
5-58
Page 304 of 354
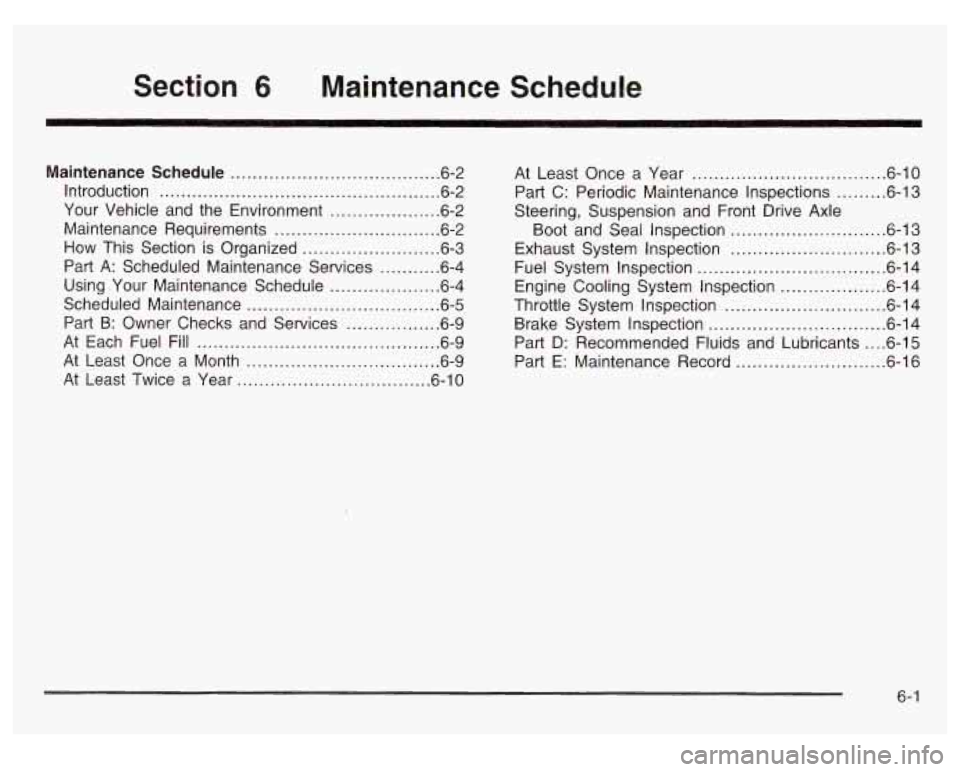
Section 6 Maintenance Schedule
Maintenance Schedule ...................................... 6.2
Introduction
................................................... 6.2
Your Vehicle and the Environment
.................... 6-2
Maintenance Requirements
.............................. 6-2
How This Section
is Organized ......................... 6-3
Part A: Scheduled Maintenance Services
........... 6-4
Using Your Maintenance Schedule
.................... 6-4
Scheduled Maintenance
................................... 6-5
Part B: Owner Checks and Services
................. 6-9
At Each Fuel Fill ............................................ 6-9
At Least Once a Month ................................... 6-9
At Least Twice a Year ................................... 6-10 At
Least Once a Year
................................... 6.10
Part C: Periodic Maintenance inspections
......... 6.13
Steering, Suspension and Front Drive Axle
Boot and Seal inspection
............................ 6.13
Exhaust System Inspection
............................ 6.13
Fuel System Inspection
.................................. 6.14
Engine Cooling System Inspection
................... 6.14
Throttle System Inspection
............................. 6.14
Brake System inspection
................................ 6.14
Part D: Recommended Fluids and Lubricants
.... 6-15
Part E: Maintenance Record
........................... 6.16
6- 1
Page 306 of 354
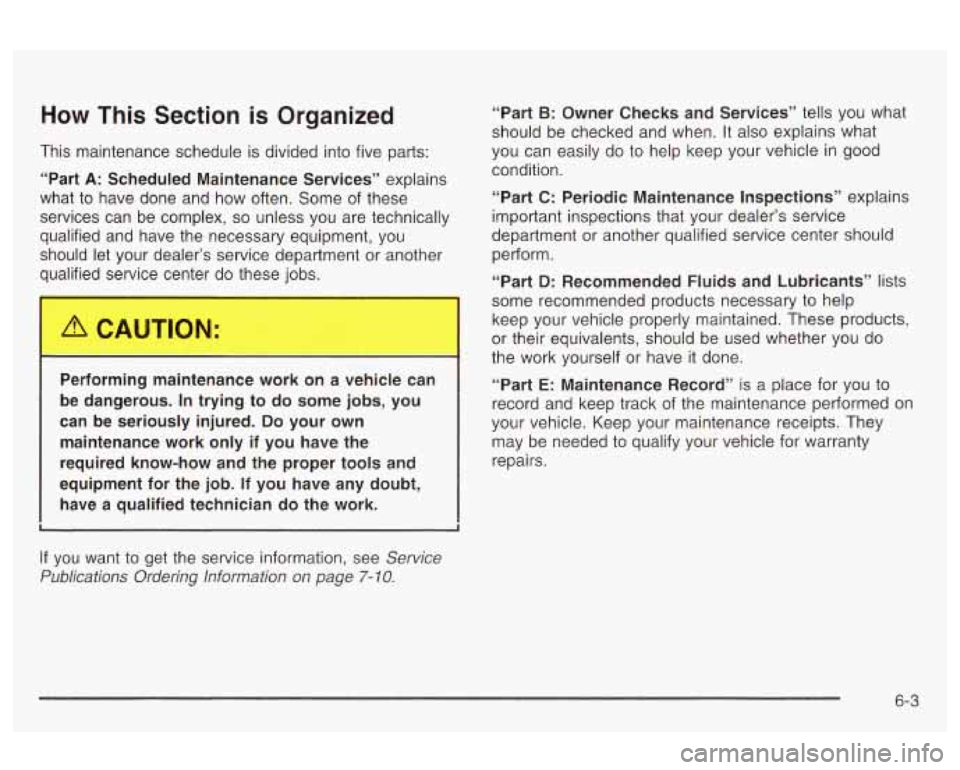
How This Section is Organized
This maintenance schedule is divided into five parts: “Part
B: Owner Checks and Services”
tells you what
should be checked and when. It also explains what
you can easily do to help keep your vehicle
in good
“Part
A: Scheduled Maintenance Services” explains
what to have done and how often. Some of these “Part C: Periodic Maintenance Inspections” explains
services can be complex,
so unless you are technically important inspections that your dealer’s service
qualified and have the necessary equipment, you department or another qualified service center should
should let your dealer’s service department or another perform.
qualified service center do these jobs. condition.
“Part
D: Recommended Fluids and Lubricants” lists
some recommended products necessary to help
keep your vehicle properly maintained. These products,
or their equivalents, should be used whether you do
I the work yourself or have it done. I
Per- _-‘ming mainten_---ce work on a vehicle can
be dangerous.
In trying to do some jobs, you
can be seriously injured. Do your own
maintenance work only
if you have the
required know-how and the proper tools and
equipment for the job.
If you have any doubt,
have a qualified technician
do the work. “Part
E: Maintenance Record”
is a place for you to
record and keep track of the maintenance performed on
your vehicle. Keep your maintenance receipts. They
may be needed to qualify your vehicle for warranty
repairs.
If you want to get the service information, see Service
Publications Ordering information
on page 7- 10.
6-3