2003 NISSAN MAXIMA display
[x] Cancel search: displayPage 45 of 247

2 Instruments and controlsInstrument panel ....................................................... 2-2
Meters and gauges ................................................... 2-3
Speedometer and odometer ................................ 2-4
Tachometer .......................................................... 2-4
Engine coolant temperature gauge ...................... 2-5
Fuel gauge ........................................................... 2-5
Compass display (if so equipped)............................. 2-6
Warning/indicator lights and audible reminders ........ 2-9
Checking bulbs ..................................................... 2-9
Warning lights....................................................... 2-9
Indicator lights .................................................... 2-12
Audible reminders .............................................. 2-13
Security systems ..................................................... 2-14
Vehivle security system ...................................... 2-14
Nissan Vehicle Immobilizer System .................. 2-15
Windshield wiper and washer switch ...................... 2-16
Rear window and outside mirror (if so equipped)
defogger switch ....................................................... 2-17
Headlight and turn signal switch ............................. 2-18
Xenon headlights................................................ 2-19
Headlight switch ................................................. 2-19
Turn signal switch .............................................. 2-21
Fog light switch (if so equipped) ............................. 2-21
Hazard warning flasher switch ................................ 2-22Horn......................................................................... 2-22
Heated seats (if so equipped) ................................. 2-23
Heated steering wheel (if so equipped) .................. 2-24
Traction control system (TCS) cancel switch
(if so equipped) ....................................................... 2-24
Power outlet ............................................................ 2-24
Cigarette lighter and ashtray (accessory) ............... 2-25
Storage .................................................................... 2-26
Trays................................................................... 2-26
Sunglasses holder .............................................. 2-26
Cup holder .......................................................... 2-27
Glove box ........................................................... 2-27
Console box ....................................................... 2-28
Cargo net (if so equipped) ................................. 2-28
Windows .................................................................. 2-29
Power windows .................................................. 2-29
Sunroof (if so equipped) ......................................... 2-31
Automatic sunroof .............................................. 2-31
Clock ....................................................................... 2-32
Adjusting the time............................................... 2-32
Trip computer .......................................................... 2-32
Interior light ............................................................. 2-34
Ceiling................................................................. 2-34
Personal light .......................................................... 2-35
Z
02.7.12/A33-D/V5.0
X
Page 49 of 247

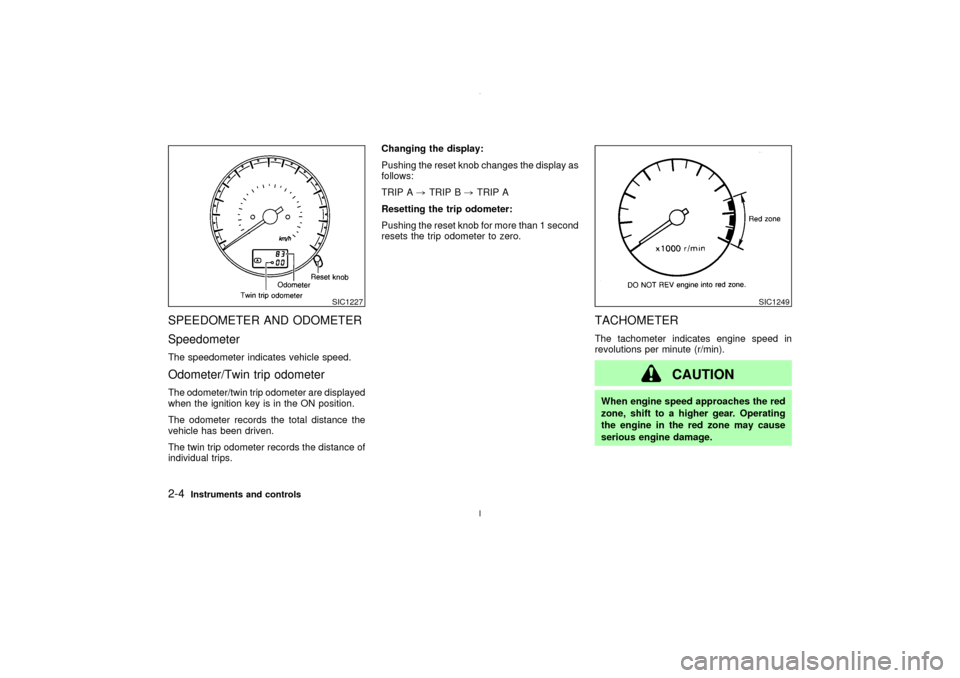
SPEEDOMETER AND ODOMETER
SpeedometerThe speedometer indicates vehicle speed.Odometer/Twin trip odometerThe odometer/twin trip odometer are displayed
when the ignition key is in the ON position.
The odometer records the total distance the
vehicle has been driven.
The twin trip odometer records the distance of
individual trips.Changing the display:
Pushing the reset knob changes the display as
follows:
TRIP A,TRIP B,TRIP A
Resetting the trip odometer:
Pushing the reset knob for more than 1 second
resets the trip odometer to zero.
TACHOMETERThe tachometer indicates engine speed in
revolutions per minute (r/min).
CAUTION
When engine speed approaches the red
zone, shift to a higher gear. Operating
the engine in the red zone may cause
serious engine damage.
SIC1227
SIC1249
2-4
Instruments and controls
Z
02.7.12/A33-D/V5.0
X
Page 51 of 247

The low fuel warning light comes on when
the fuel tank is getting low. Refuel as soon
as it is convenient, preferably before the
gauge reaches E. There will be a small
reserve of fuel in the tank when the fuel
gauge needle reaches E.
The
indicates that the fuel filler lid is
located on the driver's side of the vehicle.
CAUTION
IIf the vehicle runs out of fuel, the
malfunction indicator lamp
(MIL) may come on. Refuel as soon as
possible. After a few driving trips, thelamp should turn off. If the lamp
remains on after a few driving trips,
have the vehicle inspected by an au-
thorized NISSAN dealer.
IFor additional information, see the
ªMalfunction indicator lamp (MIL)º
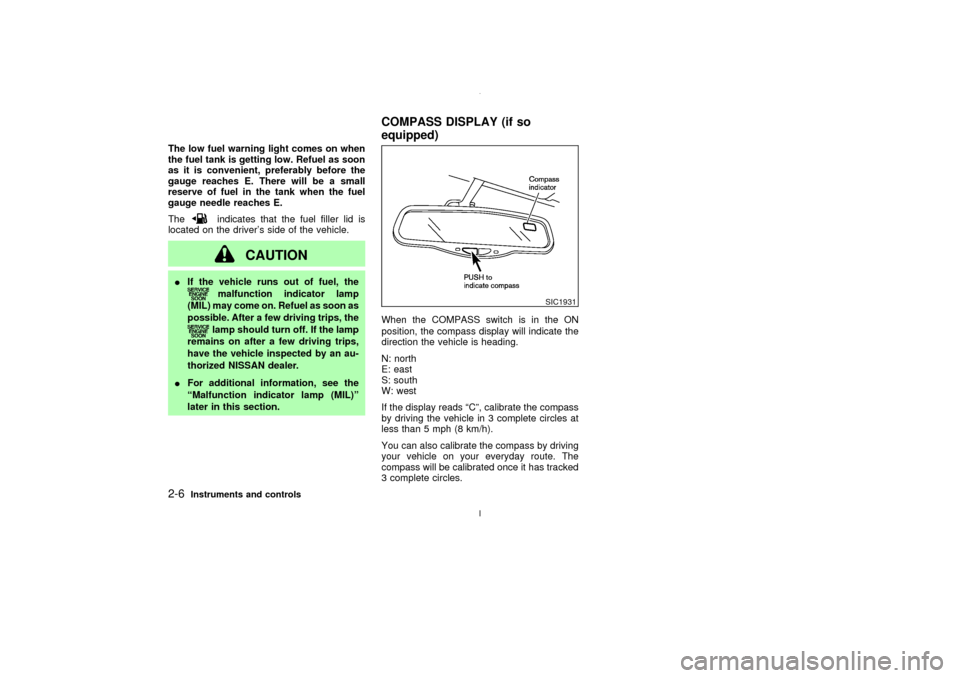
later in this section.When the COMPASS switch is in the ON
position, the compass display will indicate the
direction the vehicle is heading.
N: north
E: east
S: south
W: west
If the display reads ªCº, calibrate the compass
by driving the vehicle in 3 complete circles at
less than 5 mph (8 km/h).
You can also calibrate the compass by driving
your vehicle on your everyday route. The
compass will be calibrated once it has tracked
3 complete circles.
SIC1931
COMPASS DISPLAY (if so
equipped)
2-6
Instruments and controls
Z
02.7.12/A33-D/V5.0
X
Page 52 of 247

Zone variation change procedureThe difference between magnetic north and
geographical north is known as variance. In
some areas, this difference can sometimes be
great enough to cause false compass read-
ings. Follow these instructions to set the vari-
ance for your particular location if this hap-
pens:
1. Press the COMPASS switch for more than
3 seconds. The current zone number will
appear in the display.
2. Find your current location and variance one
number on the zone map.
3. Press the COMPASS switch until the new
zone number appears in the display. After
you stop pressing the switch in, the display
will show a compass direction within a few
seconds.
Inaccurate compass direction:
1. With the display turned on, push the COM-
PASS switch for 3 seconds, until the zone
selection comes up (a number will be dis-
played in the mirror compass window).
2. Toggle until correct zone is found and re-
lease switch.
3. The display will show all segments, and
return to the normal compass mode within
SIC0611
Instruments and controls
2-7
Z
02.7.12/A33-D/V5.0
X
Page 77 of 247

sunroof is opened. However, it must be closed
manually.
WARNING
IIn an accident you could be thrown
from the vehicle through an open
sunroof. Always use seat belts and
child restraints.
IDo not allow anyone to stand up or
extend any portion of their body out
of the opening while the vehicle is in
motion or while the sunroof is clos-
ing.
CAUTION
IRemove water drops, snow, ice or
sand from the sunroof before open-
ing.
IDo not place any heavy object on the
sunroof or surrounding area.If the sunroof does not closeHave your NISSAN dealer check and repair
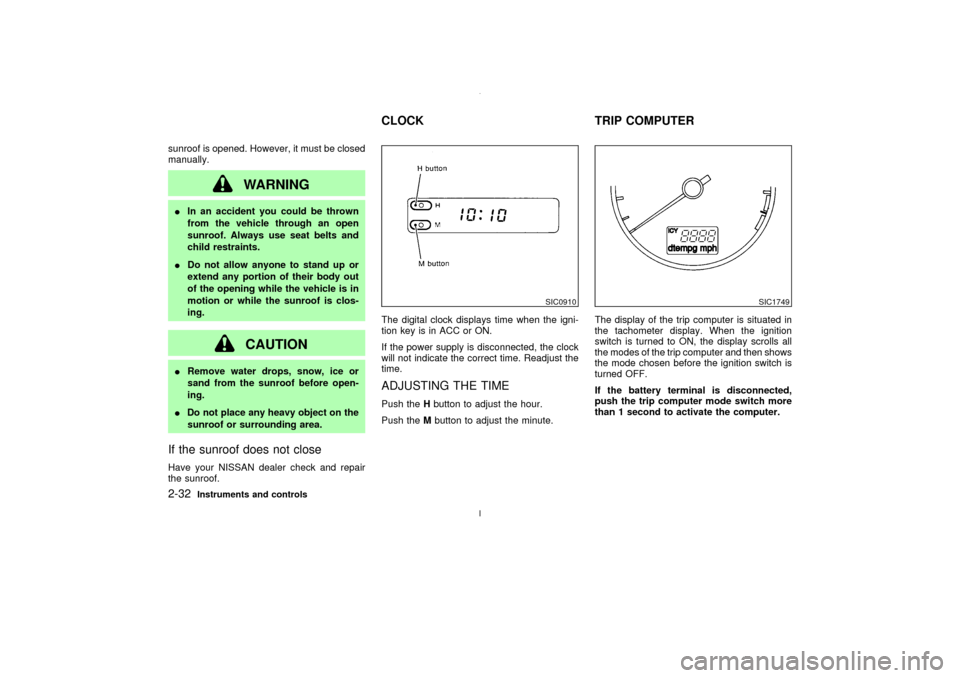
the sunroof.The digital clock displays time when the igni-
tion key is in ACC or ON.
If the power supply is disconnected, the clock
will not indicate the correct time. Readjust the
time.
ADJUSTING THE TIMEPush theHbutton to adjust the hour.
Push theMbutton to adjust the minute.The display of the trip computer is situated in
the tachometer display. When the ignition
switch is turned to ON, the display scrolls all
the modes of the trip computer and then shows
the mode chosen before the ignition switch is
turned OFF.
If the battery terminal is disconnected,
push the trip computer mode switch more
than 1 second to activate the computer.
SIC0910
SIC1749
CLOCK TRIP COMPUTER
2-32
Instruments and controls
Z
02.7.12/A33-D/V5.0
X
Page 78 of 247

When the ignition switch is turned to ON,
modes of the trip computer can be selected by
pushing once on the trip mode switch. The
following modes can be selected:Outside air temperature (ICY Ð ÉF
or ÉC)The outside air temperature is displayed in ÉF
or ÉC.
The outside air temperature mode includes a
low temperature warning feature: below 37ÉF
(3ÉC), the outside air temperature mode is
automatically selected and ICY indicator will
illuminate in order to draw the driver's atten-tion. Press the mode switch if you wish to
return to the mode that was selected before
the warning occurred. The ICY indicator will
continue blinking as long as the temperature
remains below 39ÉF (4ÉC).
Distance to empty (dte Ð mile or
km)The distance to empty (dte) mode provides
you with an estimation of the distance that can
be driven before refueling. The dte is con-
stantly being calculated, based on the amount
of fuel in the fuel tank and the actual fuel
consumption.
The display is updated every 30 seconds.
The dte mode includes a low range warning
feature: when the fuel level is low, the dte
mode is automatically selected and the digits
blink in order to draw the driver's attention.
Press the mode switch if you wish to return to
the mode that was selected before the warning
occurred. The dte mark (dte) will remain blink-
ing until the vehicle is refuelled.
When the fuel level drops even lower, the dte
display will change to (
).
NOTE:
IIf the amount of fuel added while the
ignition switch is OFF is small, the dis-play just before the ignition switch is
turned OFF may continue to be dis-
played.
IWhen driving uphill or rounding curves,
the fuel in the tank shifts, which may
momentarily change the display.
Average fuel consumption
(
or
)
The Average fuel consumption mode shows
the average fuel consumption since the last
reset. Resetting is done by pressing the mode
switch for more than approximately 1 second.
The display is updated every 30 seconds. At
about the first 1/3 miles (500 m) after a reset,
the display shows (
).
Average speed (
or
)
The average speed mode shows the average
vehicle speed since last reset. Resetting is
done by pressing the mode switch for more
than approximately 1 second. The display is
updated every 30 seconds. The first 30 sec-
onds after a reset, the display shows (
).
Journey timeThe journey time mode shows the time since
the last reset. The displayed time can be reset
by pressing the mode switch for more than
approximately 1 second.
SIC1750
Instruments and controls
2-33
Z
02.7.12/A33-D/V5.0
X
Page 79 of 247

NOTE:
If a low temperature warning and low range
warning occur simultaneously, other dis-
play modes switch automatically to the
outside temperature display.
When the mode switch is pushed, the dis-
play switches to the mode chosen before
the warning display, and the ICY indicator
will blink.
CEILINGThe ceiling light has a three-position switch.
When the switch is in the centerqposition, the
light will illuminate when a door is opened.
The light will stay on for about 30 seconds
when:
IThe doors are unlocked by the keyfob, a
key or the lock-unlock switch while all doors
are closed.
IThe driver's door is opened and then closed
while the key is removed from the ignition
switch.IThe key is removed from the ignition switch
while all doors are closed.
The ceiling light will turn off while the 30
second timer is activated, when:
IThe driver's door is locked either with the
keyfob, a key, or the lock-unlock switch.
IThe ignition switch is turned ON.
When the interior light switch or personal
light switch is in the ON position, the inte-
rior, personal, and vanity mirror lights will
automatically turn off 30 minutes after the
ignition switch has been turned to the OFF
position. To turn on the light again, insert
the key into the ignition switch and move it
to the ON position.
After the above procedure, the interior, per-
sonal, and vanity mirror lights will automati-
cally turn off 30 minutes after the latest opera-
tion of the following with the ignition switch in
the ACC or OFF position:
IOpening or closing any door
ILocking or unlocking with the keyfob, a key
or the lock-unlock switch.
IInserting or removing a key from the ignition
switch
These lights will turn on again when any of the
IC1226
INTERIOR LIGHT
2-34
Instruments and controls
Z
02.7.12/A33-D/V5.0
X
Page 115 of 247

1. Push the AUTO button on. (AUTO will be
displayed.)
2. Turn the temperature set dial to the left or
right to set the desired temperature.
IAdjust the temperature set dial to about
75ÉF (24ÉC) for normal operation.
IThe temperature of the passenger compart-
ment will be maintained automatically. Air
flow distribution and fan speed are also
controlled automatically.Heating (ECON)The air conditioner does not activate. When
you need to heat only, use this mode.
1. Push the ECON (Economy) button on.
(ECON will be displayed.)
2. Turn the temperature set dial to the left or
right to set the desired temperature.
IThe temperature of the passenger compart-
ment will be maintained automatically. Air
flow distribution and fan speed are also
controlled automatically.
IDo not set the temperature lower than the
outside air temperature. Otherwise the sys-
tem may not work properly.
INot recommended if windows fog up.
Dehumidified defrosting or defogging1. Push the DEF button
on. (The indica-
tor light on the button will come on.)
2. Turn the temperature set dial to the left or
right to set the desired temperature.
ITo quickly remove ice from the outside of
the windows, push the manual fan control
button
and set to the maximum posi-
tion.
IAs soon as possible after the windshield is
clean, push the AUTO button to return to
the auto mode.
IWhen the DEF button
is pushed, the
air conditioner will automatically be turned
on at outside temperatures above 23ÉF
(þ5ÉC) to defog the windshield, and the air
recirculate mode will automatically be
turned off.
Outside air is drawn into the passenger
compartment to improve the defogging per-
formance.
MANUAL OPERATION
Fan speed controlPush the fan control button
to manually
control the fan speed.Push the AUTO button to return to automatic
control of the fan speed.
Air recirculationPush the air recirculation button
to recir-
culate interior air inside the vehicle. The indi-
cator light on the switch will come on.
Push it again to make the air inlet controlled
automatically (FRESH, REC/FRE and
RECIRCULATION). The indicator will go out.
The air recirculation button will not be acti-
vated when the air conditioner is in DEF mode.
Air flow controlPushing the manual air flow control button
selects the air outlet to:
: Air flows from center and side ventila-
tors.: Air flows from center and side ventila-
tors and foot outlets.: Air flows mainly from foot outlets.: Air flows from defroster and foot out-
lets.
To turn the system offPush the OFF button.
4-10
Heater, air conditioner and audio systems
Z
02.7.12/A33-D/V5.0
X