2003 NISSAN 350Z oil level
[x] Cancel search: oil levelPage 45 of 227
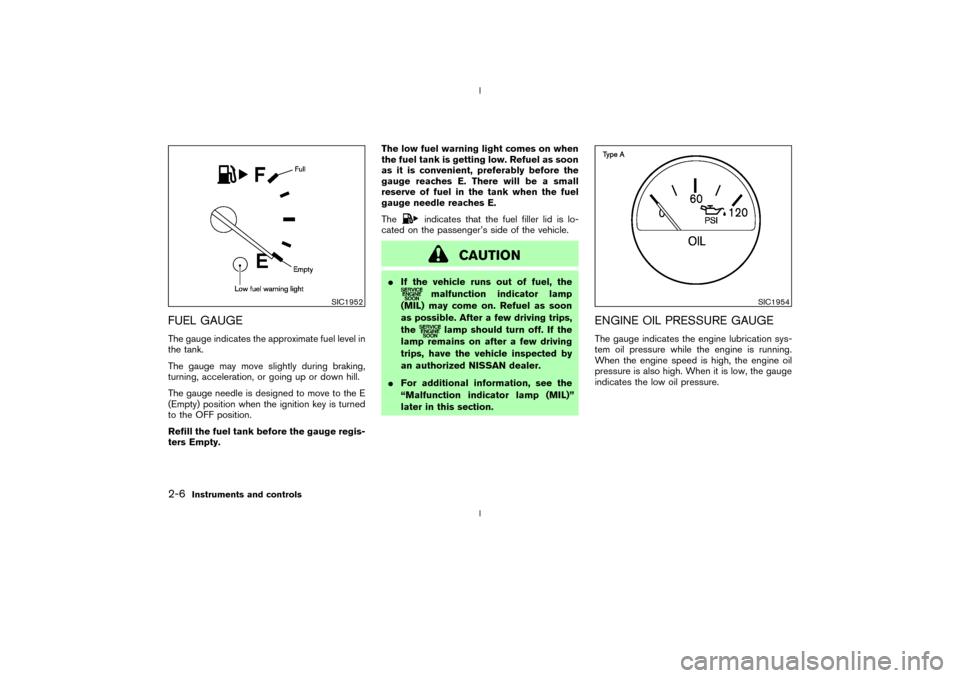
FUEL GAUGEThe gauge indicates the approximate fuel level in
the tank.
The gauge may move slightly during braking,
turning, acceleration, or going up or down hill.
The gauge needle is designed to move to the E
(Empty) position when the ignition key is turned
to the OFF position.
Refill the fuel tank before the gauge regis-
ters Empty.The low fuel warning light comes on when
the fuel tank is getting low. Refuel as soon
as it is convenient, preferably before the
gauge reaches E. There will be a small
reserve of fuel in the tank when the fuel
gauge needle reaches E.
The
indicates that the fuel filler lid is lo-
cated on the passenger's side of the vehicle.
CAUTION
IIf the vehicle runs out of fuel, the
malfunction indicator lamp
(MIL) may come on. Refuel as soon
as possible. After a few driving trips,
the
lamp should turn off. If the
lamp remains on after a few driving
trips, have the vehicle inspected by
an authorized NISSAN dealer.
IFor additional information, see the
ªMalfunction indicator lamp (MIL)º
later in this section.
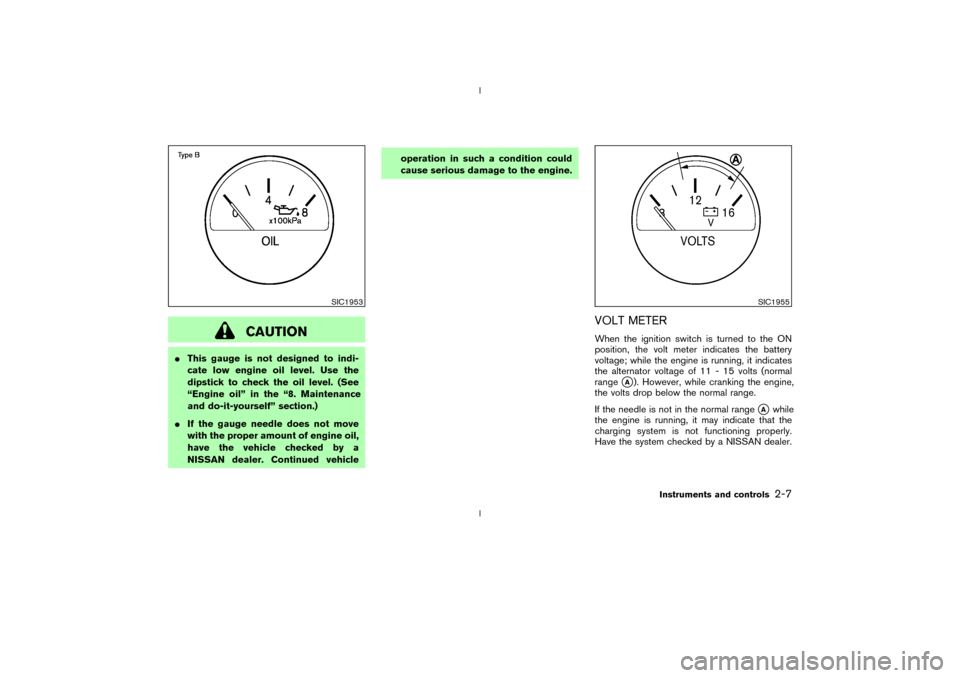
ENGINE OIL PRESSURE GAUGEThe gauge indicates the engine lubrication sys-
tem oil pressure while the engine is running.
When the engine speed is high, the engine oil
pressure is also high. When it is low, the gauge
indicates the low oil pressure.
SIC1952
SIC1954
2-6
Instruments and controls
Z
02.9.13/Z33-D/V5.0
X
Page 46 of 227
CAUTION
IThis gauge is not designed to indi-
cate low engine oil level. Use the
dipstick to check the oil level. (See
ªEngine oilº in the ª8. Maintenance
and do-it-yourselfº section.)
IIf the gauge needle does not move
with the proper amount of engine oil,
have the vehicle checked by a
NISSAN dealer. Continued vehicleoperation in such a condition could
cause serious damage to the engine.
VOLT METERWhen the ignition switch is turned to the ON
position, the volt meter indicates the battery
voltage; while the engine is running, it indicates
the alternator voltage of 11 - 15 volts (normal
range
qA). However, while cranking the engine,
the volts drop below the normal range.
If the needle is not in the normal range
qA
while
the engine is running, it may indicate that the
charging system is not functioning properly.
Have the system checked by a NISSAN dealer.
SIC1953
SIC1955
Instruments and controls
2-7
Z
02.9.13/Z33-D/V5.0
X
Page 51 of 227
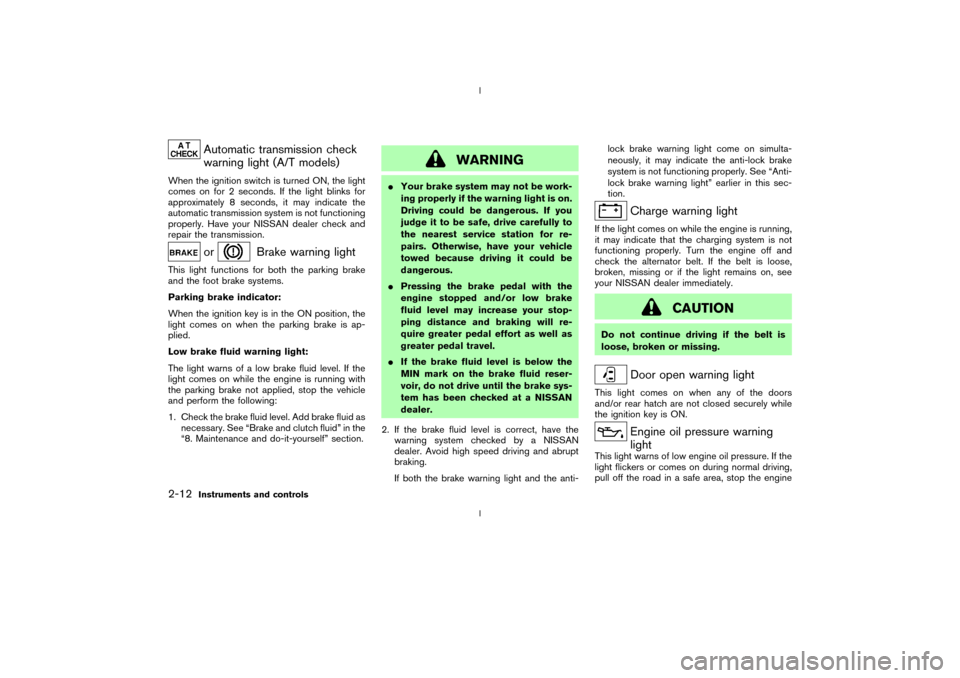
Automatic transmission check
warning light (A/T models)
When the ignition switch is turned ON, the light
comes on for 2 seconds. If the light blinks for
approximately 8 seconds, it may indicate the
automatic transmission system is not functioning
properly. Have your NISSAN dealer check and
repair the transmission.
or
Brake warning light
This light functions for both the parking brake
and the foot brake systems.
Parking brake indicator:
When the ignition key is in the ON position, the
light comes on when the parking brake is ap-
plied.
Low brake fluid warning light:
The light warns of a low brake fluid level. If the
light comes on while the engine is running with
the parking brake not applied, stop the vehicle
and perform the following:
1. Check the brake fluid level. Add brake fluid as
necessary. See ªBrake and clutch fluidº in the
ª8. Maintenance and do-it-yourselfº section.
WARNING
IYour brake system may not be work-
ing properly if the warning light is on.
Driving could be dangerous. If you
judge it to be safe, drive carefully to
the nearest service station for re-
pairs. Otherwise, have your vehicle
towed because driving it could be
dangerous.
IPressing the brake pedal with the
engine stopped and/or low brake
fluid level may increase your stop-
ping distance and braking will re-
quire greater pedal effort as well as
greater pedal travel.
IIf the brake fluid level is below the
MIN mark on the brake fluid reser-
voir, do not drive until the brake sys-
tem has been checked at a NISSAN
dealer.
2. If the brake fluid level is correct, have the
warning system checked by a NISSAN
dealer. Avoid high speed driving and abrupt
braking.
If both the brake warning light and the anti-lock brake warning light come on simulta-
neously, it may indicate the anti-lock brake
system is not functioning properly. See ªAnti-
lock brake warning lightº earlier in this sec-
tion.
Charge warning light
If the light comes on while the engine is running,
it may indicate that the charging system is not
functioning properly. Turn the engine off and
check the alternator belt. If the belt is loose,
broken, missing or if the light remains on, see
your NISSAN dealer immediately.
CAUTION
Do not continue driving if the belt is
loose, broken or missing.
Door open warning light
This light comes on when any of the doors
and/or rear hatch are not closed securely while
the ignition key is ON.
Engine oil pressure warning
light
This light warns of low engine oil pressure. If the
light flickers or comes on during normal driving,
pull off the road in a safe area, stop the engine
2-12
Instruments and controls
Z
02.9.13/Z33-D/V5.0
X
Page 52 of 227
immediatelyand call a NISSAN dealer or other
authorized repair shop.
The engine oil pressure warning light is not
designed to indicate a low oil level. Use the
dipstick to check the oil level.See ªEngine
oilº in the ª8. Maintenance and do-it-yourselfº
section.
CAUTION
Running the engine with the engine oil
pressure warning light on could cause
serious damage to the engine almost
immediately. Turn off the engine as
soon as it is safe to do so.
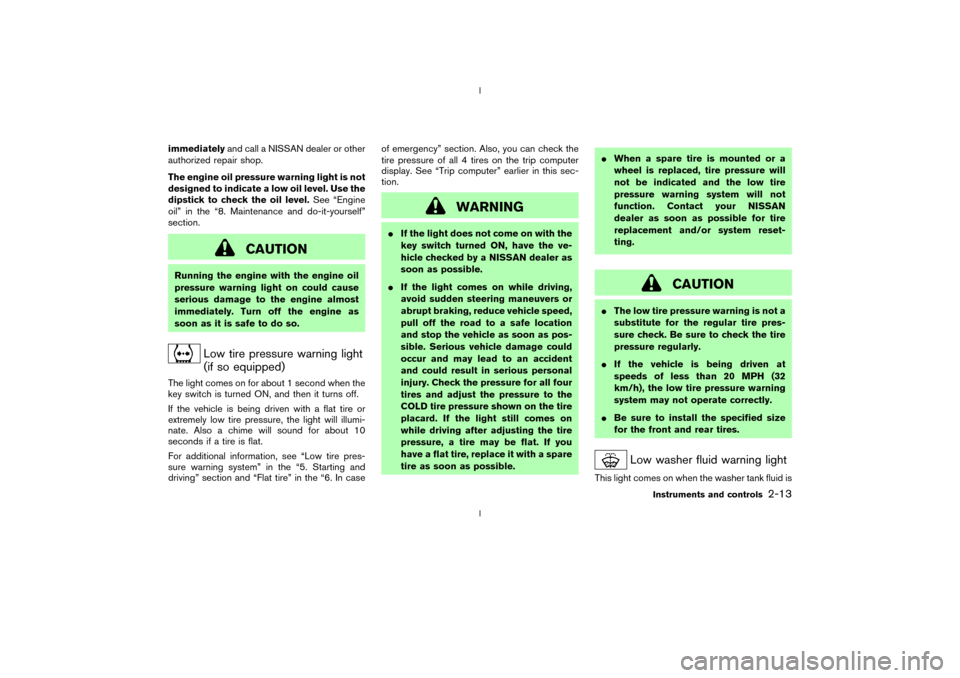
Low tire pressure warning light
(if so equipped)
The light comes on for about 1 second when the
key switch is turned ON, and then it turns off.
If the vehicle is being driven with a flat tire or
extremely low tire pressure, the light will illumi-
nate. Also a chime will sound for about 10
seconds if a tire is flat.
For additional information, see ªLow tire pres-
sure warning systemº in the ª5. Starting and
drivingº section and ªFlat tireº in the ª6. In caseof emergencyº section. Also, you can check the
tire pressure of all 4 tires on the trip computer
display. See ªTrip computerº earlier in this sec-
tion.
WARNING
IIf the light does not come on with the
key switch turned ON, have the ve-
hicle checked by a NISSAN dealer as
soon as possible.
IIf the light comes on while driving,
avoid sudden steering maneuvers or
abrupt braking, reduce vehicle speed,
pull off the road to a safe location
and stop the vehicle as soon as pos-
sible. Serious vehicle damage could
occur and may lead to an accident
and could result in serious personal
injury. Check the pressure for all four
tires and adjust the pressure to the
COLD tire pressure shown on the tire
placard. If the light still comes on
while driving after adjusting the tire
pressure, a tire may be flat. If you
have a flat tire, replace it with a spare
tire as soon as possible.IWhen a spare tire is mounted or a
wheel is replaced, tire pressure will
not be indicated and the low tire
pressure warning system will not
function. Contact your NISSAN
dealer as soon as possible for tire
replacement and/or system reset-
ting.
CAUTION
IThe low tire pressure warning is not a
substitute for the regular tire pres-
sure check. Be sure to check the tire
pressure regularly.
IIf the vehicle is being driven at
speeds of less than 20 MPH (32
km/h), the low tire pressure warning
system may not operate correctly.
IBe sure to install the specified size
for the front and rear tires.
Low washer fluid warning light
This light comes on when the washer tank fluid is
Instruments and controls
2-13
Z
02.9.13/Z33-D/V5.0
X
Page 162 of 227

8 Maintenance and do-it-yourselfMaintenance requirements .................................................. 8-2
General maintenance ............................................................ 8-2
Explanation of general maintenance items ................ 8-2
Maintenance precautions ..................................................... 8-5
Engine compartment check locations .............................. 8-7
Engine cooling system.......................................................... 8-8
Checking engine coolant level...................................... 8-8
Changing engine coolant ............................................... 8-9
Engine oil ............................................................................... 8-10
Checking engine oil level ............................................ 8-10
Changing engine oil and filter .................................... 8-10
Automatic transmission fluid ............................................. 8-12
Power steering fluid ............................................................ 8-13
Brake and clutch fluid ........................................................ 8-13
Brake fluid ....................................................................... 8-13
Clutch fluid ...................................................................... 8-14
Window washer fluid.......................................................... 8-14
Battery .................................................................................... 8-15
Jump starting .................................................................. 8-16
Drive belts ............................................................................. 8-17
Spark plugs ........................................................................... 8-17Replacing spark plugs.................................................. 8-17
Air cleaner ............................................................................. 8-18
Windshield wiper blades ................................................... 8-19
Cleaning ........................................................................... 8-19
Replacing ......................................................................... 8-20
Parking brake and brake pedal ........................................ 8-21
Checking parking brake ............................................... 8-21
Checking brake pedal .................................................. 8-21
Brake booster ................................................................. 8-22
Fuses ...................................................................................... 8-22
Engine compartment ..................................................... 8-22
Passenger compartment .............................................. 8-23
Keyfob battery replacement .............................................. 8-24
Lights ...................................................................................... 8-25
Headlights ....................................................................... 8-26
Exterior and interior lights............................................ 8-27
Wheels and tires ................................................................. 8-29
Tire pressure ................................................................... 8-29
Types of tires .................................................................. 8-30
Tire chains ....................................................................... 8-31
Changing wheels and tires ......................................... 8-31
Z
02.9.13/Z33-D/V5.0
X
Page 165 of 227

Automatic transmission P (Park) position
mechanism:On a fairly steep hill check that the
vehicle is held securely with the selector lever in
the P (Park) position without applying any
brakes.Under the hood and the vehicleThe maintenance items listed here should be
checked periodically (for example, each time you
check the engine oil or refuel).
Windshield washer fluid*:Check that there is
adequate fluid in the tank.
Engine coolant level*:Check the coolant level
when the engine is cold.
Radiator and hoses:Check the front of the
radiator and clean off any dirt, insects, leaves,
etc., that may have accumulated. Make sure the
hoses have no cracks, deformation, deterioration
or loose connections.
Brake and clutch fluid levels*:Make sure that
the brake and clutch fluid levels are between the
MAX and MIN lines on the reservoir.
Battery*:Check the fluid level in each cell. It
should be between the MAX and MIN lines.
Vehicles operated in high temperatures or under
severe conditions require frequent checks of the
battery fluid level.
Engine drive belts*:Make sure that no belt isfrayed, worn, cracked or oily.
Engine oil level*:Check the level on the
dipstick after parking the vehicle on a level spot,
turning off the engine and waiting 10 minutes.
Power steering fluid level* and lines:Check
the level in the reservoir tank with the engine off.
Check the lines for proper attachment, leaks,
cracks, etc.
Exhaust system:Make sure there are no loose
supports, cracks or holes. If the sound of the
exhaust seems unusual or there is a smell of
exhaust fumes, immediately locate the trouble
and correct it. (See ªPrecautions when starting
and drivingº in the ª5. Starting and drivingº
section for exhaust gas (carbon monoxide).)
Underbody:The underbody is frequently ex-
posed to corrosive substances such as those
used on icy roads or to control dust. It is very
important to remove these substances, other-
wise rust will form on the floor pan, frame, fuel
lines and around the exhaust system. At the end
of winter, the underbody should be thoroughly
flushed with plain water, being careful to clean
those areas where mud and dirt may accumu-
late. For additional information, see ªCleaning
exteriorº in the ª7. Appearance and careº sec-
tion.
Fluid leaks:Check under the vehicle for fuel,oil, water or other fluid leaks after the vehicle has
been parked for a while. Water dripping from the
air conditioner after use is normal. If you should
notice any leaks or if gasoline fumes are evident,
check for the cause and have it corrected imme-
diately.8-4
Maintenance and do-it-yourself
Z
02.9.13/Z33-D/V5.0
X
Page 166 of 227
When performing any inspection or maintenance
work on your vehicle, always take care to prevent
serious accidental injury to yourself or damage to
the vehicle. The following are general precau-
tions which should be closely observed.
WARNING
IPark the vehicle on a level surface,
apply the parking brake securely and
block the wheels to prevent the ve-
hicle from moving. For a manual
transmission, move the shift lever to
N (Neutral) position. For an auto-
matic transmission, move the selec-
tor lever to P (Park) position.
IBe sure the ignition key is OFF or
LOCK when performing any parts re-
placement or repairs.
IIf you must work with the engine
running, keep your hands, clothing,
hair and tools away from moving
fans, belts and any other moving
parts.
IIt is advised to secure or remove any
loose clothing and any jewelry, suchas rings, watches, etc. before work-
ing on your vehicle.
IAlways wear eye protection when-
ever you work on your vehicle.
IIf you must run the engine in an
enclosed space such as a garage, be
sure there is proper ventilation for
exhaust gases to escape.
INever get under the vehicle while it is
supported only by a jack. If it is nec-
essary to work under the vehicle,
support it with safety stands.
IKeep smoking materials, flame and
sparks away from fuel and the bat-
tery.
IOn gasoline engine models with the
Multiport Fuel Injection (MFI) Sys-
tem, the fuel filter or fuel lines should
be serviced by a NISSAN dealer be-
cause the fuel lines are under high
pressure even when the engine is off.
CAUTION
IDo not work under the hood while
the engine is hot. Turn off the engine
and wait until it cools down.
INever connect or disconnect either
the battery or any transistorized
component connector while the igni-
tion key is on.
INever leave the engine or the auto-
matic transmission related compo-
nent harness connector discon-
nected while the ignition key is on.
IAvoid direct contact with used engine
oil and coolant. Improperly disposed
engine oil, engine coolant and/or
other vehicle fluids can hurt the envi-
ronment. Always conform to local
regulations for disposal of vehicle
fluid.
This ª8. Maintenance and do-it-yourselfº section
gives instructions regarding only those items
which are relatively easy for an owner to perform.
A genuine NISSAN Service Manual is also avail-
MAINTENANCE PRECAUTIONS
Maintenance and do-it-yourself
8-5
Z
02.9.13/Z33-D/V5.0
X
Page 171 of 227
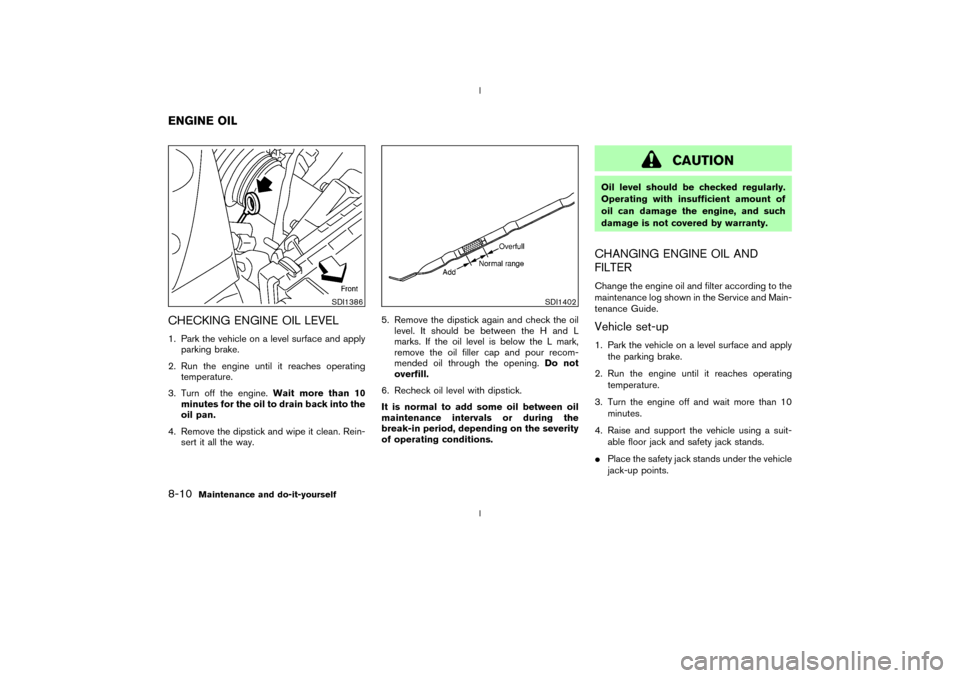
CHECKING ENGINE OIL LEVEL1. Park the vehicle on a level surface and apply
parking brake.
2. Run the engine until it reaches operating
temperature.
3. Turn off the engine.Wait more than 10
minutes for the oil to drain back into the
oil pan.
4. Remove the dipstick and wipe it clean. Rein-
sert it all the way.5. Remove the dipstick again and check the oil
level. It should be between the H and L
marks. If the oil level is below the L mark,
remove the oil filler cap and pour recom-
mended oil through the opening.Do not
overfill.
6. Recheck oil level with dipstick.
It is normal to add some oil between oil
maintenance intervals or during the
break-in period, depending on the severity
of operating conditions.
CAUTION
Oil level should be checked regularly.
Operating with insufficient amount of
oil can damage the engine, and such
damage is not covered by warranty.CHANGING ENGINE OIL AND
FILTERChange the engine oil and filter according to the
maintenance log shown in the Service and Main-
tenance Guide.Vehicle set-up1. Park the vehicle on a level surface and apply
the parking brake.
2. Run the engine until it reaches operating
temperature.
3. Turn the engine off and wait more than 10
minutes.
4. Raise and support the vehicle using a suit-
able floor jack and safety jack stands.
IPlace the safety jack stands under the vehicle
jack-up points.
SDI1386
SDI1402
ENGINE OIL8-10
Maintenance and do-it-yourself
Z
02.9.13/Z33-D/V5.0
X