Page 19 of 376
19 At a glance
Cockpit
Item
Page
1
Parking brake pedal
41
2
Hood lock release
227
3
Parking brake release
47
4
Door control panel
26
5
Exterior lamp switch
43,
102
6
Headlamp washer switch
146
7
Combination switch�
Turn signals
�
Windshield wipers
�
High beam
43
44
104
8
Cruise control switch�
Cruise control
�
Distronic*
168
171
9
Instrument cluster
20,
108
10
Multifunction steering
wheel
22,
111
11
Lever for voice control
system, see separate
operating instructions
12
Front Parktronic* warn-
ing indicator
186
13
Digital clock
122
14
Overhead control panel
25
15
Interior storage compart-
ments (locking/unlock-
ing)
194
16
7
indicator lamp
64
17
Glove box
190
18
Center console
23, 24
19
Starter switch
31
20
Horn
21
Steering wheel adjust-
ment stalk
Heated steering wheel*
34
197
Item
Page
Page 21 of 376

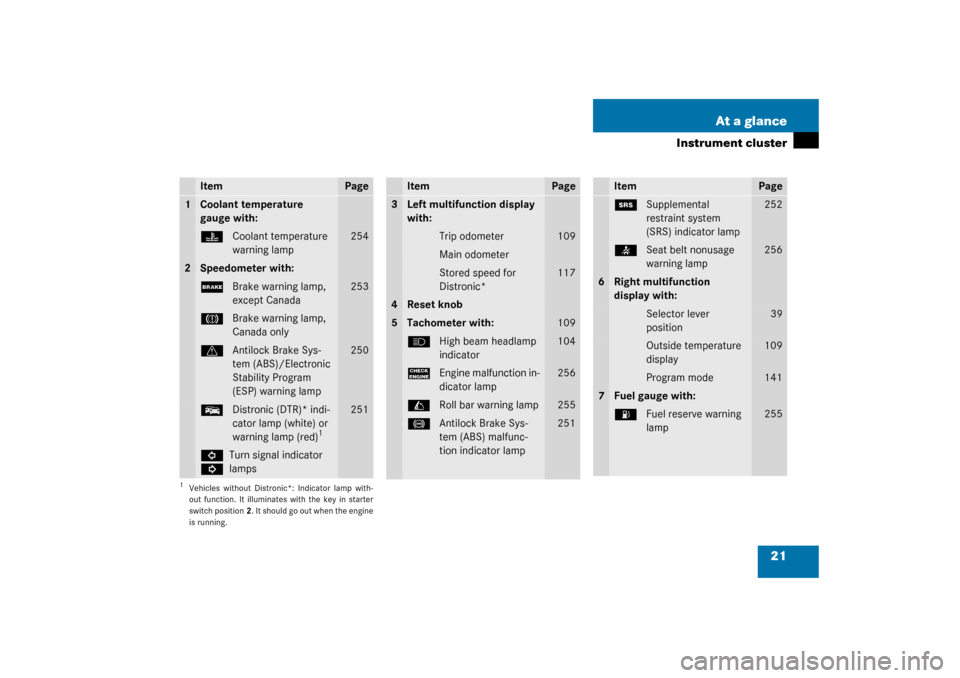
21 At a glance
Instrument cluster
Item
Page
1
Coolant temperature
gauge with:D
Coolant temperature
warning lamp
254
2
Speedometer with:;
Brake warning lamp,
except Canada
253
3
Brake warning lamp,
Canada only
v
Antilock Brake Sys-
tem (ABS)/Electronic
Stability Program
(ESP) warning lamp
250
E
Distronic (DTR)* indi-
cator lamp (white) or
warning lamp (red)
1
1Vehicles without Distronic*: Indicator lamp with-
out function. It illuminates with the key in starter
switch position2. It should go out when the engine
is running.
251
L
K
Turn signal indicator
lamps
Item
Page
3
Left multifunction display
with:
Trip odometer
109
Main odometerStored speed for
Distronic*
117
4
Reset knob
5
Tachometer with:
109
A
High beam headlamp
indicator
104
?
Engine malfunction in-
dicator lamp
256
C
Roll bar warning lamp
255
-
Antilock Brake Sys-
tem (ABS) malfunc-
tion indicator lamp
251
Item
Page
1
Supplemental
restraint system
(SRS) indicator lamp
252
<
Seat belt nonusage
warning lamp
256
6
Right multifunction
display with:
Selector lever
position
39
Outside temperature
display
109
Program mode
141
7
Fuel gauge with:A
Fuel reserve warning
lamp
255
Page 28 of 376
28 Getting startedUnlockingThe “Getting started” section provides an
overview of the vehicle’s most basic func-
tions. First-time Mercedes-Benz owners
should pay special attention to the infor-
mation given here.
If you are already familiar with the basic
functions described here, the “Controls in
detail” section will help you with further in-
formation. The corresponding page refer-
ences are at the end of each segment.
UnlockingUnlocking with the SmartKeyElectronic key with remote control1‹
Lock button
2
Š
Unlock button for trunk lid
3
Œ
Unlock button
4
Â
Panic button
�
Press unlock button3
Œ
on the key.
The indicator lamps light up for a short
time. The locking knobs in the doors
move up.
�
Get in the vehicle and insert the key in
the starter switch.iThe SBC brake system is activated.iOpening a door causes the windows on
that side of the car to open slightly.
They will return to the up position when
the door is closed.
Page 41 of 376

41 Getting started
Driving
Starting difficulties
If the engine does not start as described,
carry out the following steps:�
If you are starting the engine with the
key: Turn key in starter to position0
and repeat starting procedure.
�
If you are starting the engine with
KEYLESS-GO: Close any doors that
may be open to allow for better detec-
tion of the card.
Or:
Start the engine with the key as radio
signals from another source may be in-
terfering with the KEYLESS-GO card.
�
Repeat the starting procedure
(�page 39). Remember that extended
starting attempts can drain the battery.
�
Get a jump start (
�page 323).
If the engine does not start after several
starting attempts, there could be a mal-
function in the engine electronics or in the
fuel supply system.
�
Notify an authorized Mercedes-Benz
Center.
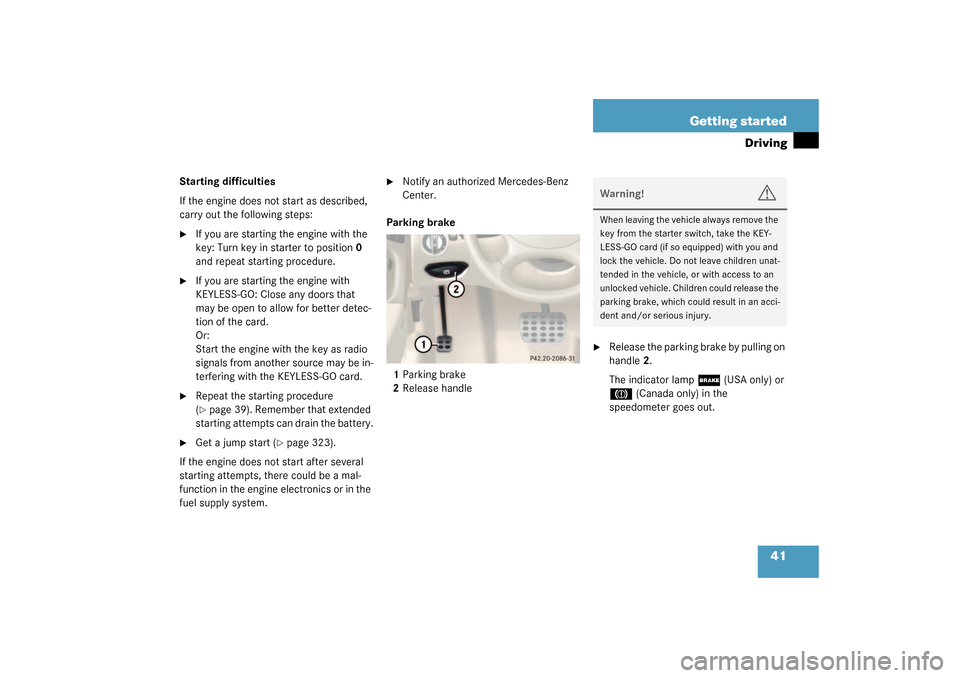
Parking brake
1Parking brake
2Release handle
�
Release the parking brake by pulling on
handle2.
The indicator lamp
;
(USA only) or
3
(Canada only) in the
speedometer goes out.
Warning!
G
When leaving the vehicle always remove the
key from the starter switch, take the KEY-
LESS-GO card (if so equipped) with you and
lock the vehicle. Do not leave children unat-
tended in the vehicle, or with access to an
unlocked vehicle. Children could release the
parking brake, which could result in an acci-
dent and/or serious injury.
Page 65 of 376

65 Safety and Security
Occupant safety
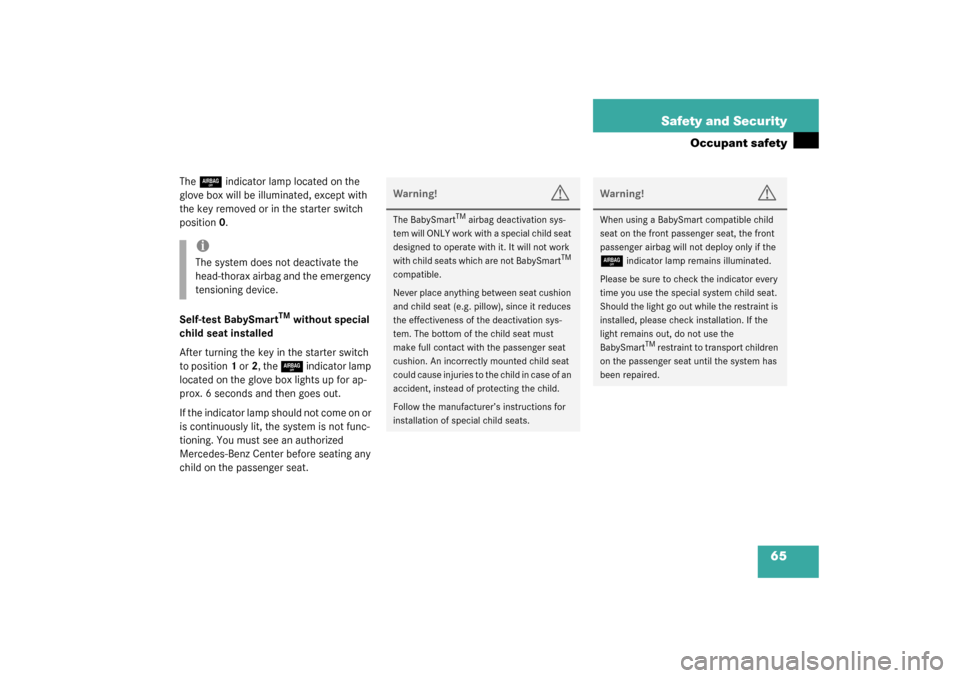
The
7
indicator lamp located on the
glove box will be illuminated, except with
the key removed or in the starter switch
position0.
Self-test BabySmart
TM
without special
child seat installed
After turning the key in the starter switch
to position1 or2, the 7
indicator lamp
located on the glove box lights up for ap-
prox. 6 seconds and then goes out.
If the indicator lamp should not come on or
is continuously lit, the system is not func-
tioning. You must see an authorized
Mercedes-Benz Center before seating any
child on the passenger seat.
iThe system does not deactivate the
head-thorax airbag and the emergency
tensioning device.
Warning!
G
The BabySmart
TM airbag deactivation sys-
tem will ONLY work with a special child seat
designed to operate with it. It will not work
with child seats which are not BabySmart
TM
compatible.
Never place anything between seat cushion
and child seat (e.g. pillow), since it reduces
the effectiveness of the deactivation sys-
tem. The bottom of the child seat must
make full contact with the passenger seat
cushion. An incorrectly mounted child seat
could cause injuries to the child in case of an
accident, instead of protecting the child.
Follow the manufacturer’s instructions for
installation of special child seats.
Warning!
G
When using a BabySmart compatible child
seat on the front passenger seat, the front
passenger airbag will not deploy only if the 7
indicator lamp remains illuminated.
Please be sure to check the indicator every
time you use the special system child seat.
Should the light go out while the restraint is
installed, please check installation. If the
light remains out, do not use the
BabySmart
TM restraint to transport children
on the passenger seat until the system has
been repaired.
Page 76 of 376

76 Safety and SecurityAnti-theft systemsArming the alarm system
The alarm system is armed after locking
the vehicle with the remote control. The
turn signal lamps blink three times to indi-
cate that the alarm system is activated.
The
‹
indicator lamp in the central
locking switch (
�page 23) will blink after
approximately 10 seconds when the alarm
system is completely armed.Disarming the alarm system
The alarm system is disarmed when you
unlock your vehicle with the remote con-
trol. The turn signal lamps blink once to in-
dicate that the alarm system is
deactivated.
Canceling the alarm
To cancel the alarm:
With the key
�
Insert the key in the starter switch.
or
�
Press the
Œ
or
‹
button.
The alarm is canceled.With KEYLESS-GO*
�
Grasp the outside door handle.
or
�
Press the KEYLESS-GO start/stop but-
ton.
The alarm is canceled.
iIf the turn signal lamps do not blink
three times, a door or the hood may not
be closed properly.
Close the respective element and lock
the vehicle again.
iThe alarm system will rearm automati-
cally again after aprroximately 40 sec-
onds if no door was opened.
Page 77 of 376

77 Safety and Security
Anti-theft systems
Tow-away alarm
Once the tow-away alarm is armed, a visual
and audible alarm will be triggered when
someone attempts to raise the vehicle.
Arming tow-away alarm
When you lock your vehicle, the tow-away
alarm is automatically armed after about
30 seconds.
When you unlock your vehicle, the
tow-away protection disarms automatical-
ly.Disarming tow-away alarm
To prevent triggering the tow-away alarm
feature, switch off the tow-away alarm be-
fore towing the vehicle, or when parking on
a surface subject to movement, such as a
ferry or auto train.
The switch is on the center console be-
tween the driver’s seat and the passenger
seat.
1Tow-away alarm off switch
2Indicator lamp
�
Turn off the ignition and remove the
key.
�
Press switch1.
The indicator lamp2 in the switch
lights up briefly.
�
Lock your vehicle with the key or (vehi-
cles with KEYLESS-GO*) the lock but-
ton at each door handle.
The tow-away alarm remains disarmed un-
til you lock your vehicle again.
iThe tow-away protection alarm is trig-
gered, for example, if the vehicle is lift-
ed on one side.
If the alarm stays on for more than
20 seconds, an emergency call is initi-
ated automatically by the Tele Aid sys-
tem (
�page 202) provided Tele Aid
service was subscribed to and properly
activated.
iYou cannot disarm the tow-away alarm
if the ignition is turned on.
Page 97 of 376

97 Controls in detail
Seats
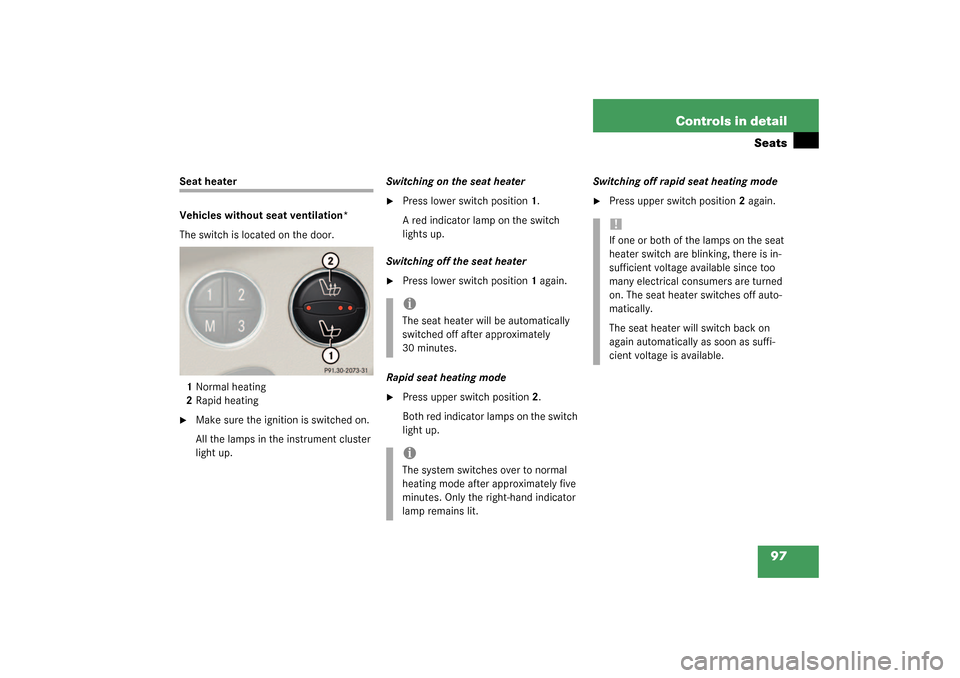
Seat heater
Vehicles without seat ventilation*
The switch is located on the door.
1Normal heating
2Rapid heating�
Make sure the ignition is switched on.
All the lamps in the instrument cluster
light up.Switching on the seat heater
�
Press lower switch position1.
A red indicator lamp on the switch
lights up.
Switching off the seat heater
�
Press lower switch position1 again.
Rapid seat heating mode
�
Press upper switch position2.
Both red indicator lamps on the switch
light up. Switching off rapid seat heating mode
�
Press upper switch position2 again.
iThe seat heater will be automatically
switched off after approximately
30 minutes. iThe system switches over to normal
heating mode after approximately five
minutes. Only the right-hand indicator
lamp remains lit.
!If one or both of the lamps on the seat
heater switch are blinking, there is in-
sufficient voltage available since too
many electrical consumers are turned
on. The seat heater switches off auto-
matically.
The seat heater will switch back on
again automatically as soon as suffi-
cient voltage is available.