Page 143 of 376
143 Controls in detail
Automatic transmission
Activating steering wheel gearshift
control�
Press the program mode selector
switch repeatedly until the
Mfor manu-
al shift program appears in the tachom-
eter display field.
Automatic gear shifting is deactivated.
Upshifting
�
Press the button located on the right
side of the steering wheel.
or
�
Briefly press the selector lever to the
right in the D+direction.
The transmission shifts to the next
higher gear.
Warm up the engine smoothly. Do not
place full load on the engine until the oper-
ating temperature has been reached. Shift
into reverse gear only when the vehicle is
stopped.Downshifting
�
Press the button located on the left
side of the steering wheel.
or
�
Briefly press the selector lever to the
right in the D–direction.
The transmission shifts to the next
lower gear.Deactivating steering wheel gearshift
control
�
Press the program mode selector
switch repeatedly until
S or
W appears
in the tachometer display field.
Warning!
G
On slippery road surfaces, never downshift
in order to obtain braking action. This could
result in drive wheel slip and reduced vehi-
cle control. Your vehicle’s ABS will not pre-
vent this type of loss of control.
iAt each engine start, the transmission
will go into the last shift program mode
selected (
S or
W). Only program mode
M
is not stored and will not be recalled
when engine is restarted.
Page 144 of 376
144 Controls in detailAutomatic transmissionEmergency operation (Limp Home Mode)
If vehicle acceleration worsens or the
transmission no longer shifts, the trans-
mission is most likely operating in limp
home (emergency operation) mode. In this
mode only 2nd gear and reverse gear can
be activated.�
Stop the vehicle.
�
Move selector lever toP.
�
Turn off the engine.
�
Wait at least ten seconds before re-
starting.
�
Restart the engine.
�
Move selector lever to positionD (for
2nd gear) orR.
�
Have the transmission checked at an
authorized Mercedes-Benz Center as
soon as possible.
Page 149 of 376
149 Controls in detail
Automatic climate control
The automatic climate control is operation-
al whenever the engine is running. You can
operate the climate control system in ei-
ther the automatic or manual mode. The
system cools or heats the interior depend-
ing on the selected interior temperature
and the current outside temperature.
Nearly all dust particles, pollutants and
odors are filtered out before outside air en-
ters the passenger compartment through
the air distribution system.
Setting the temperature
Use the temperature controls1 and7 to
separately adjust the air temperature on
each side of the passenger compartment.
You should raise or lower the temperature
setting in small increments, preferably
starting at 72°F (22°C). Increasing
�
Turn the outer adjustment ring slightly
to the right.
The automatic climate control system
will correspondingly adjust the interior
air temperature.
Decreasing
�
Turn the outer adjustment ring slightly
to the left.
The automatic climate control system
will correspondingly adjust the interior
air temperature.
Warning!
G
Follow the recommended settings for heat-
ing and cooling given on the following pag-
es. Otherwise the windows could fog up,
impairing visibility and endangering you and
others.
iIf the vehicle interior is hot, ventilate
the interior before driving off.
Keep the air intake grille in front of the
windshield free of snow and debris.
When the retractable hardtop is closed,
do not obstruct air flow by placing ob-
jects on the air flow-through exhaust
slots below the rear window.
iWhen operating the climate control
system in automatic mode, you will
only rarely need to adjust the tempera-
ture, air volume and air distribution.
Page 151 of 376
151 Controls in detail
Automatic climate control
Adjusting air distribution
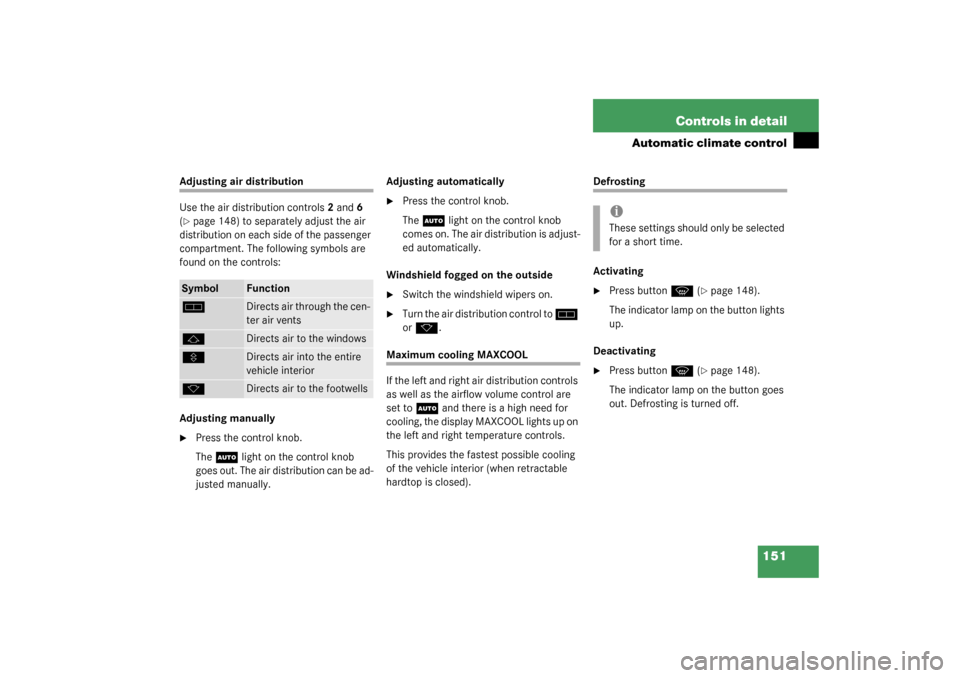
Use the air distribution controls2 and6
(�page 148) to separately adjust the air
distribution on each side of the passenger
compartment. The following symbols are
found on the controls:
Adjusting manually
�
Press the control knob.
The
U
light on the control knob
goes out. The air distribution can be ad-
justed manually.Adjusting automatically
�
Press the control knob.
The
U
light on the control knob
comes on. The air distribution is adjust-
ed automatically.
Windshield fogged on the outside
�
Switch the windshield wipers on.
�
Turn the air distribution control to
h
or
k
.
Maximum cooling MAXCOOL
If the left and right air distribution controls
as well as the airflow volume control are
set to
U
and there is a high need for
cooling, the display MAXCOOL lights up on
the left and right temperature controls.
This provides the fastest possible cooling
of the vehicle interior (when retractable
hardtop is closed).
Defrosting
Activating�
Press button
P
(�page 148).
The indicator lamp on the button lights
up.
Deactivating
�
Press button
P
(�page 148).
The indicator lamp on the button goes
out. Defrosting is turned off.
Symbol
Function
h
Directs air through the cen-
ter air vents
j
Directs air to the windows
V
Directs air into the entire
vehicle interior
k
Directs air to the footwells
iThese settings should only be selected
for a short time.
Page 153 of 376

153 Controls in detail
Automatic climate control
Rear window defroster
The rear window defroster uses a large
amount of power. To keep the battery
drain to a minimum, switch off the defrost-
er as soon as the rear window is clear. The
defroster is automatically deactivated af-
ter approximately 6 to 17 minutes of oper-
ation depending on the outside
temperature.
Activating�
Press button
F
(�page 148).
The indicator lamp on the button lights
up.Deactivating
�
Press button
F
(�page 148) again.
The indicator lamp on the button goes
out.
Warning!
G
Any accumulation of snow and ice should be
removed from the rear window before driv-
ing. Visibility could otherwise be impaired,
endangering you and others.!The rear window defroster cannot be
switched on when the retractable hard-
top is open. The indicator lamp will
start blinking if the hardtop is open.�
Close the retractable hardtop.
The rear window defroster can again be
turned on.
!If the rear window defroster switches
off too soon and the indicator lamp
starts blinking, this means that too
many electrical consumers are operat-
ing simultaneously and there is insuffi-
cient voltage in the battery. The system
responds automatically by deactivating
the rear window defroster.
As soon as the battery has sufficient
voltage, the rear window defroster au-
tomatically turns itself back on.
Page 154 of 376
154 Controls in detailAutomatic climate controlResidual heat and ventilation
With the engine switched off, it is possible
to continue to heat or ventilate the interior
for up to 30 minutes. This feature makes
use of the residual heat produced by the
engine.
Activating�
Turn the key in the starter switch to
position1 o r r e m ov e i t f r o m t h e s t a r t e r
switch.
�
Press button
T
(�page 148).
The indicator lamp on button
T
comes on.Deactivating
�
Press button
T
(�page 148).
The indicator lamp on button
T
goes out.
The residual heat is automatically turned
off:
�
when the ignition is switched on
�
after about 30 minutes
�
if the battery voltage dropsDeactivating the automatic climate
control system
Deactivating
It is possible to completely deactivate the
automatic climate control system. �
Press button
M
(�page 148).
The indicator lamp on button
M
comes on.
iHow long the system will provide heat-
ing depends on the coolant tempera-
ture and the temperature set by the
operator. The blower will run at speed
setting1 regardless of the air distribu-
tion control setting.
iThis setting is only recommended when
the retractable hardtop is open.
Page 157 of 376
157 Controls in detail
Power windows
Power windows
Opening and closing the windows
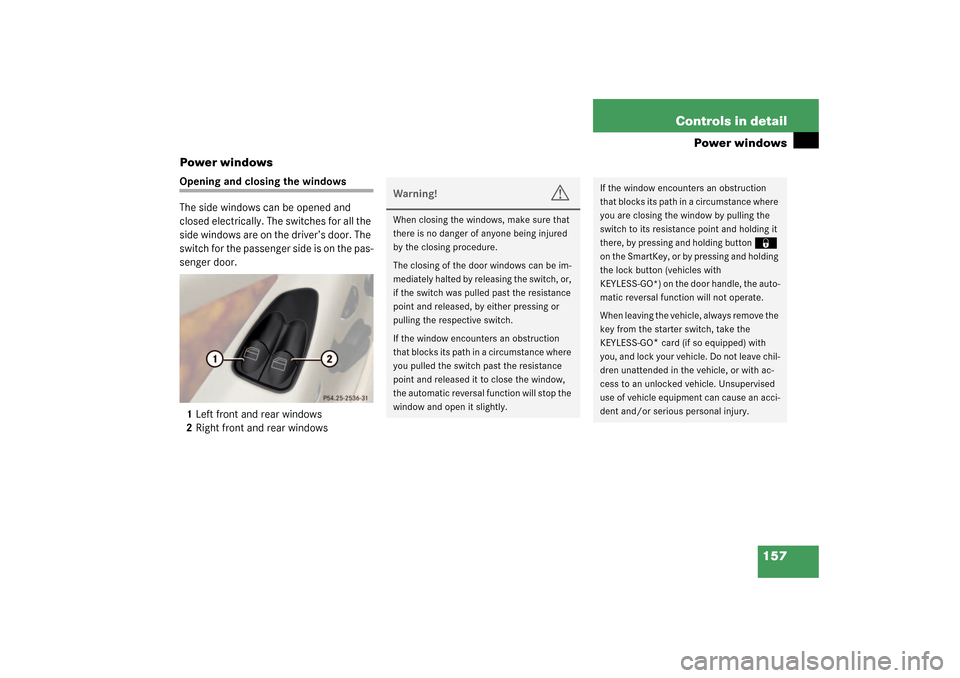
The side windows can be opened and
closed electrically. The switches for all the
side windows are on the driver’s door. The
switch for the passenger side is on the pas-
senger door.
1Left front and rear windows
2Right front and rear windows
Warning!
G
When closing the windows, make sure that
there is no danger of anyone being injured
by the closing procedure.
The closing of the door windows can be im-
mediately halted by releasing the switch, or,
if the switch was pulled past the resistance
point and released, by either pressing or
pulling the respective switch.
If the window encounters an obstruction
that blocks its path in a circumstance where
you pulled the switch past the resistance
point and released it to close the window,
the automatic reversal function will stop the
window and open it slightly.
If the window encounters an obstruction
t h a t b l o c k s i t s p a t h i n a c i r c u m s t a n c e w h e r e
you are closing the window by pulling the
switch to its resistance point and holding it
there, by pressing and holding button
‹
on the SmartKey, or by pressing and holding
the lock button (vehicles with
KEYLESS-GO*) on the door handle, the auto-
matic reversal function will not operate.
When leaving the vehicle, always remove the
key from the starter switch, take the
KEYLESS-GO
* card (if so equipped) with
you, and lock your vehicle. Do not leave chil-
dren unattended in the vehicle, or with ac-
cess to an unlocked vehicle. Unsupervised
use of vehicle equipment can cause an acci-
dent and/or serious personal injury.
Page 158 of 376
158 Controls in detailPower windowsOpening the front side windows�
Press switch1 or2.
The window (left or right) will move
downwards until you release the
switch.
If the hardtop is open, the respective
rear window will open automatically as
soon as the front window is completely
open.
Closing the front side windows
�
Pull on switch1 or2.
The window (left or right) will move up-
wards until you release the switch.
If you pull and hold the switch up when
closing the window, and upward move-
ment of the window is blocked by some
obstruction including but not limited to
arms, hands, fingers, etc., the automat-
ic reversal will not operate.Opening the rear side windows
�
Open the front window.
If the hardtop is open, the respective
rear window will open automatically as
soon as the front window is completely
open.
If the hardtop is closed:
�
Press again on switch1 or2.
The rear window will open completely.
Closing the rear side windows
�
Close the front window.
�
Pull again on switch1 or2.
The rear window will close completely.
Fully opening the front side windows
�
Press switch1 or2 past the point of re-
sistance and release.Fully closing the front side windows
�
Pull on switch1 or2 past the point of
resistance and release.
If the upward movement of the window is
blocked during the closing procedure, the
window will stop and open slightly.
Stopping the front side windows
�
Press or pull respective switch again.
Synchronizing power windows
The side power windows must be resyn-
chronized each time after the battery has
been disconnected:
�
Pull the power window switches until
the side windows are closed and hold
the switches for approximately one
second.