Page 91 of 376
91 Controls in detail
Locking and unlocking
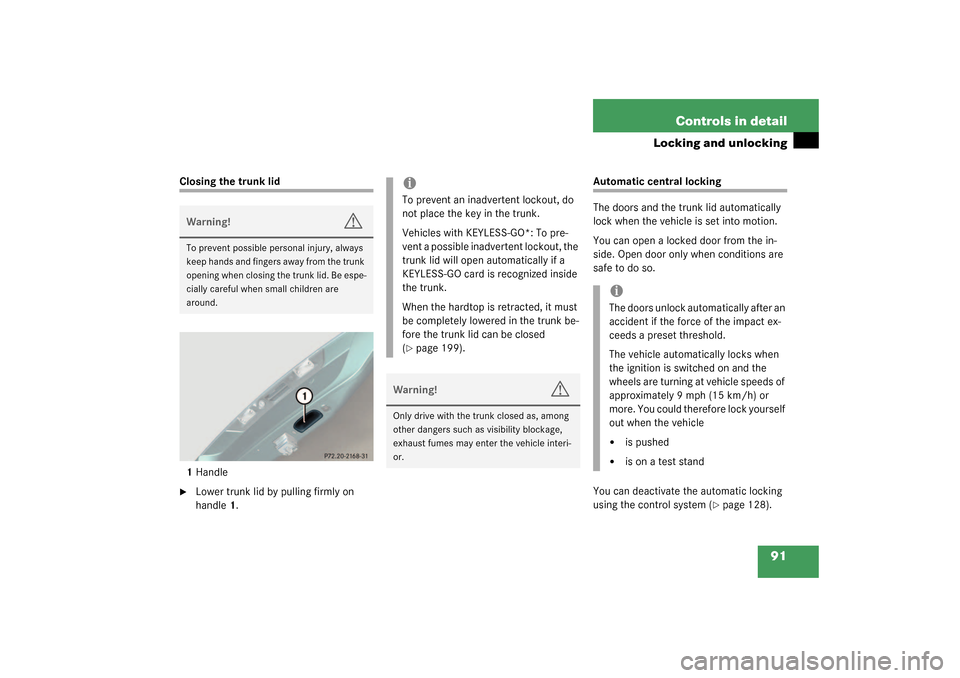
Closing the trunk lid
1Handle�
Lower trunk lid by pulling firmly on
handle1.
Automatic central locking
The doors and the trunk lid automatically
lock when the vehicle is set into motion.
You can open a locked door from the in-
side. Open door only when conditions are
safe to do so.
You can deactivate the automatic locking
using the control system (
�page 128).
Warning!
G
To prevent possible personal injury, always
keep hands and fingers away from the trunk
opening when closing the trunk lid. Be espe-
cially careful when small children are
around.
iTo prevent an inadvertent lockout, do
not place the key in the trunk.
Vehicles with KEYLESS-GO*: To pre-
vent a possible inadvertent lockout, the
trunk lid will open automatically if a
KEYLESS-GO card is recognized inside
the trunk.
When the hardtop is retracted, it must
be completely lowered in the trunk be-
fore the trunk lid can be closed
(�page 199).
Warning!
G
Only drive with the trunk closed as, among
other dangers such as visibility blockage,
exhaust fumes may enter the vehicle interi-
or.
iThe doors unlock automatically after an
accident if the force of the impact ex-
ceeds a preset threshold.
The vehicle automatically locks when
the ignition is switched on and the
wheels are turning at vehicle speeds of
approximately 9 mph (15 km/h) or
more. You could therefore lock yourself
out when the vehicle �
is pushed
�
is on a test stand
Page 95 of 376
95 Controls in detail
Seats
Moving the seats forward and backward
You can move the seats forward and back
to facilitate loading and unloading.
The switch is located on the top side of the
seat.
1Seat forward
2Seat backwardMoving the seat forward
�
Press switch at1.
Moving the seat backward
�
Press switch at2.
Warning!
G
When moving the seats, be sure that no one
can be caught by them. Never place hands
under seat or near any moving parts during
a seat adjustment procedure. To stop the
seat from moving when potential danger ex-
ists:�
press the switch again
�
move the seat adjustment switch on the
door (
�page 32)
!To avoid damage to seats, make sure
that there is nothing in the cup holder
and that no bags are in the footwells or
behind the seats during seat move-
ment.
Page 100 of 376
100 Controls in detailMemory functionStoring positions into memory�
Adjust the seats, steering wheel and
rear view mirrors to the desired posi-
tion (
�page 32).
�
Press memory buttonM.
�
Release memory button and press a
stored position button1, 2, or3 within
three seconds.
All the settings are stored at the select-
ed position.
Recalling positions from memory�
On memory switch, press and hold
stored position button1, 2 or3 until
the seat, steering wheel and rear view
mirrors have fully moved to the stored
positions.
Storing parking position
For easier parking you can adjust the pas-
senger exterior rear view mirror so that you
can see the right rear wheel as soon as you
engage reverse gearR.
The exterior rear view mirror returns to its
stored driving position:�
10 seconds after you put the gear se-
lector lever in positionD
�
immediately once you exceed a speed
of approx. 6 mph (10 km/h)
�
immediately when you press the button
for driver’s side mirror
iReleasing the button immediately
stops movement to the stored posi-
tions.
iThe mirror parking position feature
(�page 131) must be activated and the
passenger side exterior rear view mirror
(�page 35) must be selected at the
time in order for the system to recall the
stored mirror position when reverse
gearR is engaged.
Page 101 of 376
101 Controls in detail
Memory function
You can store a parking position for the
passenger exterior rear view mirror for
each key and each KEYLESS-GO* card us-
ing the memory switch.
1Passenger side exterior rear view mir-
ror
2Adjustment button�
Stop the vehicle.
�
Switch ignition on (if not already on).
�
Press button1 in center console.
The passenger side exterior rear view
mirror is selected.
�
Adjust the exterior rear view mirror
with button2 so that you see the rear
wheel and the road curb.
�
Press memory buttonM on the door.
�
Within three seconds press adjustment
button2 in the center console.
The parking position is stored if the
mirror does not move.iIf the mirror does move, repeat the
above steps. After the setting is stored
you can move the mirror again.
Page 104 of 376
104 Controls in detailLightingUSA only:
The high beam headlamps can also be ac-
tivated when driving with the daytime run-
ning lamp mode activated and the exterior
lamp switch in position
M
.
To activate the daytime running lamp
mode, see “Setting daytime running lamp
mode (USA only)” (
�page 124).
Locator lighting and night security
illumination
Locator lighting and night security illumi-
nation are described in the control system
section, see “Setting locator lighting”
(
�page 125) and "Exterior lamps delayed
switch-off" (
�page 125).Switching on front fog lamps
�
Make sure that the low beam head-
lamps are switched on.
�
Pull out exterior lamp switch to first
stop.
The green indicator lamp
‡
in the
lamp switch lights up.
Switching on rear fog lamp
�
Make sure that the low beam head-
lamps are switched on.
�
Pull out exterior lamp switch to second
stop.
The yellow indicator lamp
†
in the
lamp switch lights up.
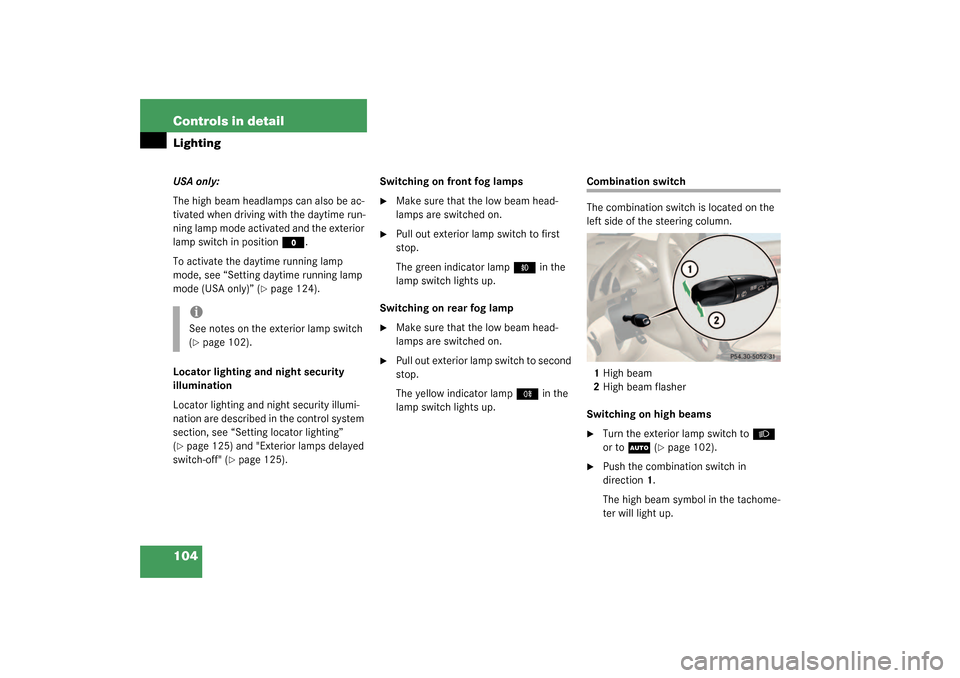
Combination switch
The combination switch is located on the
left side of the steering column.
1High beam
2High beam flasher
Switching on high beams�
Turn the exterior lamp switch to
B
or to
U
(�page 102).
�
Push the combination switch in
direction1.
The high beam symbol in the tachome-
ter will light up.
iSee notes on the exterior lamp switch
(�page 102).
Page 126 of 376
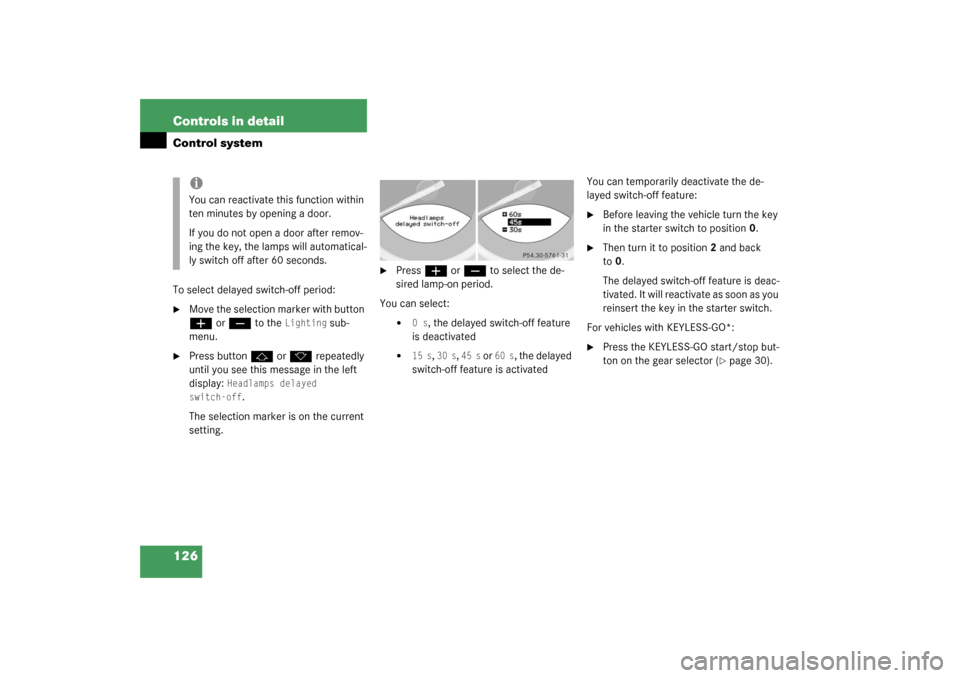
126 Controls in detailControl systemTo select delayed switch-off period:�
Move the selection marker with button æ
or
ç
to the
Lighting
sub-
menu.
�
Press button
j
or
k
repeatedly
until you see this message in the left
display:
Headlamps delayed
switch-off
.
The selection marker is on the current
setting.
�
Press
æ
or
ç
to select the de-
sired lamp-on period.
You can select:
�
0 s
, the delayed switch-off feature
is deactivated
�
15 s
, 30 s
, 45 s
or
60 s
, the delayed
switch-off feature is activatedYou can temporarily deactivate the de-
layed switch-off feature:
�
Before leaving the vehicle turn the key
in the starter switch to position0.
�
Then turn it to position2 and back
to0.
The delayed switch-off feature is deac-
tivated. It will reactiv a t e a s s o o n a s y o u
reinsert the key in the starter switch.
For vehicles with KEYLESS-GO*:
�
Press the KEYLESS-GO start/stop but-
ton on the gear selector (
�page 30).
iYou can reactivate this function within
ten minutes by opening a door.
If you do not open a door after remov-
ing the key, the lamps will automatical-
ly switch off after 60 seconds.
Page 133 of 376
133 Controls in detail
Control system
Resetting fuel consumption statistics�
Press button
ÿ
or
è
repeatedly
until you see the first function of the
Trip computer menu.
�
Press button
j
or
k
repeatedly
until you see the reading that you want
to reset in the left display.
�
Press and hold the reset knob in the in-
strument cluster (
�page 21) until the
value is reset to
0.Call up range (distance to empty)
�
Press button
ÿ
or
è
repeatedly
until you see the first function of the
Trip computer menu.
�
Press button
j
or
k
repeatedly
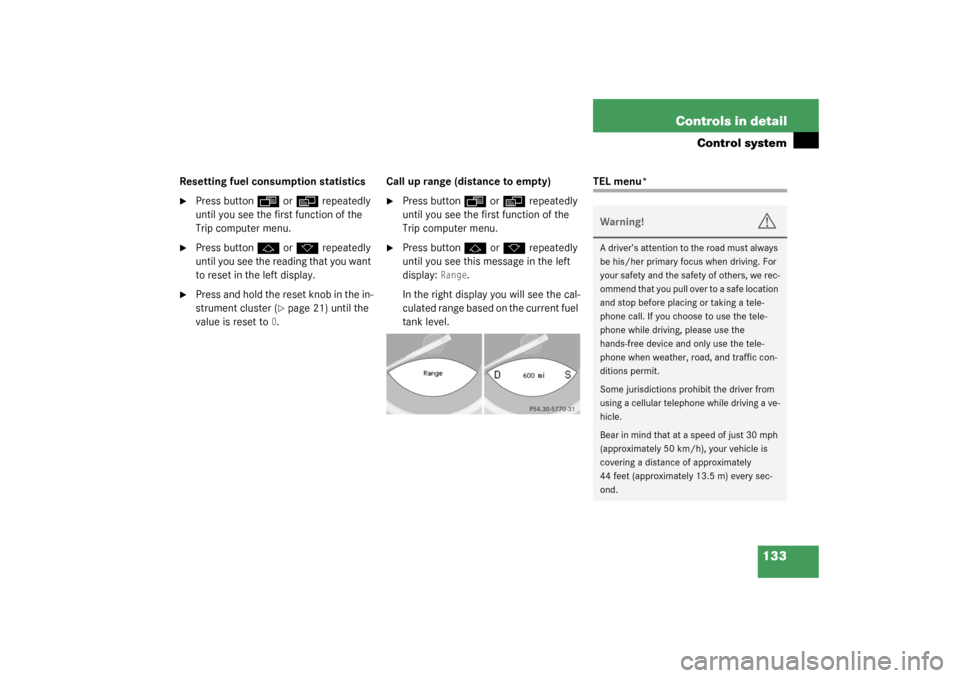
until you see this message in the left
display:
Range
.
In the right display you will see the cal-
culated range based on the current fuel
tank level.
TEL menu*Warning!
G
A driver’s attention to the road must always
be his/her primary focus when driving. For
your safety and the safety of others, we rec-
o m m e n d t h a t y o u p u l l o v e r t o a s a f e l o c a t i o n
and stop before placing or taking a tele-
phone call. If you choose to use the tele-
phone while driving, please use the
hands-free device and only use the tele-
phone when weather, road, and traffic con-
ditions permit.
Some jurisdictions prohibit the driver from
using a cellular telephone while driving a ve-
hicle.
Bear in mind that at a speed of just 30 mph
(approximately 50 km/h), your vehicle is
covering a distance of approximately
44 feet (approximately 13.5 m) every sec-
ond.
Page 140 of 376
140 Controls in detailAutomatic transmissionGear selector lever position
Effect
P
Park position
Selector position when the vehicle is
parked. Only place selector lever in
positionP when vehicle is stopped.
The park position is not intended to
serve as a brake when the vehicle is
parked. Rather, the driver should al-
ways set the parking brake in addi-
tion to placing the selector lever in
positionP to secure the vehicle.
The key can only be removed from
the starter switch with the selector
lever in positionP.
R
Reverse gear
Place selector lever in positionR
only when vehicle is stopped.
Effect
N
Neutral
No power is transmitted from the en-
gine to the drive axle. When the
brakes are released, the vehicle can
be moved freely (pushed or towed).
To avoid damage to the transmis-
sion, never engageN while driving.
If ESP is deactivated or malfunction-
ing:
Only move selector lever toN if the
vehicle is in danger of skidding (e.g.
on icy roads).
D
Drive
The transmission shifts automatical-
ly. All five forward gears are avail-
able.
!Coasting the vehicle, or driving for any
other reason with selector lever inN,
can result in transmission damage that
is not covered by the Mercedes-Benz
Limited Warranty.Warning!
G
Getting out of your vehicle with the selector
lever not fully engaged in positionP is dan-
gerous. Also, positionP alone is not intend-
ed to or capable of preventing your vehicle
from moving, possibly hitting people or ob-
jects.
Always set the parking brake in addition to
shifting to positionP (
�page 47).
When parked on an incline, also turn the
front wheels towards the road curb.