Page 94 of 376
94 Controls in detailSeatsLumbar region support�
Press
k
or
j
on rocker
switch1.
This selects the air cushion you wish to
adjust.
�
Press
æ
or
ç
on rocker
switch1.
The air cushion inflates or deflates.Shoulder region support
�
Press
æ
or
ç
on switch2.
The air cushion inflates or deflates.
Backrest side cushions
�
Press switch3 to the right or left.
The lateral support increases or de-
creases.Massage function (PULSE)
You can reduce muscle tension during long
trips by periodically using the massage
function.
�
Press button4.
The indicator lamp on button4 lights
up. The air cushions in the lumbar re-
gion inflate and deflate rhythmically.iThe massage function switches off au-
tomatically after approximately eight
minutes. The indicator lamp extinguish-
es.
Page 97 of 376
97 Controls in detail
Seats
Seat heater
Vehicles without seat ventilation*
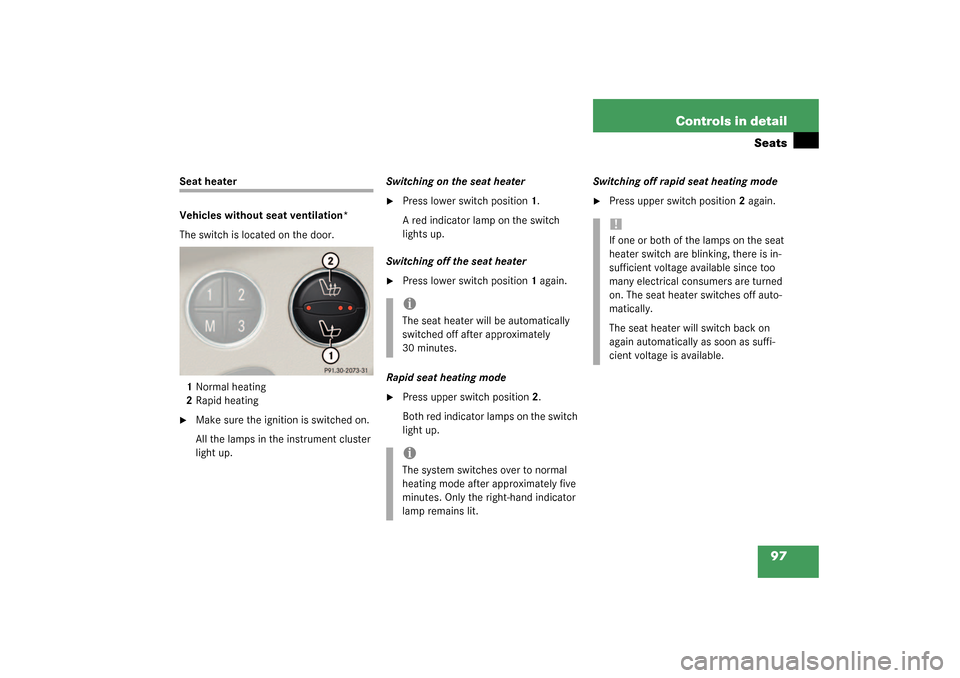
The switch is located on the door.
1Normal heating
2Rapid heating�
Make sure the ignition is switched on.
All the lamps in the instrument cluster
light up.Switching on the seat heater
�
Press lower switch position1.
A red indicator lamp on the switch
lights up.
Switching off the seat heater
�
Press lower switch position1 again.
Rapid seat heating mode
�
Press upper switch position2.
Both red indicator lamps on the switch
light up. Switching off rapid seat heating mode
�
Press upper switch position2 again.
iThe seat heater will be automatically
switched off after approximately
30 minutes. iThe system switches over to normal
heating mode after approximately five
minutes. Only the right-hand indicator
lamp remains lit.
!If one or both of the lamps on the seat
heater switch are blinking, there is in-
sufficient voltage available since too
many electrical consumers are turned
on. The seat heater switches off auto-
matically.
The seat heater will switch back on
again automatically as soon as suffi-
cient voltage is available.
Page 98 of 376

98 Controls in detailSeatsVehicles with seat ventilation*
The switch is located on the door. The red
indicator lamps on the switch show the
heater level selected:
1Seat heater switch�
Make sure the ignition is switched on.
All the lamps in the instrument cluster
light up.Switching on the seat heater
�
Press upper switch position1 twice.
A red indicator lamp on the switch
lights up.
Switching off the seat heater
�
Press upper switch position1 again.
Rapid seat heating
�
Press upper switch position1 once.
Both indicator lamps on the switch light
up. Switching off rapid seat heating mode
�
Press upper switch position1 twice.
Seat heater off
No indicator lamp on
Level 1
One indicator lamp on
Level 2
Two indicator lamps on
iThe seat heater will be automatically
switched off after approximately
30 minutes. iThe system switches over to normal
heating mode after approximately five
minutes. Only the right-hand indicator
lamp remains lit.
!If one or both of the lamps on the seat
heater switch are blinking, there is in-
sufficient voltage available since too
many electrical consumers are turned
on. The seat heater switches off auto-
matically.
The seat heater will switch back on
again automatically as soon as suffi-
cient voltage is available.
Page 103 of 376
103 Controls in detail
Lighting
Manual headlamp mode
The low beam headlamps and parking
lamps can be switched on or off with the
exterior lamp switch.
Automatic headlamp mode
The parking lamps, low beam headlamps
and license plate lamps switch on and off
automatically depending on the brightness
of the ambient light.
�
Turn the exterior lamp switch to
U
.Daytime running lamp mode
�
Turn exterior lamp switch to
position
M
or
U
.
When the engine is running, the low
beam headlamps are automatically
switched on. In low ambient light con-
ditions the parking lamps will also
switch on.
Canada only:
When you shift from a driving position to
positionN orP, the low beam switches off
(3 minutes delay).
For nighttime driving you should turn the
exterior lamp switch to position
B
to
permit activation of the high beam head-
lamps.
Warning!
G
In automatic headlamp mode, the head-
lamps will not be automatically switched on
under foggy conditions. To minimize risk to
you and to others, activate headlamps by
turning exterior lamp switch to
B
.
The driver is responsible for the operation of
the vehicle’s lights at all times. The automat-
ic headlamp feature is only an aid to the driv-
er. Switch on the vehicle lights manually
when driving or when traffic conditions re-
quire you to do so.
iWith the daytime running lamp mode
activated, the low beam headlamps will
not be switched off automatically.iFront fog lamps and rear fog lamp can
not be switched on manually with exte-
rior lamp switch in position
U
. To
activate the fog lamps turn exterior
lamp switch to position
B
.
iIf you drive in countries where vehicles
drive on the other side of the road than
the country where the vehicle is regis-
tered, you must have the headlamps
modified for symmetrical low beams.
Relevant information can be obtained
at your authorized Mercedes-Benz Cen-
ter.
Page 104 of 376
104 Controls in detailLightingUSA only:
The high beam headlamps can also be ac-
tivated when driving with the daytime run-
ning lamp mode activated and the exterior
lamp switch in position
M
.
To activate the daytime running lamp
mode, see “Setting daytime running lamp
mode (USA only)” (
�page 124).
Locator lighting and night security
illumination
Locator lighting and night security illumi-
nation are described in the control system
section, see “Setting locator lighting”
(
�page 125) and "Exterior lamps delayed
switch-off" (
�page 125).Switching on front fog lamps
�
Make sure that the low beam head-
lamps are switched on.
�
Pull out exterior lamp switch to first
stop.
The green indicator lamp
‡
in the
lamp switch lights up.
Switching on rear fog lamp
�
Make sure that the low beam head-
lamps are switched on.
�
Pull out exterior lamp switch to second
stop.
The yellow indicator lamp
†
in the
lamp switch lights up.
Combination switch
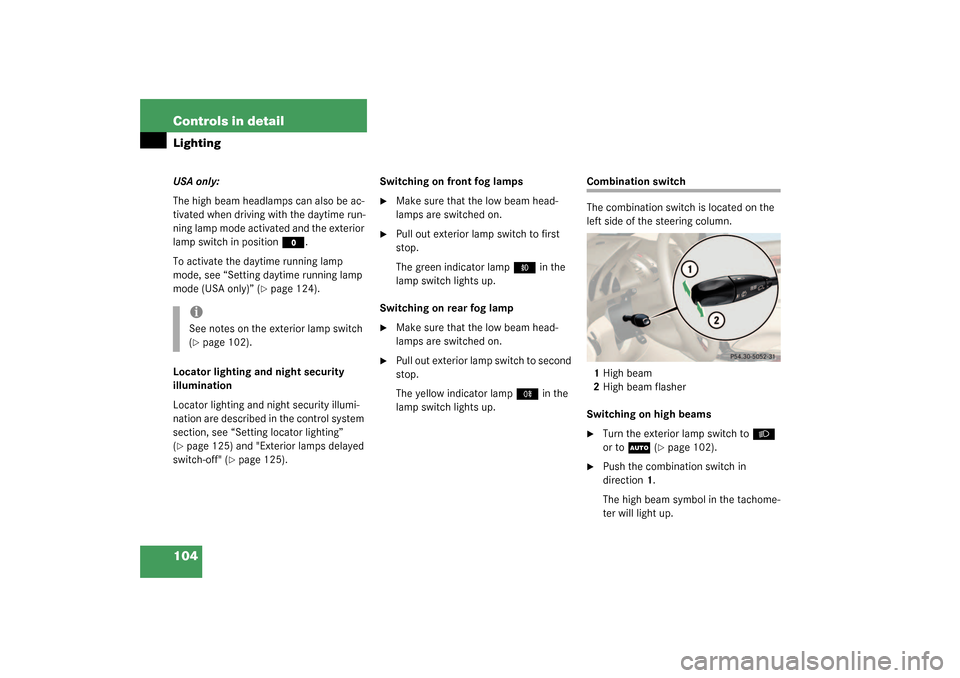
The combination switch is located on the
left side of the steering column.
1High beam
2High beam flasher
Switching on high beams�
Turn the exterior lamp switch to
B
or to
U
(�page 102).
�
Push the combination switch in
direction1.
The high beam symbol in the tachome-
ter will light up.
iSee notes on the exterior lamp switch
(�page 102).
Page 150 of 376
150 Controls in detailAutomatic climate controlAdjusting the temperature for center
and side air vents
When outside temperatures are low, you
can manually raise the air temperature for
the center and side air vents. The
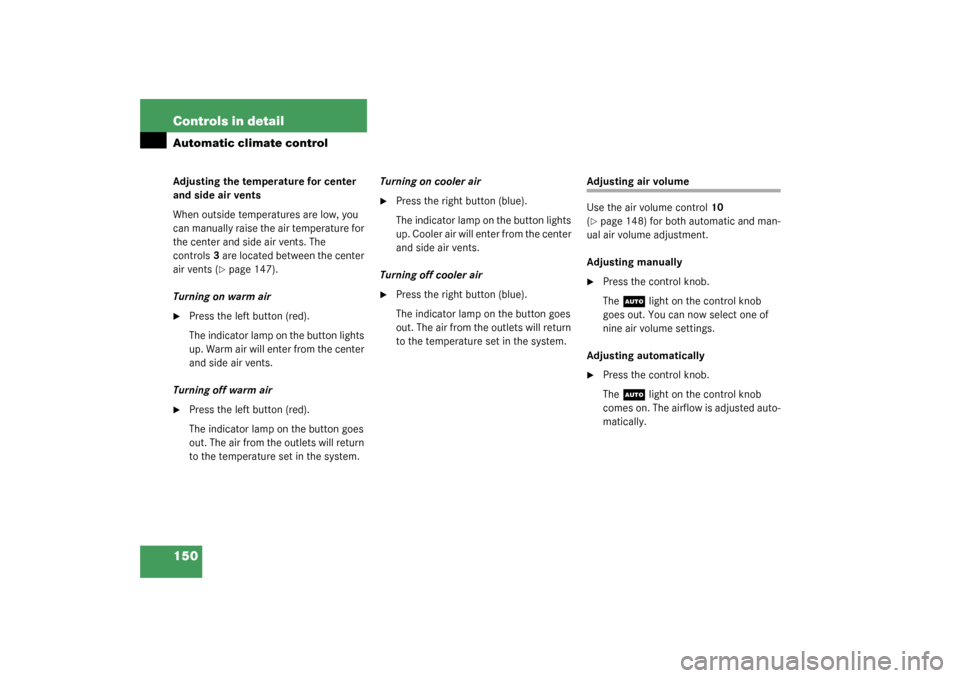
controls3 are located between the center
air vents (
�page 147).
Turning on warm air
�
Press the left button (red).
The indicator lamp on the button lights
up. Warm air will enter from the center
and side air vents.
Turning off warm air
�
Press the left button (red).
The indicator lamp on the button goes
out. The air from the outlets will return
to the temperature set in the system.Turning on cooler air
�
Press the right button (blue).
The indicator lamp on the button lights
up. Cooler air will enter from the center
and side air vents.
Turning off cooler air
�
Press the right button (blue).
The indicator lamp on the button goes
out. The air from the outlets will return
to the temperature set in the system.
Adjusting air volume
Use the air volume control10
(�page 148) for both automatic and man-
ual air volume adjustment.
Adjusting manually
�
Press the control knob.
The
U
light on the control knob
goes out. You can now select one of
nine air volume settings.
Adjusting automatically
�
Press the control knob.
The
U
light on the control knob
comes on. The airflow is adjusted auto-
matically.
Page 151 of 376
151 Controls in detail
Automatic climate control
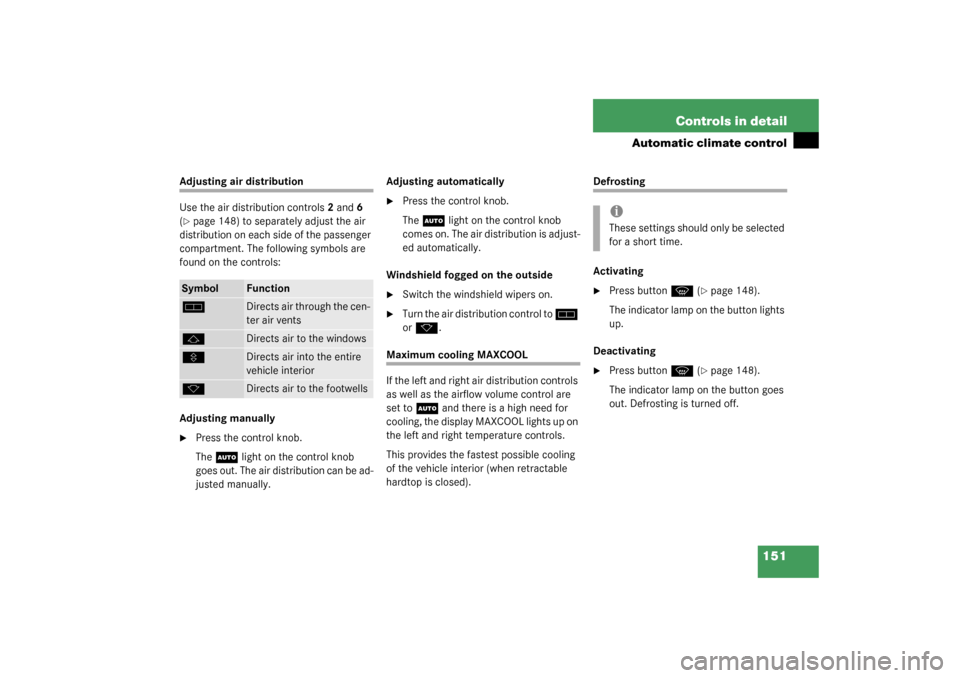
Adjusting air distribution
Use the air distribution controls2 and6
(�page 148) to separately adjust the air
distribution on each side of the passenger
compartment. The following symbols are
found on the controls:
Adjusting manually
�
Press the control knob.
The
U
light on the control knob
goes out. The air distribution can be ad-
justed manually.Adjusting automatically
�
Press the control knob.
The
U
light on the control knob
comes on. The air distribution is adjust-
ed automatically.
Windshield fogged on the outside
�
Switch the windshield wipers on.
�
Turn the air distribution control to
h
or
k
.
Maximum cooling MAXCOOL
If the left and right air distribution controls
as well as the airflow volume control are
set to
U
and there is a high need for
cooling, the display MAXCOOL lights up on
the left and right temperature controls.
This provides the fastest possible cooling
of the vehicle interior (when retractable
hardtop is closed).
Defrosting
Activating�
Press button
P
(�page 148).
The indicator lamp on the button lights
up.
Deactivating
�
Press button
P
(�page 148).
The indicator lamp on the button goes
out. Defrosting is turned off.
Symbol
Function
h
Directs air through the cen-
ter air vents
j
Directs air to the windows
V
Directs air into the entire
vehicle interior
k
Directs air to the footwells
iThese settings should only be selected
for a short time.
Page 152 of 376
152 Controls in detailAutomatic climate controlAir recirculation mode
Switch to air recirculation mode to prevent
unpleasant odors from entering the vehicle
from the outside. This setting cuts off the
intake of outside air and recirculates the
air in the passenger compartment.
Activating�
Press button
,
(�page 148).
The indicator lamp on the button lights
up.Deactivating
�
Press button
,
(�page 148).
The indicator lamp on the button goes
out.The air recirculation mode is deactivated
automatically
�
after five minutes if the outside temper-
ature is below approximately 41°F
(5 °C)
�
after five minutes if the air conditioner
is turned off
�
after 30 minutes if the outside temper-
ature is above approximately 41°F
(5 °C)
At outside temperatures above 79°F
(26 °C) the system will not automatically
switch back to outside air. A quantity of
outside air is added after approximately
30 minutes.
Warning!
G
When the outside temperature is below
41°F (5°C), only switch to air recirculation
mode for short periods to prevent window
fogging.
iIf you keep button
,
pressed, the
side windows will close.
The air recirculation mode is activated
automatically
�
at high outside temperatures
�
if the concentration of carbon mon-
oxide and nitrogen oxide in the out-
side air increases, for example in a
tunnel
If you have turned off the air condition-
er (�page 155) or the outside
temperature is below 41°F (5°C), the
air recirculation mode will not switch
on automatically.
iIf you keep button
,
pressed, the
side windows will return to their previ-
ous position.