Page 74 of 376

�
lock the")
74 Safety and SecurityDriving safety systems
The SBC brake servo assistance switches
off automatically when you�
remove the key from the starter switch
(after approximately two minutes)
�
lock the vehicle (after approximately
20 seconds)
Note on driving with SBC
�
Following extended periods of only mi-
nor loads to your brake system, you
should occasionally apply the brakes
when traveling at high speeds. This im-
proves the grip of the brake pads.
�
After driving on wet or snow-covered
roads, you should apply your brakes
firmly before parking your vehicle. This
produces heat which serves to dry the
brake disks and help prevent corro-
sion.
�
On long and steep grades, shift to a
lower gear (gear range1, 2, or 3) to
prevent the brakes from overheating
and to reduce brake wear.
�
After hard braking, it is advisable to
drive on for some time so that the air
stream will cool down the brakes fast-
er.
�
Only Mercedes-Benz approved compo-
nents (e.g. brake pads) should be in-
stalled on your vehicle. Brake pads not
approved by Mercedes-Benz may im-
pair the safety of your vehicle.
Warning!
G
Have brake pad replacement and other work
on the SBC brake system carried out by
qualified technicians only. Contact your
Mercedes-Benz Center for further informa-
tion. The SBC brake system must be deacti-
vated prior to working on the system. High
pressure is intermittently built up in the sys-
tem as part of its automatic self-test. In ad-
dition, the system is automatically activated
when the vehicle is unlocked by remote con-
trol, when the driver or passenger door is
opened, when the key in the starter switch
is turned to position1, when the brake ped-
al is depressed or when the parking brake is
released. Failure to deactivate the system
prior to maintenance will cause brake pis-
tons to extend and brake fluid to leak, which
may result in injuries (contusions and acid
burns). Extended brake pistons may also
cause injury.
Warning!
G
Be very careful not to endanger other road
users when you apply the brakes.
Page 75 of 376

75 Safety and Security
Anti-theft systems
Anti-theft systems
Immobilizer
The immobilizer prevents unauthorized
persons from starting your vehicle.
Activating�
With the key: Removing the key from
the starter switch activates the immo-
bilizer.
�
With KEYLESS-GO*: Turning off the en-
gine by means of the start/stop button
on the gear selector lever activates the
immobilizer.
Deactivating
�
With the key: Inserting the key in the
starter switch deactivates the immobi-
lizer.
�
With KEYLESS-GO*: Starting the en-
gine by means of the start/stop button
on the gear selector lever deactivates
the immobilizer.
Anti-theft alarm system
Once the alarm system has been armed, a
visual and audible alarm is triggered when
someone opens �
a door
�
the trunk lid
�
the hood
�
a storage compartment in the rear
�
the glove box
�
the storage space under the armrest
The alarm system will also be triggered
when
�
someone attempts to raise the vehicle
�
unlocking and opening the driver’s
door with the mechanical key
iIf the alarm stays on for more than
20 seconds, an emergency call is initi-
ated automatically by the Tele Aid sys-
tem (
�page 202) provided Tele Aid
service was subscribed to and properly
activated.
Page 77 of 376

77 Safety and Security
Anti-theft systems
Tow-away alarm
Once the tow-away alarm is armed, a visual
and audible alarm will be triggered when
someone attempts to raise the vehicle.
Arming tow-away alarm
When you lock your vehicle, the tow-away
alarm is automatically armed after about
30 seconds.
When you unlock your vehicle, the
tow-away protection disarms automatical-
ly.Disarming tow-away alarm
To prevent triggering the tow-away alarm
feature, switch off the tow-away alarm be-
fore towing the vehicle, or when parking on
a surface subject to movement, such as a
ferry or auto train.
The switch is on the center console be-
tween the driver’s seat and the passenger
seat.
1Tow-away alarm off switch
2Indicator lamp
�
Turn off the ignition and remove the
key.
�
Press switch1.
The indicator lamp2 in the switch
lights up briefly.
�
Lock your vehicle with the key or (vehi-
cles with KEYLESS-GO*) the lock but-
ton at each door handle.
The tow-away alarm remains disarmed un-
til you lock your vehicle again.
iThe tow-away protection alarm is trig-
gered, for example, if the vehicle is lift-
ed on one side.
If the alarm stays on for more than
20 seconds, an emergency call is initi-
ated automatically by the Tele Aid sys-
tem (
�page 202) provided Tele Aid
service was subscribed to and properly
activated.
iYou cannot disarm the tow-away alarm
if the ignition is turned on.
Page 85 of 376

85 Controls in detail
Locking and unlocking
Important notes on using KEYLESS-GO*�
Always carry the KEYLESS-GO card
with you.
�
Never store the KEYLESS-GO card to-
gether with:�
electronic items such as a cellular
phone or another KEYLESS-GO card
�
metallic objects such as coins or
metal foil
Doing so could impair the function of
the KEYLESS-GO system.
�
Always take a SmartKey with you in
case of a malfunction of the KEY-
LESS-GO system.
�
To lock or unlock the vehicle, the card
must be located outside the vehicle
within approximately 3 ft. (1 m) of a
door or the trunk lid.
�
In order to start the engine with the
KEYLESS-GO card�
the KEYLESS-GO card must be lo-
cated in the vehicle
�
all the doors must be closed
�
If you have started the engine with the
KEYLESS-GO start/stop button, you
can only turn it off again with this but-
ton, even if you have put the key in the
starter switch in the meantime.
�
This does not apply if, after starting, the
selector lever is still in positionP. The
key will then have priority over the card
and the vehicle’s electrical system will
operate according to the position of
the key in the starter switch, even stop-
ping the engine.
�
If the KEYLESS-GO card is positioned
farther away from the vehicle (e.g. in-
side clothing or briefcase) and can no
longer be recognized by the system,
the vehicle cannot be locked or the en-
gine started via the KEYLESS-GO sys-
tem.
�
If the KEYLESS-GO card is removed
from the vehicle while the ignition is
switched on (e.g. if passenger exits the
vehicle with the card), the message Chip card not recognized!
will ap-
pear in the multifunction display.
Find the card or change its present lo-
cation immediately (e.g. place it on the
front passenger seat or insert it in shirt
pocket).
�
Remember that the engine can be
started by anyone with a KEYLESS-GO
card that is left inside the vehicle. If you
leave the card behind when exiting and
locking the vehicle, the message
Chip
card still in vehicle!
will appear in
the multifunction display.
Page 94 of 376
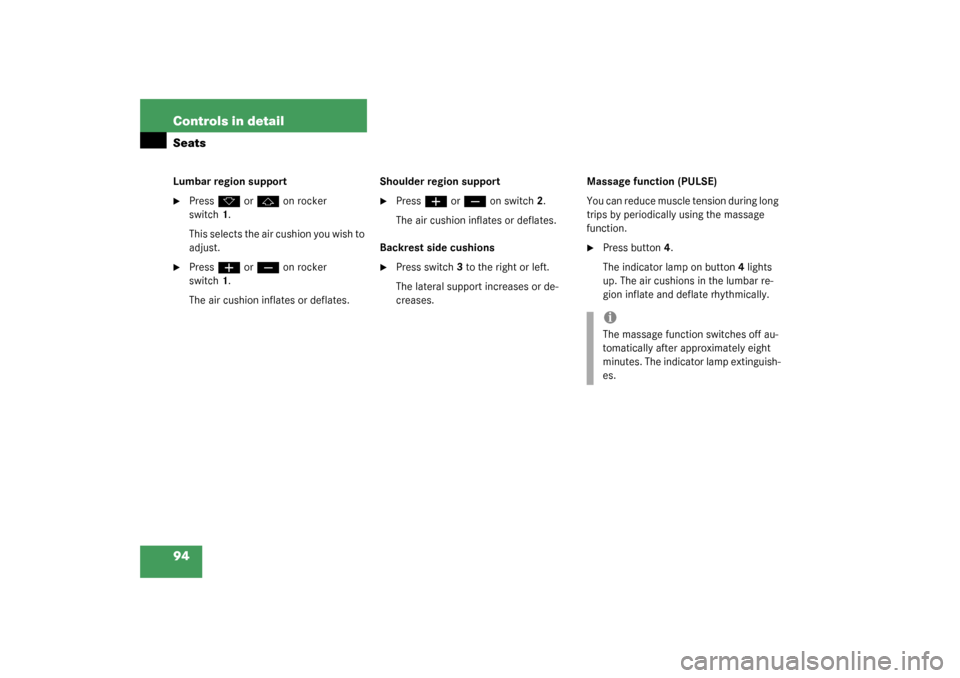
94 Controls in detailSeatsLumbar region support�
Press
k
or
j
on rocker
switch1.
This selects the air cushion you wish to
adjust.
�
Press
æ
or
ç
on rocker
switch1.
The air cushion inflates or deflates.Shoulder region support
�
Press
æ
or
ç
on switch2.
The air cushion inflates or deflates.
Backrest side cushions
�
Press switch3 to the right or left.
The lateral support increases or de-
creases.Massage function (PULSE)
You can reduce muscle tension during long
trips by periodically using the massage
function.
�
Press button4.
The indicator lamp on button4 lights
up. The air cushions in the lumbar re-
gion inflate and deflate rhythmically.iThe massage function switches off au-
tomatically after approximately eight
minutes. The indicator lamp extinguish-
es.
Page 96 of 376

96 Controls in detailSeatsSeat ventilation*
The switch is located on the door. The blue
indicator lamps on the switch show the
ventilation level selected:
1Seat ventilation switch�
Make sure the ignition is switched on.All the lamps in the instrument cluster
light up.
Switching on the seat ventilation
�
Press switch1.
Three blue indicator lamps on the
switch light up.
Switching off the seat ventilation
�
Press switch1 repeatedly until all indi-
cator lamps go out.
Level 3
Three indicator lamps on
Level 2
Two indicator lamps on
Level 1
One indicator lamp on
Ventilation off
No indicator lamp on
iIn normal operation the seat ventilation
will switch off automatically after about
30 minutes.
!If one or all of the lamps blink on the
seat ventilation* switch, there is insuf-
ficient voltage since too many electri-
cal consumers are switched on. The
seat ventilation* switches off automat-
ically.
The seat ventilation* will switch back
on again automatically as soon as suffi-
cient voltage is available.
Page 97 of 376

97 Controls in detail
Seats
Seat heater
Vehicles without seat ventilation*
The switch is located on the door.
1Normal heating
2Rapid heating�
Make sure the ignition is switched on.
All the lamps in the instrument cluster
light up.Switching on the seat heater
�
Press lower switch position1.
A red indicator lamp on the switch
lights up.
Switching off the seat heater
�
Press lower switch position1 again.
Rapid seat heating mode
�
Press upper switch position2.
Both red indicator lamps on the switch
light up. Switching off rapid seat heating mode
�
Press upper switch position2 again.
iThe seat heater will be automatically
switched off after approximately
30 minutes. iThe system switches over to normal
heating mode after approximately five
minutes. Only the right-hand indicator
lamp remains lit.
!If one or both of the lamps on the seat
heater switch are blinking, there is in-
sufficient voltage available since too
many electrical consumers are turned
on. The seat heater switches off auto-
matically.
The seat heater will switch back on
again automatically as soon as suffi-
cient voltage is available.
Page 98 of 376

98 Controls in detailSeatsVehicles with seat ventilation*
The switch is located on the door. The red
indicator lamps on the switch show the
heater level selected:
1Seat heater switch�
Make sure the ignition is switched on.
All the lamps in the instrument cluster
light up.Switching on the seat heater
�
Press upper switch position1 twice.
A red indicator lamp on the switch
lights up.
Switching off the seat heater
�
Press upper switch position1 again.
Rapid seat heating
�
Press upper switch position1 once.
Both indicator lamps on the switch light
up. Switching off rapid seat heating mode
�
Press upper switch position1 twice.
Seat heater off
No indicator lamp on
Level 1
One indicator lamp on
Level 2
Two indicator lamps on
iThe seat heater will be automatically
switched off after approximately
30 minutes. iThe system switches over to normal
heating mode after approximately five
minutes. Only the right-hand indicator
lamp remains lit.
!If one or both of the lamps on the seat
heater switch are blinking, there is in-
sufficient voltage available since too
many electrical consumers are turned
on. The seat heater switches off auto-
matically.
The seat heater will switch back on
again automatically as soon as suffi-
cient voltage is available.