Page 122 of 376
122 Controls in detailControl systemInstrument cluster submenu
Access the
Inst. cluster
menu via the
Settings
menu. Use the
Inst. cluster
submenu to change the instrument cluster
display settings. The following functions
are available:Selecting time display mode
�
Move the selection marker with the æ
or
ç
button to the
Inst.
cluster
submenu.
�
Press button
j
or
k
repeatedly
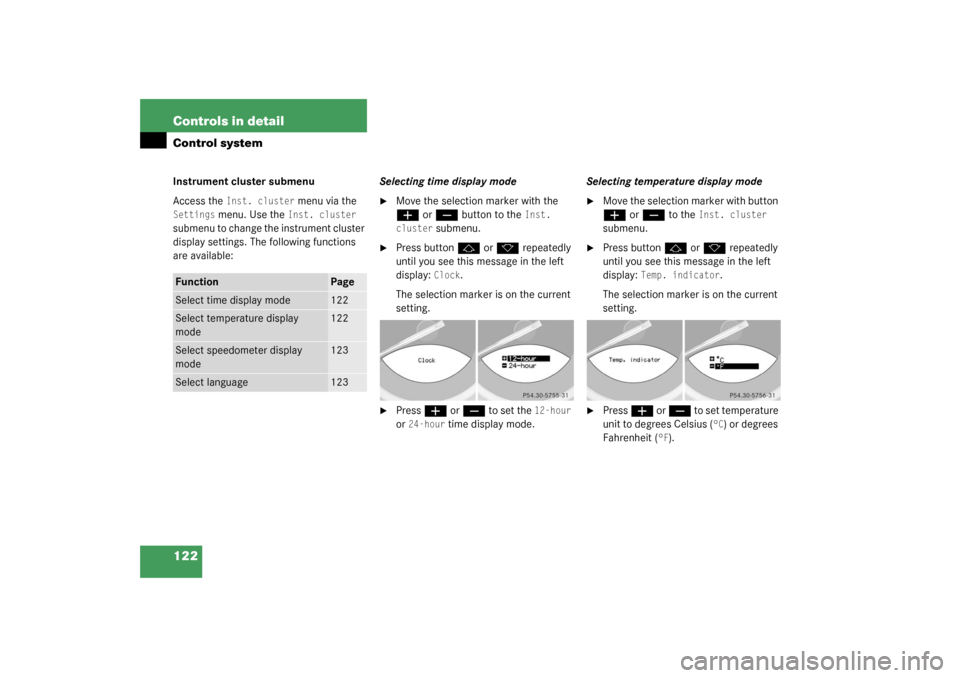
until you see this message in the left
display:
Clock
.
The selection marker is on the current
setting.
�
Press
æ
or
ç
to set the
12-hour
or
24-hour
time display mode.Selecting temperature display mode
�
Move the selection marker with button æ
or
ç
to the
Inst. cluster
submenu.
�
Press button
j
or
k
repeatedly
until you see this message in the left
display:
Temp. indicator
.
The selection marker is on the current
setting.
�
Press
æ
or
ç
to set temperature
unit to degrees Celsius (
°C) or degrees
Fahrenheit (
°F).
Function
Page
Select time display mode
122
Select temperature display
mode
122
Select speedometer display
mode
123
Select language
123
Page 143 of 376
143 Controls in detail
Automatic transmission
Activating steering wheel gearshift
control�
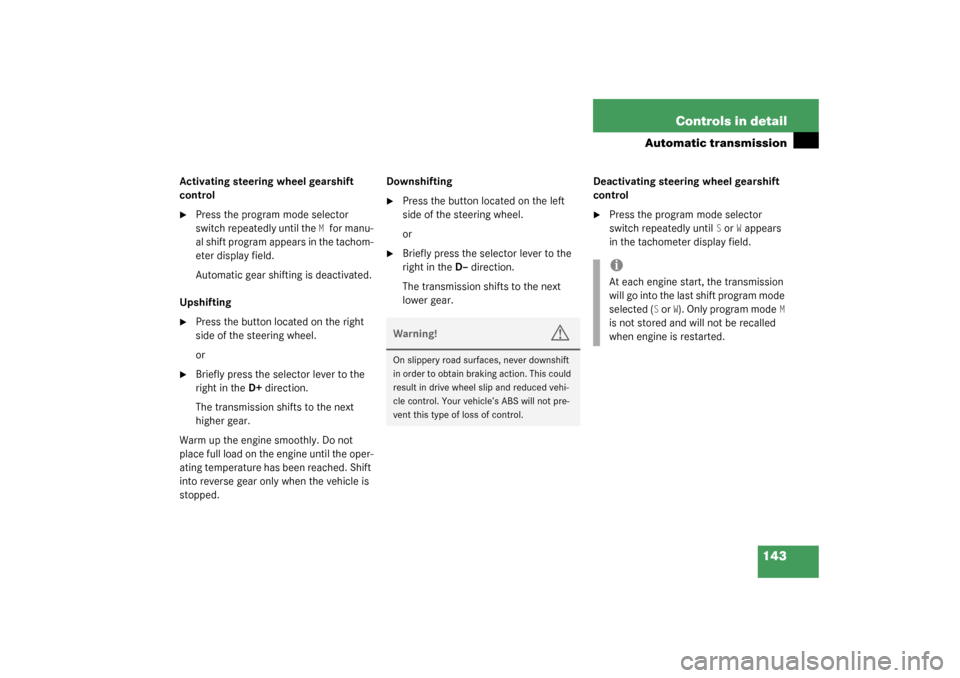
Press the program mode selector
switch repeatedly until the
Mfor manu-
al shift program appears in the tachom-
eter display field.
Automatic gear shifting is deactivated.
Upshifting
�
Press the button located on the right
side of the steering wheel.
or
�
Briefly press the selector lever to the
right in the D+direction.
The transmission shifts to the next
higher gear.
Warm up the engine smoothly. Do not
place full load on the engine until the oper-
ating temperature has been reached. Shift
into reverse gear only when the vehicle is
stopped.Downshifting
�
Press the button located on the left
side of the steering wheel.
or
�
Briefly press the selector lever to the
right in the D–direction.
The transmission shifts to the next
lower gear.Deactivating steering wheel gearshift
control
�
Press the program mode selector
switch repeatedly until
S or
W appears
in the tachometer display field.
Warning!
G
On slippery road surfaces, never downshift
in order to obtain braking action. This could
result in drive wheel slip and reduced vehi-
cle control. Your vehicle’s ABS will not pre-
vent this type of loss of control.
iAt each engine start, the transmission
will go into the last shift program mode
selected (
S or
W). Only program mode
M
is not stored and will not be recalled
when engine is restarted.
Page 148 of 376
148 Controls in detailAutomatic climate control
Automatic climate control panel
Item
1
Center air vent, adjustable
2
Center air vent, fixed
3
Air temperature controls for cen-
ter and side air vents
4
Air volume control for center and
side air vents
5
Center air vent, adjustable
6
Side defroster vent
7
Side air vent, adjustable
8
Automatic climate control panel
iFor draft-free ventilation, move the slid-
ers for the center air vents to the mid-
dle position.
Item
1
Temperature control, left
2
Air distribution, left (automatic or
manual operation)
3
Defrosting
4
Air recirculation
5
Rear window defroster
6
Air distribution, right (automatic or
manual operation)
7
Temperature control, right
8
Automatic climate control on/off
(complete system)
9
Residual heat/ventilation
10
Air volume control (automatic, man-
ual)
11
AC cooling on/off
Page 149 of 376
149 Controls in detail
Automatic climate control
The automatic climate control is operation-
al whenever the engine is running. You can
operate the climate control system in ei-
ther the automatic or manual mode. The
system cools or heats the interior depend-
ing on the selected interior temperature
and the current outside temperature.
Nearly all dust particles, pollutants and
odors are filtered out before outside air en-
ters the passenger compartment through
the air distribution system.
Setting the temperature
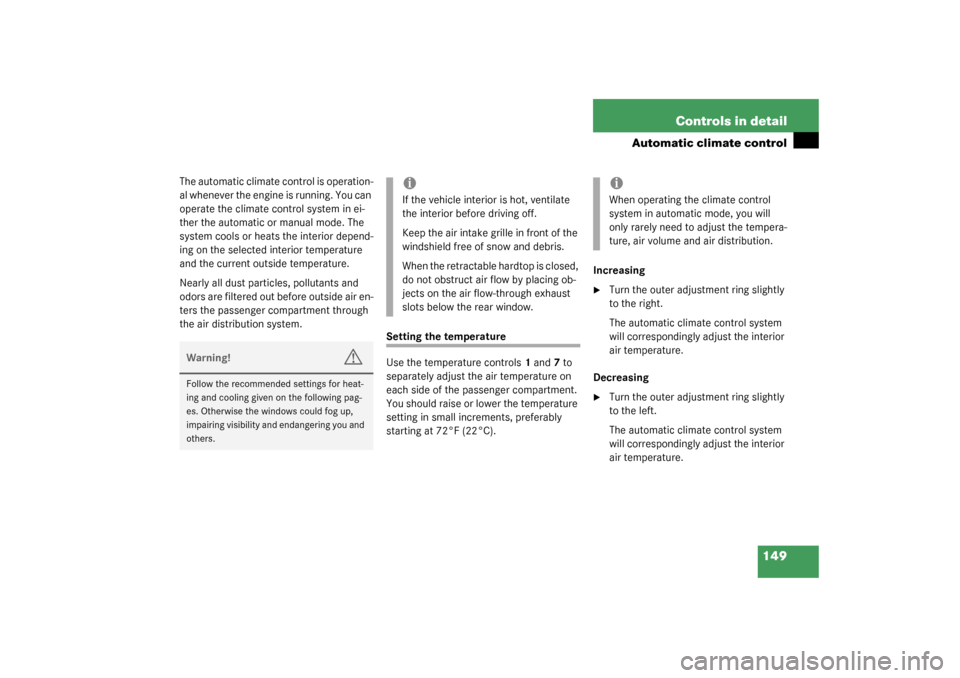
Use the temperature controls1 and7 to
separately adjust the air temperature on
each side of the passenger compartment.
You should raise or lower the temperature
setting in small increments, preferably
starting at 72°F (22°C). Increasing
�
Turn the outer adjustment ring slightly
to the right.
The automatic climate control system
will correspondingly adjust the interior
air temperature.
Decreasing
�
Turn the outer adjustment ring slightly
to the left.
The automatic climate control system
will correspondingly adjust the interior
air temperature.
Warning!
G
Follow the recommended settings for heat-
ing and cooling given on the following pag-
es. Otherwise the windows could fog up,
impairing visibility and endangering you and
others.
iIf the vehicle interior is hot, ventilate
the interior before driving off.
Keep the air intake grille in front of the
windshield free of snow and debris.
When the retractable hardtop is closed,
do not obstruct air flow by placing ob-
jects on the air flow-through exhaust
slots below the rear window.
iWhen operating the climate control
system in automatic mode, you will
only rarely need to adjust the tempera-
ture, air volume and air distribution.
Page 150 of 376
150 Controls in detailAutomatic climate controlAdjusting the temperature for center
and side air vents
When outside temperatures are low, you
can manually raise the air temperature for
the center and side air vents. The
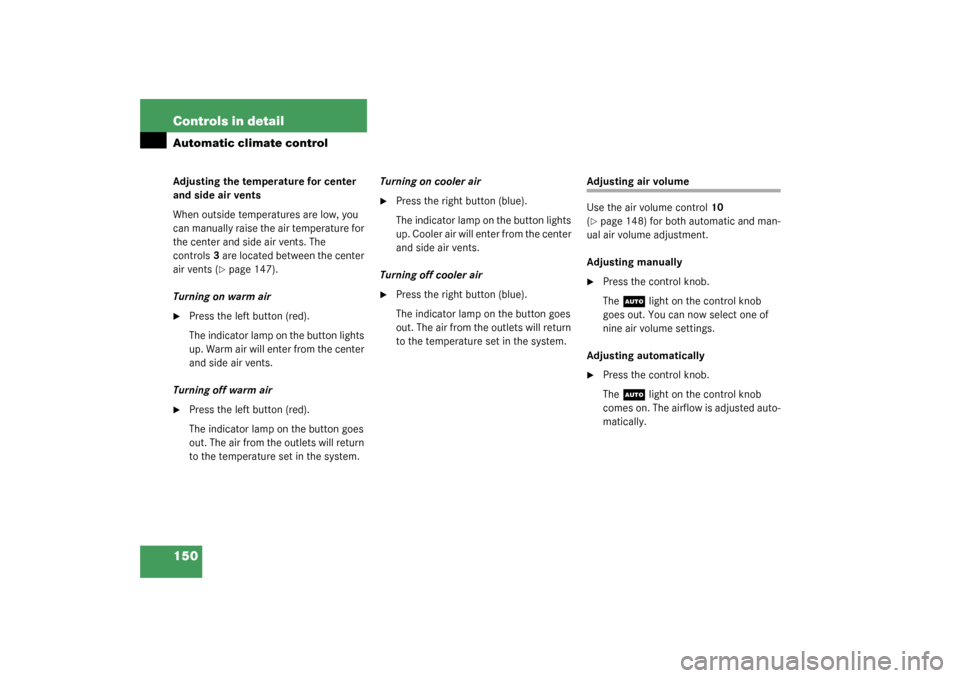
controls3 are located between the center
air vents (
�page 147).
Turning on warm air
�
Press the left button (red).
The indicator lamp on the button lights
up. Warm air will enter from the center
and side air vents.
Turning off warm air
�
Press the left button (red).
The indicator lamp on the button goes
out. The air from the outlets will return
to the temperature set in the system.Turning on cooler air
�
Press the right button (blue).
The indicator lamp on the button lights
up. Cooler air will enter from the center
and side air vents.
Turning off cooler air
�
Press the right button (blue).
The indicator lamp on the button goes
out. The air from the outlets will return
to the temperature set in the system.
Adjusting air volume
Use the air volume control10
(�page 148) for both automatic and man-
ual air volume adjustment.
Adjusting manually
�
Press the control knob.
The
U
light on the control knob
goes out. You can now select one of
nine air volume settings.
Adjusting automatically
�
Press the control knob.
The
U
light on the control knob
comes on. The airflow is adjusted auto-
matically.
Page 151 of 376
151 Controls in detail
Automatic climate control
Adjusting air distribution
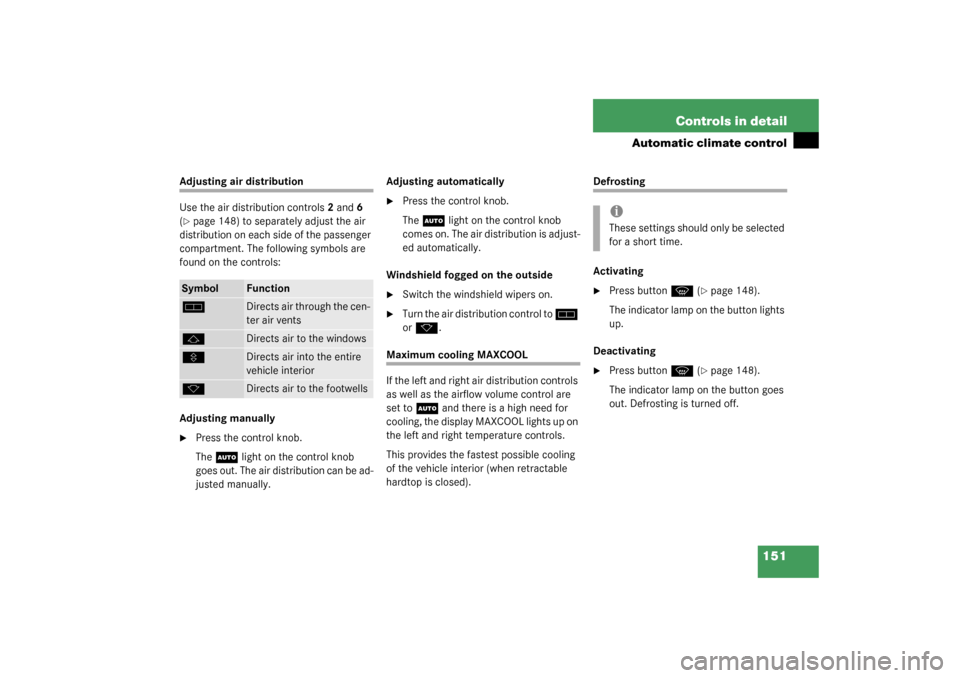
Use the air distribution controls2 and6
(�page 148) to separately adjust the air
distribution on each side of the passenger
compartment. The following symbols are
found on the controls:
Adjusting manually
�
Press the control knob.
The
U
light on the control knob
goes out. The air distribution can be ad-
justed manually.Adjusting automatically
�
Press the control knob.
The
U
light on the control knob
comes on. The air distribution is adjust-
ed automatically.
Windshield fogged on the outside
�
Switch the windshield wipers on.
�
Turn the air distribution control to
h
or
k
.
Maximum cooling MAXCOOL
If the left and right air distribution controls
as well as the airflow volume control are
set to
U
and there is a high need for
cooling, the display MAXCOOL lights up on
the left and right temperature controls.
This provides the fastest possible cooling
of the vehicle interior (when retractable
hardtop is closed).
Defrosting
Activating�
Press button
P
(�page 148).
The indicator lamp on the button lights
up.
Deactivating
�
Press button
P
(�page 148).
The indicator lamp on the button goes
out. Defrosting is turned off.
Symbol
Function
h
Directs air through the cen-
ter air vents
j
Directs air to the windows
V
Directs air into the entire
vehicle interior
k
Directs air to the footwells
iThese settings should only be selected
for a short time.
Page 152 of 376
152 Controls in detailAutomatic climate controlAir recirculation mode
Switch to air recirculation mode to prevent
unpleasant odors from entering the vehicle
from the outside. This setting cuts off the
intake of outside air and recirculates the
air in the passenger compartment.
Activating�
Press button
,
(�page 148).
The indicator lamp on the button lights
up.Deactivating
�
Press button
,
(�page 148).
The indicator lamp on the button goes
out.The air recirculation mode is deactivated
automatically
�
after five minutes if the outside temper-
ature is below approximately 41°F
(5 °C)
�
after five minutes if the air conditioner
is turned off
�
after 30 minutes if the outside temper-
ature is above approximately 41°F
(5 °C)
At outside temperatures above 79°F
(26 °C) the system will not automatically
switch back to outside air. A quantity of
outside air is added after approximately
30 minutes.
Warning!
G
When the outside temperature is below
41°F (5°C), only switch to air recirculation
mode for short periods to prevent window
fogging.
iIf you keep button
,
pressed, the
side windows will close.
The air recirculation mode is activated
automatically
�
at high outside temperatures
�
if the concentration of carbon mon-
oxide and nitrogen oxide in the out-
side air increases, for example in a
tunnel
If you have turned off the air condition-
er (�page 155) or the outside
temperature is below 41°F (5°C), the
air recirculation mode will not switch
on automatically.
iIf you keep button
,
pressed, the
side windows will return to their previ-
ous position.
Page 153 of 376

153 Controls in detail
Automatic climate control
Rear window defroster
The rear window defroster uses a large
amount of power. To keep the battery
drain to a minimum, switch off the defrost-
er as soon as the rear window is clear. The
defroster is automatically deactivated af-
ter approximately 6 to 17 minutes of oper-
ation depending on the outside
temperature.
Activating�
Press button
F
(�page 148).
The indicator lamp on the button lights
up.Deactivating
�
Press button
F
(�page 148) again.
The indicator lamp on the button goes
out.
Warning!
G
Any accumulation of snow and ice should be
removed from the rear window before driv-
ing. Visibility could otherwise be impaired,
endangering you and others.!The rear window defroster cannot be
switched on when the retractable hard-
top is open. The indicator lamp will
start blinking if the hardtop is open.�
Close the retractable hardtop.
The rear window defroster can again be
turned on.
!If the rear window defroster switches
off too soon and the indicator lamp
starts blinking, this means that too
many electrical consumers are operat-
ing simultaneously and there is insuffi-
cient voltage in the battery. The system
responds automatically by deactivating
the rear window defroster.
As soon as the battery has sufficient
voltage, the rear window defroster au-
tomatically turns itself back on.