Page 125 of 416
125 Controls in detail
Lighting
Automatic control
Activating�
Press rocker switch 4 to the center po-
sition.
Interior lamps are switched on in dark-
ness, when:�
the vehicle is unlocked
�
a door is opened
�
the SmartKey is removed from the
starter switch
The interior lamps are switched off after a
set time (�page 153).Deactivating
�
Press the
ñ
symbol on rocker
switch 4.
The interior lighting remains switched
off in darkness even when you
�
unlock the vehicle
�
open a door
�
remove the SmartKey from the
starter switchManual control
Switching lamps on
�
Press the
ð
symbol on rocker
switch 4.
The front interior lighting switches on.
Switching lamps off
�
Press the
ñ
symbol on rocker
switch 4.
The interior lighting switches off. The
automatic control function is switched
on.
iIf the door remains open, the interior
lamps switch off automatically after ap-
proximately five minutes.
Page 126 of 416
126 Controls in detailLightingSwitching rear interior lights on�
Press switch2.
The rear compartment lighting is
switched on.
Switching rear interior lights off
�
Press switch2.
The rear compartment lighting is
switched off.
Front reading lamps
Switching on
�
Press switch 1 or 3.
The corresponding reading lamp is
switched on.
Switching off
�
Press switch 1 or 3.
The corresponding reading lamp is
switched off.
Courtesy lighting
For better orientation in the dark, courtesy
lamps will illuminate the interior of your ve-
hicle as follows:
With parking lamps switched on:�
the door entry lamps
�
the driver and passenger footwells
With SmartKey in starter switch position1:
�
the door entry lamps
�
the center consoleiIf you turn the SmartKey in the starter
switch to position0 and switch off the
headlamps, the door entry lamps will
remain lit for approximately five min-
utes.
Page 130 of 416

130 Controls in detailControl system
Control systemThe control system is activated as soon as
the SmartKey in the starter switch is
turned to position1. The control system
enables you to:�
call up information about your vehicle
�
change vehicle settings
For example, you can use the control sys-
tem to find out when your vehicle is next
due for service, to set the language for
messages in the instrument cluster dis-
play, and much more.
The control system relays information to
the multifunction display.
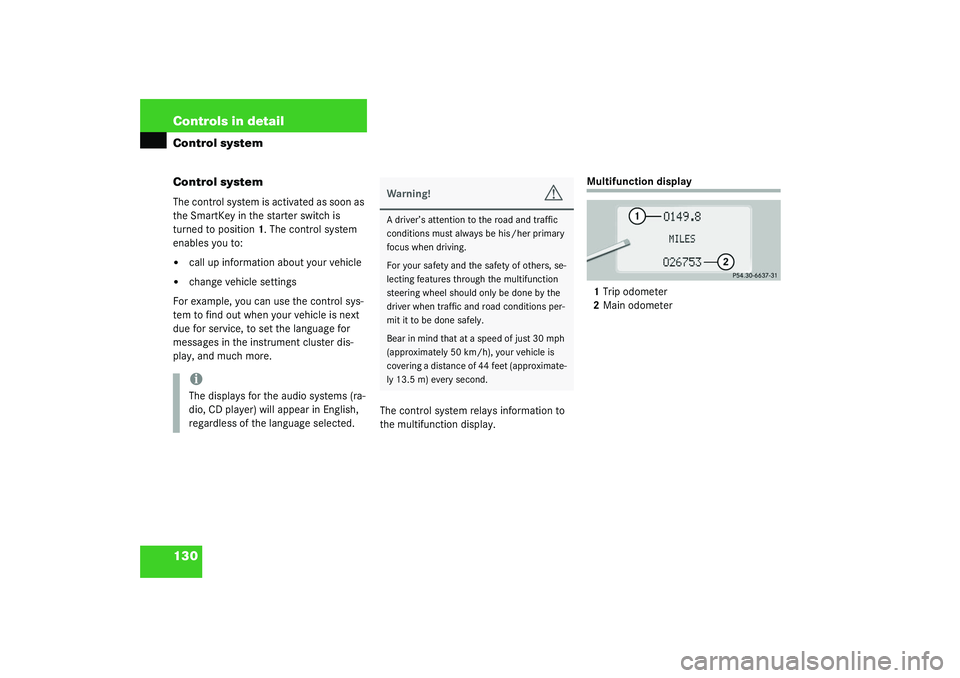
Multifunction display
1Trip odometer
2Main odometer
iThe displays for the audio systems (ra-
dio, CD player) will appear in English,
regardless of the language selected.
Warning!
G
A driver’s attention to the road and traffic
conditions must always be his /her primary
focus when driving.
For your safety and the safety of others, se-
lecting features through the multifunction
steering wheel should only be done by the
driver when traffic and road conditions per-
mit it to be done safely.
Bear in mind that at a speed of just 30 mph
(approximately 50 km/h), your vehicle is
covering a distance of 44 feet (approximate-
ly 13.5 m) every second.
Page 136 of 416

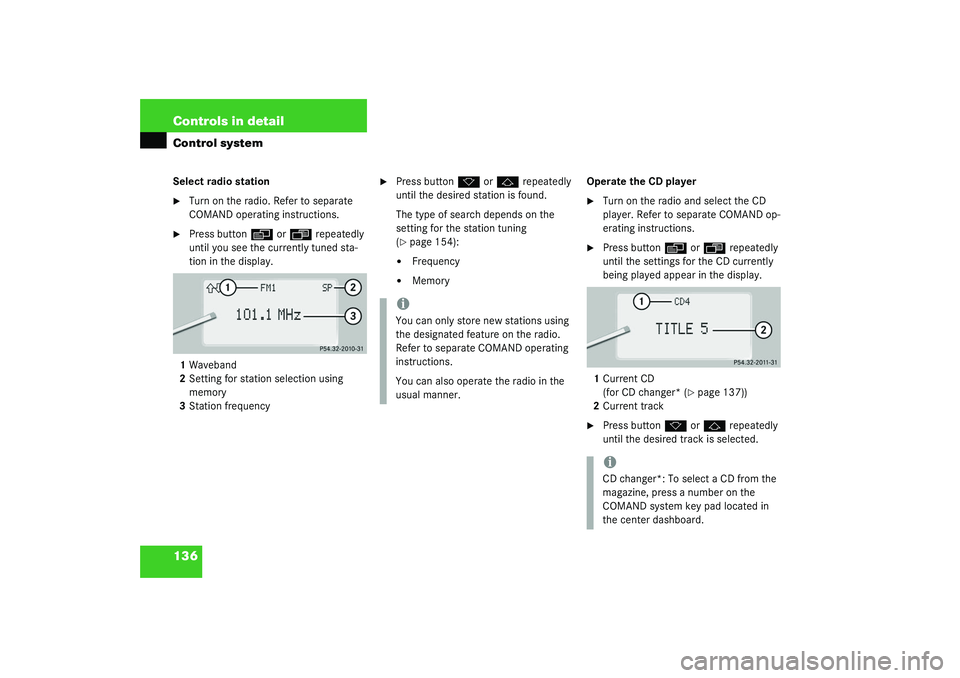
136 Controls in detailControl systemSelect radio station�
Turn on the radio. Refer to separate
COMAND operating instructions.
�
Press button
è
or
ÿ
repeatedly
until you see the currently tuned sta-
tion in the display.
1Waveband
2Setting for station selection using
memory
3Station frequency
�
Press button
k
or
j
repeatedly
until the desired station is found.
The type of search depends on the
setting for the station tuning
(
�page 154):
�
Frequency
�
MemoryOperate the CD player
�
Turn on the radio and select the CD
player. Refer to separate COMAND op-
erating instructions.
�
Press button
è
or
ÿ
repeatedly
until the settings for the CD currently
being played appear in the display.
1Current CD
(for CD changer* (
�page 137))
2Current track
�
Press button
k
or
j
repeatedly
until the desired track is selected.
iYou can only store new stations using
the designated feature on the radio.
Refer to separate COMAND operating
instructions.
You can also operate the radio in the
usual manner.
iCD changer*: To select a CD from the
magazine, press a number on the
COMAND system key pad located in
the center dashboard.
Page 138 of 416
138 Controls in detailControl systemOperational readiness of CD changer
If a CD changer has been installed in the
system, it can be operated from the CO-
MAND system key pad located in the cen-
ter dashboard. A loaded magazine must be
installed for CD playing.Loading/unloading the CD magazine
The CD changer is located behind the cov-
er on the left hand side in the trunk.
�
Remove the CD changer cover.
�
Slide the CD changer door to the right
and press the eject button
3
.
�
The magazine is ejected.
1CD
2CD changer
3CD tray
4CD magazine
�
Remove the magazine and completely
pull out the CD tray.
�
Place the CD in the recess of the tray,
label side up.
�
Push the tray into the magazine in the
direction shown by the arrow.
�
Push the magazine into the CD changer
in the direction shown by the arrow and
close the CD changer door.iCDs which have been inserted improp-
erly or are unreadable will not be
played.
Page 146 of 416

146 Controls in detailControl system�
Press button
k
or
j
.
The stored messages will now be dis-
played in the order in which the mal-
functions have occurred. See the
“Practical hints” section for malfunc-
tion and warning messages
(
�page 296).
Should any malfunctions occur while driv-
ing, the number of malfunctions will reap-
pear in the display when the SmartKey in
the starter switch is turned to position0 or
removed from the starter switch.
Settings menu
In the
SETTINGS
menu there are two func-
tions:
�
The function
TO RESET: R BUTTON FOR
3 SEC.
, with which you can reset all
settings to the original factory settings.
�
A collection of submenus with which
you can make individual settings for
your vehicle.
�
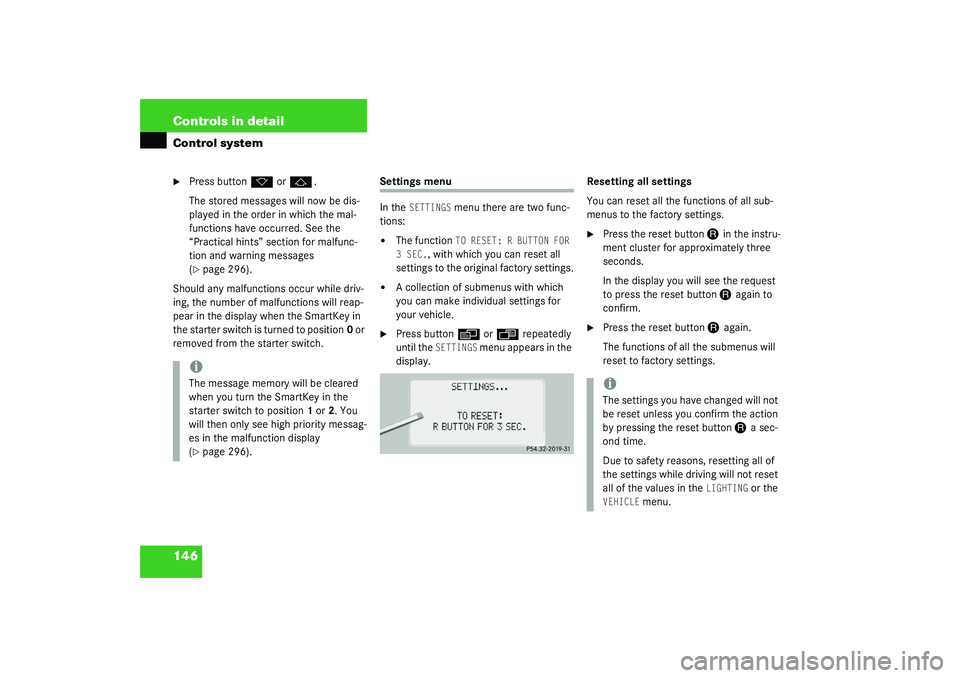
Press button
è
or
ÿ
repeatedly
until the
SETTINGS
m e n u a p p e a r s i n t h e
display.Resetting all settings
You can reset all the functions of all sub-
menus to the factory settings.
�
Press the reset button
J
in the instru-
ment cluster for approximately three
seconds.
In the display you will see the request
to press the reset button J
again to
confirm.
�
Press the reset button
J
again.
The functions of all the submenus will
reset to factory settings.
iThe message memory will be cleared
when you turn the SmartKey in the
starter switch to position1 or2. You
will then only see high priority messag-
es in the malfunction display
(�page 296).
iThe settings you have changed will not
be reset unless you confirm the action
by pressing the reset button
J
a sec-
ond time.
Due to safety reasons, resetting all of
the settings while driving will not reset
all of the values in the
LIGHTING
or the
VEHICLE
menu.
Page 148 of 416
148 Controls in detailControl systemThe table below shows what settings can
be changed within the various menus. De-
tailed instructions on making individual
settings can be found on the following pag-
es.INSTRUMENT CLUSTER
LIGHTING
VEHICLE
CONVENIENCE
Select temperature display
mode
Set daytime running lamp mode
(USA only)
Set station selection mode (ra-
dio)
Set key dependency
Select multifunction display
mode
Set locator lighting
Set automatic locking
Activate easy-entry/exit feature
Select language
Exterior lamps delayed shut-off
Set parking position for exterior
rear view mirror
Interior lighting delayed shut-off
Set fold-in function for exterior
rear view mirrors
Page 152 of 416

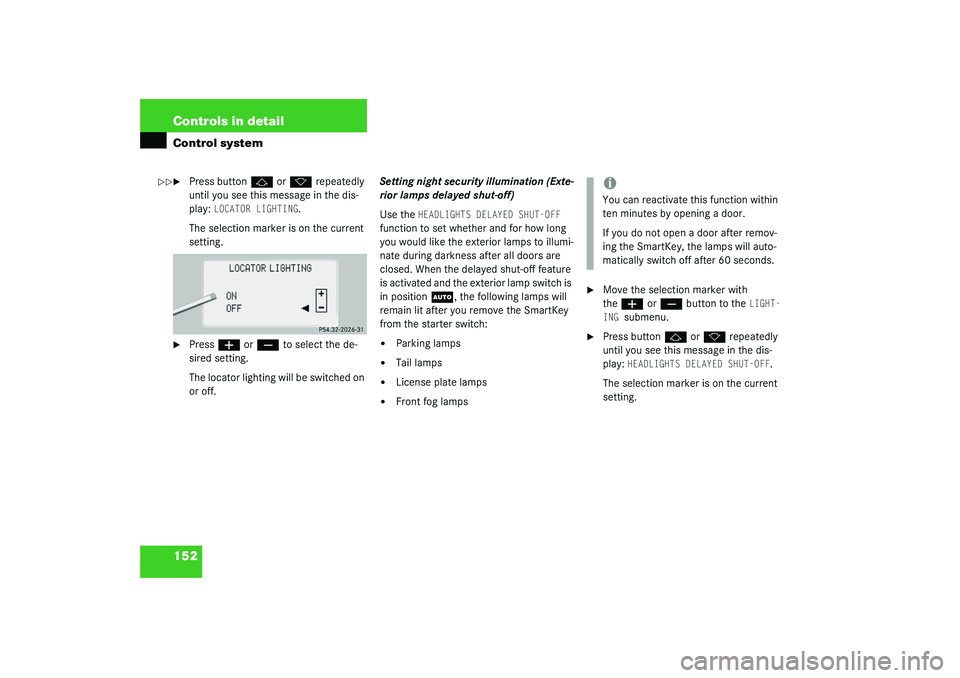
152 Controls in detailControl system�
Press button
j
or
k
repeatedly
until you see this message in the dis-
play:
LOCATOR LIGHTING
.
The selection marker is on the current
setting.
�
Press
æ
or
ç
to select the de-
sired setting.
The locator lighting will be switched on
or off.Setting night security illumination (Exte-
rior lamps delayed shut-off)
Use the
HEADLIGHTS DELAYED SHUT-OFF
function to set whether and for how long
you would like the exterior lamps to illumi-
nate during darkness after all doors are
closed. When the delayed shut-off feature
is activated and the exterior lamp switch is
in position
U
, the following lamps will
remain lit after you remove the SmartKey
from the starter switch:
�
Parking lamps
�
Tail lamps
�
License plate lamps
�
Front fog lamps
�
Move the selection marker with
the
æ
or
ç
button to the
LIGHT-
ING
submenu.
�
Press button
j
or
k
repeatedly
until you see this message in the dis-
play:
HEADLIGHTS DELAYED SHUT-OFF
.
The selection marker is on the current
setting.
��
iYou can reactivate this function within
ten minutes by opening a door.
If you do not open a door after remov-
ing the SmartKey, the lamps will auto-
matically switch off after 60 seconds.