Page 115 of 360
115 Controls in detail
Control system
Menus, submenus and functions
Menu 1
Menu 2
Menu 3
Menu 4
Menu 5
Menu 6
Menu 7
Standard
display
AUDIO
NAVI
Malfunction
memory
Settings
Trip computer
Telephone
Commands/submenuCoolant
temperature
display
Select radio
station
Activate route
guidance
Call up
malfunction
messages
Reset to factory
settings
Fuel
consumption
statistics after
start
Load phone book
Digital
speedometer
Operate CD
player
Instrument
cluster submenu
Fuel
consumption
statistics since
the last reset
Search for name
in phone book
Call up FSS
Lighting
submenu
Call up range
Check engine oil
level
Vehicle submenuConvenience
submenu
Page 118 of 360
118 Controls in detailControl systemNAVI menu
The
NAVI
menu contains the functions
needed to operate your navigation system.
�
Press button
è
or
ÿ
repeatedly
until you see the message NAVI
in the
display.
�
If the navigation system is off, the mes-
sage
NAVI OFF
is shown in the display.
�
If the navigation system is on, the mes-
sage
NAVI ACTIVE
is shown in the dis-
play.
Please refer to the COMAND manual for in-
structions on how to activate the route
guidance system*.
Malfunction memory menu
Use the malfunction memory menu to scan
malfunction and warning messages that
may be stored in the system. The informa-
tion shown in the display depends on
whether malfunctions have actually oc-
curred.
�
Press button
è
or
ÿ
repeatedly
until you see the malfunction message
memory in the display.
No malfunction messages
If no malfunctions have occurred, the mes-
sage in the display is:
NO MALFUNCTIONMalfunctions have occurred
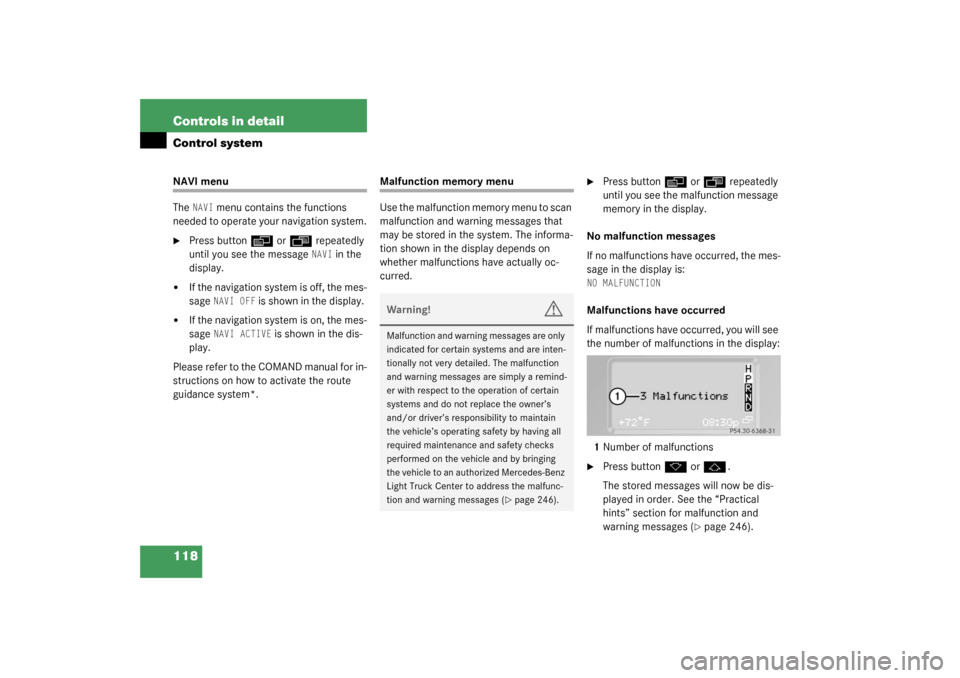
If malfunctions have occurred, you will see
the number of malfunctions in the display:
1Number of malfunctions�
Press button
k
or
j
.
The stored messages will now be dis-
played in order. See the “Practical
hints” section for malfunction and
warning messages (
�page 246).
Warning!
G
Malfunction and warning messages are only
indicated for certain systems and are inten-
tionally not very detailed. The malfunction
and warning messages are simply a remind-
er with respect to the operation of certain
systems and do not replace the owner’s
and/or driver’s responsibility to maintain
the vehicle’s operating safety by having all
required maintenance and safety checks
performed on the vehicle and by bringing
the vehicle to an authorized Mercedes-Benz
Light Truck Center to address the malfunc-
tion and warning messages (
�page 246).
Page 121 of 360
121 Controls in detail
Control system
The table below shows what settings can
be changed within the various menus. De-
tailed instructions on making individual
settings can be found on the following pag-
es.INSTRUMENT CLUSTER
LIGHTING
VEHICLE
CONVENIENCE
Select temperature display
mode
Set daytime running lamp mode
(USA only)
Set station selection mode
(radio)
Activate easy-entry/exit feature
Select speedometer display
mode
Set locator lighting
Set automatic locking
Set key dependency
Select language
Exterior lamps delayed
switch-off
Set parking position for exterior
rear view mirror
Select display (speed display or
outside temperature)
Interior lighting delayed
switch-off
Page 124 of 360
124 Controls in detailControl systemLighting submenu
Access the
LIGHTING
submenu via the
SET-
TINGS
menu. Use the
LIGHTING
submenu
to change the lamp and lighting settings on
your vehicle. The following functions are
available:Setting daytime running lamp mode
(USA only)
�
Move the selection marker with
the
æ
or
ç
button to the
LIGHT-
ING
submenu.
�
Press button
j
or
k
repeatedly
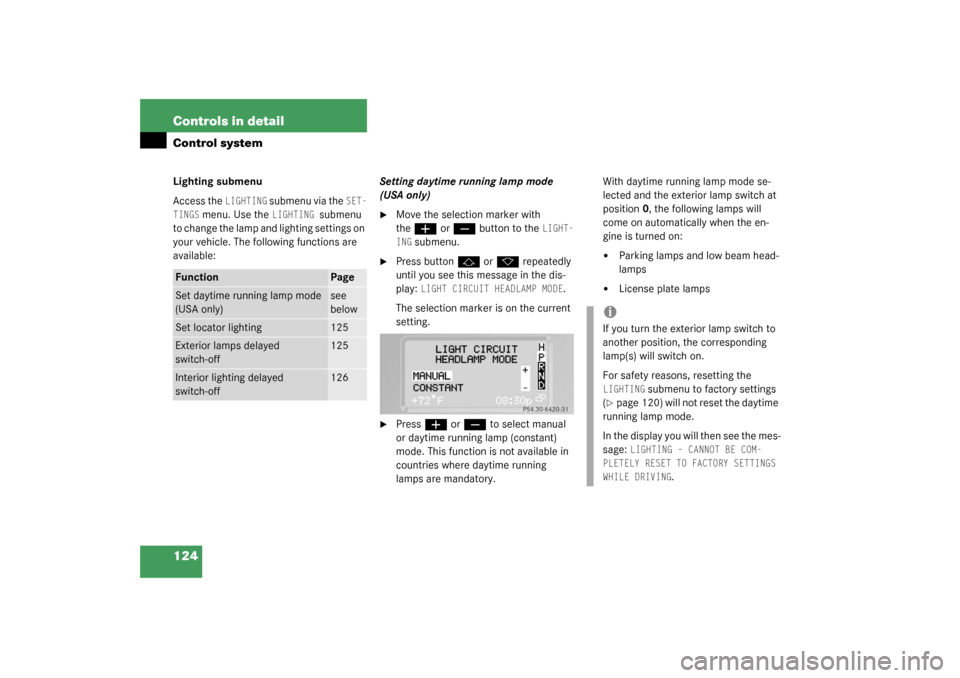
until you see this message in the dis-
play:
LIGHT CIRCUIT HEADLAMP MODE
.
The selection marker is on the current
setting.
�
Press
æ
or
ç
to select manual
or daytime running lamp (constant)
mode. This function is not available in
countries where daytime running
lamps are mandatory.With daytime running lamp mode se-
lected and the exterior lamp switch at
position0, the following lamps will
come on automatically when the en-
gine is turned on:
�
Parking lamps and low beam head-
lamps
�
License plate lamps
Function
Page
Set daytime running lamp mode
(USA only)
see
below
Set locator lighting
125
Exterior lamps delayed
switch-off
125
Interior lighting delayed
switch-off
126
iIf you turn the exterior lamp switch to
another position, the corresponding
lamp(s) will switch on.
For safety reasons, resetting the LIGHTING
submenu to factory settings
(
�page 120) will not reset the daytime
running lamp mode.
In the display you will then see the mes-
sage:
LIGHTING – CANNOT BE COM-
PLETELY RESET TO FACTORY SETTINGS
WHILE DRIVING
.
Page 125 of 360
125 Controls in detail
Control system
Setting locator lighting
During darkness, the following lamps will
come on when the exterior lamp switch is
in position
U
, the locator lighting fea-
ture is activated, and the vehicle is un-
locked by remote control:
�
parking lamps
�
tail lamps
�
license plate lamps
�
front fog lamps
The locator lighting switches off when the
driver’s door is opened. It switches off au-
tomatically after a period of approximately
40 seconds.
�
Move the selection marker with
the
æ
or
ç
button to the
LIGHTING
submenu.
�
Press button
j
or
k
repeatedly
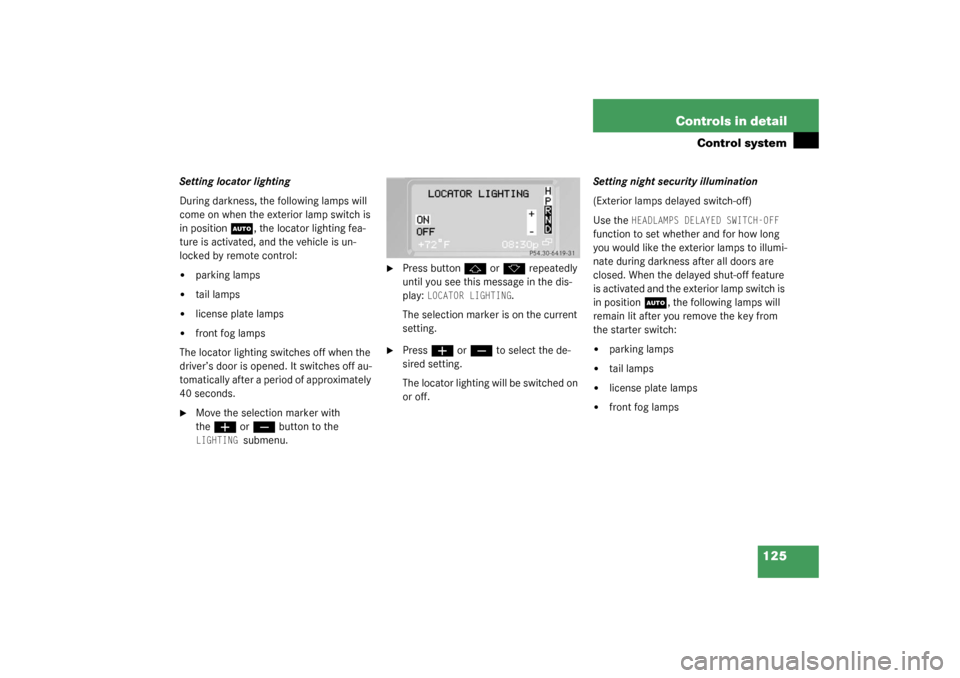
until you see this message in the dis-
play:
LOCATOR LIGHTING
.
The selection marker is on the current
setting.
�
Press
æ
or
ç
to select the de-
sired setting.
The locator lighting will be switched on
or off.Setting night security illumination
(Exterior lamps delayed switch-off)
Use the
HEADLAMPS DELAYED SWITCH-OFF
function to set whether and for how long
you would like the exterior lamps to illumi-
nate during darkness after all doors are
closed. When the delayed shut-off feature
is activated and the exterior lamp switch is
in position
U
, the following lamps will
remain lit after you remove the key from
the starter switch:
�
parking lamps
�
tail lamps
�
license plate lamps
�
front fog lamps
Page 126 of 360
126 Controls in detailControl system�
Move the selection marker with
the
æ
or
ç
button to the
LIGHT-
ING
submenu.
�
Press button
j
or
k
repeatedly
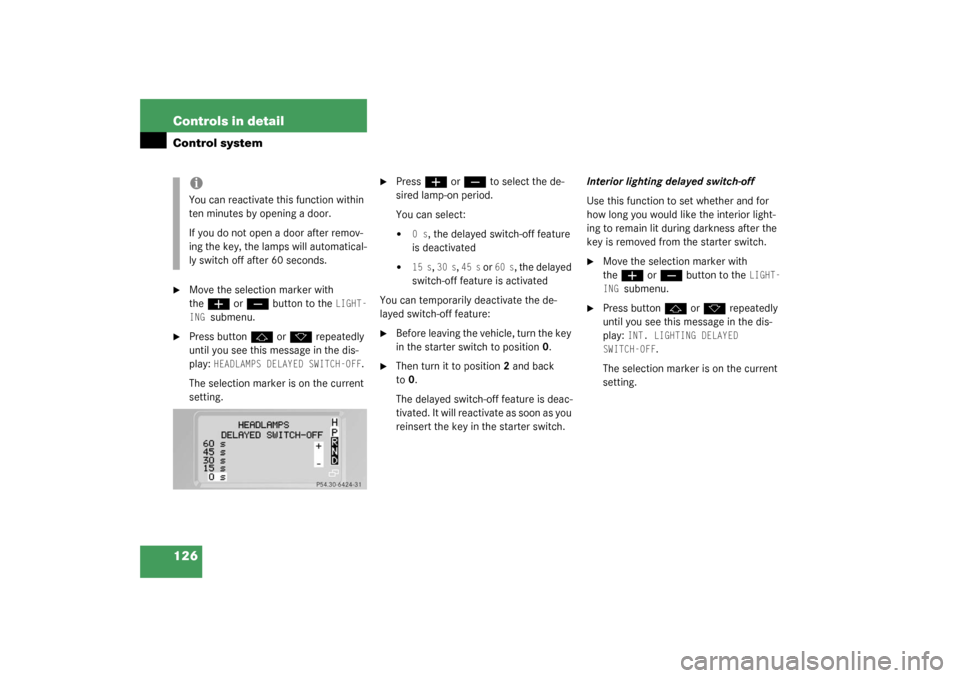
until you see this message in the dis-
play:
HEADLAMPS DELAYED SWITCH-OFF
.
The selection marker is on the current
setting.
�
Press
æ
or
ç
to select the de-
sired lamp-on period.
You can select:
�
0 s
, the delayed switch-off feature
is deactivated
�
15 s
, 30 s
, 45 s
or
60 s
, the delayed
switch-off feature is activated
You can temporarily deactivate the de-
layed switch-off feature:
�
Before leaving the vehicle, turn the key
in the starter switch to position0.
�
Then turn it to position2 and back
to0.
The delayed switch-off feature is deac-
tivated. It will reactivate as soon as you
reinsert the key in the starter switch.Interior lighting delayed switch-off
Use this function to set whether and for
how long you would like the interior light-
ing to remain lit during darkness after the
key is removed from the starter switch.
�
Move the selection marker with
the
æ
or
ç
button to the
LIGHT-
ING
submenu.
�
Press button
j
or
k
repeatedly
until you see this message in the dis-
play:
INT. LIGHTING DELAYED
SWITCH-OFF
.
The selection marker is on the current
setting.
iYou can reactivate this function within
ten minutes by opening a door.
If you do not open a door after remov-
ing the key, the lamps will automatical-
ly switch off after 60 seconds.
Page 140 of 360
140 Controls in detailAutomatic transmissionEmergency operation (Limp Home Mode)
If vehicle acceleration worsens or the
transmission no longer shifts, the trans-
mission is most likely operating in limp
home (emergency operation) mode. In this
mode, only 2nd gear and reverse gear can
be activated.�
Stop the vehicle.
�
Move selector lever toP.
�
Turn off the engine.
�
Wait at least ten seconds before re-
starting.
�
Restart the engine.
�
Move selector lever to positionD (for
2nd gear) orR.
�
Have the transmission checked at an
authorized Mercedes-Benz Light Truck
Center as soon as possible.
Page 142 of 360
142 Controls in detailTransfer case�
Press upper half1 (“LOW”) of the
transfer case switch.
Once the shift is complete, gear
positionL is displayed in the transfer
case indicator.
�
Put gear selector in D.
Switching from LOW to HIGH
�
Press lower half2 (“HIGH”) of the
transfer case switch.
Once the shift is complete, gear
positionH is displayed in the transfer
case indicator.
�
Put gear selector in D.
Messages in the multifunction display
If a shift was not completed and the multi-
function display shows one of the following
messages:
�
TC SHIFT CONDITIONS NOT FULFILLEDThe shift does not occur. At least one
shift condition was not met.
�
Repeat the shift procedure.
�
TC IN NEUTRAL The shift does not occur. The transfer
case is in neutral. The gear positionN
is displayed in the transfer case
indicator1.
�
Repeat the shift procedure.
�
TC SHIFT – CANCELLEDThe shift did not take place.
�
Repeat the shift procedure.
�
TRANSFER CASE – VISIT WORKSHOP!There is a malfunction in the system.
�
Have the vehicle checked at your au-
thorized Mercedes-Benz Light Truck
Center as soon as possible.
More information can be found in the
“Practical hints” section (
�page 266).
!The shift procedure can only be per-
formed when:�
The engine is running.
�
The selector lever for the automatic
transmission is in positionN.
�
The vehicle speed does not exceed
40 mph (70 km/h).
Warning!
G
If TC is in neutral, transmission positionP
will not hold vehicle. The parking brake must
be applied to hold vehicle in place.
iIf the SmartKey is in starter switch
position0 or1, an alarm will sound if
the transfer case is in positionN and
the driver’s door is opened.
Engage transfer case to gear position
HIGH or LOW.