Page 170 of 360
170 Controls in detailLoading
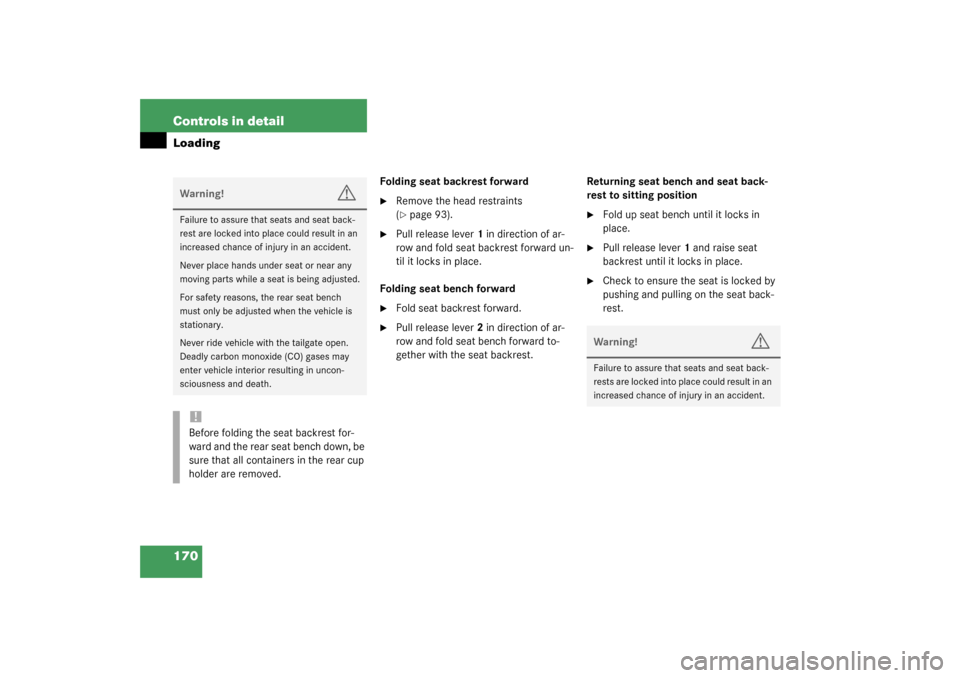
Folding seat backrest forward�
Remove the head restraints
(�page 93).
�
Pull release lever1 in direction of ar-
row and fold seat backrest forward un-
til it locks in place.
Folding seat bench forward
�
Fold seat backrest forward.
�
Pull release lever2 in direction of ar-
row and fold seat bench forward to-
gether with the seat backrest.Returning seat bench and seat back-
rest to sitting position
�
Fold up seat bench until it locks in
place.
�
Pull release lever1 and raise seat
backrest until it locks in place.
�
Check to ensure the seat is locked by
pushing and pulling on the seat back-
rest.
Warning!
G
Failure to assure that seats and seat back-
rest are locked into place could result in an
increased chance of injury in an accident.
Never place hands under seat or near any
moving parts while a seat is being adjusted.
For safety reasons, the rear seat bench
must only be adjusted when the vehicle is
stationary.
Never ride vehicle with the tailgate open.
Deadly carbon monoxide (CO) gases may
enter vehicle interior resulting in uncon-
sciousness and death.!Before folding the seat backrest for-
ward and the rear seat bench down, be
sure that all containers in the rear cup
holder are removed.
Warning!
G
Failure to assure that seats and seat back-
rests are locked into place could result in an
increased chance of injury in an accident.
Page 171 of 360
171 Controls in detail
Loading
Partition net* (MB Accessory)
Use of the partition net is a particularly im-
portant safety factor when the vehicle is
loaded higher than the top of the seat
backrests with smaller objects.
While the partition net will help protect you
from smaller objects, it cannot prevent the
movement of large, heavier objects into
the passenger area in an accident. Such
items must be properly secured using the
cargo tie-down rings in the cargo area
floor.The partition net can be installed behind
the seat backrests of the rear seat bench,
or behind the front seats if the rear seat
bench is folded down.Installation behind rear seat bench
1Partition net
2Mounting
�
Fold the rear seat bench forward
(�page 169).
�
Hook partition net1 in mountings2 on
both sides.
iInstallation can be performed by open-
ing the rear doors.
iThis cannot be done by folding the rear
seat backrest forward.
Page 172 of 360
172 Controls in detailLoading3Lift tensioner
4Tie down
Lift tensioner3 on tie downs4 must point
in the direction of the arrow.5Hook
6Ring
�
Set the length of the tie downs4 and
lift tensioner3 to the rings6.
�
Insert tie down hooks5 in rings6.
Pull on loose ends of tie downs until net
is slightly tensioned.
�
Fold up seat bench until it locks in
place.
The partition net will be tightened by
the rear seat bench cushion.
After driving a short period, check the ten-
sion of the partition net, retighten if neces-
sary.Installation behind front seats
1Partition net
2Mounting
�
Fold rear seat bench fully forward
(�page 169).
�
Engage partition net1 in holders2.
Page 174 of 360
174 Controls in detailLoading
�
Always place items being carried
against front or rear seat backrests,
and fasten them as securely as possi-
ble.
�
The heaviest portion of the cargo
should always be kept as low as possi-
ble against front or rear seat backrest
since it influences the handling charac-
teristics of the vehicle.
�
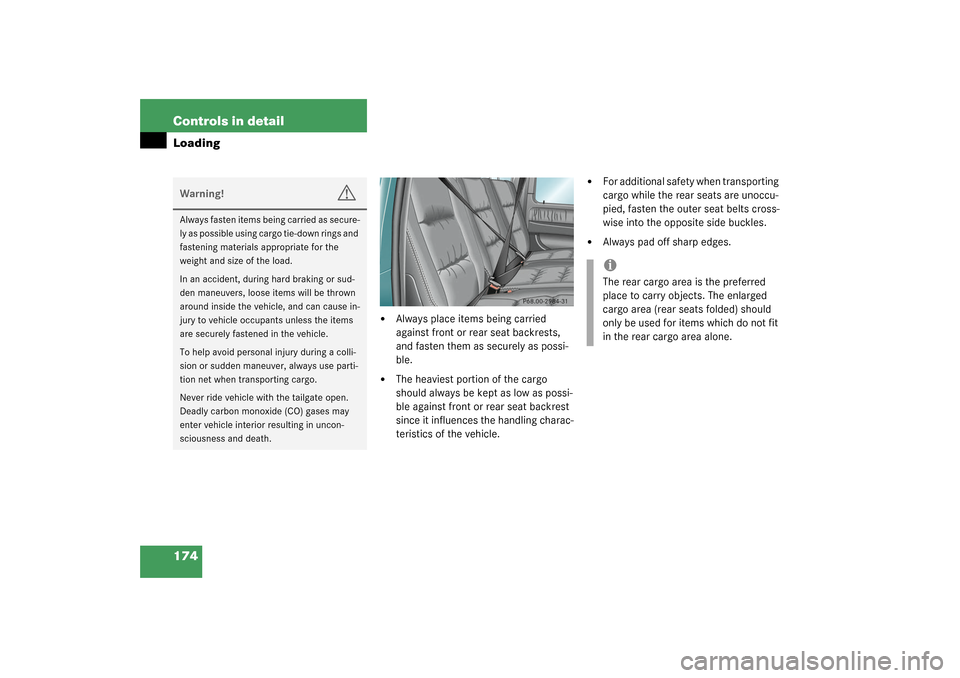
For additional safety when transporting
cargo while the rear seats are unoccu-
pied, fasten the outer seat belts cross-
wise into the opposite side buckles.
�
Always pad off sharp edges.
Warning!
G
Always fasten items being carried as secure-
ly as possible using cargo tie-down rings and
fastening materials appropriate for the
weight and size of the load.
In an accident, during hard braking or sud-
den maneuvers, loose items will be thrown
around inside the vehicle, and can cause in-
jury to vehicle occupants unless the items
are securely fastened in the vehicle.
To help avoid personal injury during a colli-
sion or sudden maneuver, always use parti-
tion net when transporting cargo.
Never ride vehicle with the tailgate open.
Deadly carbon monoxide (CO) gases may
enter vehicle interior resulting in uncon-
sciousness and death.
iThe rear cargo area is the preferred
place to carry objects. The enlarged
cargo area (rear seats folded) should
only be used for items which do not fit
in the rear cargo area alone.
Page 236 of 360
236 OperationVehicle careHard plastic trim items
Pour Mercedes-Benz approved Interior
Care onto soft lint-free cloth and apply
with light pressure.
Headliner
Clean with soft bristle brush, or use a
dry-shampoo cleaner in case of excessive
dirt.
Seat belts
The webbing must not be treated with
chemical cleaning agents. Use only clear,
lukewarm water and soap. Do not dry the
webbing at temperatures above 176°F
(80°C) or in direct sunlight.Upholstery
Using aftermarket seat covers or wearing
clothing that have the tendency to give off
coloring (e.g. when wet etc.) may cause
the upholstery to become permanently dis-
colored. By lining the seats with a proper
intermediate cover, contact-discoloration
will be prevented.
Leather Upholstery
Wipe leather upholstery with a damp cloth
and dry thoroughly or clean with
Mercedes-Benz approved Leather Care.
Exercise particular care when cleaning per-
forated leather as its underside should not
become wet.
Cloth Upholstery
Clean with soft bristle brush, or use a
dry-shampoo cleaner in case of excessive
dirt.MB Tex upholstery
Pour Mercedes-Benz approved Interior
Care onto soft lint-free cloth and apply
with light pressure.
Plastic and rubber parts
Do not use oil or wax on these parts.
Illuminated door sill panels
Use a gentle dishwashing detergent or
mild detergent for delicate fabrics as a
washing solution. Wipe with a cloth moist-
ened in lukewarm solution. Do not use
scouring agents.Warning!
G
Do not bleach or dye seat belts as this may
severely weaken them. In a crash they may
not be able to provide adequate protection.
Page 325 of 360
325 Technical terms
ABS
(A
ntilock B
rake S
ystem)
Prevents the wheels from locking up
during braking so that the vehicle can
continue to be steered.
BabySmart
TM
airbag deactivation
system
This system detects if a special system
compatible child restraint seat is in-
stalled on the front passenger seat. The
system will automatically deactivate
the passenger front airbag when such a
seat is properly installed (indicator
lamp
7
in the center console lights
up). See your authorized
Mercedes-Benz Light Truck Center for
availability.
BabySmartTM
compatible child seats
Special restraint system for children.
The sensor system for the passenger
seat prevents deployment of the pas-
senger front airbag if a BabySmart
TM
compatible child seat is installed.BAS
(B
rake A
ssist S
ystem)
System for potentially reducing braking
distances in emergency braking situa-
tions. The system is activated when it
senses an emergency based on how
fast the brake is applied.
CAC
(C
ustomer A
ssistance C
enter)
Mercedes-Benz customer service cen-
ter, which can help you with any ques-
tions about your vehicle and provide
assistance in the event of a break-
down.
CAN system
(C
ontroller A
rea N
etwork)
Data bus network serving to control ve-
hicle functions such as door locking or
windshield wiping.
Cockpit
All instruments, switches, buttons and
indicator/warning lamps in the passen-
ger compartment needed for vehicle
operation and monitoring.COMAND
(C
ockpit M
anagement and D
ata Sys-
tem)
Information and operating center for
vehicle sound and communications
systems, including the radio and the ra-
dio and navigation system, as well as
for other optional equipment (CD
changer, telephone, etc.).
Control system
The control system is used to call up
vehicle information and to change
component settings. Information and
messages appear in the multifunction
display. The driver uses the buttons on
the multifunction steering wheel to
navigate through the system and to ad-
just settings.
Page 331 of 360
331 Index
A
ABS 25, 71, 325
LOW RANGE mode 72
Malfunction indicator lamp 240
Messages in display 247
Warning lamp 240
Accelerator position, automatic
transmission 139
Accident
In case of 49
Activating
Air conditioning (cooling) 157
Air recirculation mode 154
Anti-theft alarm system 79
Central locking (control system) 128
Defrost 154
Easy-entry/exit feature 128
ESP 78
Exterior headlamps 46
Exterior lamps 101
Exterior rear view mirror parking
position 148
Hazard warning flasher 104
Headlamps 46
High beams 103
Ignition 33Rear fog lamp 101
Rear window defroster 155
Seat heater, front 95
Seat heater, rear 96
Windshield wipers 47
Adding
Coolant 221
Engine oil 220
Additional turn signals 279
Adjusting 34
Air distribution 153
Air volume 153
Backrest tilt 36
Exterior rear view mirror 38
Head restraint height 36
Head restraint tilt 36
Inside rear view mirror 38
Instrument cluster illumination 108
Mirrors 38
Multicontour seat* 94
Seat cushion length 94
Seat cushion tilt 36
Seat fore and aft adjustment 35
Seat height 36
Seats 34
Steering column height 37Steering column length 37
Steering wheel 37
Air conditioning (cooling)
Turning off 157
Turning on 157
Air conditioning refrigerant 317
Air distribution
Adjusting 153
Air pressure see Tire inflation pressure
Air recirculation mode 154
Activating 154
Deactivating 154
Air volume
Adjusting 153
AIRBAG OFF indicator lamp 244
Airbags 55
BabySmart
TM airbag deactivation
system 325
BabySmartTM deactivation system 65
Front 59
Safety guidelines 58
Alarm
Audible 70, 80
Canceling 80
Visual 79
Page 332 of 360

332 IndexAlarm system
Anti-theft 79
Anticorrosion/antifreeze 320
Antiglare
Automatic 147
Antilock brake system (ABS) 325
Anti-theft alarm system
Arming 79
Canceling alarm 80
Disarming 80
Anti-theft systems 79
Anti-theft alarm system 79
Tow-away alarm 80
Aquaplaning see Hydroplaning 200
Armrest
Storage compartment below 177
Storage compartment in front of 177
Ashtrays 179
At the gas station 214
ATF (automatic transmission fluid) 220
AUDIO menu 116
Selecting radio station 117
Automatic antiglare for
rear view mirror 147Automatic central locking
Activating/deactivating (control
system) 128
Automatic climate control
Deactivating 157
Automatic headlamp mode 101
Automatic lighting control
Activating 104
Deactivating 105
Automatic locking when driving 89
Automatic transmission 135
Accelerator position 139
Emergency operation
(Limp Home Mode) 140
Fluid level 220
Gear ranges 137
Gear selector lever position 138
Gear shifting malfunctions 140
Kickdown 139
Manual shifting 136
One-touch gearshifting 136
Selector lever position 135
Transmission fluid 220B
BabySmart
TM
Airbag deactivation system 65
Compatible child seats 65, 325
Self-test 66
BabySmart
TM airbag deactivation
system 325
Backup lamp
Replacing bulbs 287
Backup lamps 280
Bulbs 280
BAS 71, 73, 325
Messages in display 248
Batteries, SmartKey
Changing 273
Check lamp 85
Checking 86
Batteries, vehicle 223
Battery box
Fuse box in 303
Battery discharged
Jump starting 297