Page 96 of 399

96 Controls in detailLocking and unlockingOpening the trunk
A minimum height clearance of 5.75 ft.
(1.75 m) is required to open the trunk lid.
The handle is located above the rear li-
cense plate recess.�
Pull on the handle and lift up the trunk
lid.
The trunk lid swings open upwards au-
tomatically. Always make sure that
there is sufficient overhead clearance.
Closing the trunk
1Handle�
Lower trunk lid using handle1.Vehicles with trunk lid opening/closing
system*
Closing from the inside
�
Press the remote control switch until
the indicator lamp in the switch goes
out and the trunk lid is closed.
When closing, if the trunk lid comes into
contact with an object (e.g. luggage that
has been piled too high) in the upper mo-
tion sequence, the closing procedure is
stopped and the trunk re-opens slightly.
iThe vehicle must be unlocked.
Warning!
G
To prevent possible personal injury, always
keep hands and fingers away from the trunk
opening when closing the trunk. Be espe-
cially careful when small children are
around.
Warning!
G
Monitor the closing procedure carefully to
ensure that no one is in danger of being in-
jured. To prevent possible personal injury,
always keep hands and fingers away from
the trunk opening when closing the trunk.
Be especially careful when small children
are around. To stop the closing procedure,
let go of the remote control switch for the
trunk.
Page 100 of 399
100 Controls in detailLocking and unlockingLocking and unlocking from the inside
You can lock or unlock the doors and the
trunk from inside using the central locking
switch. This can be useful, for example, if
you want to lock the vehicle before starting
to drive.
The fuel filler flap cannot be locked or un-
locked with the central locking switch.The switch is located in the center console.
Central locking switch1Locking
2Indicator lamp
3UnlockingLocking
�
Press upper half1 of the central lock-
ing switch.
If both front doors are closed, the vehi-
cle locks.
Unlocking
�
Press lower half2 of the central lock-
ing switch.
The vehicle unlocks.
Warning!
G
When leaving the vehicle, always remove the
key from the starter switch, take it with you
and lock the vehicle. Do not leave children
unattended in the vehicle, or with access to
an unlocked vehicle. Unsupervised use of
vehicle equipment may cause serious per-
sonal injury.
Page 106 of 399
106 Controls in detailSeatsActivating�
Press button4.
The indicator lamp in the button lights
up.
Deactivating
�
Press button4 again.
The indicator lamp in the button goes
out.Massage function (PULSE)
The massage function can help prevent
muscle tension during long drives.
�
Press button2.
The indicator lamp in button2 lights
up. The air cushions in the lumbar area
pulsate.
iYou can adjust the characteristics of
the dynamic driving seat using the con-
trol system (
�page 145).
iWhen the engine is turned off, the last
cushion setting is retained in memory,
and the cushion is automatically ad-
justed to this setting when the engine
is restarted.
iThe massage function turns off auto-
matically after approximately 5 min-
utes.
Page 107 of 399
107 Controls in detailSeats
Heated seats*
Both switches for the front seats are locat-
ed in the center console. The red indicator
lamps in the switch light up to show which
heating level you have selected.
1Seat heating
�
Make sure that the ignition is switched
on.
All the lamps in the instrument cluster
light up.Switching seat heating on
�
Press button1 repeatedly until the de-
sired heating level is set.
Switching seat heating off
�
Press button1 repeatedly until all indi-
cator lamps go out.
Level3
3 indicator lamps litThe seat heater automatically
switches to level 2 after approx-
imately 5 minutes
2
2 indicator lamps litThe seat heater automatically
switches to level 1 after approx-
imately 10 minutes
1
1 indicator lamp litThe seat heater automatically
switches off after approximately
20 minutes
off
No indicator lamps lit
!The seat heater may switch off if the
battery voltage is too low. One or more
indicator lamps will blink.
Page 108 of 399
108 Controls in detailSeatsSeat ventilation*
The seat ventilation switch is located on
the center console. The blue indicator
lamps in the switch show which ventilation
level you have selected.
1Seat ventilation
�
Make sure that the ignition has been
switched on.
All lamps in the instrument cluster light
up.Switching seat ventilation on
�
Press button1 repeatedly until the de-
sired ventilation level is set.
Switching seat ventilation off
�
Press button1 repeatedly until all indi-
cator lamps go out.
Level3
3 indicator lamps lit
2
2 indicator lamps lit
1
1 indicator lamp lit
off
No indicator lamps lit
!The seat ventilation may switch off if
the battery voltage is too low.
iIf seat ventilation is activated through
the summer opening function, seat
ventilation is automatically set to the
highest level.
Page 114 of 399

114 Controls in detailLightingDaytime running lamp mode�
Turn exterior lamp switch to
positionM orU.
When the engine is running, the low beam
headlamps are automatically switched on.
In low ambient light conditions the parking
lamps will also switch on.
Canada only
When you shift from a driving position to
positionN orP, the low beam switches off
(with a three-minute delay).
For nighttime driving you should turn the
exterior lamp switch to positionB to
permit activation of the high beam head-
lamps.
USA only
The high beam headlamps can also be ac-
tivated when driving with the daytime run-
ning lamp mode activated and exterior
lamp switch in positionM.To activate the daytime running lamp
mode, see "Setting daytime running lamp
mode" (
�page 139).
Locator lighting and night security illu-
mination
Locator lighting and night security illumi-
nation are described in the control system
section under "Setting locator lighting"
(
�page 139) and "Setting night security il-
lumination" (
�page 140).
Switching on front fog lamps
�
Check that the low beam headlamps
are switched on.
�
Pull out exterior lamp switch to first
stop.
The green indicator lamp‡ in the
lamp switch lights up.Switching on rear fog lamp
�
Check that the low beam headlamps
are switched on.
�
Pull out e xt eri or la m p swi tc h to s ec ond
stop.
The yellow indicator lamp† in the
lamp switch lights up.
iSee notes on the exterior lamp switch
(�page 112).
iFog lamps will operate with the parking
lamps and/or the low beam headlamps
on. Fog lamps should only be used in
conjunction with low beam headlamps.
Consult your State or Province Motor
Vehicle Regulations regarding allow-
able lamp operation.
Page 166 of 399

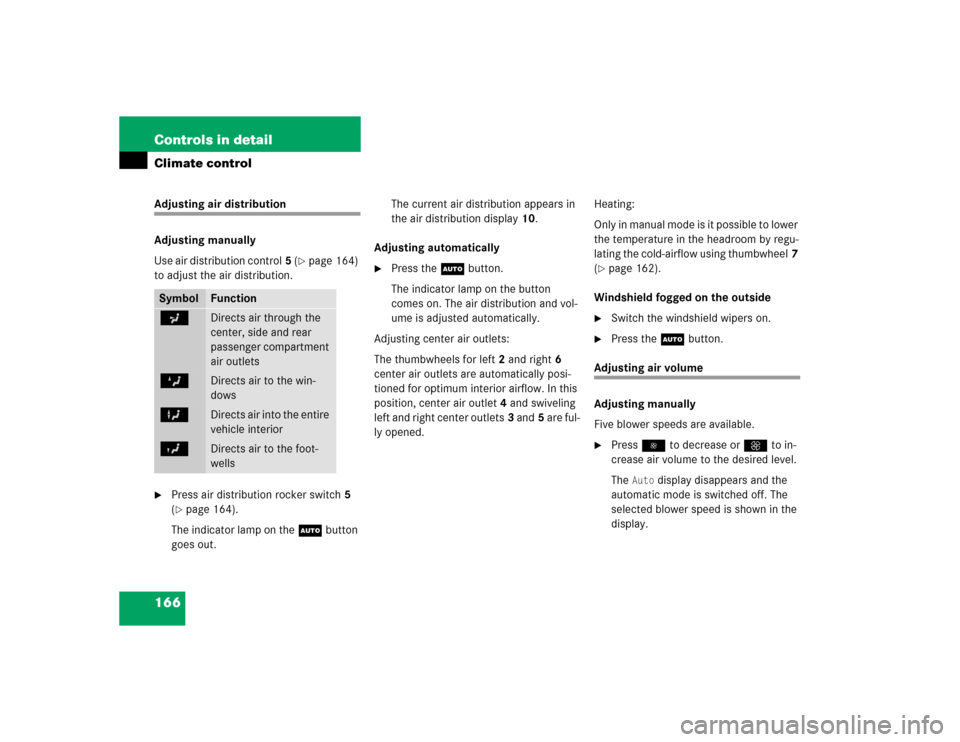
166 Controls in detailClimate controlAdjusting air distribution
Adjusting manually
Use air distribution control5 (
�page 164)
to adjust the air distribution.
�
Press air distribution rocker switch5
(�page 164).
The indicator lamp on the U button
goes out.The current air distribution appears in
the air distribution display10.
Adjusting automatically
�
Press the U button.
The indicator lamp on the button
comes on. The air distribution and vol-
ume is adjusted automatically.
Adjusting center air outlets:
The thumbwheels for left2 and right6
center air outlets are automatically posi-
tioned for optimum interior airflow. In this
position, center air outlet4 and swiveling
left and right center outlets3 and5 are ful-
ly opened.Heating:
Only in manual mode is it possible to lower
the temperature in the headroom by regu-
lating the cold-airflow using thumbwheel7
(
�page 162).
Windshield fogged on the outside
�
Switch the windshield wipers on.
�
Press the U button.
Adjusting air volume
Adjusting manually
Five blower speeds are available.�
Press˜ to decrease orQ to in-
crease air volume to the desired level.
The
Auto
display disappears and the
automatic mode is switched off. The
selected blower speed is shown in the
display.
Symbol
Function
a
Directs air through the
center, side and rear
passenger compartment
air outlets
Z
Directs air to the win-
dows
X
Directs air into the entire
vehicle interior
Y
Directs air to the foot-
wells
Page 167 of 399

167 Controls in detail
Climate control
Adjusting automatically�
Press the U button.
The air volume is adjusted automatical-
ly.
Maximum cooling MAX COOL
If the left air distribution/airflow volume
control15 (
�page 164) is set to U and
there is a high need for cooling, the display
"MAX COOL"4 (�page 164) appears in
the climate control.
This provides the fastest possible cooling
of the vehicle interior (when windows and
sliding/pop-up roof are closed).
Defrosting
Activating�
Press buttonP.
The indicator lamp on the button
comes on.
or
�
Switch off air recirculation, if selected.
Press buttonO.
The indicator lamp on the button goes
out.
�
Close center air outlets.
�
Open left and right side air outlets and
adjust side air outlets upwards.
Deactivating
�
Press buttonP.The indicator lamp on the button goes
out. Defrosting is turned off.
Air recirculation mode
Switch to air recirculation mode to prevent
unpleasant odors from entering the vehicle
from the outside. This setting cuts off the
intake of outside air and recirculates the
air in the passenger compartment.
iThese settings should only be selected
for a short time.
Warning!
G
When the outside temperature is below
41°F (5°C), only switch to air recirculation
mode for short periods to prevent window
fogging.