Page 71 of 272
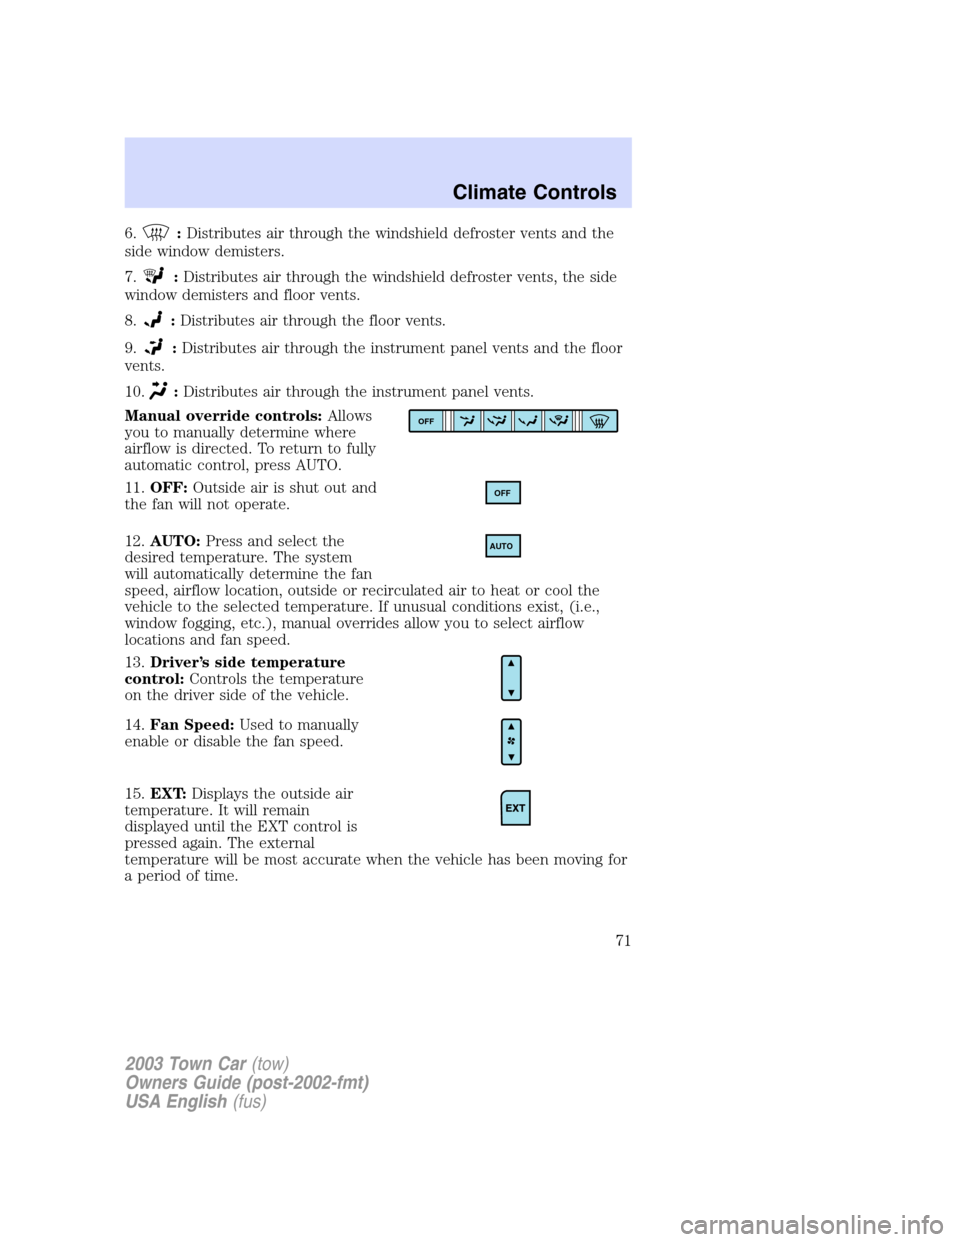
6.:Distributes air through the windshield defroster vents and the
side window demisters.
7.
:Distributes air through the windshield defroster vents, the side
window demisters and floor vents.
8.
:Distributes air through the floor vents.
9.
:Distributes air through the instrument panel vents and the floor
vents.
10.
:Distributes air through the instrument panel vents.
Manual override controls:Allows
you to manually determine where
airflow is directed. To return to fully
automatic control, press AUTO.
11.OFF:Outside air is shut out and
the fan will not operate.
12.AUTO:Press and select the
desired temperature. The system
will automatically determine the fan
speed, airflow location, outside or recirculated air to heat or cool the
vehicle to the selected temperature. If unusual conditions exist, (i.e.,
window fogging, etc.), manual overrides allow you to select airflow
locations and fan speed.
13.Driver’s side temperature
control:Controls the temperature
on the driver side of the vehicle.
14.Fan Speed:Used to manually
enable or disable the fan speed.
15.EXT:Displays the outside air
temperature. It will remain
displayed until the EXT control is
pressed again. The external
temperature will be most accurate when the vehicle has been moving for
a period of time.
OFF
OFF
AUTO
2003 Town Car(tow)
Owners Guide (post-2002-fmt)
USA English(fus)
Climate Controls
71
Page 72 of 272
16.Temperature conversion:
Press to toggle between Fahrenheit
and Celsius temperature on the
DEATC display only. The set point
temperatures in Celsius will be displayed in half-degree increments.
OPERATING TIPS
•To reduce fog build up on the windshield during humid weather, place
the air flow selector in the
position.
•To reduce humidity build up inside the vehicle: do not drive with the
recirculation control on or the system turned off.
•Do not put objects under the front seats that will interfere with the
airflow to the back seats.
•Remove any snow, ice or leaves from the air intake area at the base of
the windshield.
To aid in side window defogging/demisting in cold weather:
1. Select
2. Select A/C
3. Modulate the temperature control to maintain comfort.
4. Set the fan speed to HI
5. Direct the outer instrument panel vents towards the side windows
To increase airflow to the outer instrument panel vents, close the vents
located in the middle of the instrument panel.
Do not place objects on top of the instrument panel as these
objects may become projectiles in a collision or sudden stop.
2003 Town Car(tow)
Owners Guide (post-2002-fmt)
USA English(fus)
Climate Controls
72
Page 73 of 272
REAR WINDOW DEFROSTER
The rear defroster control is located
on the instrument panel.
Press the rear defroster control to
clear the rear window of thin ice
and fog.
•A small LED will illuminate when the rear defroster is activated.
The ignition must be in the ON position to operate the rear window
defroster.
The defroster turns off automatically after a predetermined amount of
time or when the ignition is turned to the OFF position. To manually
turn off the defroster before 10 minutes have passed, push the control
again.
R
2003 Town Car(tow)
Owners Guide (post-2002-fmt)
USA English(fus)
Climate Controls
73
Page 74 of 272
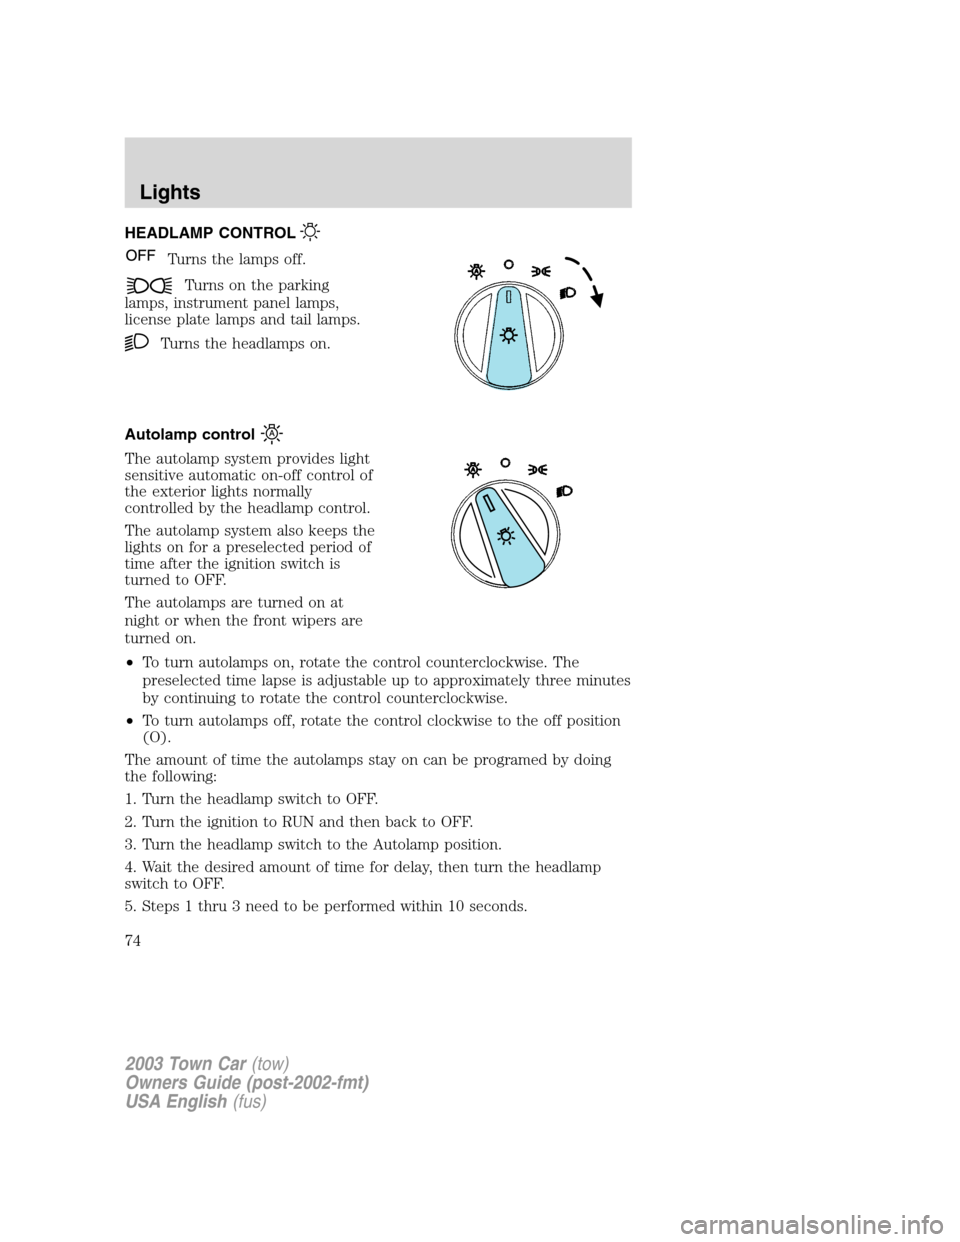
HEADLAMP CONTROL
Turns the lamps off.
Turns on the parking
lamps, instrument panel lamps,
license plate lamps and tail lamps.
Turns the headlamps on.
Autolamp control
The autolamp system provides light
sensitive automatic on-off control of
the exterior lights normally
controlled by the headlamp control.
The autolamp system also keeps the
lights on for a preselected period of
time after the ignition switch is
turned to OFF.
The autolamps are turned on at
night or when the front wipers are
turned on.
•To turn autolamps on, rotate the control counterclockwise. The
preselected time lapse is adjustable up to approximately three minutes
by continuing to rotate the control counterclockwise.
•To turn autolamps off, rotate the control clockwise to the off position
(O).
The amount of time the autolamps stay on can be programed by doing
the following:
1. Turn the headlamp switch to OFF.
2. Turn the ignition to RUN and then back to OFF.
3. Turn the headlamp switch to the Autolamp position.
4. Wait the desired amount of time for delay, then turn the headlamp
switch to OFF.
5. Steps 1 thru 3 need to be performed within 10 seconds.
2003 Town Car(tow)
Owners Guide (post-2002-fmt)
USA English(fus)
Lights
Lights
74
Page 75 of 272
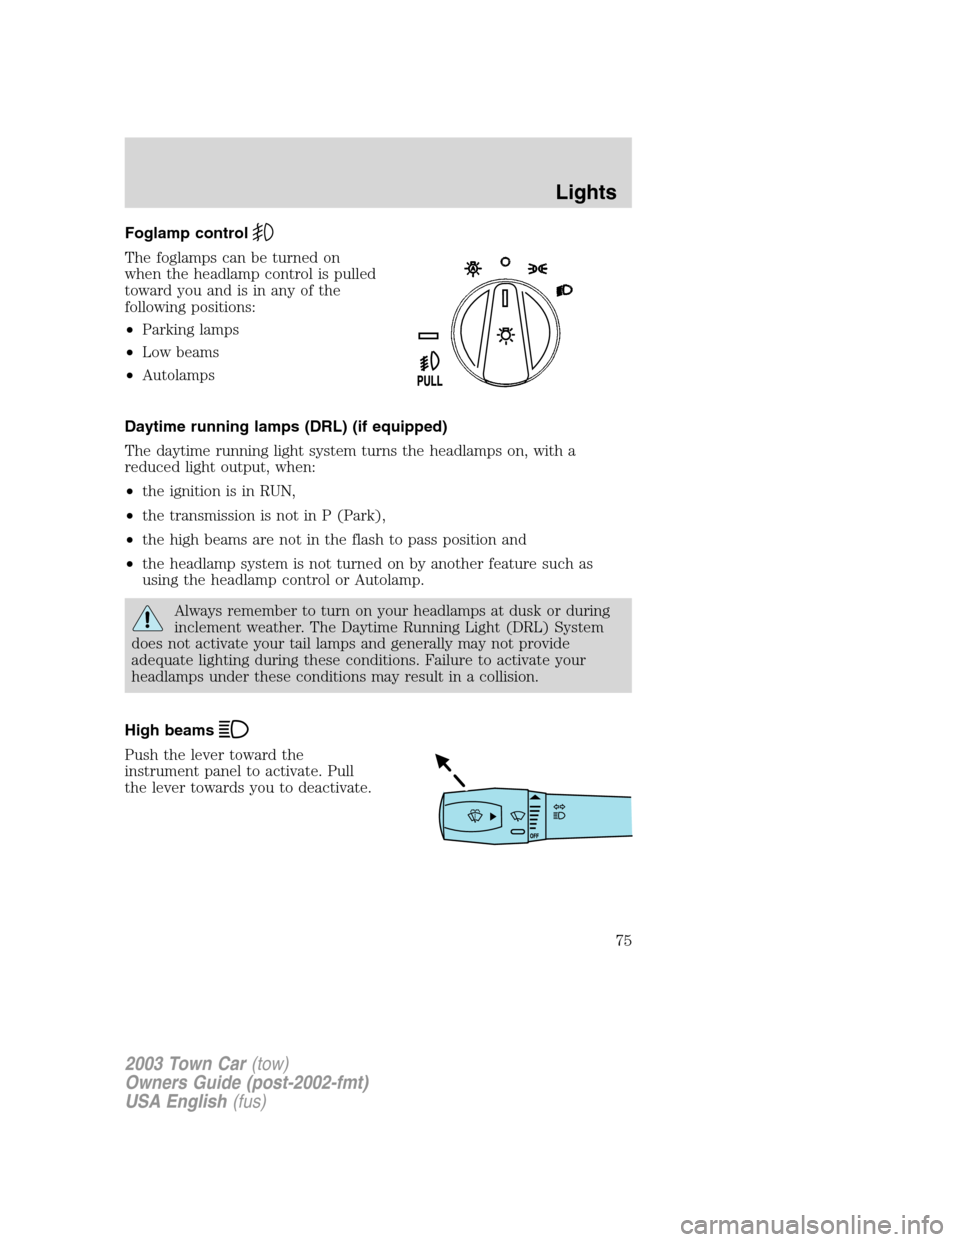
Foglamp control
The foglamps can be turned on
when the headlamp control is pulled
toward you and is in any of the
following positions:
•Parking lamps
•Low beams
•Autolamps
Daytime running lamps (DRL) (if equipped)
The daytime running light system turns the headlamps on, with a
reduced light output, when:
•the ignition is in RUN,
•the transmission is not in P (Park),
•the high beams are not in the flash to pass position and
•the headlamp system is not turned on by another feature such as
using the headlamp control or Autolamp.
Always remember to turn on your headlamps at dusk or during
inclement weather. The Daytime Running Light (DRL) System
does not activate your tail lamps and generally may not provide
adequate lighting during these conditions. Failure to activate your
headlamps under these conditions may result in a collision.
High beams
Push the lever toward the
instrument panel to activate. Pull
the lever towards you to deactivate.
2003 Town Car(tow)
Owners Guide (post-2002-fmt)
USA English(fus)
Lights
75
Page 76 of 272
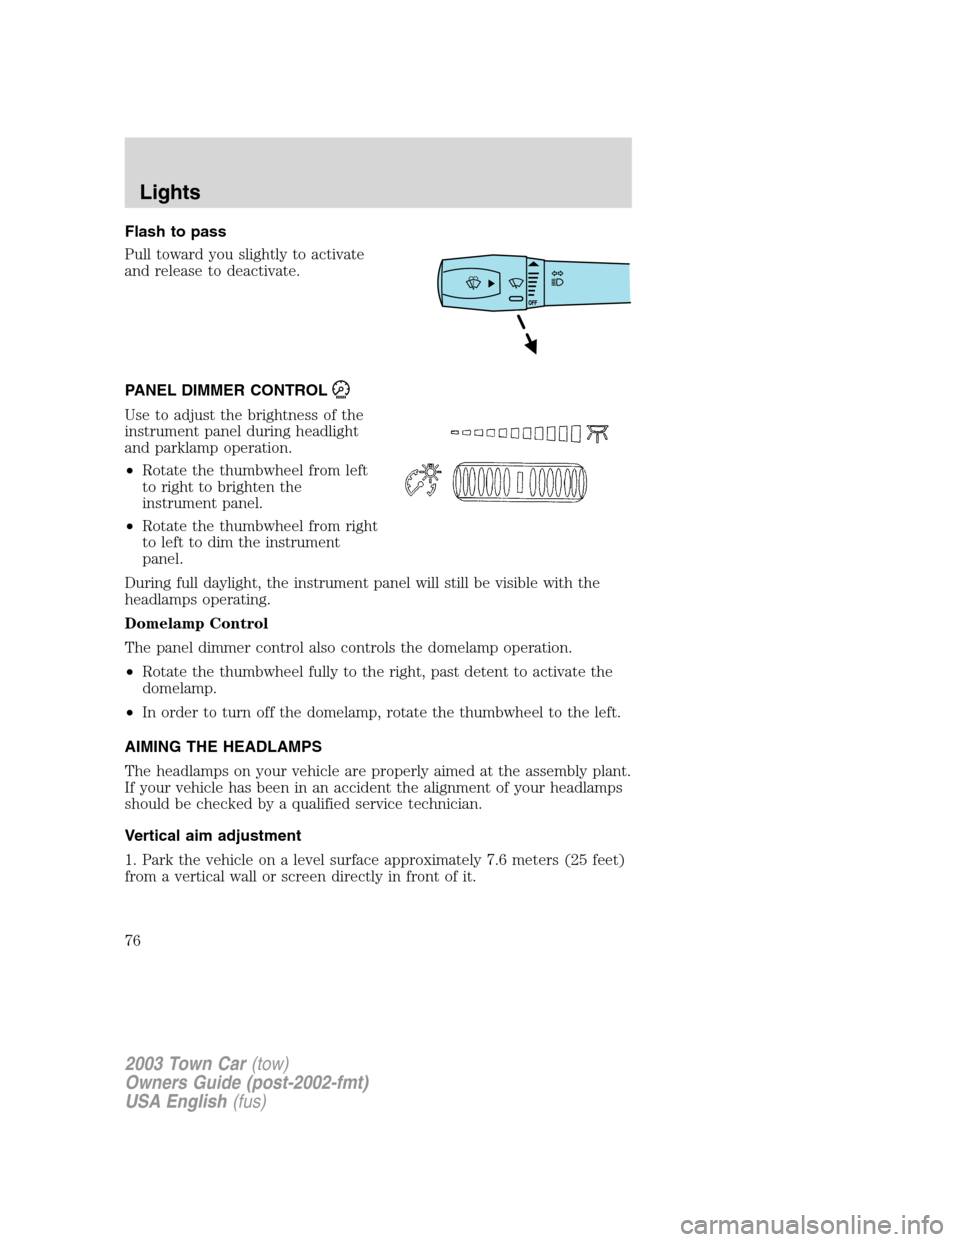
Flash to pass
Pull toward you slightly to activate
and release to deactivate.
PANEL DIMMER CONTROL
Use to adjust the brightness of the
instrument panel during headlight
and parklamp operation.
•Rotate the thumbwheel from left
to right to brighten the
instrument panel.
•Rotate the thumbwheel from right
to left to dim the instrument
panel.
During full daylight, the instrument panel will still be visible with the
headlamps operating.
Domelamp Control
The panel dimmer control also controls the domelamp operation.
•Rotate the thumbwheel fully to the right, past detent to activate the
domelamp.
•In order to turn off the domelamp, rotate the thumbwheel to the left.
AIMING THE HEADLAMPS
The headlamps on your vehicle are properly aimed at the assembly plant.
If your vehicle has been in an accident the alignment of your headlamps
should be checked by a qualified service technician.
Vertical aim adjustment
1. Park the vehicle on a level surface approximately 7.6 meters (25 feet)
from a vertical wall or screen directly in front of it.
2003 Town Car(tow)
Owners Guide (post-2002-fmt)
USA English(fus)
Lights
76
Page 79 of 272
BULBS
Replacing exterior bulbs
Check the operation of all the bulbs frequently.
Using the right bulbs
Replacement bulbs are specified in the chart below. Headlamp bulbs
must be marked with an authorized“D.O.T.”for North America and an
“E”for Europe to assure lamp performance, light brightness and pattern
and safe visibility. The correct bulbs will not damage the lamp assembly
or void the lamp assembly warranty and will provide quality bulb burn
time.
Function Trade Number
Headlamp (Hi beam) 9005
Headlamp (Lo beam)* H7
Park and turn lamp (front) 3457 AK
Sidemarker (front) 168
Backup lamp 3156 K
Stop, tail, turn and sidemarker lamp (rear) 3157 K
Cornering lamp 3156 K
License plate lamp 168
High-mount brakelamp - Stop** 20 (LEDS)
High-mount brakelamp - Backup Aid** 6 (LEDS)
Luggage compartment lamp 212-2
Map lamp 578
Visor vanity lamp 168
Door courtesy lamp 904
Glove compartment 194
All replacement bulbs are clear in color except where noted.
To replace all instrument panel lights - see your dealer.
* For vehicles with HID lamps, see your dealer for service.
**When replacing the center high mount stop lamp, see your dealer for
replacement bulbs.
Replacing the interior bulbs
Check the operation of all bulbs frequently.
2003 Town Car(tow)
Owners Guide (post-2002-fmt)
USA English(fus)
Lights
79
Page 96 of 272
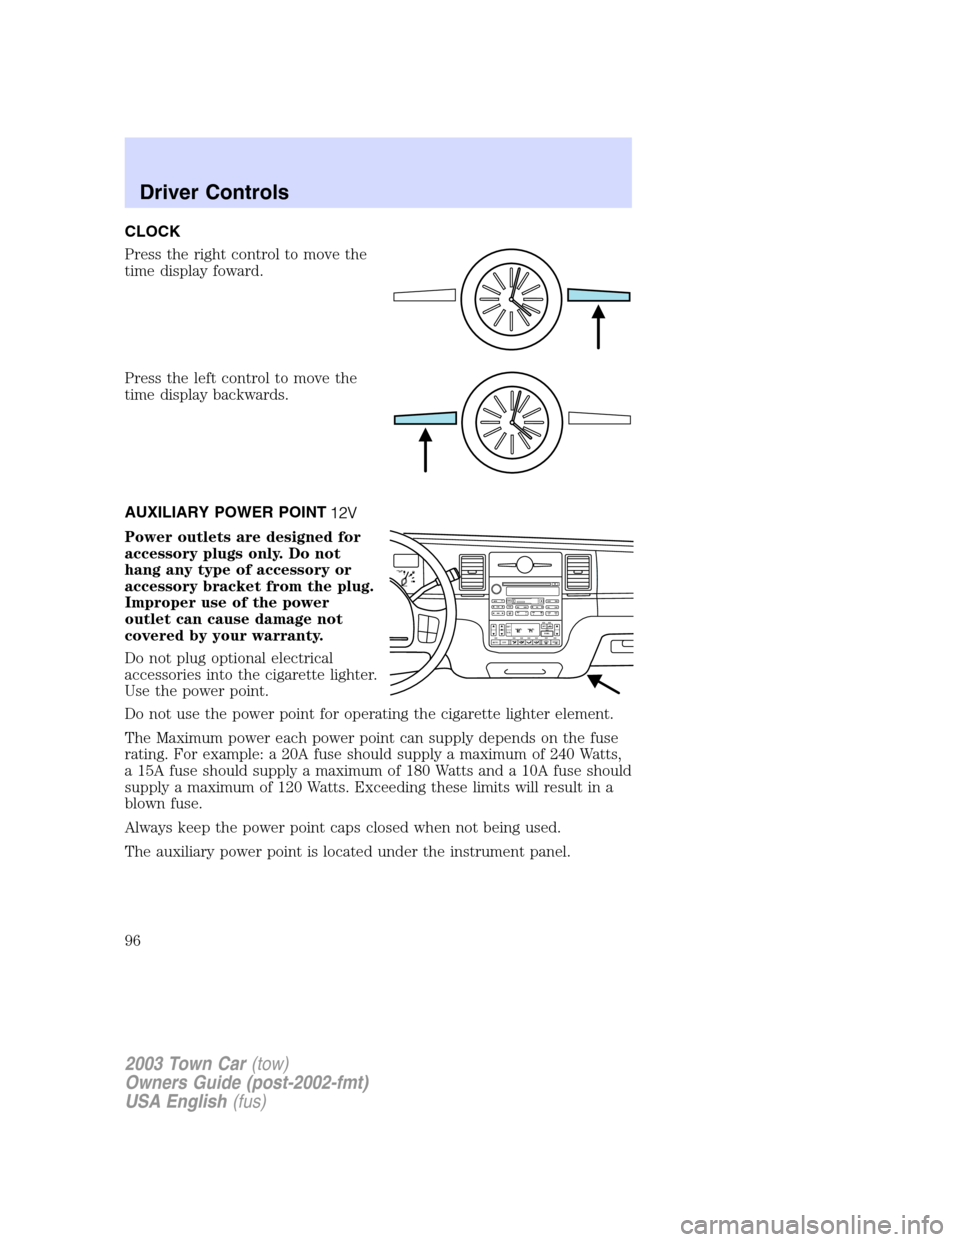
CLOCK
Press the right control to move the
time display foward.
Press the left control to move the
time display backwards.
AUXILIARY POWER POINT
Power outlets are designed for
accessory plugs only. Do not
hang any type of accessory or
accessory bracket from the plug.
Improper use of the power
outlet can cause damage not
covered by your warranty.
Do not plug optional electrical
accessories into the cigarette lighter.
Use the power point.
Do not use the power point for operating the cigarette lighter element.
The Maximum power each power point can supply depends on the fuse
rating. For example: a 20A fuse should supply a maximum of 240 Watts,
a 15A fuse should supply a maximum of 180 Watts and a 10A fuse should
supply a maximum of 120 Watts. Exceeding these limits will result in a
blown fuse.
Always keep the power point caps closed when not being used.
The auxiliary power point is located under the instrument panel.
F
E1
2FILL ON
LEFT<
SHUF MUTE
SELBALBASS
FADETREB
SCAN CD
AM/FM
SEEKREWFF
COMP
56 34 12SIDE TUNETAPE
RDS
AUTO
SET
AUTO OFFDUAL A/C
R EXT
F/ CFF
2003 Town Car(tow)
Owners Guide (post-2002-fmt)
USA English(fus)
Driver Controls
96