Page 118 of 288
•Press 7/8 and 9/0 controls on the
keyless entry pad at the same
time to lock the doors (driver’s
door must be closed).
There is a 20 second countdown
when any of the above actions occur
before the vehicle becomes ARMED.
Each door/hood/liftgate or liftgate
window is armed individually, and if
any are open, they must be closed
for the system to enter the 20
second countdown.
The parking lamps will flash once
when all doors/hood/liftgate and
liftgate window are closed indicating
the vehicle is locked and entering the 20 second countdown.
Disarming the system
You can disarm the system by any of the following actions:
•Unlock the doors by using your
remote entry transmitter.
Locks and Security
118
Page 119 of 288
•Unlock the doors by using your
keyless entry pad.
•Unlock the driver’s door with a key. Turn the key full travel (toward
the front of the vehicle) to make sure the alarm disarms.
•Turn ignition to ON.
•Press the PANIC control on the
remote entry transmitter. This
will only shut off the horn and
parking lamps when the alarm is
sounding. The alarm system will
still be armed.
•Press the liftgate window control
on the remote entry transmitter.
The liftgate and liftgate window
are no longer armed, but the
doors and hood are still armed.
To disarm the doors and hood,
press the liftgate power door lock
control.
Locks and Security
119
Page 120 of 288
Pressing the power door UNLOCK trim switch within the 20 second
prearmed mode will return the vehicle to a disarmed state.
Triggering the anti-theft system
The armed system will be triggered if:
•Any door, liftgate, liftgate window or hood is opened without using the
door key, keypad or the remote entry transmitter.
Locks and Security
120
Page 124 of 288

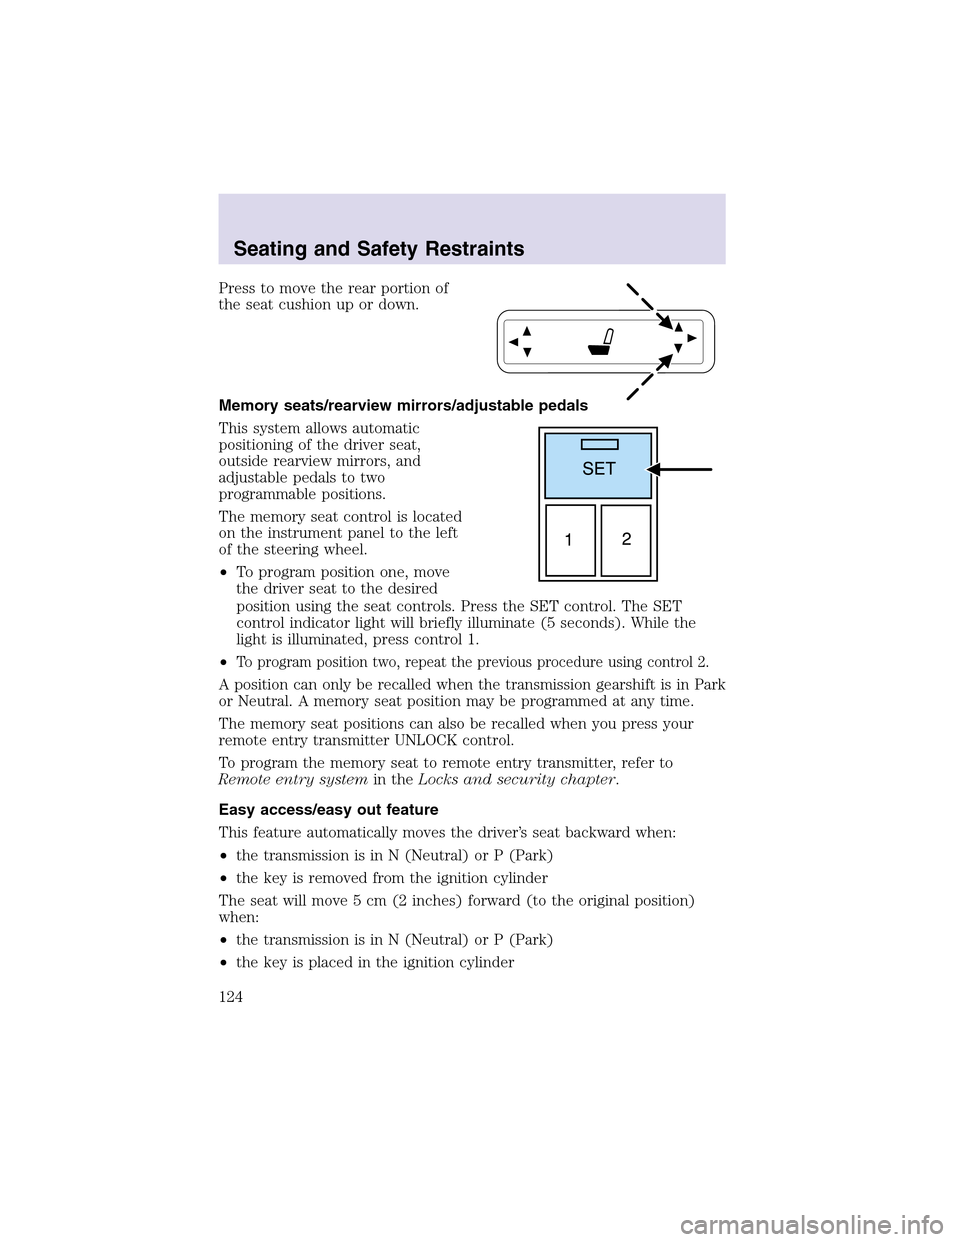
Press to move the rear portion of
the seat cushion upor down.
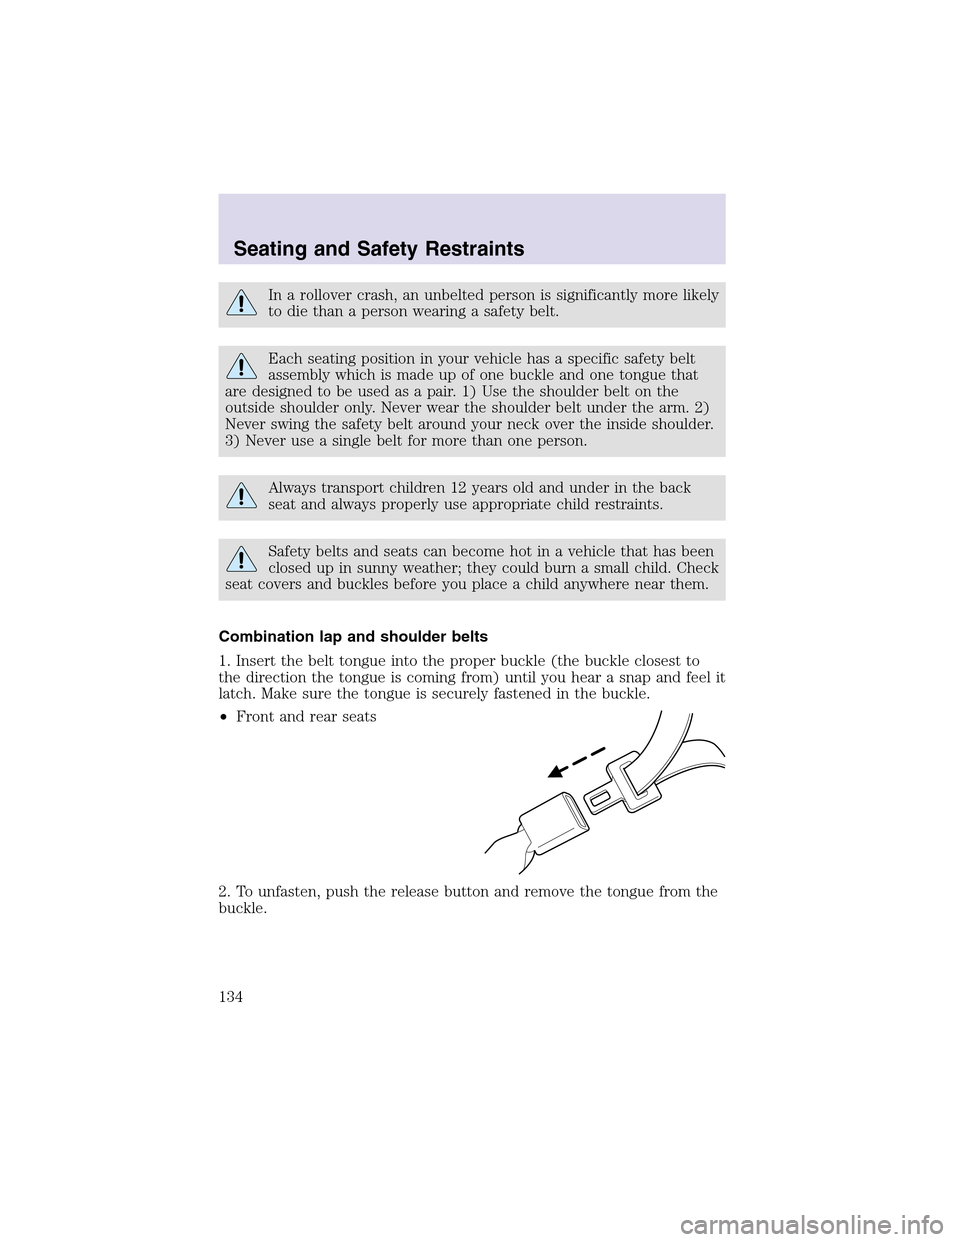
Memory seats/rearview mirrors/adjustable pedals
This system allows automatic
positioning of the driver seat,
outside rearview mirrors, and
adjustable pedals to two
programmable positions.
The memory seat control is located
on the instrument panel to the left
of the steering wheel.
•To program position one, move
the driver seat to the desired
position using the seat controls. Press the SET control. The SET
control indicator light will briefly illuminate (5 seconds). While the
light is illuminated, press control 1.
•
To program position two, repeat the previous procedure using control 2.
A position can only be recalled when the transmission gearshift is in Park
or Neutral. A memory seat position may be programmed at any time.
The memory seat positions can also be recalled when you press your
remote entry transmitter UNLOCK control.
To program the memory seat to remote entry transmitter, refer to
Remote entry systemin theLocks and security chapter.
Easy access/easy out feature
This feature automatically moves the driver’s seat backward when:
•the transmission is in N (Neutral) or P (Park)
•the key is removed from the ignition cylinder
The seat will move 5 cm (2 inches) forward (to the original position)
when:
•the transmission is in N (Neutral) or P (Park)
•the key is placed in the ignition cylinder
Seating and Safety Restraints
124
Page 134 of 288

In a rollover crash, an unbelted person is significantly more likely
to die than a person wearing a safety belt.
Each seating position in your vehicle has a specific safety belt
assembly which is made upof one buckle and one tongue that
are designed to be used as a pair. 1) Use the shoulder belt on the
outside shoulder only. Never wear the shoulder belt under the arm. 2)
Never swing the safety belt around your neck over the inside shoulder.
3) Never use a single belt for more than one person.
Always transport children 12 years old and under in the back
seat and always properly use appropriate child restraints.
Safety belts and seats can become hot in a vehicle that has been
closed upin sunny weather; they could burn a small child. Check
seat covers and buckles before you place a child anywhere near them.
Combination lap and shoulder belts
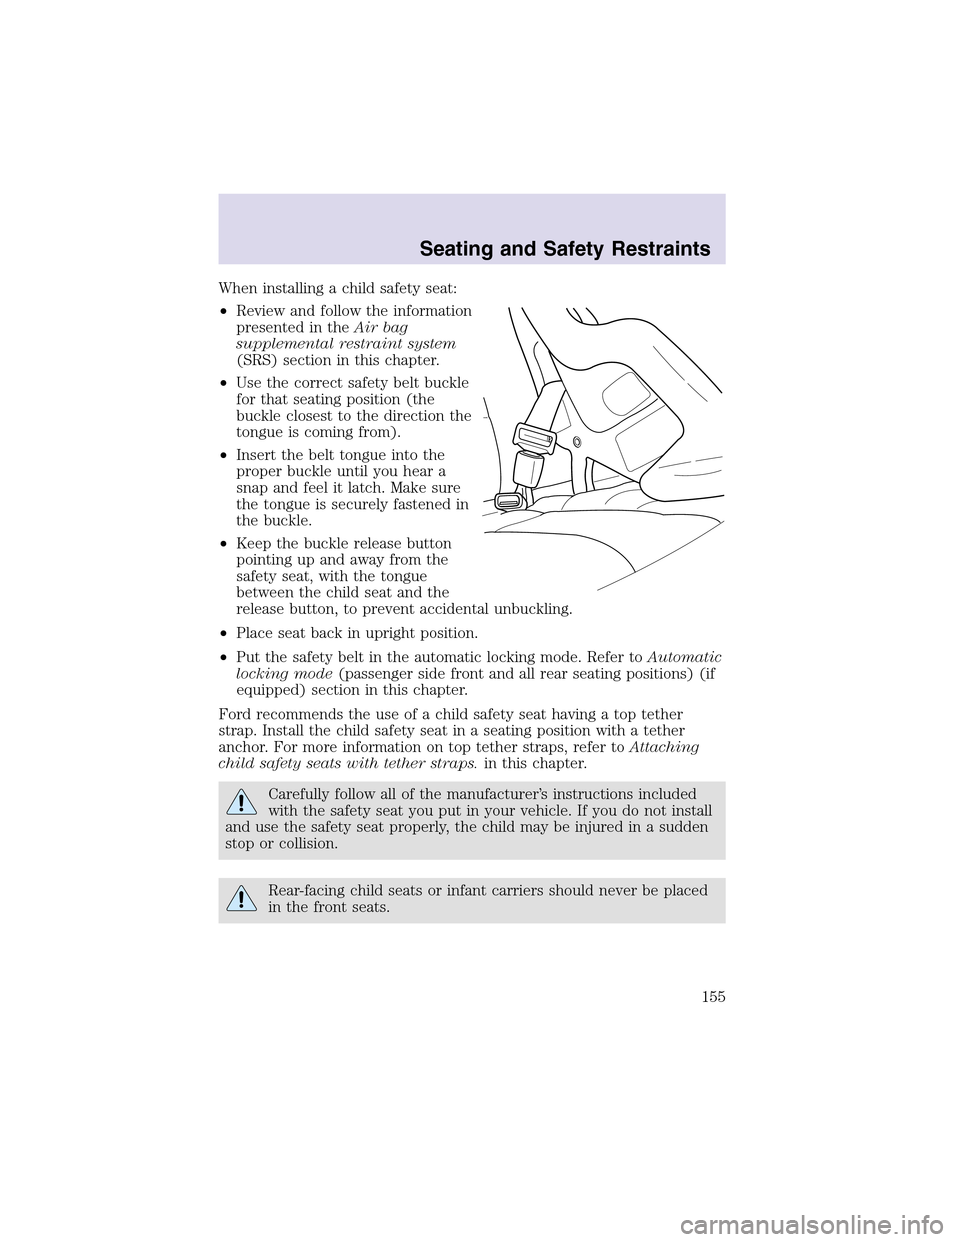
1. Insert the belt tongue into the proper buckle (the buckle closest to
the direction the tongue is coming from) until you hear a snapand feel it
latch. Make sure the tongue is securely fastened in the buckle.
•Front and rear seats
2. To unfasten, push the release button and remove the tongue from the
buckle.
Seating and Safety Restraints
134
Page 155 of 288

When installing a child safety seat:
•Review and follow the information
presented in theAir bag
supplemental restraint system
(SRS) section in this chapter.
•Use the correct safety belt buckle
for that seating position (the
buckle closest to the direction the
tongue is coming from).
•Insert the belt tongue into the
proper buckle until you hear a
snapand feel it latch. Make sure
the tongue is securely fastened in
the buckle.
•Keepthe buckle release button
pointing up and away from the
safety seat, with the tongue
between the child seat and the
release button, to prevent accidental unbuckling.
•Place seat back in upright position.
•Put the safety belt in the automatic locking mode. Refer toAutomatic
locking mode(passenger side front and all rear seating positions) (if
equipped) section in this chapter.
Ford recommends the use of a child safety seat having a toptether
strap. Install the child safety seat in a seating position with a tether
anchor. For more information on toptether straps, refer toAttaching
child safety seats with tether straps.in this chapter.
Carefully follow all of the manufacturer’s instructions included
with the safety seat you put in your vehicle. If you do not install
and use the safety seat properly, the child may be injured in a sudden
stopor collision.
Rear-facing child seats or infant carriers should never be placed
in the front seats.
Seating and Safety Restraints
155
Page 157 of 288
3. While holding the shoulder and
lapbelt portions together, route the
tongue through the child seat
according to the child seat
manufacturer’s instructions. Be sure
the belt webbing is not twisted.
4. Insert the belt tongue into the
proper buckle (the buckle closest to
the direction the tongue is coming
from) for that seating position until
you hear a snapand feel the latch
engage. Make sure the tongue is
latched securely by pulling on it.
5. To put the retractor in the
automatic locking mode, graspthe
shoulder portion of the belt and pull
downward until all of the belt is
pulled out and a click is heard.
Seating and Safety Restraints
157
Page 158 of 288
6. Allow the belt to retract. The belt will click as it retracts to indicate it
is in the automatic locking mode.
7. Pull the lapbelt portion across
the child seat toward the buckle and
pull up on the shoulder belt while
pushing down with your knee on the
child seat.
8. Allow the safety belt to retract to
remove any slack in the belt.
9. Before placing the child in the
seat, forcibly move the seat forward
and back to make sure the seat is
securely held in place. To check
this, grab the seat at the belt path
and attempt to move it side to side
and forward. There should be no
more than one inch of movement for
proper installation.
10. Try to pull the belt out of the retractor to make sure the retractor is
in the automatic locking mode (you should not be able to pull more belt
out). If the retractor is not locked, unbuckle the belt and repeat steps
two through nine.
Check to make sure the child seat is properly secured before each use.
Seating and Safety Restraints
158