Page 73 of 288

Security Override
If during a bounce-back condition, the switch is released to the neutral
position, then held in the one touch up position within two seconds after
the window reaches the bounce-back position,the window will travel
up with no bounce-back protection.If the switch is released before
the window reaches fully closed or the ignition is turned OFF (without
accessory delay being active), the window will stop. Security override
can be used if there is ice on the window or seals, causing a restriction.
Window lock
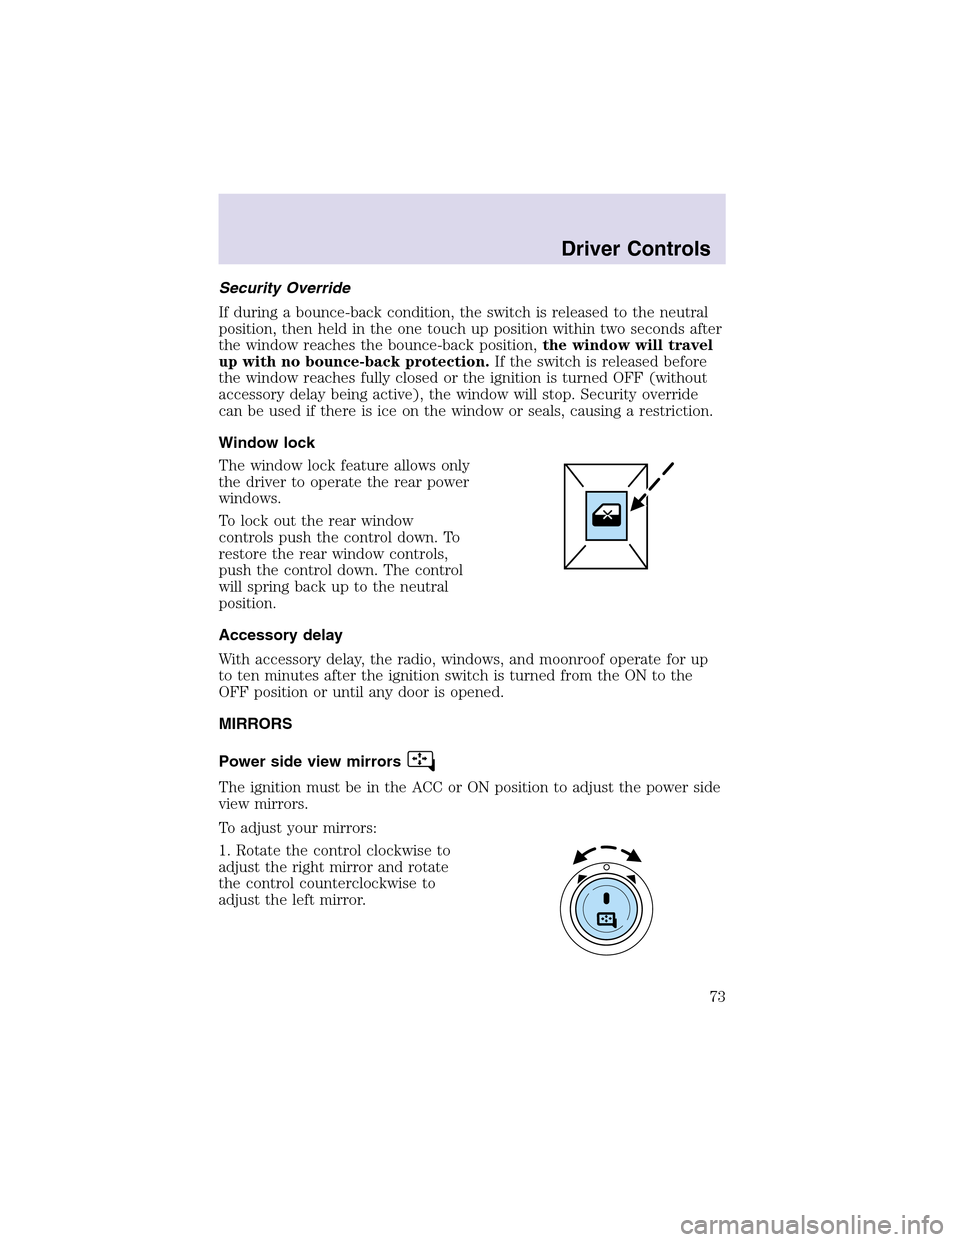
The window lock feature allows only
the driver to operate the rear power
windows.
To lock out the rear window
controls push the control down. To
restore the rear window controls,
push the control down. The control
will spring back up to the neutral
position.
Accessory delay
With accessory delay, the radio, windows, and moonroof operate for up
to ten minutes after the ignition switch is turned from the ON to the
OFF position or until any door is opened.
MIRRORS
Power side view mirrors
The ignition must be in the ACC or ON position to adjust the power side
view mirrors.
To adjust your mirrors:
1. Rotate the control clockwise to
adjust the right mirror and rotate
the control counterclockwise to
adjust the left mirror.
Driver Controls
73
Page 74 of 288
2. Move the control in the direction
you wish to tilt the mirror.
3. Return to the center position to lock mirrors in place.
Heated outside mirrors
Both mirrors are heated
automatically to remove ice, mist
and fog when the rear window
defrost is activated.
Do not remove ice from the
mirrors with a scraper or
attempt to readjust the mirror
glass if it is frozen in place.
These actions could cause
damage to the glass and mirrors.
Signal mirrors
When the turn signal is activated,
the lower portion of the mirror
housing will blink.
This provides an additional warning
to other drivers that your vehicle is
about to turn.
Driver Controls
74
Page 75 of 288
Fold-away mirrors
Pull the side mirrors in carefully
when driving through a narrow
space, like an automatic car wash.
Reverse tilt down mirrors
The side mirrors tilt down when the
vehicle is put in R (Reverse).
The reverse mirror feature can be turned ON and OFF through the
Message Centerin this chapter or by using the following key sequence.
This procedure must be performed within 20 seconds.
1. Insert the ignition key in to the ignition switch.
2. Turn the key from the OFF position to the RUN/ON position then back
to OFF three times within 20 seconds.
3. Momentarily activate either the Driver’s or Passenger’s outside mirror
in any direction.
4. Remove the key from the ignition switch to exit programming.
Driver Controls
75
Page 124 of 288

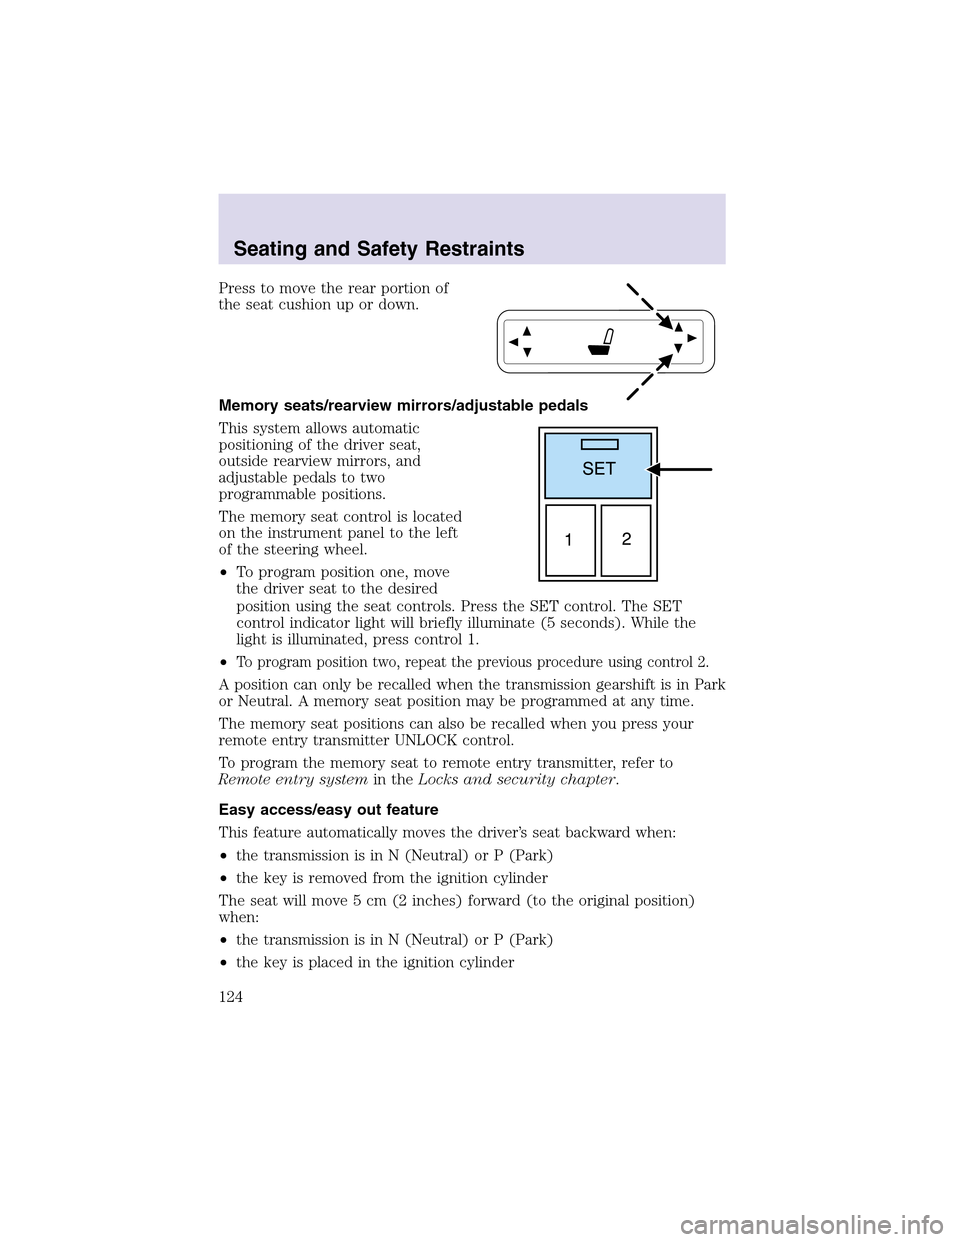
Press to move the rear portion of
the seat cushion upor down.
Memory seats/rearview mirrors/adjustable pedals
This system allows automatic
positioning of the driver seat,
outside rearview mirrors, and
adjustable pedals to two
programmable positions.
The memory seat control is located
on the instrument panel to the left
of the steering wheel.
•To program position one, move
the driver seat to the desired
position using the seat controls. Press the SET control. The SET
control indicator light will briefly illuminate (5 seconds). While the
light is illuminated, press control 1.
•
To program position two, repeat the previous procedure using control 2.
A position can only be recalled when the transmission gearshift is in Park
or Neutral. A memory seat position may be programmed at any time.
The memory seat positions can also be recalled when you press your
remote entry transmitter UNLOCK control.
To program the memory seat to remote entry transmitter, refer to
Remote entry systemin theLocks and security chapter.
Easy access/easy out feature
This feature automatically moves the driver’s seat backward when:
•the transmission is in N (Neutral) or P (Park)
•the key is removed from the ignition cylinder
The seat will move 5 cm (2 inches) forward (to the original position)
when:
•the transmission is in N (Neutral) or P (Park)
•the key is placed in the ignition cylinder
Seating and Safety Restraints
124
Page 204 of 288
The fuses are coded as follows:
Fuse/Relay
LocationFuse Amp
RatingPassenger Compartment Fuse
Panel Description
1 30A Moonroof, Driver seat switch
2 10A VAPS module, Memory seat
module, Body security module
3 20A Radio, Navigation, Telematics
4 5A Front wiper module
5 15A Flasher relay (turn/hazards)
6 5A Power antenna, Radio, Moonroof
motor, Driver window motor,
Navigation
7 15A Heated mirrors, DEATC module
8 5A Daytime Running Lamps (DRL)
module
9 10A Back-uplamps (DTRS)
Roadside Emergencies
204
Page 205 of 288

Fuse/Relay
LocationFuse Amp
RatingPassenger Compartment Fuse
Panel Description
10 10A Heated backlight relay coil,
Climate seat modules, Auxiliary
A/C temperature blend/mode
actuator, A/C clutch relay contact
11 20A Not used (spare)
12 15A Restraints module
13 10A Brake shift interlock
14 5A Cornering lamps
15 5A Instrument cluster, Rear wiper
module, Telematics
16 15A Cigar lighter, OBD II, Liftgate
release relay coil and contacts
17 15A Delayed accessory relay coil,
Battery saver relay coil and
contacts
18 5A Not used (spare)
19 15A Washer pump
20 5A Shifter, Clock, Power mirror
switch, DVD
21 10A Brake pressure switch (ABS), IVD
switch, Flasher relay
22 10A ABS module
23 5A Sunload/Autolampsensor
(SecuriLock�transceiver LED)
24 20A Subwoofer, Navigation
25 5A Puddle lamprelay coil, Trailer tow
battery charge relay coil
26 5A SecuriLock�transceiver
27 5A Rear park assist, VAPS module,
Telematics
28 5A Radio, Navigation
29 10A DTRS, Feed to Fuse 28
Roadside Emergencies
205
Page 207 of 288
Always disconnect the battery before servicing high current
fuses.
Always replace the cover to the power distribution box before
reconnecting the battery or refilling fluid reservoirs
If the battery has been disconnected and reconnected, refer to the
Batterysection of theMaintenance and specificationschapter.
The high-current fuses are coded as follows:
Fuse/Relay
LocationFuse Amp
RatingPower Distribution Box
Description
1 60A** PJB
2 30A** Door locks (BSM)
3 — Not used
4 40A** Heated backlight/mirrors
5 40A** Anti-lock Brake System (ABS)
module (pump)
6 60A** Delayed accessory
7 20A** DRL
8 20A** Electric cooling fan
9 20A** Headlampswitch, Foglampswitch
10 30A** ABS module (valves)
11 40A** PTEC relay contacts
Roadside Emergencies
207
Page 236 of 288

WASHING THE EXTERIOR
Wash your vehicle regularly with cool or lukewarm water and a neutral
Ph shampoo, such as Motorcraft Detail Wash (ZC-3–A), which is available
from your dealer.
•Never use strong household detergents or soap, such as dish washing
or laundry liquid. These products can discolor and spot painted
surfaces.
•Never wash a vehicle that is “hot to the touch” or during exposure to
strong, direct sunlight.
•Always use a clean sponge or carwash mitt with plenty of water for
best results.
•Dry the vehicle with a chamois or soft terry cloth towel in order to
eliminate water spotting.
•It is especially important to wash the vehicle regularly during the
winter months, as dirt and road salt are difficult to remove and cause
damage to the vehicle.
•Immediately remove items such as gasoline, diesel fuel, bird droppings
and insect deposits because they can cause damage to the vehicle’s
paintwork and trim over time.
•Remove any exterior accessories, such as antennas, before entering a
car wash.
•Suntan lotions and insect repellents can damage any painted
surface; if these substances come in contact with your vehicle,
wash off as soon as possible.
•If your vehicle is equipped with running boards, do not use
rubber, plastic and vinyl protectant products on the running
board surface, as the area may become slippery.
WAXING
Applying a polymer paint sealant to your vehicle every six months will
assist in reducing minor scratches and paint damage.
•Wash the vehicle first.
•Do not use waxes that contain abrasives.
•Do not allow paint sealant to come in contact with any non-body
(low-gloss black) colored trim, such as grained door handles, roof
racks, bumpers, side moldings, mirror housings or the windshield cowl
area. The paint sealant will “gray” or stain the parts over time.
Cleaning
236