Page 52 of 288

•Press the setup button- The message center then displays the next
menu selection in its list. (6)
•Press the reset button- The message center then proceeds to the
next sequence/step(3) below.
•The message center sends/issues the “AutolampDelay Command” to
the body security module (BSM).
•The body security module responds within 100 milliseconds with next
auto lampexit delay time.
3. Next sequence/stepnumber is one (1) steps 1,2,3,4 & 5 are repeated
until exit via step2.
4. The message center displays the next menu selection.
Daytime running lamps (DRL) (if equipped)
Turns the headlamps on with a reduced output. To activate:
•the ignition must be in the ON position and
•the headlamp control is in the OFF or Parking lamps position
•the parking brake must be disengaged.
Always remember to turn on your headlamps at dusk or during
inclement weather. The Daytime Running Light (DRL) System
does not activate your tail lamps and generally may not provide
adequate lighting during these conditions. Failure to activate your
headlamps under these conditions may result in a collision.
High beams
Push the lever toward the
instrument panel to activate. Pull
the lever towards you to deactivate.
Lights
52
Page 55 of 288
TURN SIGNAL CONTROL
•Push down to activate the left
turn signal.
•Push upto activate the right turn
signal.
•Turn signal will shut off
headlamps, in DRL equipped
vehicles, in daytime driving.
INTERIOR LAMPS
Front row map lights (if equipped)
To turn on the maplights, press the
edge of the light.
Second row dome lamps
The dome lamplights when:
•any door is opened, and the
switch is in middle position.
•the instrument panel dimmer
switch is rotated upuntil the
courtesy lamps come on.
•any of the remote entry controls
are pressed and the ignition is OFF (and switch is in the middle
position).
•the lamp control is moved to the passenger side position.
The reading portion, the two outer lights, can only be toggled on and off
at the lamp.
Lights
55
Page 56 of 288

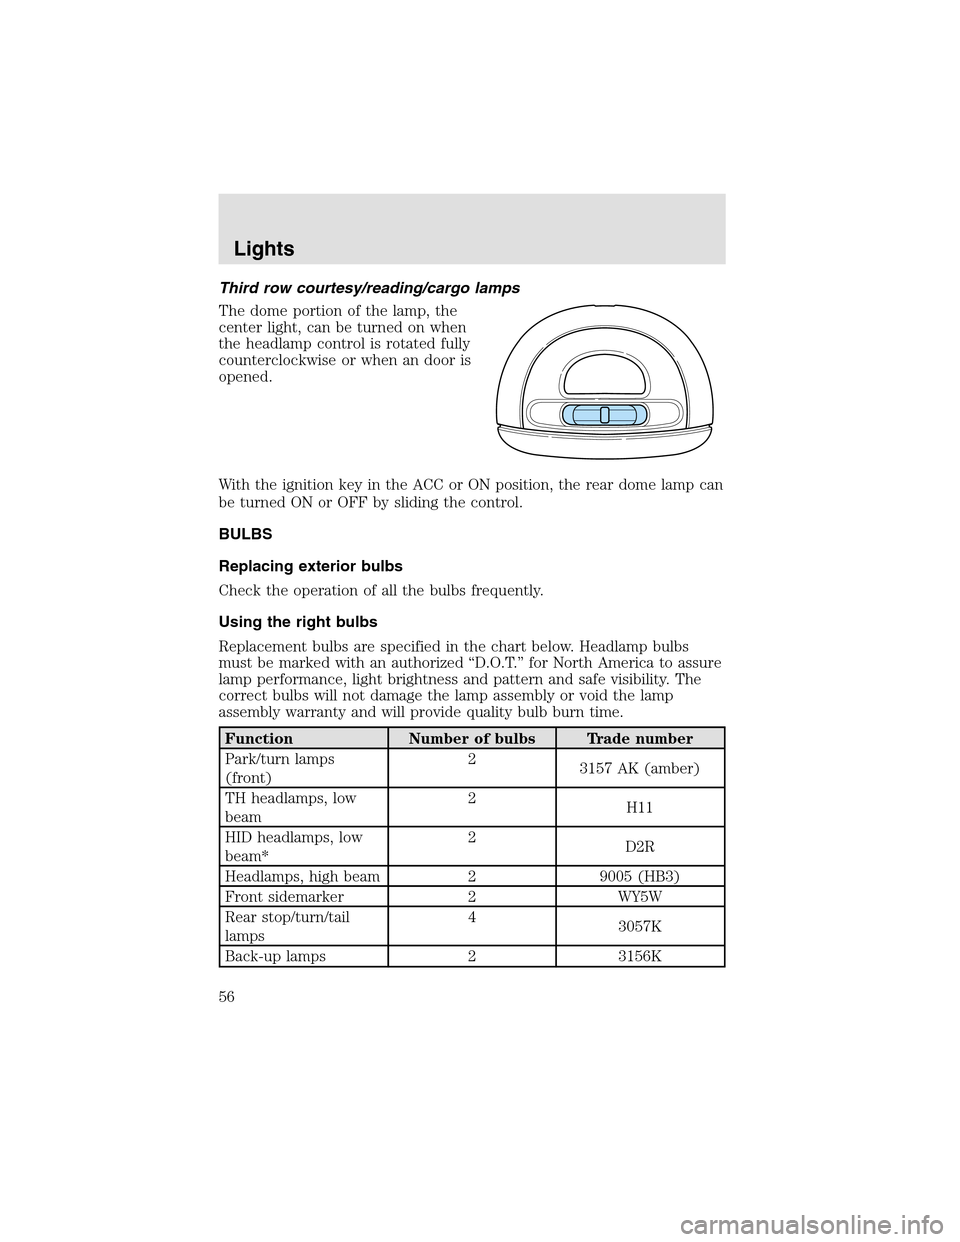
Third row courtesy/reading/cargo lamps
The dome portion of the lamp, the
center light, can be turned on when
the headlampcontrol is rotated fully
counterclockwise or when an door is
opened.
With the ignition key in the ACC or ON position, the rear dome lamp can
be turned ON or OFF by sliding the control.
BULBS
Replacing exterior bulbs
Check the operation of all the bulbs frequently.
Using the right bulbs
Replacement bulbs are specified in the chart below. Headlamp bulbs
must be marked with an authorized “D.O.T.” for North America to assure
lamp performance, light brightness and pattern and safe visibility. The
correct bulbs will not damage the lampassembly or void the lamp
assembly warranty and will provide quality bulb burn time.
Function Number of bulbs Trade number
Park/turn lamps
(front)2
3157 AK (amber)
TH headlamps, low
beam2
H11
HID headlamps, low
beam*2
D2R
Headlamps, high beam 2 9005 (HB3)
Front sidemarker 2 WY5W
Rear stop/turn/tail
lamps4
3057K
Back-uplamps 2 3156K
Lights
56
Page 72 of 288

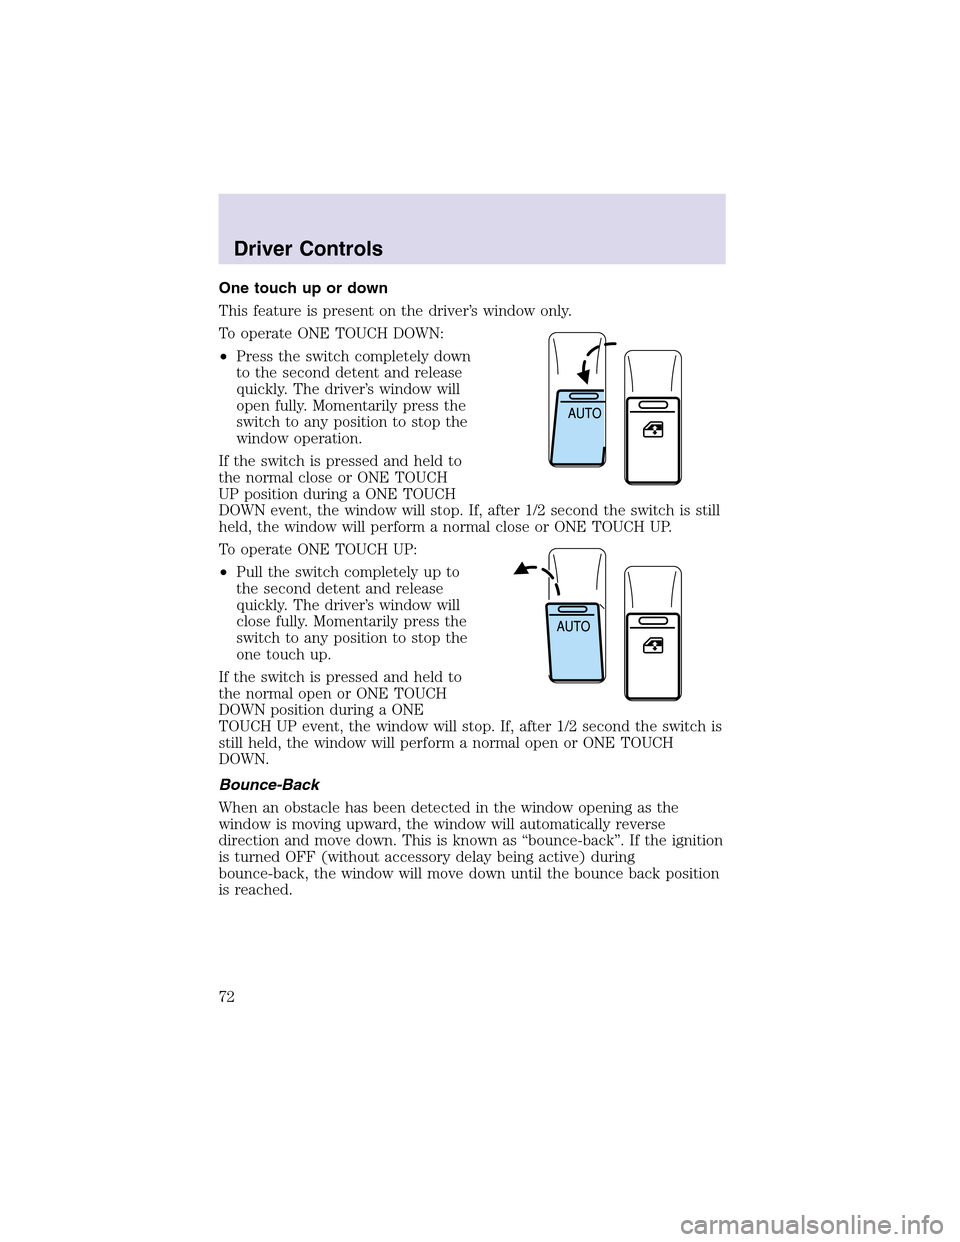
One touch up or down
This feature is present on the driver’s window only.
To operate ONE TOUCH DOWN:
•Press the switch completely down
to the second detent and release
quickly. The driver’s window will
open fully. Momentarily press the
switch to any position to stop the
window operation.
If the switch is pressed and held to
the normal close or ONE TOUCH
UP position during a ONE TOUCH
DOWN event, the window will stop. If, after 1/2 second the switch is still
held, the window will perform a normal close or ONE TOUCH UP.
To operate ONE TOUCH UP:
•Pull the switch completely up to
the second detent and release
quickly. The driver’s window will
close fully. Momentarily press the
switch to any position to stop the
one touch up.
If the switch is pressed and held to
the normal open or ONE TOUCH
DOWN position during a ONE
TOUCH UP event, the window will stop. If, after 1/2 second the switch is
still held, the window will perform a normal open or ONE TOUCH
DOWN.
Bounce-Back
When an obstacle has been detected in the window opening as the
window is moving upward, the window will automatically reverse
direction and move down. This is known as “bounce-back”. If the ignition
is turned OFF (without accessory delay being active) during
bounce-back, the window will move down until the bounce back position
is reached.
Driver Controls
72
Page 73 of 288

Security Override
If during a bounce-back condition, the switch is released to the neutral
position, then held in the one touch up position within two seconds after
the window reaches the bounce-back position,the window will travel
up with no bounce-back protection.If the switch is released before
the window reaches fully closed or the ignition is turned OFF (without
accessory delay being active), the window will stop. Security override
can be used if there is ice on the window or seals, causing a restriction.
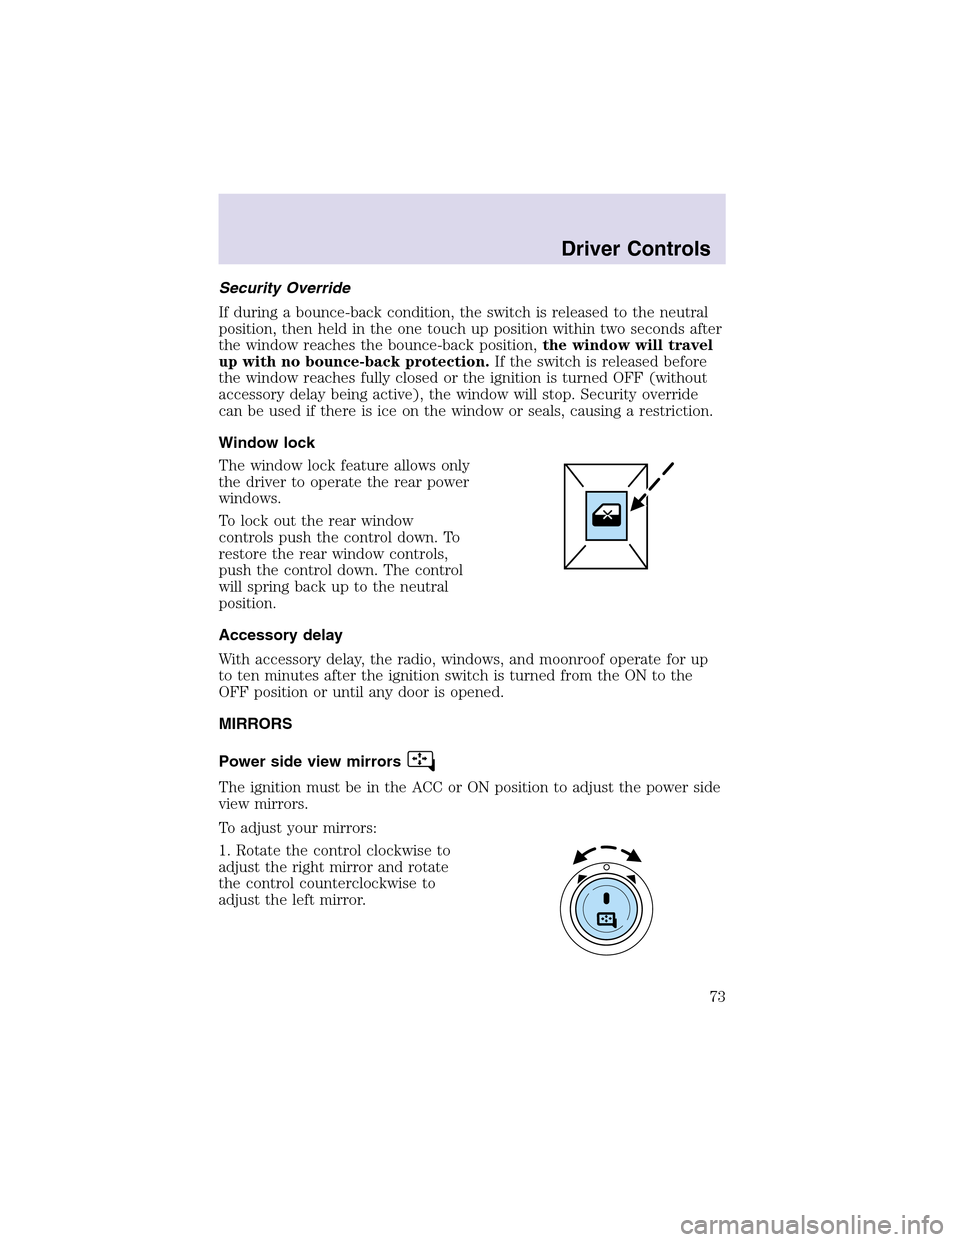
Window lock
The window lock feature allows only
the driver to operate the rear power
windows.
To lock out the rear window
controls push the control down. To
restore the rear window controls,
push the control down. The control
will spring back up to the neutral
position.
Accessory delay
With accessory delay, the radio, windows, and moonroof operate for up
to ten minutes after the ignition switch is turned from the ON to the
OFF position or until any door is opened.
MIRRORS
Power side view mirrors
The ignition must be in the ACC or ON position to adjust the power side
view mirrors.
To adjust your mirrors:
1. Rotate the control clockwise to
adjust the right mirror and rotate
the control counterclockwise to
adjust the left mirror.
Driver Controls
73
Page 75 of 288
Fold-away mirrors
Pull the side mirrors in carefully
when driving through a narrow
space, like an automatic car wash.
Reverse tilt down mirrors
The side mirrors tilt down when the
vehicle is put in R (Reverse).
The reverse mirror feature can be turned ON and OFF through the
Message Centerin this chapter or by using the following key sequence.
This procedure must be performed within 20 seconds.
1. Insert the ignition key in to the ignition switch.
2. Turn the key from the OFF position to the RUN/ON position then back
to OFF three times within 20 seconds.
3. Momentarily activate either the Driver’s or Passenger’s outside mirror
in any direction.
4. Remove the key from the ignition switch to exit programming.
Driver Controls
75
Page 77 of 288

To turn speed control off
•Press OFF or
•Turn off the vehicle ignition.
Once speed control is switched off,
the previously programmed set
speed will be erased.
To set a speed
•Press SET+. For speed control to
operate, the speed control must
be ON and the vehicle speed
must be greater than 48 km/h (30
mph).
If you drive upor down a steephill,
your vehicle speed may vary
momentarily slower or faster than
the set speed. This is normal.
Speed control cannot reduce the
vehicle speed if it increases above the set speed going downhill. If your
vehicle speed is faster than the set speed while driving downhill, you
may want to shift to the next lower gear or apply the brakes to reduce
your vehicle speed.
If your vehicle slows down more than 16 km/h (10 mph) below your set
speed on an uphill, your speed control will disengage. This is normal.
Pressing RES will re-engage it.
Do not use the speed control in heavy traffic or on roads that
are winding, slippery, or unpaved.
Driver Controls
77
Page 82 of 288

Press FAN + or - to adjust fan
speed.
HOMELINK�UNIVERSAL TRANSCEIVER
The HomeLink�Universal Transceiver, located on the overhead console,
provides a convenient way to replace up to three hand-held transmitters
with a single built-in device. This feature will learn the radio frequency
codes of most current transmitters to operate garage doors, entry gate
operators, security systems, entry door locks, and home or office lighting.
When programming your HomeLink�Universal Transceiver to a
garage door or gate, be sure that people and objects are out of
the way to prevent potential harm or damage.
Do not use the HomeLink�Universal Transceiver with any garage door
opener that lacks safety stop and reverse features as required by U.S.
federal safety standards (this includes any garage door opener model
manufactured before April 1, 1982). A garage door which cannot detect
an object, signaling the door to stopand reverse, does not meet current
U.S. federal safety standards. For more information, contact HomeLink�
at:www.homelink.comor1–800–355–3515.
Retain the original transmitter for use in other vehicles as well as for
future programming procedures (i.e. new HomeLink�equipped vehicle
purchase). It is also suggested that upon the sale of the vehicle, the
programmed Homelink�Universal Transceiver buttons be erased for
security purposes, refer toProgrammingin this section.
Programming
Do not program the HomeLink�Universal Transceiver with the
vehicle parked in the garage.
Note:Some vehicles may require the ignition switch to be turned to the
second (or “ACC”) position for programming and/or operation of the
HomeLink�. It is also recommended that a new battery be placed in the
Driver Controls
82