Page 3 of 288
Maintenance and Specifications 242
Hood 243
Engine compartment 244
Engine oil 245
Battery 249
Fuel information 255
Part numbers 270
Refill capacities 270
Lubricant specifications 273
Accessories 278
Index 281
All rights reserved. Reproduction by any means, electronic or mechanical
including photocopying, recording or by any information storage and retrieval
system or translation in whole or part is not permitted without written
authorization from Ford Motor Company. Ford may change the contents without
notice and without incurring obligation.
Copyright © 2002 Ford Motor Company
Table of Contents
3
Page 5 of 288

SAFETY AND ENVIRONMENT PROTECTION
Warning symbols in this guide
How can you reduce the risk of personal injury and prevent possible
damage to others, your vehicle and its equipment? In this guide, answers
to such questions are contained in comments highlighted by the warning
triangle symbol. These comments should be read and observed.
Warning symbols on your vehicle
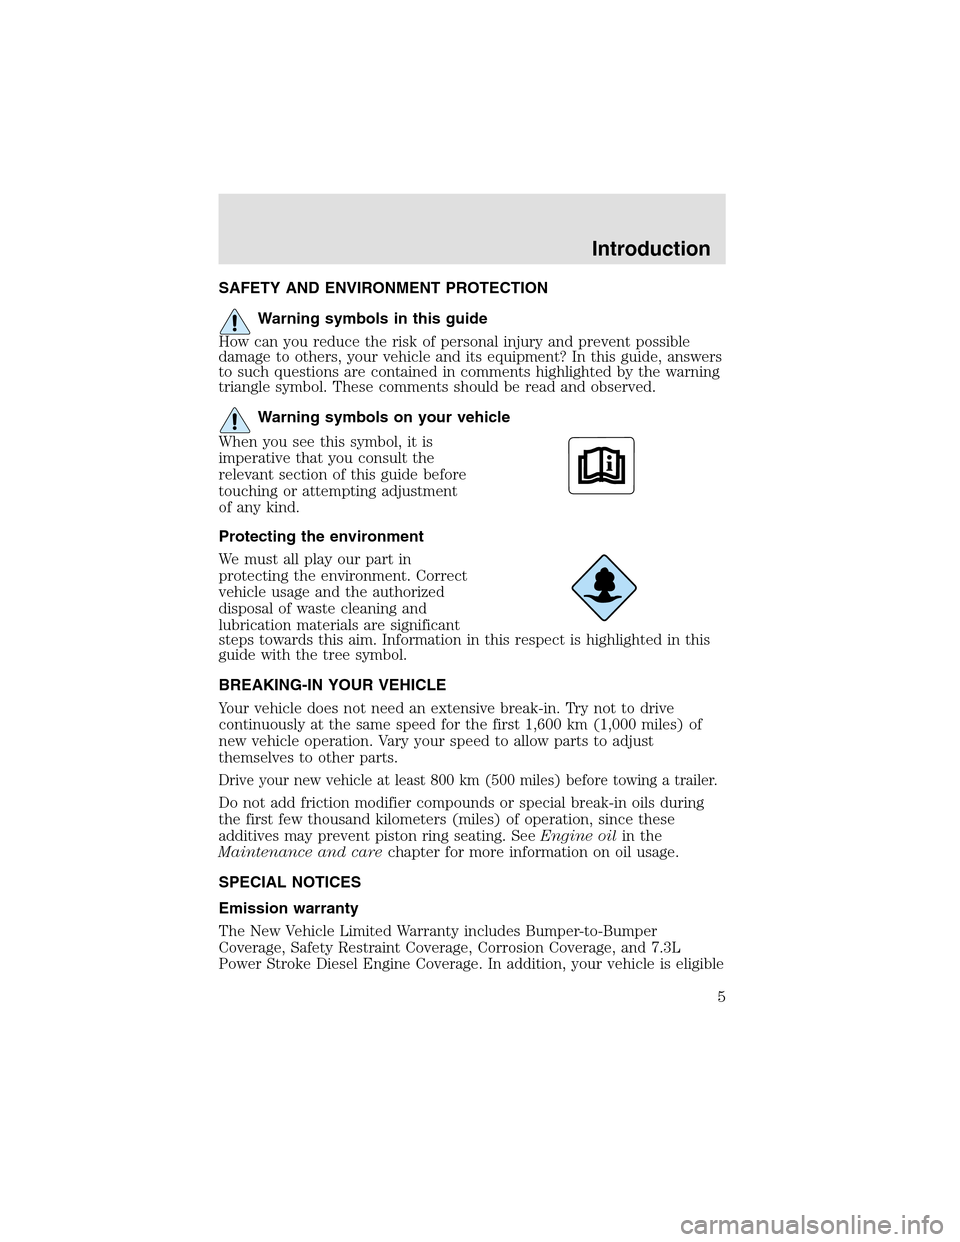
When you see this symbol, it is
imperative that you consult the
relevant section of this guide before
touching or attempting adjustment
of any kind.
Protecting the environment
We must all play our part in
protecting the environment. Correct
vehicle usage and the authorized
disposal of waste cleaning and
lubrication materials are significant
steps towards this aim. Information in this respect is highlighted in this
guide with the tree symbol.
BREAKING-IN YOUR VEHICLE
Your vehicle does not need an extensive break-in. Try not to drive
continuously at the same speed for the first 1,600 km (1,000 miles) of
new vehicle operation. Vary your speed to allow parts to adjust
themselves to other parts.
Drive your new vehicle at least 800 km (500 miles) before towing a trailer.
Do not add friction modifier compounds or special break-in oils during
the first few thousand kilometers (miles) of operation, since these
additives may prevent piston ring seating. SeeEngine oilin the
Maintenance and carechapter for more information on oil usage.
SPECIAL NOTICES
Emission warranty
The New Vehicle Limited Warranty includes Bumper-to-Bumper
Coverage, Safety Restraint Coverage, Corrosion Coverage, and 7.3L
Power Stroke Diesel Engine Coverage. In addition, your vehicle is eligible
Introduction
5
Page 9 of 288
Vehicle Symbol Glossary
Power Windows
Front/Rear
Power Window Lockout
Child Safety Door
Lock/UnlockInterior Luggage
Compartment Release
Symbol
Panic AlarmEngine Oil
Engine CoolantEngine Coolant
Temperature
Do Not Open When HotBattery
Avoid Smoking, Flames,
or SparksBattery Acid
Explosive GasFan Warning
Power Steering FluidMaintain Correct Fluid
LevelMAX
MIN
Emission SystemEngine Air Filter
Passenger Compartment
Air FilterJack
Check fuel capLow tire warning
Introduction
9
Page 13 of 288

AdvanceTrac�(if equipped)
Flashes when the AdvanceTrac�
system is active. If the light remains
on, have the system serviced
immediately.
For more information, refer to the
Drivingchapter.
Engine oil pressure
Illuminates when the oil pressure
falls below the normal range. Check
the oil level and add oil if needed.
Refer toEngine oilin the
Maintenance and specificationschapter.
Speed control
Illuminates when the speed control
is activated.
Engine coolant temperature
Illuminates when the engine coolant
temperature is high. Stop the
vehicle as soon as safely possible,
switch off the engine and let it cool.
Never remove the coolant recovery capwhile the engine is
running or hot.
Refer toEngine coolantin theMaintenance and specifications
chapter. If light stays on or continues to turn on after the vehicle warms
up, have your vehicle serviced.
Turn signals
Illuminates when the turn signals or
the hazard lights are turned on. If
the lights stay on continuously or
flash faster, check for a burned-out bulb.
Instrument Cluster
13
Page 15 of 288

GAUGES
Engine coolant temperature gauge
Indicates the temperature of the
engine coolant. At normal operating
temperature, the needle remains
within the normal area (the area
between the “H” and “C”). If it
enters the red section, the engine is
overheating. Stopthe vehicle as
soon as safely possible, switch off
the engine immediately and let the
engine cool. Refer toEngine coolantin theMaintenance and
specificationschapter.
Never remove the coolant reservoir capwhile the engine is
running or hot. Steam and scalding liquid from a hot cooling
system can burn you badly.
This gauge indicates the temperature of the engine coolant, not the
coolant level. If the coolant is not at its proper level the gauge indication
will not be accurate. If the gauge enters the red section, the oil
pressure/engine coolant andCheck Engine/Service Engine Soon
indicators illuminate, refer toWhat you should know about fail-safe
coolingin theMaintenance and specificationschapter.
Instrument Cluster
15
Page 58 of 288

Replacing headlamp bulbs
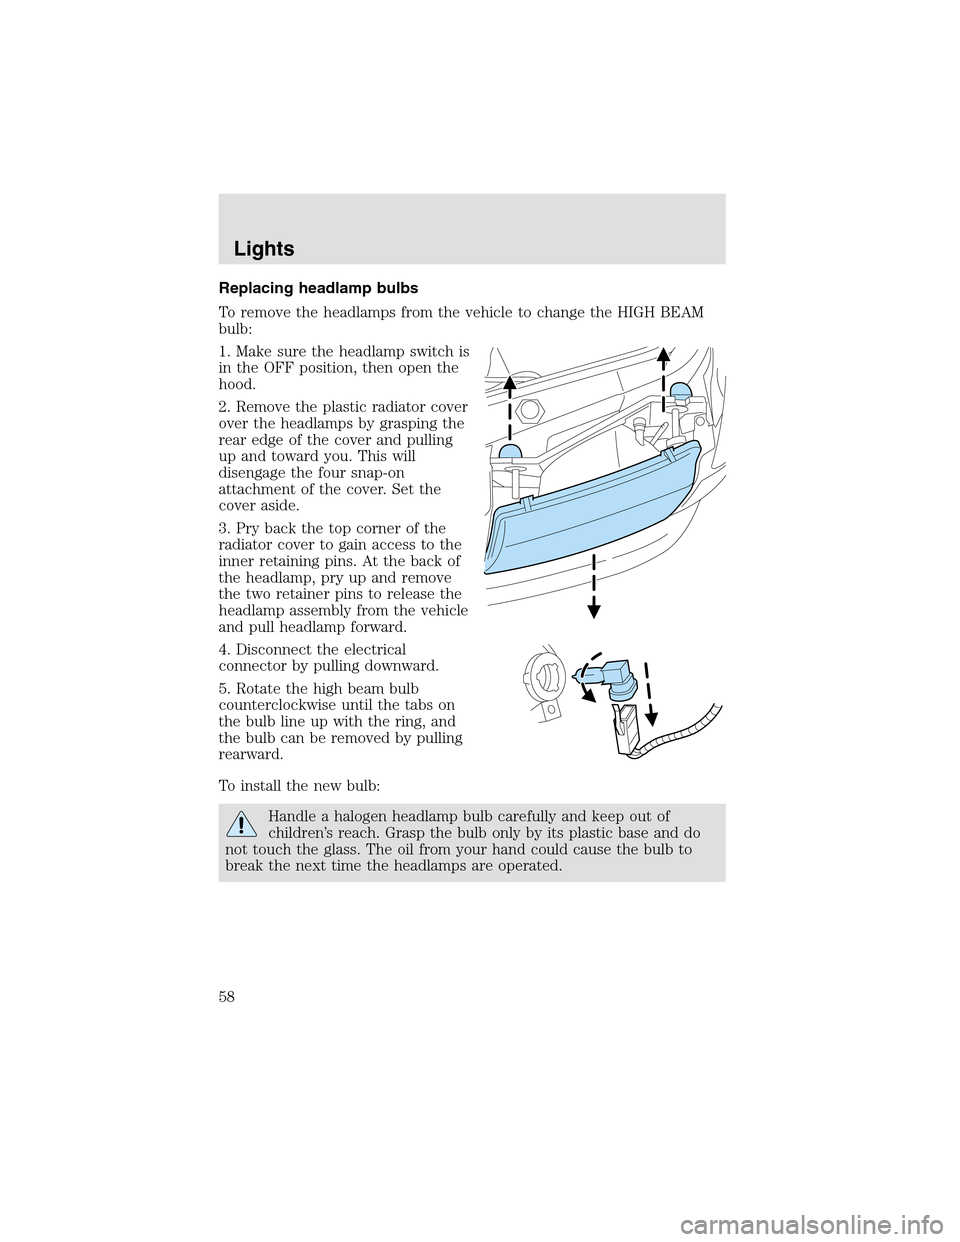
To remove the headlamps from the vehicle to change the HIGH BEAM
bulb:
1. Make sure the headlampswitch is
in the OFF position, then open the
hood.
2. Remove the plastic radiator cover
over the headlamps by grasping the
rear edge of the cover and pulling
upand toward you. This will
disengage the four snap-on
attachment of the cover. Set the
cover aside.
3. Pry back the topcorner of the
radiator cover to gain access to the
inner retaining pins. At the back of
the headlamp, pry up and remove
the two retainer pins to release the
headlampassembly from the vehicle
and pull headlamp forward.
4. Disconnect the electrical
connector by pulling downward.
5. Rotate the high beam bulb
counterclockwise until the tabs on
the bulb line upwith the ring, and
the bulb can be removed by pulling
rearward.
To install the new bulb:
Handle a halogen headlampbulb carefully and keepout of
children’s reach. Graspthe bulb only by its plastic base and do
not touch the glass. The oil from your hand could cause the bulb to
break the next time the headlamps are operated.
Lights
58
Page 89 of 288

Trip elapsed drive time
Select this function from the INFO
menu to display a timer.
To operate the Trip Elapsed Drive
Time preform the following:
1. Press and release RESET in order
to start the timer.
2. Press and release RESET to pause the timer.
3. Press and hold RESET for 2 seconds in order to reset the timer.
Miles to empty (DTE)
Selecting this function from the
INFO menu will give you an
estimate of how far you can drive
with the fuel remaining in your tank
under normal driving conditions.
Remember to turn the ignition OFF when refueling your vehicle.
Otherwise, the display will not show the addition of fuel for a few
kilometers (miles).
The DTE function will display LOW FUEL LEVEL and sound a tone for 1
second when you have low fuel level indicated on the fuel gauge.
Setup menu
Press this control for the following
displays:
•System Check
•Units (English/Metric)
•Autolock
•Easy Entry/Exit
•Reverse Mirrors
•AutolampDelay
•Oil change
•Language
•Rear Park Assist (while in reverse)
•AWD Locked (if equipped)
Driver Controls
89
Page 90 of 288
System check
Selecting this function from the
SETUP menu causes the message
center to cycle through each of the
systems being monitored. For each
of the monitored systems, the
message center will indicate either an OK message or a warning message
for three seconds.
Pressing the RESET control cycles the message center through each of
the systems being monitored.
The sequence of the system check report and how it appears in the
message center is as follows:
1. FUEL LEVEL
2. WASHER FLUID LEVEL
3. OIL LIFE IN XX%
4. PARK ASSIST
5. ENGINE TEMP
6. OIL PRESSURE
7. BRAKE FLUID LEVEL
8. CHARGING SYSTEM
Units (English/Metric)
1. Select this function from the
SETUP menu for the current units
to be displayed.
2. Press the RESET control to
change from English to Metric.
Autolocks
1. Select this function from the
SETUP control for the current
display mode.
2. Press the RESET control to turn
the autolocks ON or OFF.
Driver Controls
90