Page 116 of 288

Replacing coded keys can be very costly and you may want to store an
extra programmed key away from the vehicle in a safe place to prevent
an unforeseen inconvenience.
The correctcoded keymust be used for your vehicle. The use of the
wrong type ofcoded keymay lead to a “no start” condition.
If an unprogrammed key is used in the ignition it will cause a “no
start” condition.
Programming spare keys
A maximum of eight keys can be coded to your vehicle. Only
SecuriLock�keys can be used. To program acoded keyyourself, you
will need two previously programmedcoded keys(keys that already
operate your vehicle’s engine) and the new unprogrammed key(s) readily
accessible for timely implementation of each step in the procedure.
If two previously programmed coded keys are not available, you must
bring your vehicle to your dealershipto have the spare coded key(s)
programmed.
Please read and understand the entire procedure before you begin.
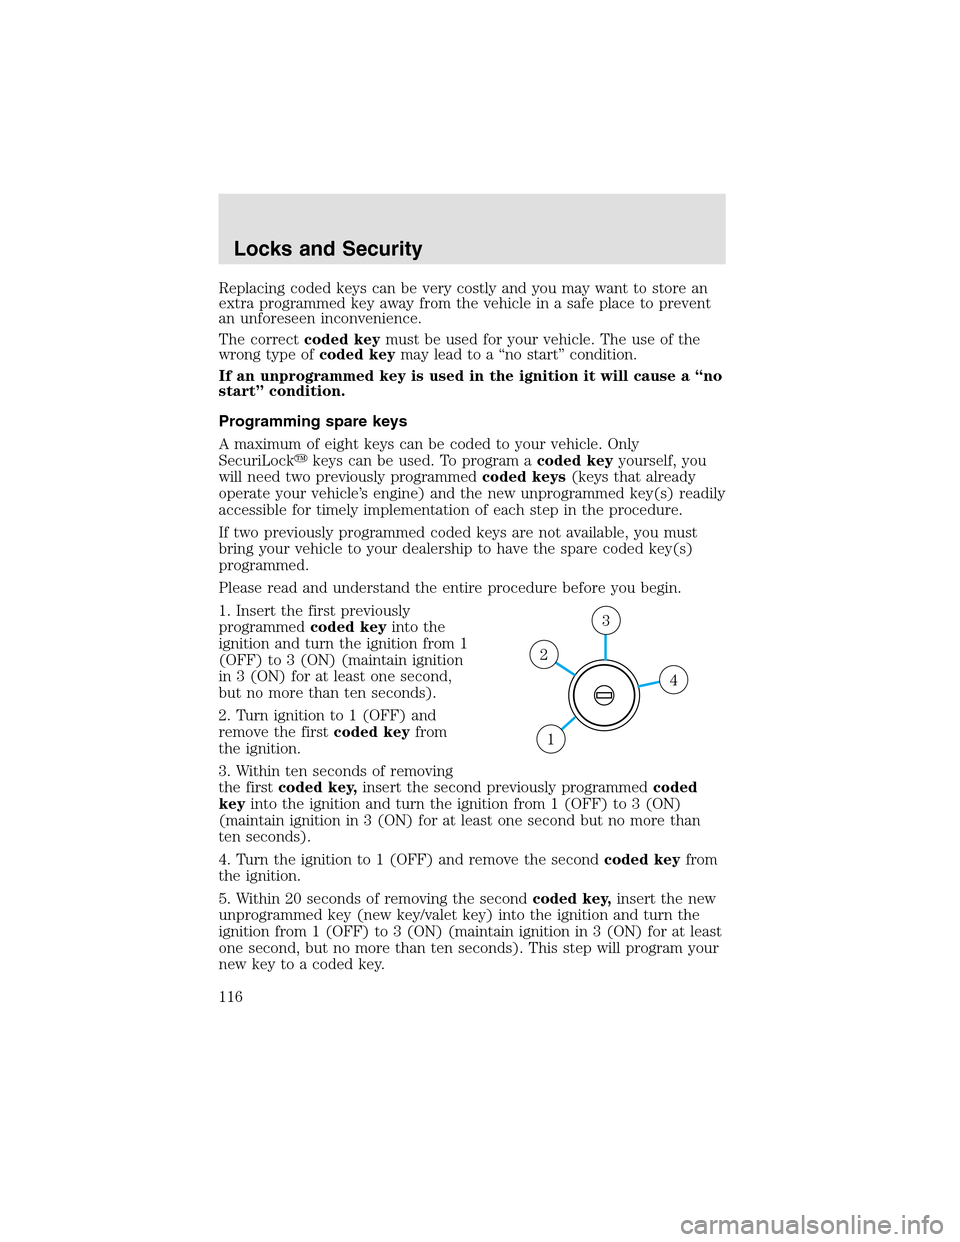
1. Insert the first previously
programmedcoded keyinto the
ignition and turn the ignition from 1
(OFF) to 3 (ON) (maintain ignition
in 3 (ON) for at least one second,
but no more than ten seconds).
2. Turn ignition to 1 (OFF) and
remove the firstcoded keyfrom
the ignition.
3. Within ten seconds of removing
the firstcoded key,insert the second previously programmedcoded
keyinto the ignition and turn the ignition from 1 (OFF) to 3 (ON)
(maintain ignition in 3 (ON) for at least one second but no more than
ten seconds).
4. Turn the ignition to 1 (OFF) and remove the secondcoded keyfrom
the ignition.
5. Within 20 seconds of removing the secondcoded key,insert the new
unprogrammed key (new key/valet key) into the ignition and turn the
ignition from 1 (OFF) to 3 (ON) (maintain ignition in 3 (ON) for at least
one second, but no more than ten seconds). This stepwill program your
new key to a coded key.
4
3
2
1
Locks and Security
116
Page 181 of 288

The system automatically turns on when the gear selector is placed in R
(Reverse) and the ignition is ON. A control in the message center allows
the driver to disable the system only when the ignition is ON, and the
gear selector is in R (Reverse). Refer toMessage centerin theDriver
Controlschapter for more information.
Keep the Rear Park Assist sensors (located on the rear
bumper/fascia) free from snow, ice and large accumulations of
dirt (do not clean the sensors with sharp objects). If the sensors
are covered, it will affect the accuracy of the system.
If your vehicle sustains damage to the rear bumper/fascia, leaving
it misaligned or bent, the sensing zone may be altered causing
inaccurate measurement of obstacles or false alarms.
ALL WHEEL DRIVE (AWD) SYSTEM (IF EQUIPPED)
Your vehicle may be equipped with an All Wheel Drive (AWD) transfer
case. With the AWD option, power is supplied to all four wheels
automatically with no need to shift between two-wheel drive and
four-wheel drive. If your vehicle is equipped with the AdvanceTrac�
stability enhancement feature, you can change AWD modes, if desired,
by selecting AWD options through the message center.
For the lubricant specification and refill capacity of the AWD transfer
case refer toMaintenance and specificationschapter.
If your vehicle is equipped with AWD, a spare tire of a different
size than the road tires should never be used. Such a tire could
make the vehicle difficult to control as well as result in damage to
driveline components.
Utility and four-wheel drive vehicles arenotdesigned for
cornering at speeds as high as passenger cars any more than
low-slung sports cars are designed to perform satisfactorily under
off-road conditions. Avoid sharpturns or abrupt maneuvers in these
vehicles.
The following sections,Normal operation,Autolock operationand
Disabling AWD, apply only to vehicles which allow the driver to change
AWD modes through the message center.
Driving
181
Page 190 of 288

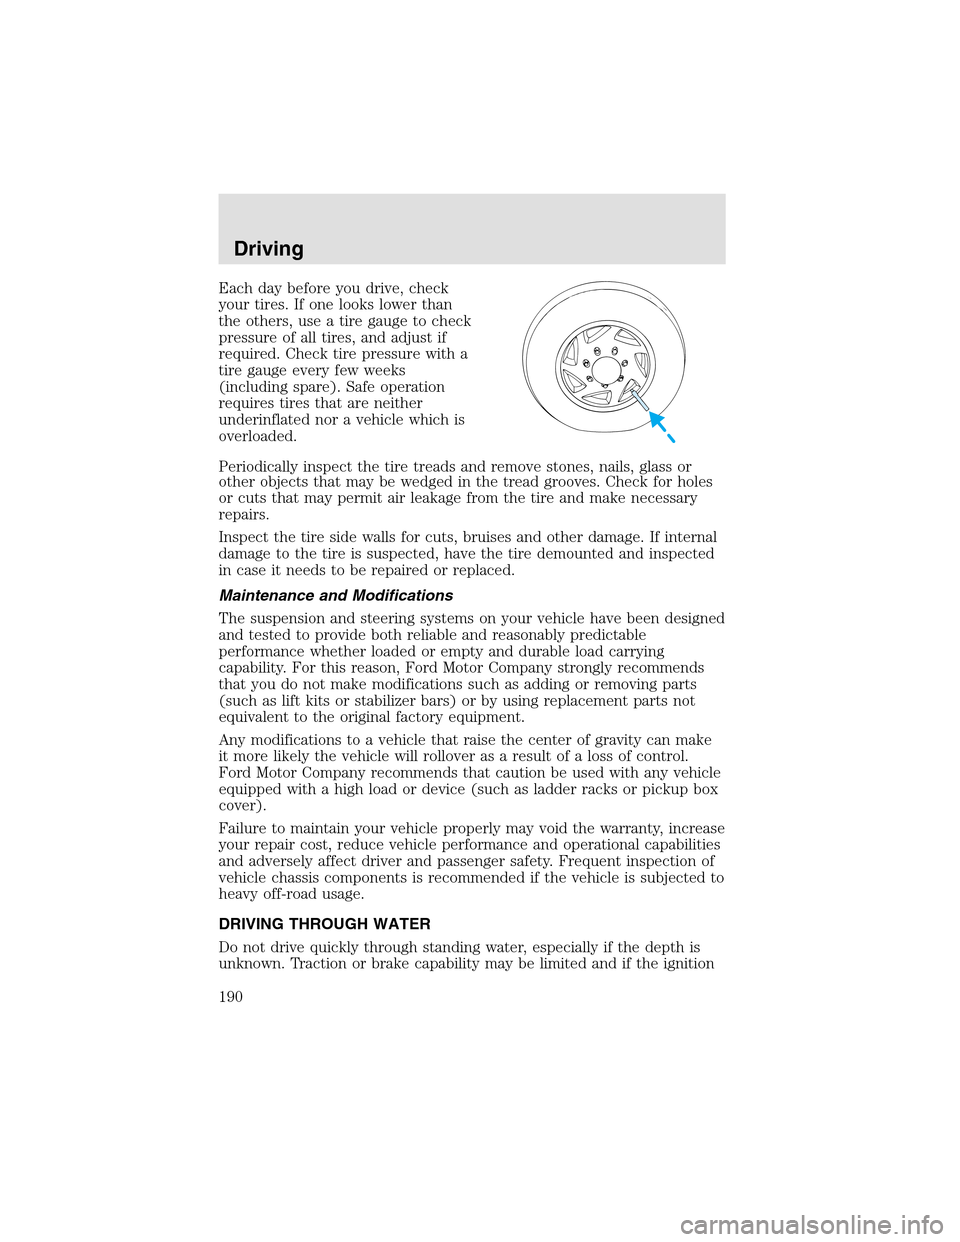
Each day before you drive, check
your tires. If one looks lower than
the others, use a tire gauge to check
pressure of all tires, and adjust if
required. Check tire pressure with a
tire gauge every few weeks
(including spare). Safe operation
requires tires that are neither
underinflated nor a vehicle which is
overloaded.
Periodically inspect the tire treads and remove stones, nails, glass or
other objects that may be wedged in the tread grooves. Check for holes
or cuts that may permit air leakage from the tire and make necessary
repairs.
Inspect the tire side walls for cuts, bruises and other damage. If internal
damage to the tire is suspected, have the tire demounted and inspected
in case it needs to be repaired or replaced.
Maintenance and Modifications
The suspension and steering systems on your vehicle have been designed
and tested to provide both reliable and reasonably predictable
performance whether loaded or empty and durable load carrying
capability. For this reason, Ford Motor Company strongly recommends
that you do not make modifications such as adding or removing parts
(such as lift kits or stabilizer bars) or by using replacement parts not
equivalent to the original factory equipment.
Any modifications to a vehicle that raise the center of gravity can make
it more likely the vehicle will rollover as a result of a loss of control.
Ford Motor Company recommends that caution be used with any vehicle
equipped with a high load or device (such as ladder racks or pickup box
cover).
Failure to maintain your vehicle properly may void the warranty, increase
your repair cost, reduce vehicle performance and operational capabilities
and adversely affect driver and passenger safety. Frequent inspection of
vehicle chassis components is recommended if the vehicle is subjected to
heavy off-road usage.
DRIVING THROUGH WATER
Do not drive quickly through standing water, especially if the depth is
unknown. Traction or brake capability may be limited and if the ignition
Driving
190
Page 212 of 288

The use of tire sealants is not recommended and may
compromise the integrity of your tires. The use of tire sealants
may also affect your tire pressure monitoring system (if equipped).
If your vehicle is equipped with a tire pressure monitoring
system, refer toTire Pressure Monitoring System (if
equipped)in theMaintenance and specificationssection for
important information. If the tire pressure monitor sensor becomes
damaged, it will no longer function.
Spare tire information
The spare tire can be used as a spare or a regular tire and is identical to
the other tires on your vehicle.
If your vehicle is equipped with AWD, a spare tire of a different
size than the road tires should not be used. Such a tire could
make the vehicle difficult to control as well as result in damage to
driveline components.
Stopping and securing the vehicle
1. If you get a flat tire while driving,
do not apply the brake heavily;
instead, gradually decrease your
speed. Hold the steering wheel
firmly and slowly move to a safe
place on the side of the road.
2. Park on a level surface, activate
the hazard flashers and set the
parking brake.
3. Place gearshift lever in P (Park)
and turn engine OFF.
When one of the rear wheels is off the ground, the transmission
alone will not prevent the vehicle from moving or slipping off the
jack, even if the transmission is in P (Park).
Roadside Emergencies
212
Page 213 of 288
Note:Passengers should not remain
in the vehicle when the vehicle is being jacked.
4. Block the wheel that is diagonally opposite of the flat tire using the
wheel chock provided with your vehicle.
Location of the spare tire and tools
The spare tire and tools for your vehicle are stowed in the following
locations:
Tool Location
Spare tire Under the vehicle, just in front of
the rear bumper. The spare tire
winch drive nut is located at the
rear center of the cargo area
under a lid.
Jack, lug nut wrench, jack handle,
wheel chockBehind the rear seat under the
carpeted floor lid in the cargo
floor. The tools are located in a
bag attached to the jack.
Removing the jack and tools
1. Open liftgate and remove the
carpeted floor lid and jack cover.
2. Turn jack screw eyelet
counterclockwise and remove the
jack from the bracket.
Roadside Emergencies
213
Page 214 of 288
3. Remove the tools from the
provided bag.
Rotate the wrench socket out from
the handle.
Removing the spare tire
Do not use an impact wrench on the winch drive nut. This will
damage the spare tire winch.
1. Open the cover from the carpeting on cargo floor to expose the winch
drive nut.
Roadside Emergencies
214
Page 215 of 288
2. Insert the lug wrench on the
winch drive nut.
The wrench will stopmoving and
forward resistance to turning will be
felt when properly engaged.
3. Turn the wrench
counterclockwise until the tire is
lowered to the ground and the cable
has slack. When turning the wrench,
make sure that it does not scuff the
kick plate.
4. Slide the tire rearward, lift one
side and remove the retainer from
the spare tire.
Changing the spare tire
To prevent the vehicle from moving when you change a tire, be
sure the parking brake is set, then block the wheel that is
diagonally opposite (other end of the vehicle) to the tire being
changed.
If the vehicle slips off the jack, you or someone else could be
seriously injured.
Roadside Emergencies
215
Page 217 of 288
4. Position the jack according to the
illustrated guides and turn the jack
handle clockwise until the tire is a
maximum of 25 mm (1 inch) off the
ground.
To lessen the risk of
personal injury, do not put
any part of your body under the
vehicle while changing a tire. Do
not start the engine when your
vehicle is on the jack. The jack is
only meant for changing the tire.
•Never use the front or rear
differential as a jacking point.
5. Remove the lug nuts with the lug wrench.
6. Replace the flat tire with the spare tire, making sure the valve stem is
facing outward. Reinstall the lug nuts, cone side in, until the wheel is
snug against the hub. Do not fully tighten the lug nuts until the wheel
has been lowered.
7. Lower the wheel by turning the jack handle counterclockwise.
Roadside Emergencies
217