Page 65 of 288
WINDSHIELD WIPER/WASHER CONTROLS
Rotate the windshield wiper control
to the desired interval, low or high
speed position.
The bars of varying length are for
intermittent wipers. When in this
position rotate the control upward
for fast intervals and downward for
slow intervals.
Push (tap) the end of the stalk
briefly for a single swipe (no wash).
Push and hold for three swipes with
wash. Push and hold for a longer
wash (upto ten seconds).
Rear window wiper/washer controls
For rear wiper operation, rotate the
rear window wiper and washer
control to the desired position.
Select:
INT 2 — Normal speed operation of
rear wiper.
INT 1 — Intermittent operation of
rear wiper.
OFF — Rear wiper and washer off.
For rear wash cycle, rotate (and
hold as desired) the rear wiper/washer control to either
position.
From either position, the control will automatically return to the INT 2
or OFF position.
Driver Controls
65
Page 66 of 288

Windshield wiper blades
Check the wiper blades for wear at least twice a year or when they seem
less effective. Substances such as tree sapand some hot wax treatments
used by commercial car washes reduce the effectiveness of wiper blades.
Checking the wiper blades
If the wiper blades do not wipe properly, clean both the windshield and
wiper blades using undiluted windshield wiper solution or a mild
detergent. Rinse thoroughly with clean water. To avoid damaging the
blades, do not use fuel, kerosene, paint thinner or other solvents.
Changing the wiper blades
It is recommended that wiper blades are renewed before winter.
To replace the wiper blades:
1. Fold back the wiper arm and
position the wiper blade at right
angles to the wiper arm.
2. To remove, press the retaining
clip(A) to disengage the wiper
blade, then pull the blade down
toward the windshield to remove it
from the arm.
3. Install the new wiper blade on the
arm and press it into place until a click is heard.
Rear window wiper blade
Refer toWindshield wiper bladesin this section and follow the same
procedure given for checking and changing the wiper blades.
Driver Controls
66
Page 70 of 288
Another auxiliary power point is
located on the right rear quarter
panel. The power point is accessible
from the liftgate.
The maximum current draw of any single power point should not exceed
it’s fuse rating, otherwise this will result in a blown fuse.
Do not use the cigarette/cigar lighter element in any power point.
Keep power point caps closed when not in use.
POWER WINDOWS
When closing the power windows, you should verify they are free
of obstructions and ensure that children and/or pets are not in
the proximity of the window openings.
The power window switches located
on the center console are called
push-pull switches.
A. Drivers side
B. Window lock
C. Front passenger side
D. Left and right rear passenger
Driver Controls
70
Page 71 of 288
The following views are the driver’s side switches:
Normal operation
•Push down (to the first detent)
and hold the topportion of the
switch to open.
•Pull up(to the first detent) and
hold the topportion of the switch
to close.
The following view is the power
window switch on the rear door trim
panels.
•Press and hold the topor bottom
of the rear rocker switches to
open or close.
Driver Controls
71
Page 72 of 288

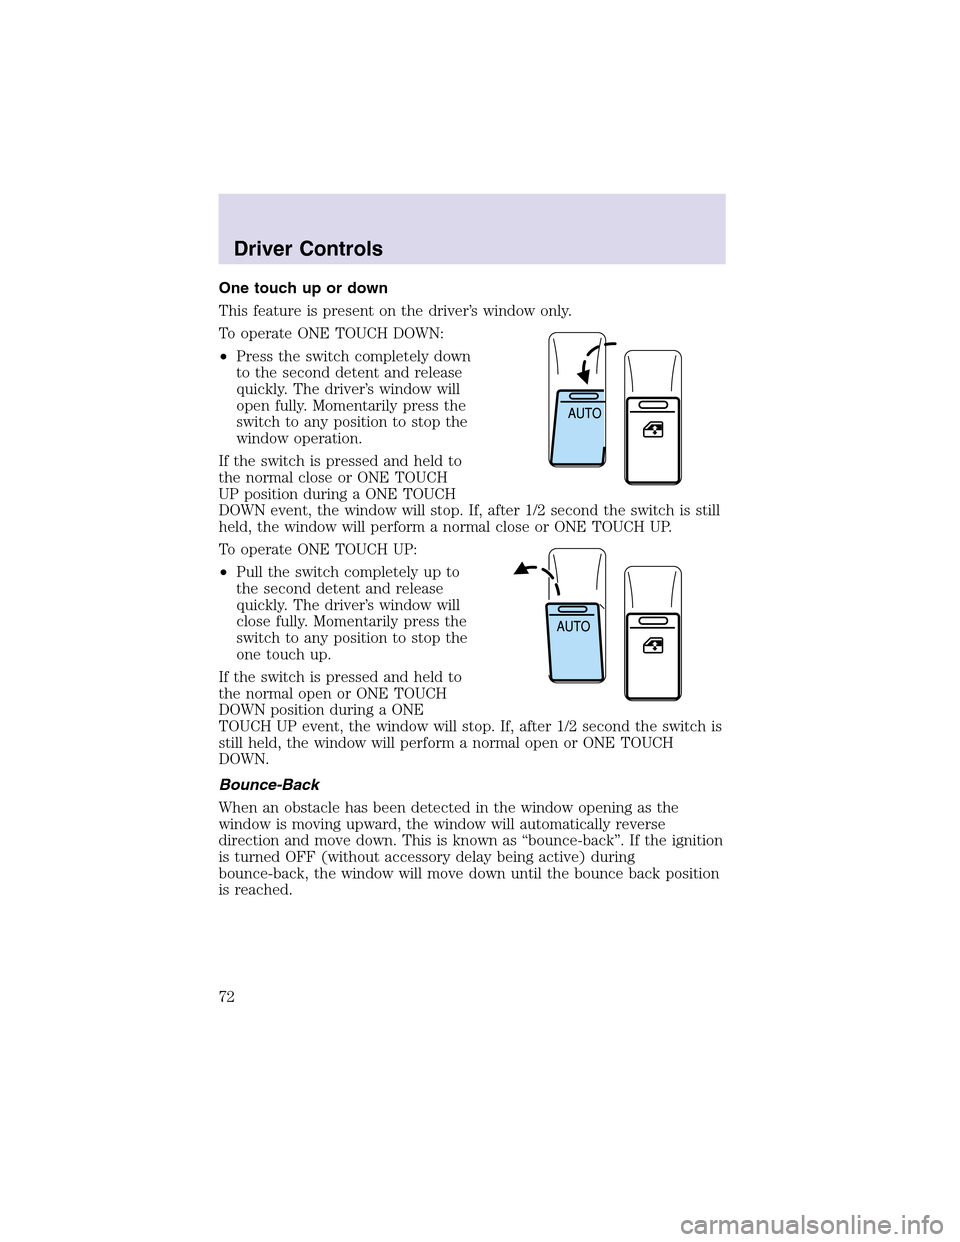
One touch up or down
This feature is present on the driver’s window only.
To operate ONE TOUCH DOWN:
•Press the switch completely down
to the second detent and release
quickly. The driver’s window will
open fully. Momentarily press the
switch to any position to stop the
window operation.
If the switch is pressed and held to
the normal close or ONE TOUCH
UP position during a ONE TOUCH
DOWN event, the window will stop. If, after 1/2 second the switch is still
held, the window will perform a normal close or ONE TOUCH UP.
To operate ONE TOUCH UP:
•Pull the switch completely up to
the second detent and release
quickly. The driver’s window will
close fully. Momentarily press the
switch to any position to stop the
one touch up.
If the switch is pressed and held to
the normal open or ONE TOUCH
DOWN position during a ONE
TOUCH UP event, the window will stop. If, after 1/2 second the switch is
still held, the window will perform a normal open or ONE TOUCH
DOWN.
Bounce-Back
When an obstacle has been detected in the window opening as the
window is moving upward, the window will automatically reverse
direction and move down. This is known as “bounce-back”. If the ignition
is turned OFF (without accessory delay being active) during
bounce-back, the window will move down until the bounce back position
is reached.
Driver Controls
72
Page 73 of 288

Security Override
If during a bounce-back condition, the switch is released to the neutral
position, then held in the one touch up position within two seconds after
the window reaches the bounce-back position,the window will travel
up with no bounce-back protection.If the switch is released before
the window reaches fully closed or the ignition is turned OFF (without
accessory delay being active), the window will stop. Security override
can be used if there is ice on the window or seals, causing a restriction.
Window lock
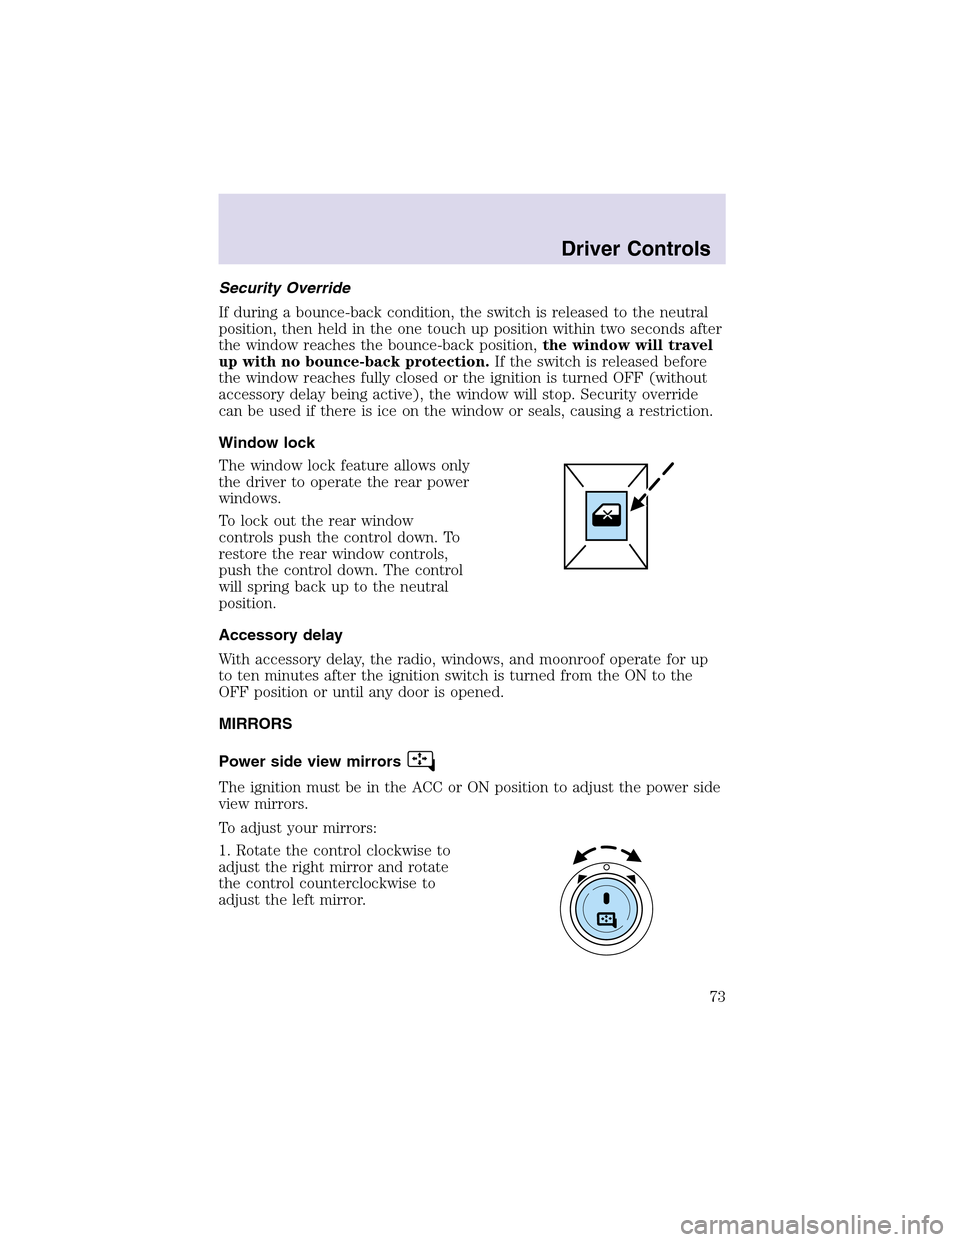
The window lock feature allows only
the driver to operate the rear power
windows.
To lock out the rear window
controls push the control down. To
restore the rear window controls,
push the control down. The control
will spring back up to the neutral
position.
Accessory delay
With accessory delay, the radio, windows, and moonroof operate for up
to ten minutes after the ignition switch is turned from the ON to the
OFF position or until any door is opened.
MIRRORS
Power side view mirrors
The ignition must be in the ACC or ON position to adjust the power side
view mirrors.
To adjust your mirrors:
1. Rotate the control clockwise to
adjust the right mirror and rotate
the control counterclockwise to
adjust the left mirror.
Driver Controls
73
Page 74 of 288
2. Move the control in the direction
you wish to tilt the mirror.
3. Return to the center position to lock mirrors in place.
Heated outside mirrors
Both mirrors are heated
automatically to remove ice, mist
and fog when the rear window
defrost is activated.
Do not remove ice from the
mirrors with a scraper or
attempt to readjust the mirror
glass if it is frozen in place.
These actions could cause
damage to the glass and mirrors.
Signal mirrors
When the turn signal is activated,
the lower portion of the mirror
housing will blink.
This provides an additional warning
to other drivers that your vehicle is
about to turn.
Driver Controls
74
Page 100 of 288

REAR LIFTGATE
The liftgate area is only intended for cargo, not passengers. You can open
and close the liftgate from outside the vehicle. It cannot be opened from
inside the cargo area.
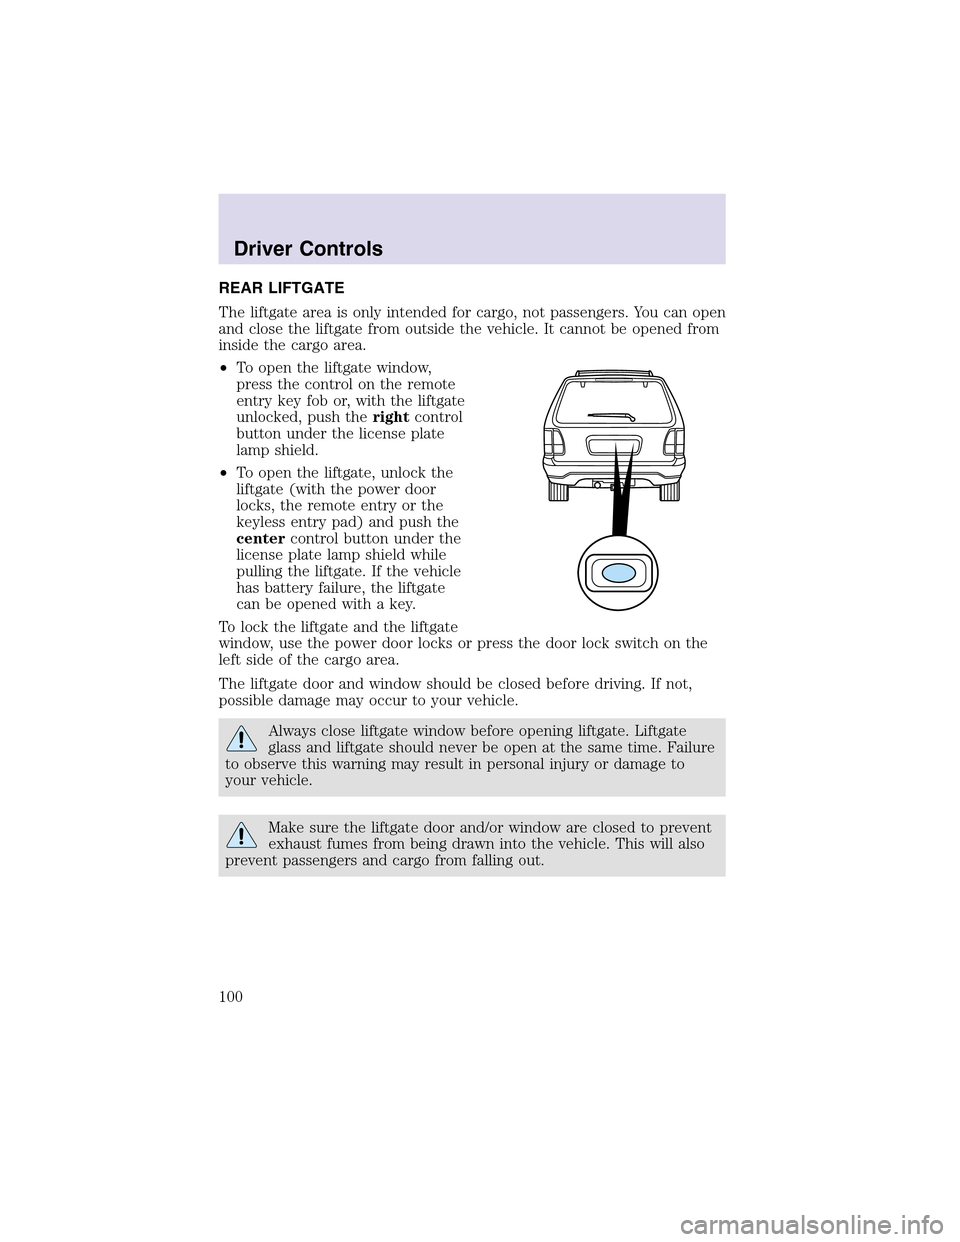
•To open the liftgate window,
press the control on the remote
entry key fob or, with the liftgate
unlocked, push therightcontrol
button under the license plate
lampshield.
•To open the liftgate, unlock the
liftgate (with the power door
locks, the remote entry or the
keyless entry pad) and push the
centercontrol button under the
license plate lamp shield while
pulling the liftgate. If the vehicle
has battery failure, the liftgate
can be opened with a key.
To lock the liftgate and the liftgate
window, use the power door locks or press the door lock switch on the
left side of the cargo area.
The liftgate door and window should be closed before driving. If not,
possible damage may occur to your vehicle.
Always close liftgate window before opening liftgate. Liftgate
glass and liftgate should never be open at the same time. Failure
to observe this warning may result in personal injury or damage to
your vehicle.
Make sure the liftgate door and/or window are closed to prevent
exhaust fumes from being drawn into the vehicle. This will also
prevent passengers and cargo from falling out.
Driver Controls
100