Page 967 of 1139
Wipers/Washers
Circuit Diagram - Windshield
UNOEN HOOD FL]SE/8ELAY BOX IGNITIONSWITCN'7{ F;^--il I 6\
U-I^-- -':-;--u,Hr-
o,f-''*""
\1
L\'
MULTIPIIXcoiln0LUNIT
22-136
\,!
Page 973 of 1139

Wipers/Washers
Control Unit Input Test (cont'dl
5. Reconnect the connectors, and make these input tests at the connector.
.lfanytestindicatesaproblem,findandcorrectthecause,thenrecheckthesystem.
.lfalltheinputtestsproveOK,themultiplexcontrol unit must be faulty. Replace the under-dash fuse/relay box
assembly.
CavityWireTest conditionTest: Desired resultPossible cause if result is not obtained
J4BLKU nder all
conditlons
Check for voltage to ground: . Poor ground (G501)
There should be 1V or less. . AnoDeninthewire
Y6BLKU nder all
conditions
Check for voltage to ground: . Poor ground (G502)
There should be 1 V or less. . An oDen in the wire
BIWHTiBLUlgnition switch ON
{ll) and washer
switch ON
Check for voltage to ground:
There should be battery
vortage.
Blown No. 20 (20A) fuse in the
under-dash fuse/relay box
Faulty wiper/washer switch
An open in the wire
E'0BLU/REDlgnition switch ON
(ll) and wiper
switch OFF (wiper
motor stopped)
Check for voltage to ground:
There should be battery
voltage.
Blown No. 20 (20A) fuse in the
under-dash fuse/relay box
Faulty wiper/washer switch
Faulty windshield wiper motor
An open in the wire
G7BLUA/VHTlgnition switch ON(ll) and wipers in
park position
Check for voltage to ground:
There should be battery
voltage.
Blown No.20 (20A)fuse in the
under-dash fuse/relay box
Faulty windshield wiper motor
An ooen in the wire
x1BLU/BLKlgnition switch ON(ll) and wiper
switch in INT
Check for voltage to ground:
There should be battery
voltage.
Blown No.20 (20A)fuse in the
under-dash fuse/relay box
Faulty wiper/washer switch
An oDen in the wire
\J
\J
L
22-142
J
Page 974 of 1139

Wiper Motor Test
Windshield:
1. Open the hood, and carefully remove the cap nuts
and the wiper arms. Make sure they do not touch
the hood.
2, Remove the hood seal andcowl cover.
3. Disconnectthe 5P connector (A)from the motor (B).
Test the motor by connecting battery power andground according to the table. lf the motor does not
run or fails to run smoothly, replace it.
P-"-,tion
Terminal124
LOW SPEEDOO
HIGH SPEEDoo
5.Test the wiper motor park switch by connecting an
analog voltmeter between the No, 5 (+)terminal
and ground, and run the motor at low or high speed.
The voltmeter should indicate 12 V and 4 V or less
alternately. lf it does not, replace the motor.
.l
j
J
22-143
Rear Window:
1. Open the hatch, and remove the hatch trim panel
(see page 20-53).
2. Disconnectthe 4P connector {A) from the motor {B).
Test the motor by connecting battery power andground according to the table. lf the motor does not
run or fails to run smoothly, replace it.
Telminal
Battery
Connected@o
Test the wiper motor park switch by connecting an
analog voltmeter between the No. 4 (+)terminal
and ground, and run the motor. The voltmeter
should indicate 12 V and 4 V or less alternatelv. lf it
does not, reolace the motor.
4.
Page 976 of 1139
Windshield Wiper Motor Replacement
1.Open the hood. Remove the nuts (A) and the
windshield wiper arms (B).
Remove the hood seal and cowl cover.
Djsconnect the 5P connector (A) from the wiper
motor (B).
9.8 N.m (1.0
Remove the bolts (C), move windshield wiper
linkage assembly {D)toward the passenger's side
of the vehicle until it slides off of the pin (E), then
remove the assembly.
5. Scribe a line (A) across the link and wlndshield
wiper linkage to show the original adjustment.
Separate the windshield wiper linkage (B) from the
wiper motor (C).
N.m(3.2 ksf.m, 23 lbt.ft)
Install in the reverse order of removal, and note
lhese items.
Apply multipurpose grease to the moving parts.
Before reinstalling the wiper arms, turn the wiper
switch ON, then OFF to return the wiper shafts tothe oark oosition.
lf necessary, replace any damaged clips,
Check the wioer motor oDeration.
22-145
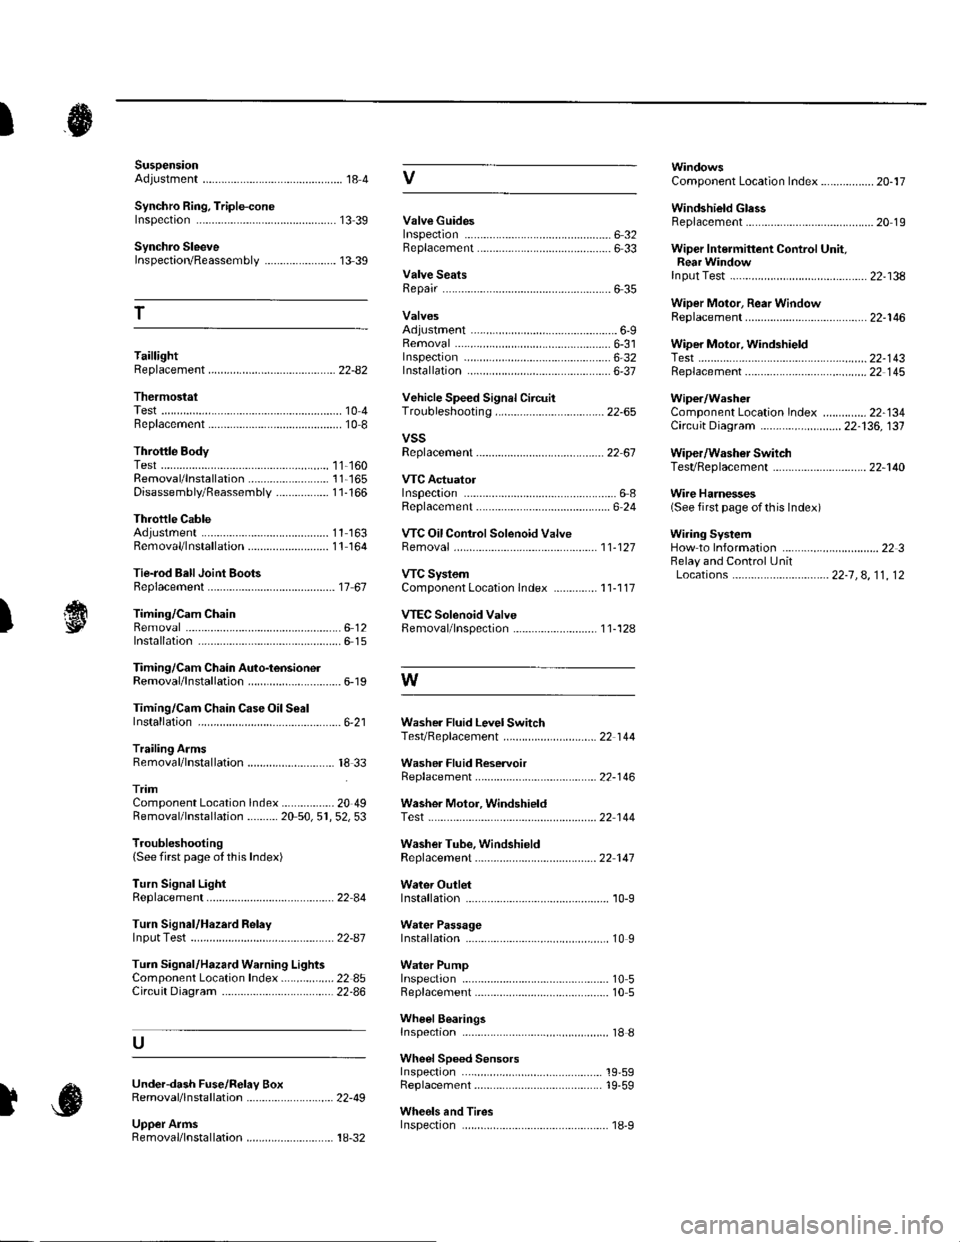
Page 1139 of 1139

SuspensionAdjustment................-............................184 VComponent Location Index................. 20-17
Windshield GlessReplacement............-..............-............. 20 19
Synchro Ring, Triple-coneInspection...............-..........................1339 ValveGuides
Synchro SleeveInspectaon/Reassemb1y ....................... 13 39
Inspection ............-.-................................ 6 32Beplacement ..........-................................ 6 33 Wiper Intermittent Control Unit,Rear WindowInput Test
T
Valve SeatsRepair ...................................................... 6 35.....22-134
WiDer Motor, Rear WindowRep1acement....................................... 22-1 46Adjustment .-.-.......Removal ...-...-......................................-... 6-31 WiDer Motor, windshield6-9
.....6-32 Test.......-..........-.....-.............................22-143Taillight
ThermostaiTest ........................
Inspec!on
Vehicle Speed Signal Circuit
VTC System
Wiper/WasheI
Wi.ing System
10 4 Troubleshooting .....-... ..........................22-65 Component Location In dex ..............22-134Replacement.....-...-....... ...................... 10 IvssThrottle BodyTest ..................Removal/lnstallation .. . . . . . .. ... 11-'165 VTC ActuatorDisassembly/Feassemb|y................-11-166 Inspection
Circuit Diagram .......................... 22-136, 131
Replacement -.............. ............ .............22 61 Wiper/Washor SwitchTesVReplacement .............................. 22-1 40
.................68 WireHarnesses
11-160
Replacement ........................................... 6 24 (Seefirstpageofthislndex)Throttle CableAdjustment ...... ...-.................... 11163 VTC Oil ConlrolSolenoid ValveRemoval/1nsta11ation..........................11164 Removal....-...-... |1-127 HowtoIn{ormation ...............................223Belay and Control UnitLocations .-....-.............. -.-.-....- 22-7, 4, 1 1, 12Beplacement.........-............................... 1767 ComponentLocationlndex.............. 11-117Tie-rod Ball Joint Boots
lnstallation
Replacement
Turn Signal/Hazard Relay
tsTiming/Cam ChainVTEC Solenoid Valve...612 Femoval/lnspection....-......................11-128................ 6 15
Timing/Cam Chain Auto-tensionelRemoval/1nsta11ation..............................6-19 W
Troubleshooting{See first page ot this Index)
Turn Signal Light
Timing/Cam Chain CaseOil SealInstallation......................-......................6,21 Washer Fluid Level SwitchTesVReplacement .............................. 22 1 44Trailing ArmsRemoval/lnstallation .............. . . . . ..... 18 33 Washer Fluid ReservoirReplacement ....................................... 22-1 46tnmComponent Location lndex ................- 20 49 Washer Motor, WindshieldRemoval/lnstallation ..-.......20 50,51,52,53 Test -..............-.............. ........................22 144
Washer Tube, WindshieldReplacement......-...-............................ 22 1 47
W.ter Outlet.........22 A4 Installation ..................-........................... '10-9
InputTest........22-87 lnstallation................ 10IWeter Passage
Wheels andTires
Turn Signal/Hazard Warning Lights Water PumpComponent Location In dex .................22 85 Inspection ........................... .. . . . ....... 10 5Circu it Diagram ................-................... 22-86 Replacement .-......................................... 10 5
U
WheelBearingsInspec|ion ....................................... ....... 18 8
Wheel Speed SensorsInspection ..-..,.,.,,.,,,,,.,.,,,...................... 19-59Replac€ment ........-....... . . . . . . .. -.... 19-59UndeFdash Fuse/R€lay BoxRemoval/lnstaf lation ............................ 22-49
Upper ArmsRemoval/|nsta11ation................. ... 18-32
],sInspect|on