Page 70 of 380
Make sure the rear window is clear
and you have good visibility bef ore
starting to drive.
The def ogger and antenna wires on
the inside of the rear window can be
accidentally damaged. When
cleaning the glass, always wipe side
to side.To adjust the steering wheel:
Make any steering wheel adjustment
bef ore you start driving. Insert the key in the ignition
switch, and unlock the steering
column.
Push the lever under the steering
column all the way down.
1. 2.
See page f or important saf ety
inf ormation about how to properlyposition the steering wheel. 18
CONT INUED
Controls Near the Steering Wheel
Inst rument s and Cont rols
Steering Wheel A djustment
73
Adjusting the steering wheel
position while driving may
cause you to lose control of the
car and be seriously injured in acrash.
Adjust the steering wheel only
when the car is stopped.
�����—�����—�����y�����������
�
�y���
�(�����������y���������y
Page 72 of 380

These keys contain electronic
circuits that are activated by the
Immobilizer System. They will not
work to start the engine if the
circuits are damaged.Protect the keys f rom direct
sunlight, high temperature, and
high humidity. Donotdropthekeysorsetheavy
objects on them.
Keep the keys away f rom liquids.
If they get wet, dry them immedi-
ately with a soft cloth.
The valet key works only in the
ignition and the door locks. You can
keep the trunk, trunk release handle,
trunk pass-through cover, rear seat
trunk access, and glove box locked
when you leave your car and the
valet key at a parking f acility.
The DX model keys do not contain
batteries. Do not try to take them
apart.
Youshouldhavereceivedakey
number tag with your keys. You will
need this key number if you ever
have to get a lost key replaced. Keep
the tag stored in a safe place. If you
need to replace a key, use only
Honda-approved key blanks. Some models also come with two
remote transmitters built into the
master keys; see page f or an
explanation of the remote
transmitter operation.
80
Keys and Locks
Inst rument s and Cont rols
Remote Transmitter
75
MASTER
KEY
(BLACK)
MASTER
KEY WITH
REMOTE
TRANSMITER VALET KEY
(LIGHT GREY)
VALET KEY
(LIGHT GREY)
Only on DX models
On all models except DX KEY
NUMBERTAG
KEY
NUMBERTAG
�����—�����—�����y���������������y���
�(�����������y���������y
Page 74 of 380
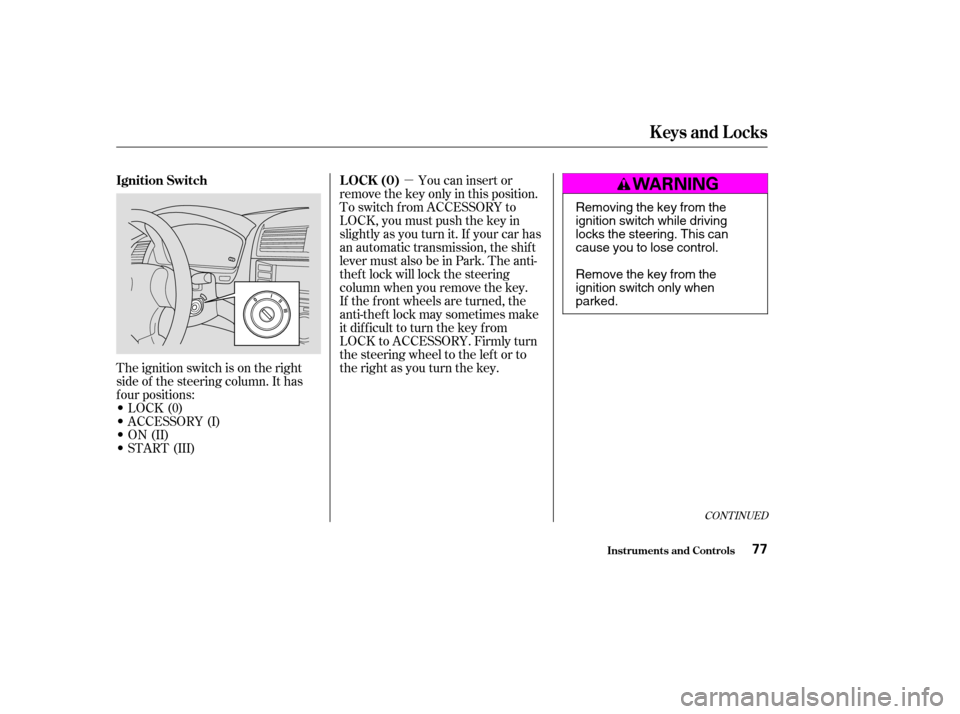
�µ
The ignition switch is on the right
side of the steering column. It has
f our positions:
LOCK(0)
ACCESSORY (I)
ON (II)
START (III) If the f ront wheels are turned, the
anti-thef t lock may sometimes make
it difficult to turn the key from
LOCK to ACCESSORY. Firmly turn
the steering wheel to the lef t or to
the right as you turn the key.You can insert or
remove the key only in this position.
To switch f rom ACCESSORY to
LOCK, you must push the key in
slightly as you turn it. If your car has
an automatic transmission, the shif t
lever must also be in Park. The anti-
thef t lock will lock the steering
column when you remove the key.
CONT INUED
Ignition Switch L OCK (0)
Keys and Locks
Inst rument s and Cont rols77
Removing the key from the
ignition switch while driving
locks the steering. This can
cause you to lose control.
Remove the key from the
ignition switch only whenparked.
�����—�����—�����y���������������y���
�(�����������y���������y
Page 75 of 380
�µ
�µ
�µ In this position,
you can operate the audio system
and the accessory power socket.
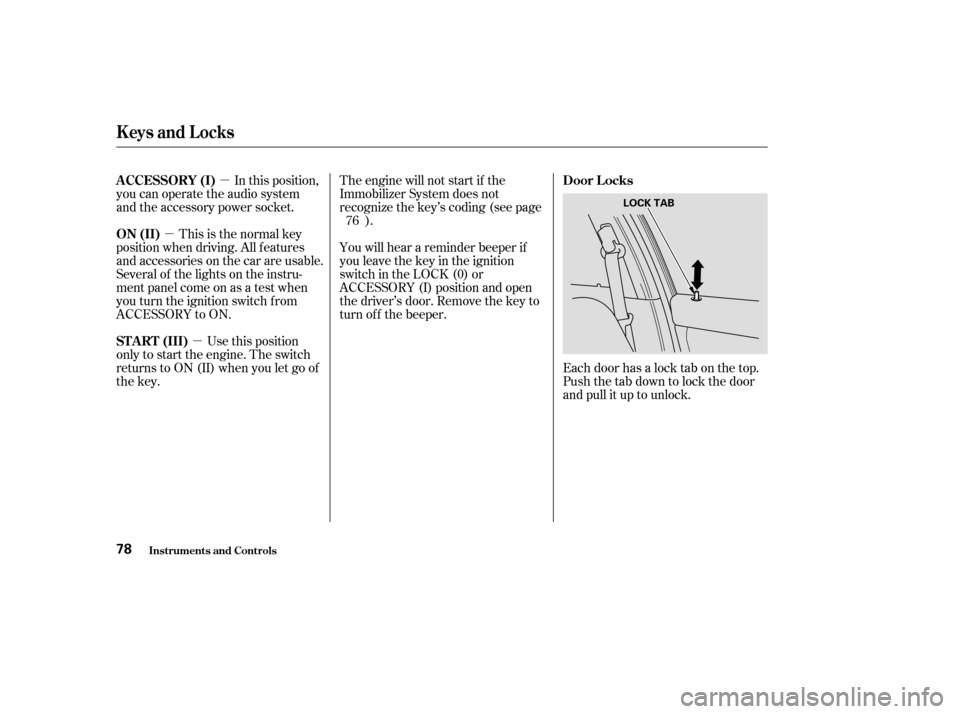
Each door has a lock tab on the top.
Push the tab down to lock the door
and pull it up to unlock.
This is the normal key
position when driving. All f eatures
and accessories on the car are usable.
Several of the lights on the instru-
ment panel come on as a test when
you turn the ignition switch f rom
ACCESSORY to ON.
Use this position
only to start the engine. The switch
returns to ON (II) when you let go of
the key. You will hear a reminder beeper if
you leave the key in the ignition
switch in the LOCK (0) or
ACCESSORY (I) position and open
thedriver’sdoor.Removethekeyto
turn of f the beeper.
The engine will not start if the
Immobilizer System does not
recognize the key’s coding (see page
).
76
A CCESSORY (I)
Door L ocks
ON (II)
ST A RT (III)
Keys and Locks
Inst rument s and Cont rols78
LOCK TAB
�����—�����—�����y��������
����
�y���
�(�����������y�������
�y
Page 92 of 380

The HI or LO indicator lights and
remains lit until you turn it of f by
pushing the opposite side of the
switch lightly. The indicator will turn
off.
In HI, the heater turns of f when the
seat gets warm, and turns back on
after the seat’s temperature drops. It
continues to cycle as long as you
leave it set on HI. The HI indicator
remains lit as a reminder that you
have the heater on.
In LO, the heater runs continuously.
It does not cycle with temperature
changes.Do not use the seat heaters, even
on the LO setting, if the engine is
lef t idling f or an extended period.
They can weaken the battery,
causing hard starting.
Use the HI setting only to heat the
seats quickly. Select the LO
setting when the seats f eel warm.
The HI setting draws large
amounts of current f rom the
battery.
Follow these precautions whenever
you use the seat heaters:
Both f ront seats are equipped with
seat heaters. Because of the sensors
f or the side airbag system, there is
no heater in the passenger’s seat-
back.The ignition switch must be
ON (II) to use the heaters. Push the
f ront of the switch, HI, to rapidly
heat up the seat. After the seat
reaches a comf ortable temperature,
select LO by pushing the back of the
switch. This will keep the seat warm.
On EX-V6 models and EX models with leather interior
Inst rument s and Cont rols
Seat Heaters
95
�����—�����—�����y���������������y���
�(�����������y���������y
Page 101 of 380
Be caref ul when you are using the
beverage holders. A spilled liquid
that is very hot can scald you or your
passengers. Liquid can also spill
f rom the door pocket beverage
holders when you close the doors.
Useonlyresealablecontainersinthe
door pockets.The rear seat also has a beverage
holder in the center armrest. To use
it, pivot the armrest down.On all models except U.S. and Canada
DX
Beverage Holders
Inst rument s and Cont rols104
FRONT DOOR
REAR DOOR
�����—�����—�����y�����������
���y���
�(�����������y���
�����y
Page 136 of 380
 discs
without using an adapter ring. Play
only standard round discs. Odd-
shaped CDs may jam in the drive or
cause other problems.For best results when using CD-R
disc")
You can also play 3-inch (8-cm) discs
without using an adapter ring. Play
only standard round discs. Odd-
shaped CDs may jam in the drive or
cause other problems.For best results when using CD-R
discs, use only high quality discs
labeled f or audio use. When
recording a CD-R, the recording
must be closed in order f or the disc
to be used by CD players. CD-RW
discs will not work in this unit.
For inf ormation, see page .
You operate the CD player with the
same controls used f or the radio.
Examine the CD f or any labels or
other contamination on it that could
causeittojaminthedrive.Withthe
ignition switch in ACCESSORY (I)
or ON (II), insert the disc into the
CD slot. Push the disc in half way;
the drive will pull it in the rest of the
way and begin to play. The number
of the track that is playing is shown
in the display.
175
Audio System
Comf ort and Convenience Feat ures
Radio Frequencies and Reception
Operating the CD Player
140
CD SLOT
AM/FM BUTTON
CD/AUX BUTTON
SEEK/SKIP BAR
EJECT BUTTON RPT BUTTON
RDM BUTTON
PWR/VOL KNOB
�����—�����—�����y������
�
������y���
�(�����������y���
�����y
Page 138 of 380

�µ�µ �µ
�´
To activate the Repeat
f eature, press and release the RPT
button. You will see RPT in the
display. The system continuously
replays the current track. Press the
RPT button again to turn it off. A Compact Disc changer is available
foryourcar.Itholdsuptosixdiscs,
providing several hours of
continuous entertainment. You
operate this CD changer with the
same controls used f or the in-dash
CD player.
Load the desired CDs in the
magazine and load the magazine in
the changer according to the
instructions that came with the unit.
Play only standard round discs. Odd-
shaped CDs may jam in the drive or
cause other problems.To select the CD changer, press the
CD button. The disc and track
numbers will be displayed.
For best results when using CD-R
discs, use only high quality discs
labeled f or audio use. When
recording a CD-R, the recording
must be closed in order f or the disc
to be used by CD players. CD-RW
discs will not work in this unit.
This feature,
when activated, plays the tracks on
the CD in random order, rather than
in the order they are recorded on the
CD. To activate Random Play, press
and release the RDM button. You
will see RDM in the display. The
system will then select and play
tracks randomly. This continues
until you deactivate Random Play by
pressing RDM again. To select a dif f erent disc, use the
Preset 5 (DISC ) side or Preset 6
(DISC ) side of the preset bar.
Press the Preset 6 side to select the
next disc in the magazine. Press the
Preset 5 side of the bar to select the
previous disc. If you select an empty
slot in the magazine, the changer will,
after finding that slot empty, try to
load the CD in the next slot. This
continues until it f inds a CD to load
and play.
For inf ormation on how to handle
and protect compact discs, see page .
186
Audio System
Comf ort and Convenience Feat ures
REPEA T Operating the CD Changer
(Optional)
RANDOM PLAY
Protecting Compact Discs
142
�����—�����—�����y������
�
������y���
�(�����������y���
�����y