2003 GMC SIERRA DENALI lock
[x] Cancel search: lockPage 198 of 428

4 FWD (Forward): Press this pushbutton to advance
quickly to another part of the tape. Press this pushbutton
again to return to playing speed. The radio will play
while the tape advances. The station frequency
and FWD will appear on the display. You may select
stations during forward operation by using TUNE
and SEEK.
5 SIDE: Press this pushbutton to play the other side of
the tape.
4 SEEK b : The right arrow is the same as the
NEXT pushbutton, and the left arrow is the same as the
PREV pushbutton.
If the arrow is held or pressed
more than once, the player will continue moving forward
or backward through the tape. SEEK and a positive
or negative number will appear on the display.
4 SCAN b : To scan the tape, press and hold either
SCAN arrow for more than two seconds until SCAN
appears on the display and you hear a beep. Use this
feature to listen to
10 seconds of each selection on
the current side of the tape. Press either SCAN arrow
again, to stop scanning. Your tape must have at
least three seconds
of silence between each selection
for scan to work.
BAND: Press this button to listen to the radio when
a
tape is playing. The tape will stop but remain in the
player.
TAPE DISC: Press this button to play a tape when
listening to the radio. Press this button to switch
between the tape and compact disc
if both are loaded.
The inactive tape or CD will remain safely inside the
radio for future listening.
A (Eject): Press this button to stop a tape when it is
playing or to eject a tape when it is not playing. Eject
may be activated with the radio
off. Cassette tapes may
be loaded with the radio
off if this button is pressed
first.
Cassette Tape Messages
CHK TAPE (Check Tape): If CHK TAPE appears on
the radio display, the tape won’t play because of one of
the following errors.
9 The tape is tight and the player can’t turn the tape
hubs. Remove the tape. Hold the tape with the
open end down and try to turn the right hub
counterclockwise with a pencil. Turn the tape over
and repeat.
If the hubs do not turn easily, your
tape may be damaged and should not be used in
the player.
Try a new tape to make sure your player
is working properly.
The tape is broken. Try a new tape.
The tape is wrapped around the tape head. Attempt
to get the cassette out. Try a new tape.
3-73
Page 206 of 428
Theft-Deterrent Feature
THEFTLOCK@ is designed to discourage theft of your
radio. The feature works automatically by learning
a portion of the Vehicle Identification Number (VIN).
If
the radio is moved to a different vehicle, it will not
operate and LOCKED will be displayed.
When the radio and vehicle are turned
off, the blinking
red light indicates that THEFTLOCK@ is armed.
With THEFTLOCK@ activated, your radio will not operate
if stolen.
Audio Steering Wheel Controls
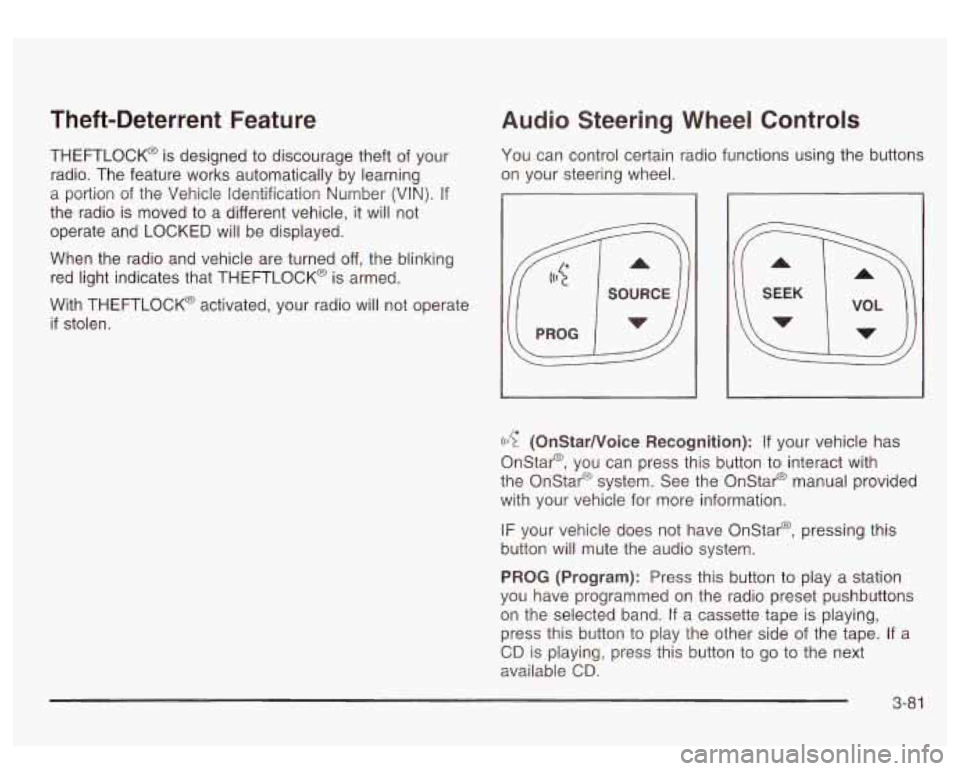
You can control certain radio functions using the buttons
on your steering wheel.
((17 (OnStarNoice Recognition): If your vehicle has
Onstar@, you can press this button to interact with
the Onstar@ system. See the Onstar@ manual provided
with your vehicle for more information.
IF your vehicle does not have Onstar@, pressing this
button will mute the audio system.
PROG (Program): Press this button to play a station
you have programmed on the radio preset pushbuttons
on the selected band.
If a cassette tape is playing,
press this button to play the other side of the tape. If a
CD is playing, press this button to go to the next
available
CD.
3-8 1
Page 210 of 428
Section Driving Your Vehicle
Your Driving. the Road. and Your Vehicle .......... 4-2
Drunken Driving
............................................. 4-2
Control
of a Vehicle ........................................ 4-5
Defensive Driving
........................................... 4.2
Braking
......................................................... 4-6
Locking Rear Axle
.......................................... 4-8
Steering
........................................................ 4-9
Off -Road Recovery ....................................... 4-13
Passing
....................................................... 4-14
Loss
of Control ............................................. 4-15
Operating Your All-Wheel-Drive Vehicle
Off
Paved Roads ............................................ 4-16
Driving in Rain and on Wet Roads
................. -4-30
QUADRASTEERTM
....................................... 4-10
Driving at Night
................................ ..... 4-29
City Driving
.................................................. 4-33
Freeway Driving
........................................... 4-34 Before Leaving
on a Long
Trip ....................... 4-35
Hill and Mountain Roads
................................ 4-36
If You Are Stuck: In Sand, Mud,
Highway Hypnosis
........................................ 4.36
Winter Driving
.............................................. 4-38
Ice or Snow
.............................................. 4-42
Towing
.......................................................... 4-45
Towing Your Vehicle
..................................... 4-45
Recreational Vehicle Towing
........................... 4-45
Loading Your Vehicle
................................... -4-45
Truck-Camper Loading Information
.................. 4-48
Trailer Recommendations
.................. ...... 4-50
Pickup Conversion to
Chassis Cab
............................................. 4-50
Towing a Trailer
........................................... 4-51
4- 1
Page 216 of 428
Anti-lock Brake System
Your vehicle has anti-lock brakes. ABS is an advanced
electronic braking system that will help prevent a
braking skid.
When you start your engine and begin to drive away,
your anti-lock brake system will check itself. You
may hear a momentary motor or clicking noise while
this test is going on. This is normal.
If there’s a problem with
the anti-lock brake system,
this warning light will stay on. See
Anti-Lock
Brake
System Warning
Light on page
3-35.
Along with ABS, your vehicle has a Dynamic Rear
Proportioning (DRP) system.
If there’s a DRP problem,
both the Brake and ABS warning lights will come on
accompanied by a 10-second chime. The lights
and chime will come on each time the ignition is turned
on until the problem
is repaired. See your dealer for
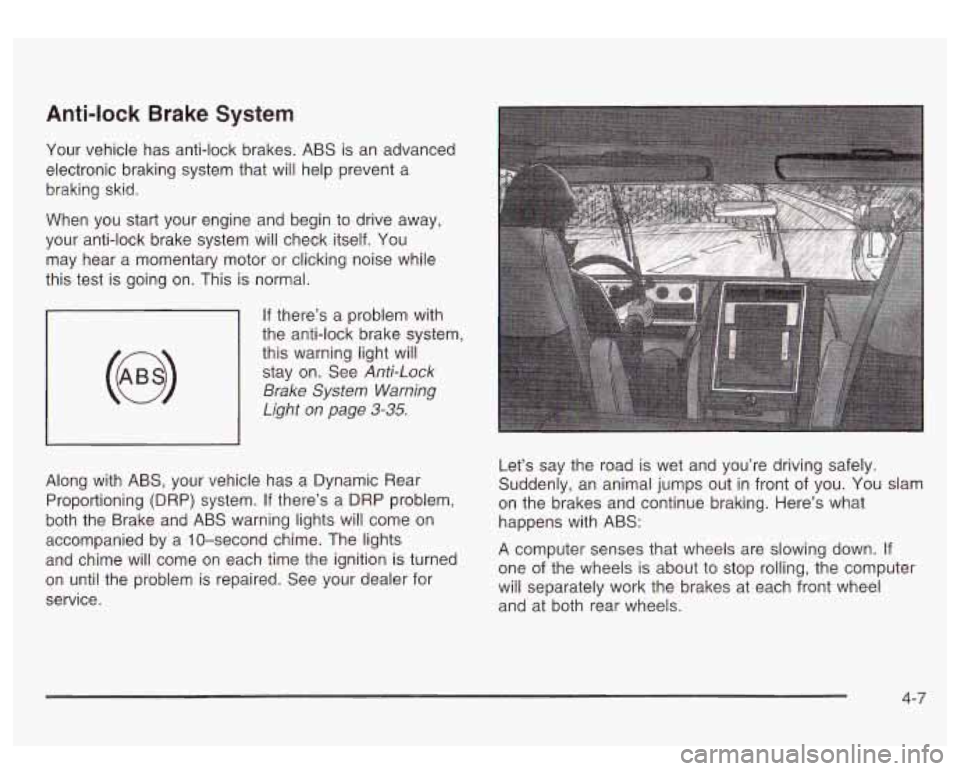
service. Let’s
say the road is wet and you’re driving safely.
Suddenly, an animal jumps out in front of you.
You slam
on the brakes and continue braking. Here’s what
happens with ABS:
A computer senses that wheels are slowing down.
If
one of the wheels is about to stop rolling, the computer
will separately work the brakes at each front wheel
and at both rear wheels.
4-7
Page 217 of 428
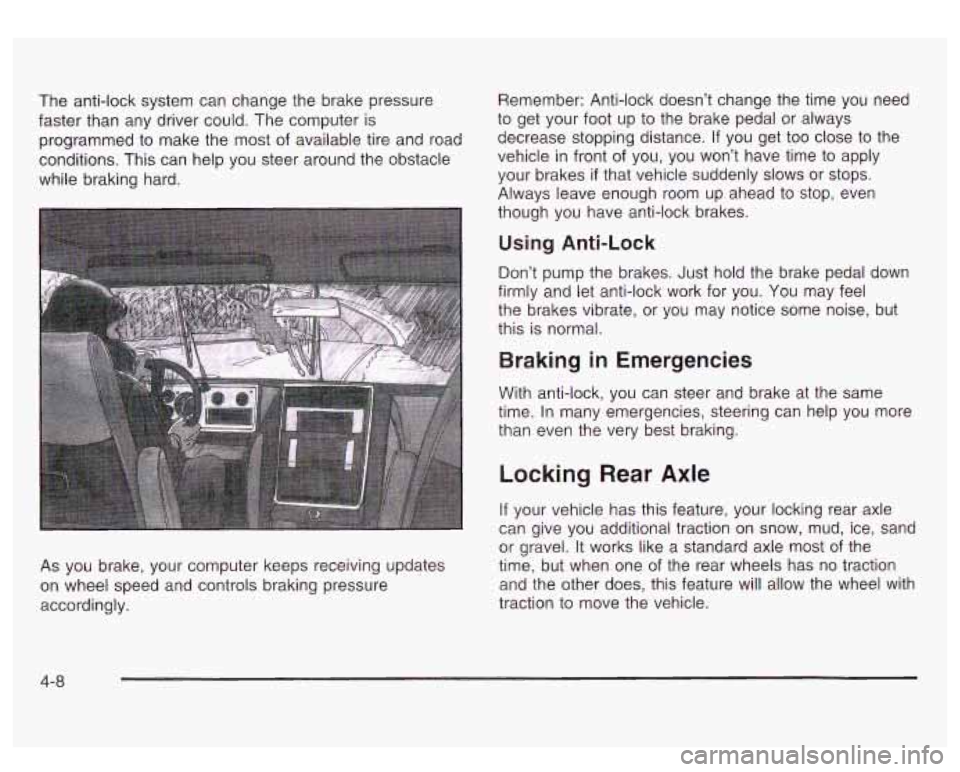
The anti-lock system can change the brake pressure
faster than any driver could. The computer is
programmed to make the most
of available tire and road
conditions. This can help you steer around the obstacle
while braking hard.
As you brake, your computer keeps receiving updates
on wheel speed and controls braking pressure
accordingly. Remember:
Anti-lock doesn’t change the time you need
to get your foot up
to the brake pedal or always
decrease stopping distance.
If you get too close to the
vehicle in front of you, you won’t have time to apply
your brakes
if that vehicle suddenly slows or stops.
Always leave enough room up ahead
to stop, even
though you have anti-lock brakes.
Using Anti-Lock
Don’t pump the brakes. Just hold the brake pedal down
firmly and let anti-lock work for you. You may feel
the brakes vibrate, or you may notice some noise, but
this is normal.
Braking in Emergencies
With anti-lock, you can steer and brake at the same
time. In many emergencies, steering can help you more
than even the very best braking.
Locking Rear Axle
If your vehicle has this feature, your locking rear axle
can give you additional traction on snow, mud, ice, sand
or gravel. It works like a standard axle most of the
time, but when one of the rear wheels has no traction
and the other does, this feature will allow the wheel with
traction to move the vehicle.
4-8
Page 219 of 428

Your vehicle can perform very well in emergencies like
these. First apply your brakes.
See
Braking on page 4-6. It is better to remove as much
speed as you can from a possible collision. Then
steer around the problem, to the left
or right depending
on the space available.
An emergency like this requires close attention and a
quick decision. If you are holding the steering wheel at
the recommended
9 and 3 o’clock positions, you
can turn it a full 180 degrees very quickly without
removing either hand. But you have to act fast, steer
quickly, and just as quickly straighten the wheel
once you have avoided the object. The
fact that such emergency situations are always
possible is a good reason
to practice defensive driving
at all times and wear safety belts properly.
QUADRASTEERTM
The QUADRASTEERTM System has a control and
diagnostic module that monitors and records current
system status and operational information.
If your vehicle is equipped with the 4 Wheel Steer
system it has the ability to steer the vehicle with all four
wheels.
Once the
4 Wheel Steer mode is selected, it is
recommended
to leave the vehicle in this mode at all
times, and during all driving and weather conditions.
You can select this mode at any speed, however,
if you
are turning the system will not engage until the turn
is complete.
The 4 Wheel Steer system is equipped with three
different driving modes:
Two wheel steering (2)
Four wheel steering (4)
Four wheel steering with a trailer mode (q )
4-1 0
Page 225 of 428
While driving on a surface with reduced traction, try
your best to avoid sudden steering, acceleration
or braking (including engine braking by shifting to a
lower gear). Any sudden changes could cause the tires
to slide. You may not realize the surface is slippery
until your vehicle
is skidding. Learn to recognize warning
clues
- such as enough water, ice or packed snow
on the road to make a “mirrored surface”
- and slow
down when you have any doubt.
Remember: Any anti-lock brake system (ABS) helps
avoid only the braking skid.
Operating Your All-Wheel-Drive
Vehicle
Off Paved Roads
Many of the same design features that help make your
vehicle responsive on paved roads during poor
weather conditions
- features like the locking rear axle
and all-wheel drive
- help make it much better
suited for off-road use than a conventional passenger
car. Its higher ground clearance also helps your vehicle
step over some off-road obstacles. But your vehicle
doesn’t have features like special underbody shielding
and a transfer case low gear range, things that are
usually thought necessary for extended or sever off-road
service. This guide
is for operating your vehicle off
paved roads.
Also, see Braking on page 4-6.
Off-road driving can be great fun. But it does have
some definite hazards. The greatest of these is
the terrain itself.
“Off-roading” means you’ve left the great North American\
road system behind. Traffic lanes aren’t marked.
Curves aren’t banked. There are no road signs.
Surfaces can be slippery, rough, uphill or downhill. In
short, you’ve gone right back to nature.
Off-road driving involves some new skills. And that’s
why it’s very important that
you read this guide.
You’ll find many driving tips and suggestions. These will
help make your off-road driving safer and more
enjoyable.
Before You Go Off-Roading
There are some things to do before you go out. For
example, be sure to have all necessary maintenance
and service work done. Check to make sure all
underbody shields (if
so equipped) are properly
attached.
Is there enough fuel? Is the spare tire fully
inflated? Are the fluid levels up where they should be?
What are the local laws that apply to off-roading
where you’ll be driving?
If you don’t know, you should
check with law enforcement people in the area. Will you
be on someone’s private land? If
so, be sure to get
the necessary permission.
4-1 6
Page 227 of 428
Environmental Concerns
Off-road driving can provide wholesome and satisfying
recreation. However, it also raises environmental
concerns. We recognize these concerns and urge every
off-roader to follow these basic rules for protecting
the environment:
e
e
Always use established trails, roads and areas that
have been specially set aside for public off-road
recreational driving; obey all posted regulations.
Avoid any driving practice that could damage the
environment
- shrubs, flowers, trees, grasses - or
disturb wildlife (this includes wheel-spinning,
breaking down trees or unnecessary driving through
streams or over soft ground.
Always carry a litter bag
... make sure all refuse is
removed from any campsite before leaving.
Take extreme care with open fires (where permitted),
camp stoves and lanterns.
Never park your vehicle over dry grass or other
combustible materials that could catch fire from the
heat of the vehicle’s exhaust system.
Traveling to Remote Areas
It makes sense to plan your trip, especially when going
to
a remote area. Know the terrain and plan your
route. You are much less likely to get bad surprises.
Get accurate maps of trails and terrain. Try to learn of
any blocked or closed roads.
It’s also a good idea to travel with at least on other
vehicle.
If something happens to one of them, the other
can help quickly.
Does your vehicle have a winch?
If so, be sure to read
the winch instructions. In a remote area, a winch
can be handy
if you get stuck. But you’ll want to know
how to use
it properly.
4-1 8